
How to Stabilize Whipped Cream for Cake Decorating and Piping
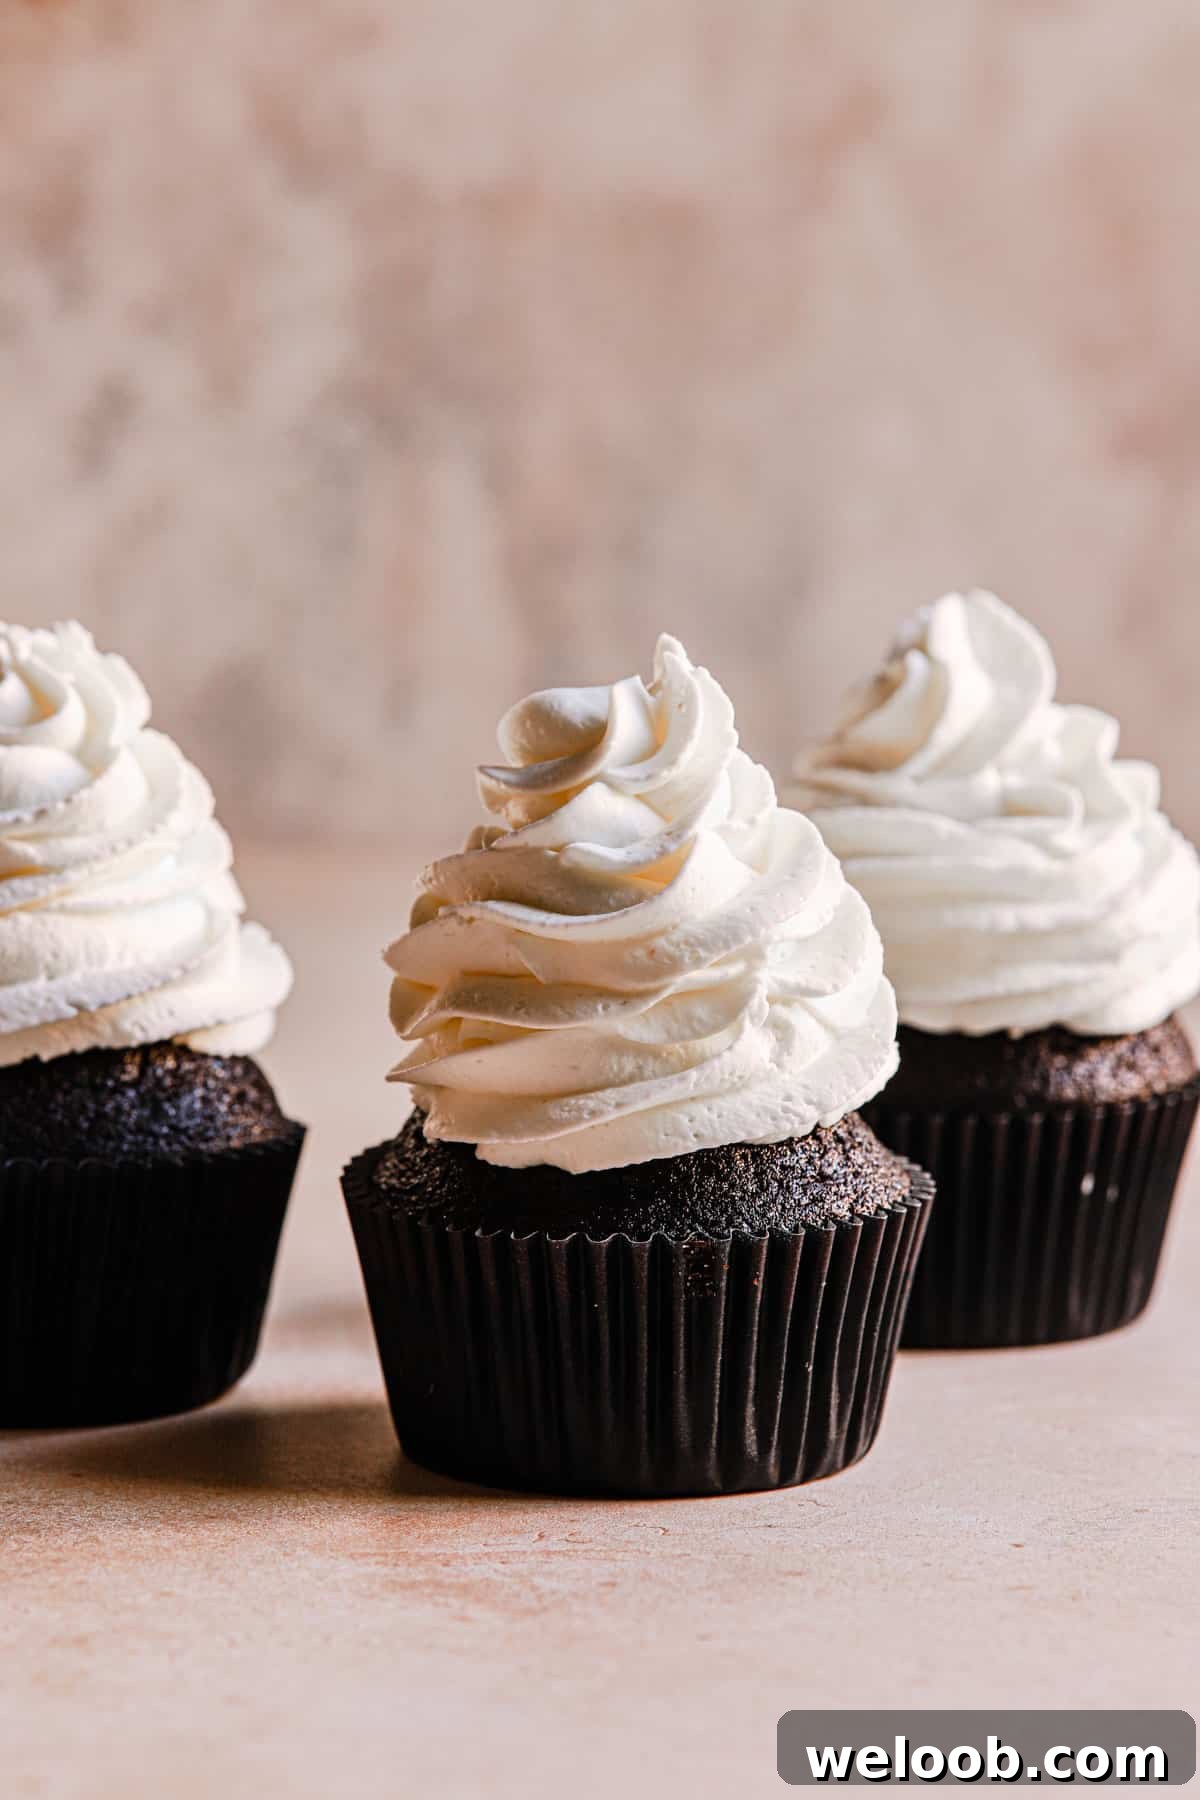
Stabilizing whipped cream is the key to getting light, airy, and reliable results every time — no more melted or flat frosting. Below you’ll find five easy methods for stable whipped cream you can pipe, decorate, and frost with confidence.
For background on dairy, check the posts about heavy cream and how long heavy cream lasts.
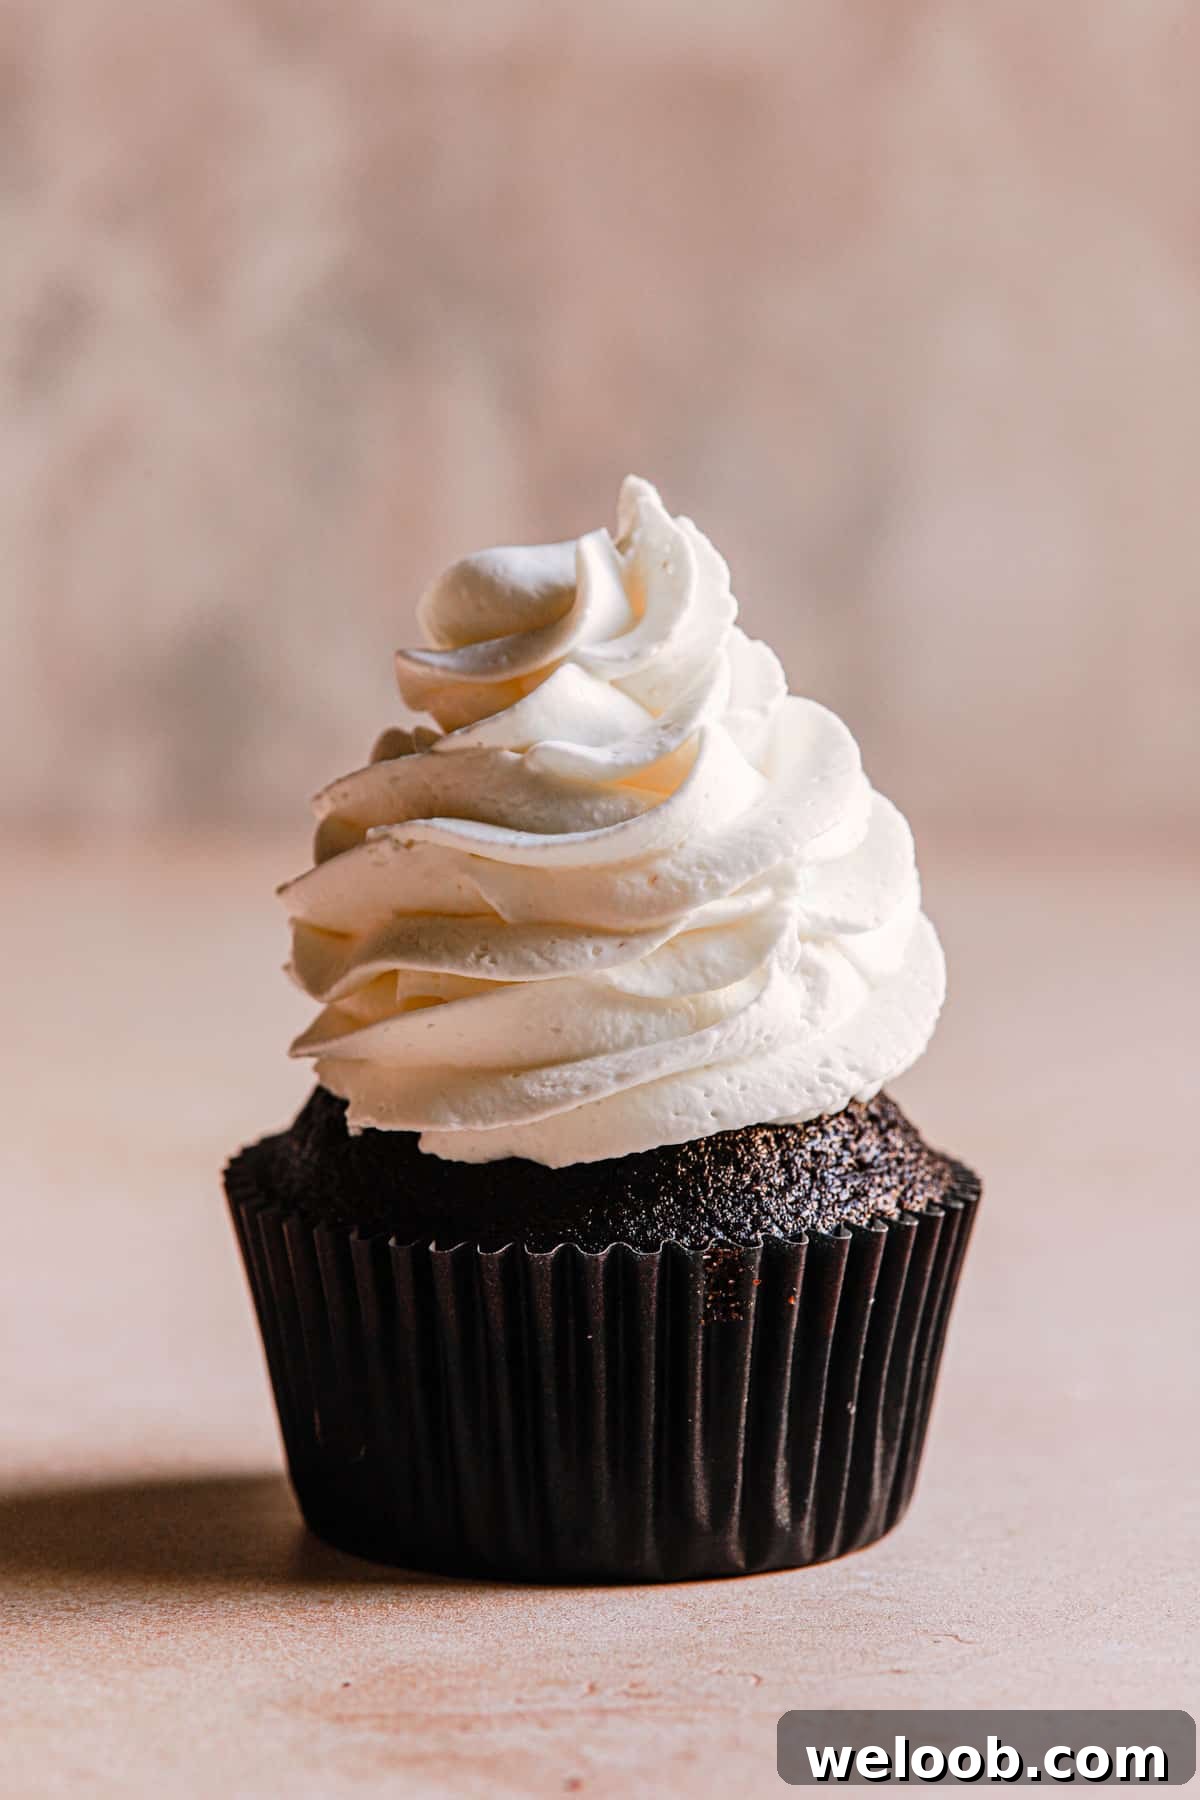
What is stabilized whipped cream?
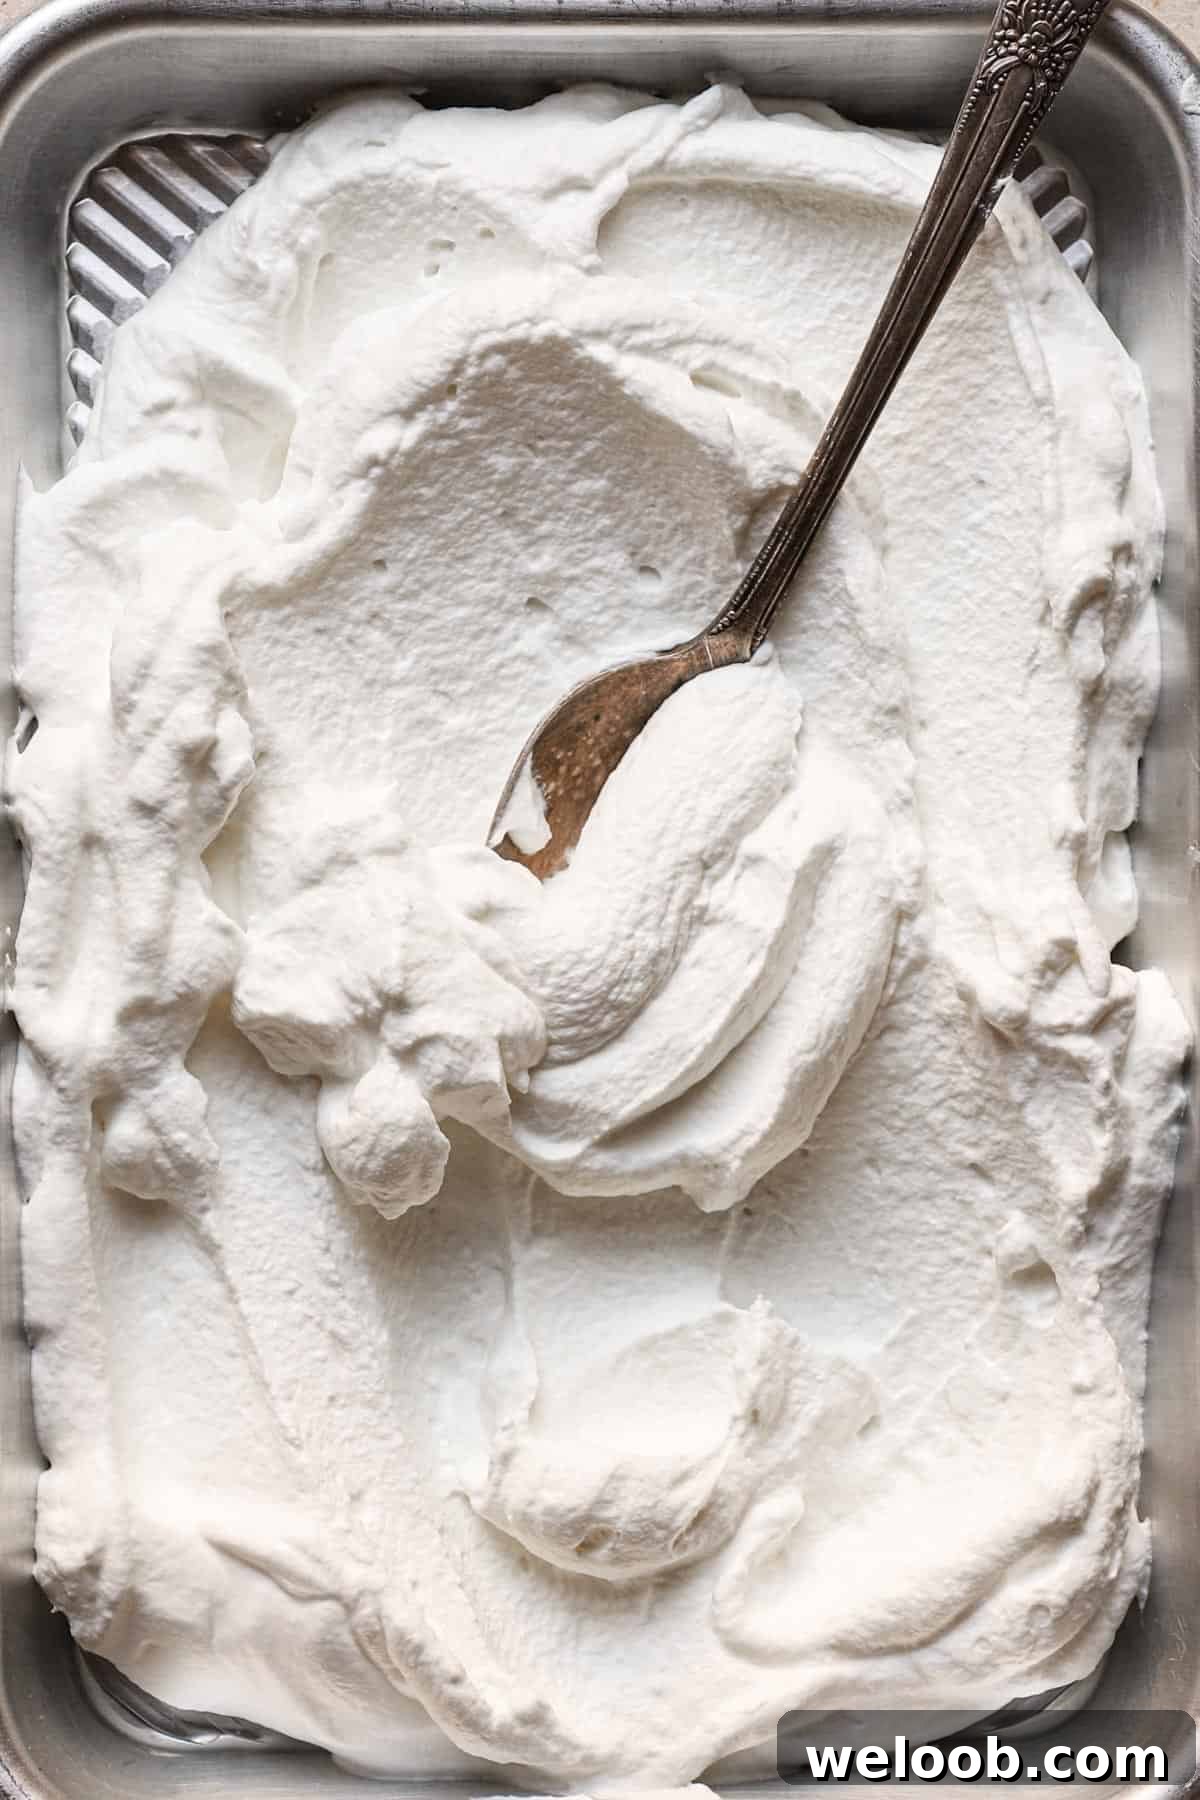
When heavy cream is whipped with sugar (and often vanilla) air is incorporated into the fat and water, increasing volume and turning the liquid cream into a spreadable, pipeable foam. Whipped cream is considered stabilized when it holds that texture and shape without losing firmness for an extended time.
Unstabilized whipped cream softens and collapses faster, especially at room temperature. To keep whipped cream stiff longer, we add a stabilizer — a small ingredient that strengthens the structure without changing the flavor or texture dramatically.
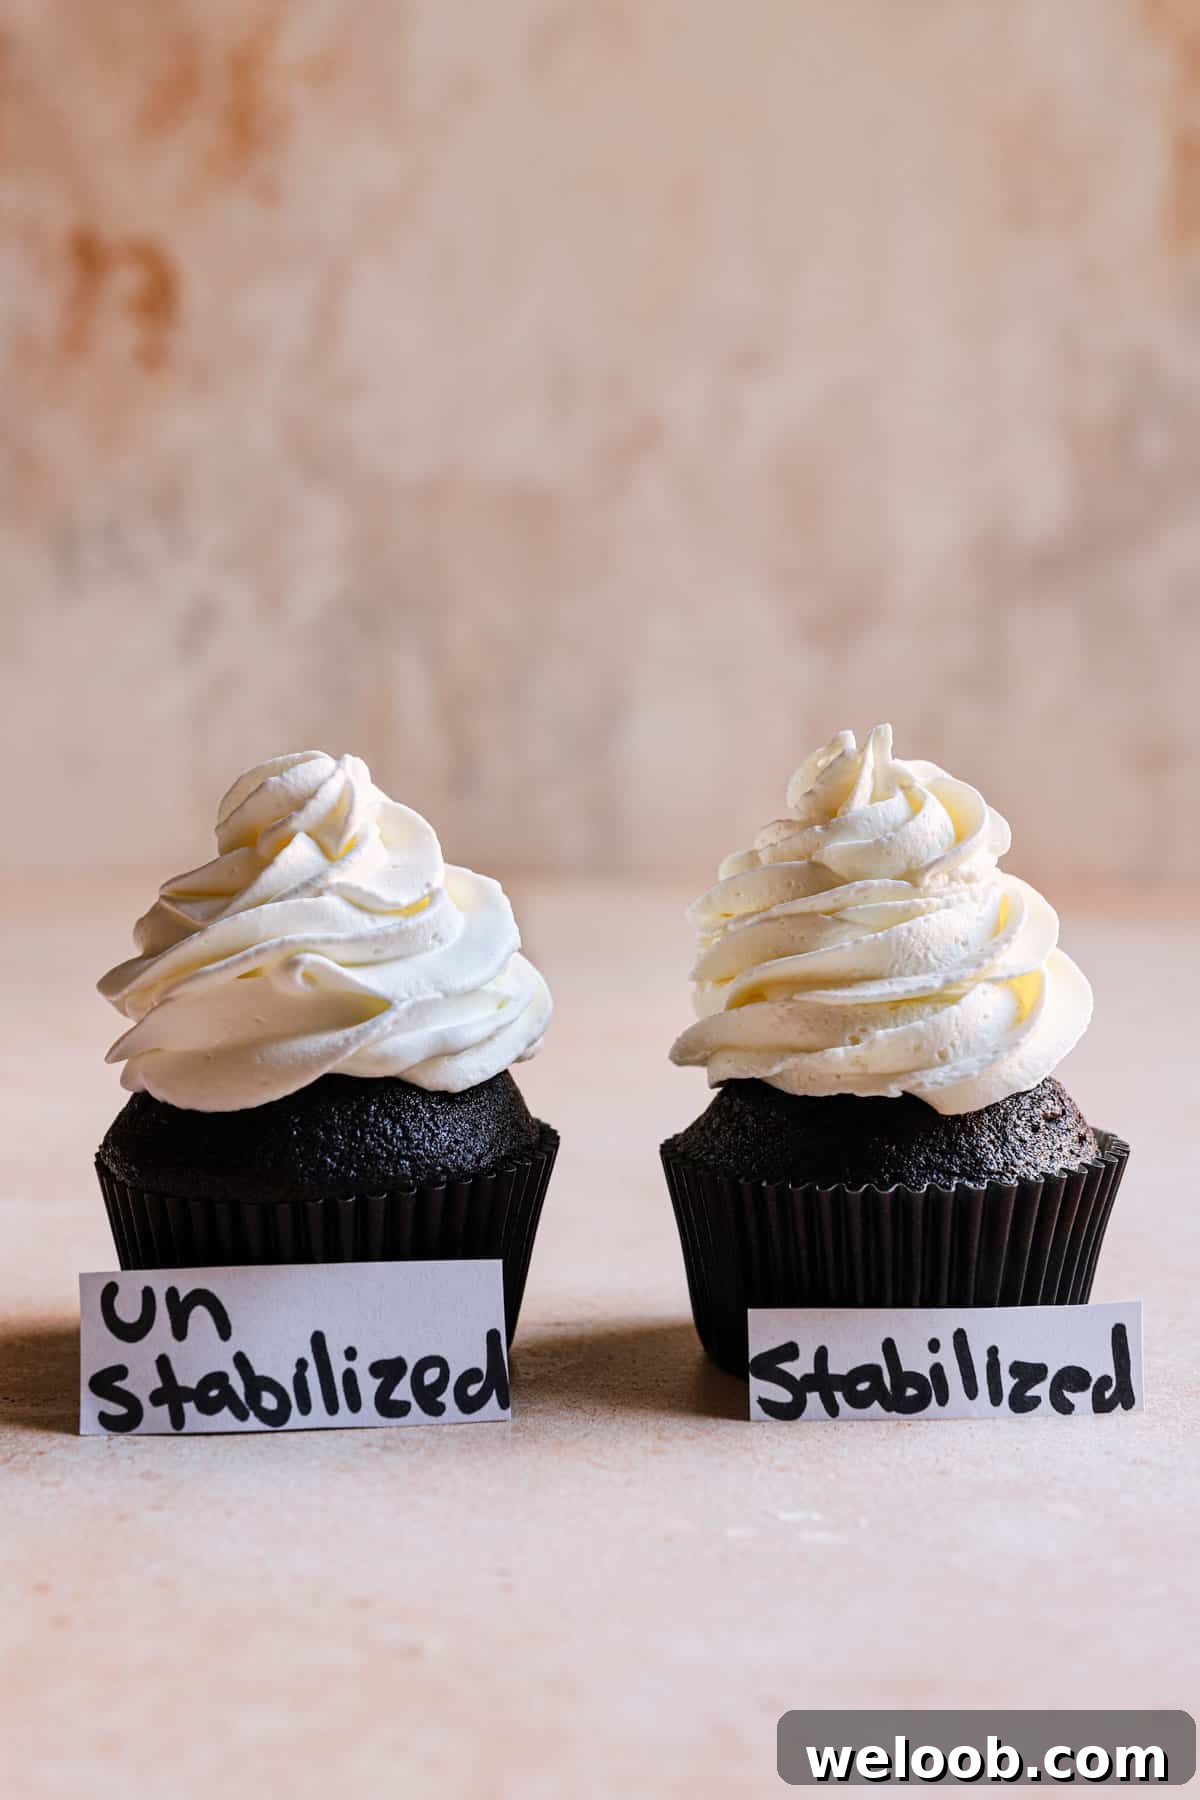
Common stabilizers include gelatin, cornstarch, dried milk powder, cream of tartar, xanthan gum, and instant pudding mix. Each has advantages depending on whether you’re piping cupcakes, frosting a cake, or filling pastries.
Stabilizing vs. thickening
Thickening and stabilizing serve different purposes. Thickening changes the viscosity of a sauce or filling (think crème fraîche or pastry cream). Stabilizing keeps whipped cream’s aerated structure intact so it stays light but firm. For decorating and piping, use heavy whipping cream (35% fat or higher) and a stabilizer suited to the task.
Below are five reliable methods you can use to make stiff, stable whipped cream for cakes, cupcakes, pies, or pavlovas. I include short notes to help you choose the best option for your project.
Why stabilize?
Stabilizing whipped cream isn’t always necessary, but it’s strongly recommended when you need definition: piped rosettes, detailed decorations, or a frosting that won’t drip. Stabilized cream traps more air and resists melting, deflating, and weeping, giving you a firmer finish that lasts longer at room temperature or during transport.
Five ways to stabilize whipped cream
Choose one of these methods based on convenience, flavor, and how long you need the cream to hold:
- Dried milk powder. Easy and neutral in flavor. Great for piping and frosting.
- Cream of tartar. Simple and effective when you want a gelatin-free option for pies or cookie filling.
- Xanthan gum. A tiny pinch stabilizes large batches and works well for frostings.
- Instant pudding mix. Adds sweetness and body; useful when you want a flavored, thicker cream.
- Cornstarch. Requires cooking and cooling, so plan ahead. Good for stable but slightly denser creams.
- Gelatin or agar-agar. The most durable option. Gelatin locks in water and holds peaks very well — ideal for long-lasting, piped decorations.
Ingredients
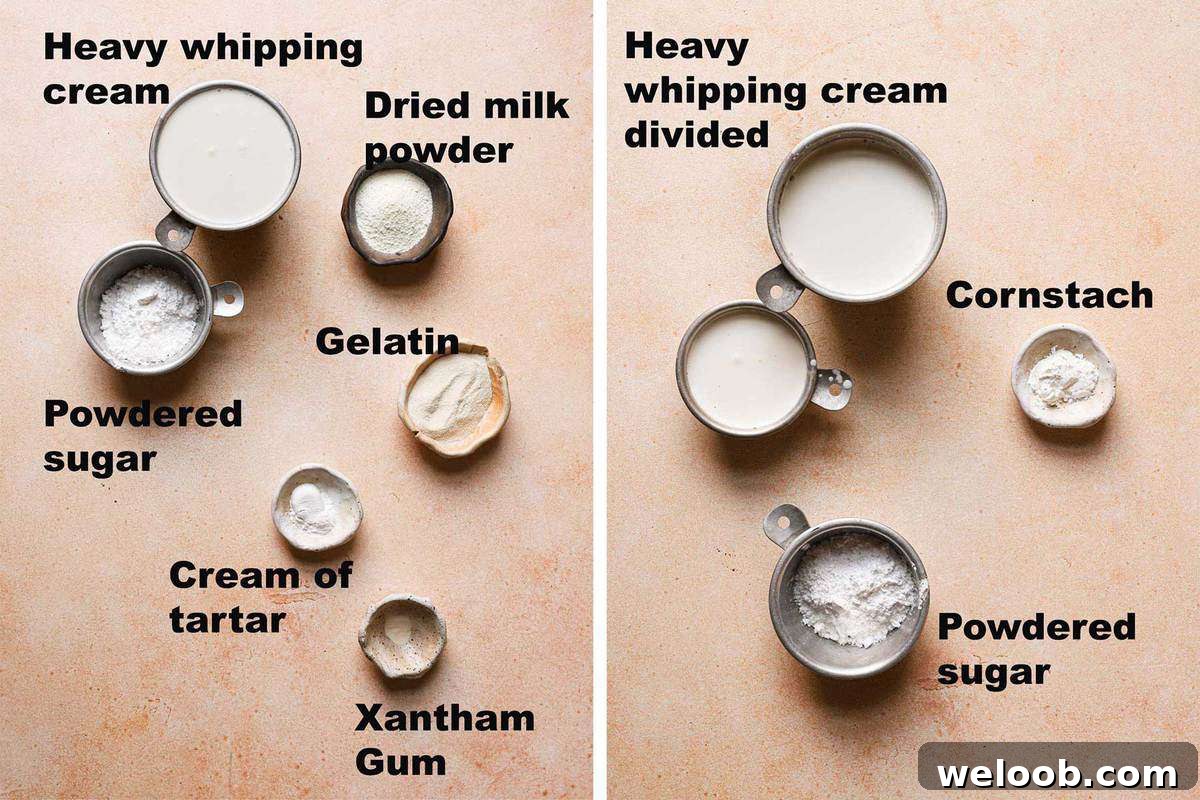
Use heavy whipping cream (35% fat or higher), sifted confectioners’ sugar, and one of the stabilizers above, depending on the method you choose.
How to make stabilized (stiff) whipped cream
Below are clear, step-by-step methods. The basic approach for quick stabilizers (dried milk powder, cream of tartar, xanthan gum, or instant pudding) is the same: combine dry ingredients, add to chilled cream, and whip to stiff peaks.
Time needed: 3 minutes
Use this method for dried milk powder, cream of tartar, xanthan gum, or instant pudding:
- Mix. Combine powdered sugar with your stabilizer in a small bowl.
- Pour. Pour chilled heavy cream into a mixing bowl and add the sugar-stabilizer blend.
- Whisk. Whisk on medium, increasing to high, until stiff peaks form.
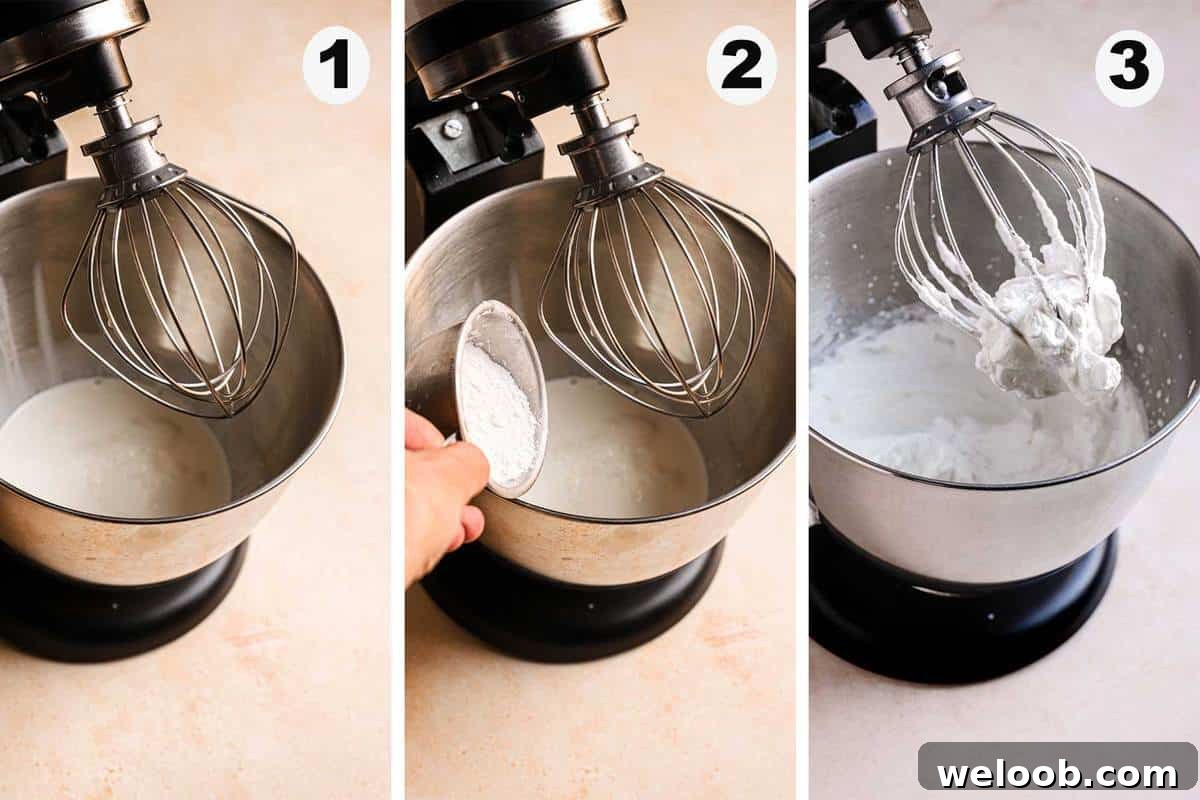
Stabilized whipped cream using cornstarch
- Mix the cornstarch with the sugar in a bowl.
- Whisk 1/3 cup of the heavy cream into the dry mix until smooth.
- Cook the mixture in a small saucepan, stirring, until it thickens and comes to a gentle boil. Remove from heat and cool to room temperature.
- Stir the cooled cornstarch mixture into the remaining chilled cream and refrigerate until fully cool.
- Pour into a chilled bowl and whip until stiff peaks form.
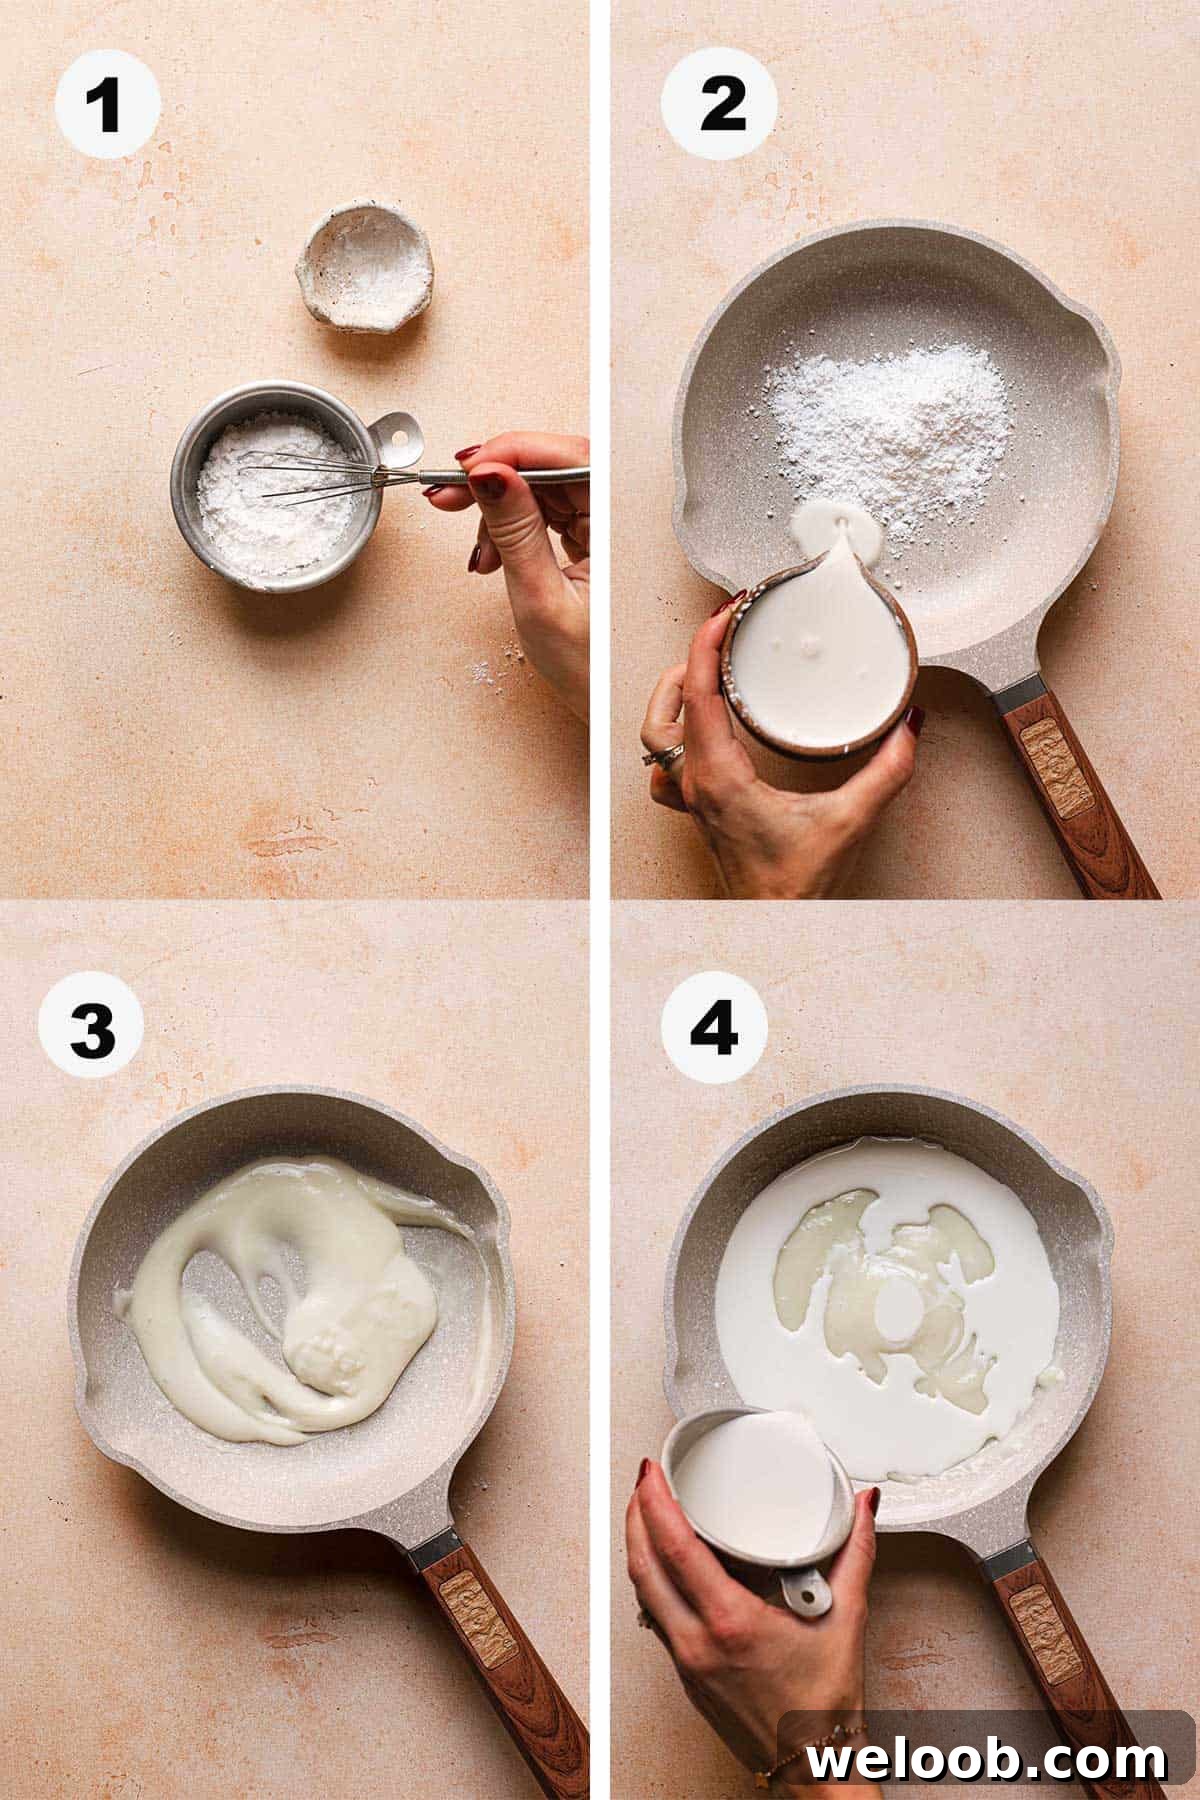
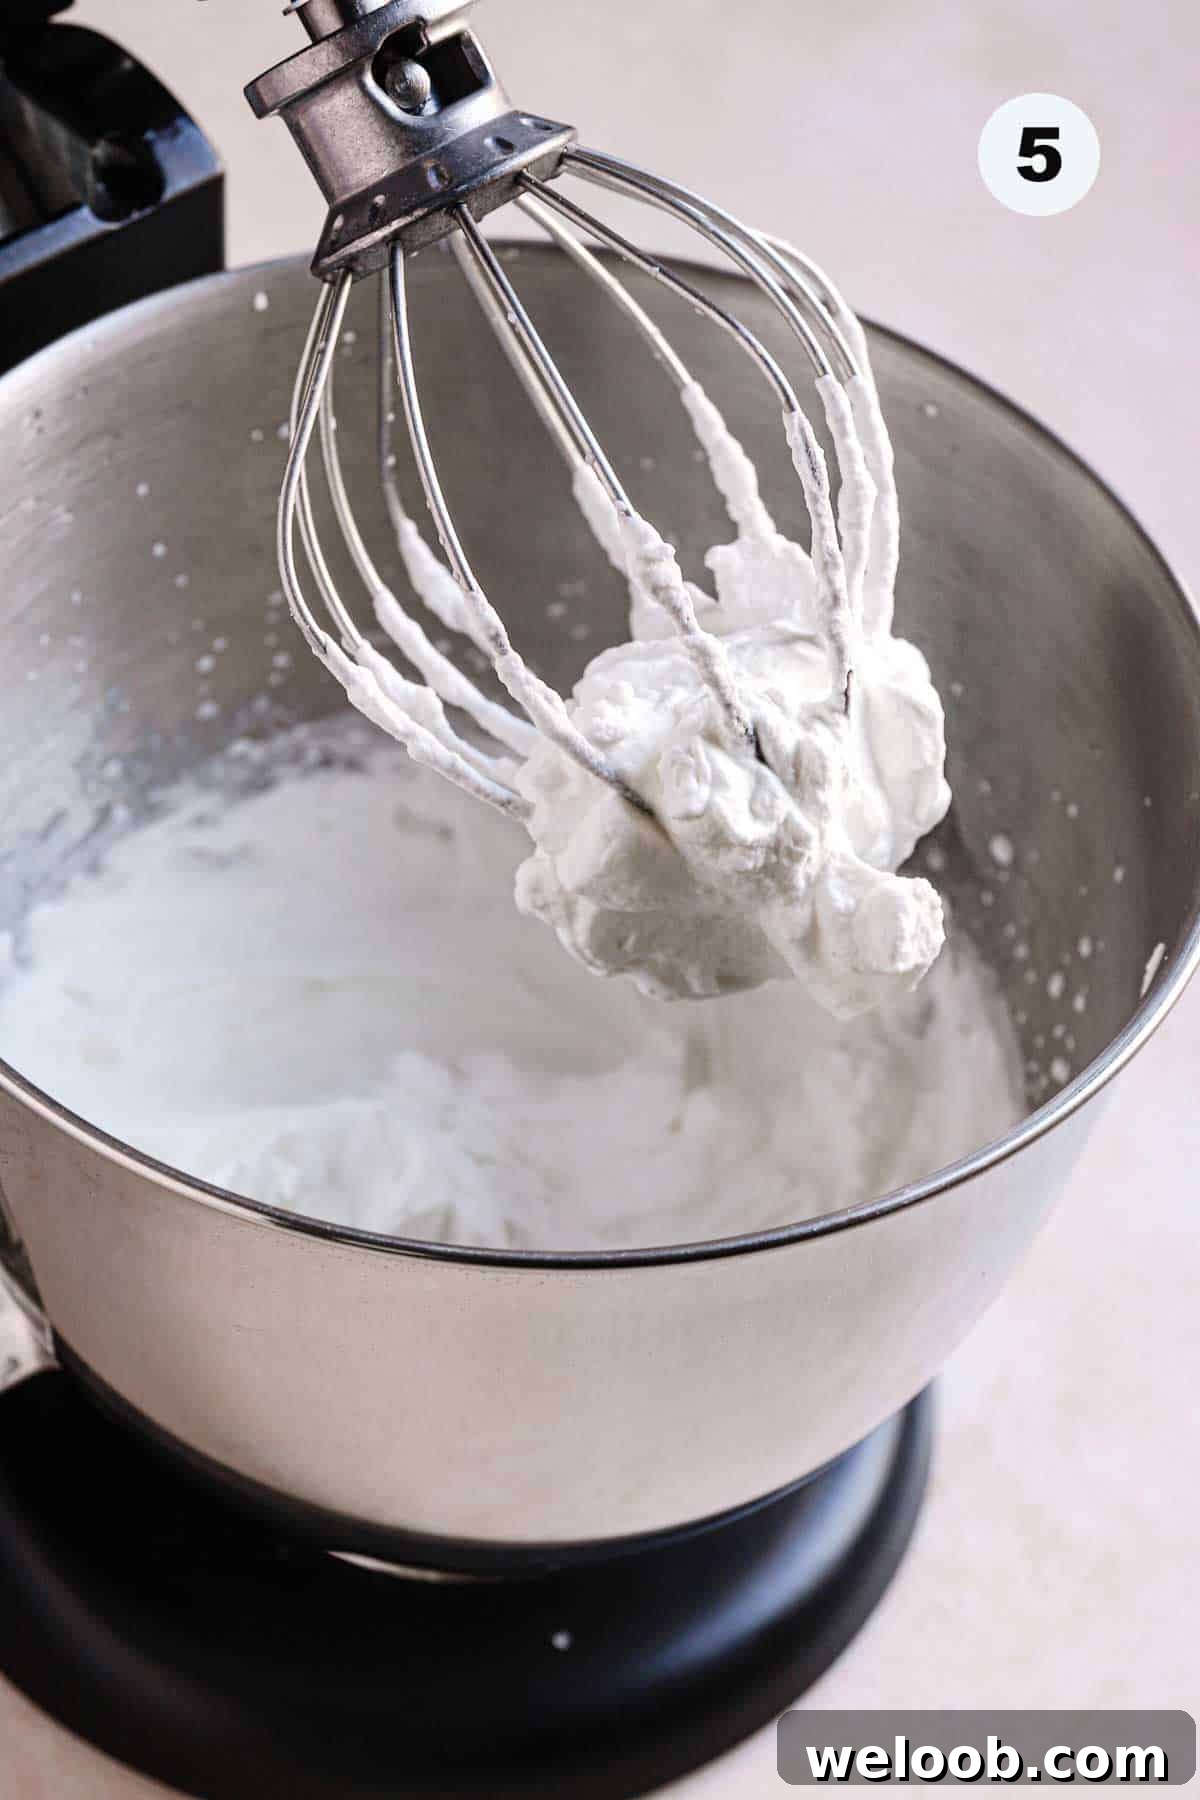
Stabilized whipped cream using gelatin or agar-agar
- Sprinkle gelatin over the water and let it bloom for a few minutes. (Use agar-agar per package instructions if substituting.)
- Warm the bloomed gelatin briefly (8–10 seconds) and stir in 1 teaspoon of heavy cream to temper it.
- Whip the main portion of chilled cream at high speed until soft peaks form.
- Slowly drizzle in the cooled gelatin mixture while continuing to whisk until stiff peaks form. The result is very stable and holds shape well.
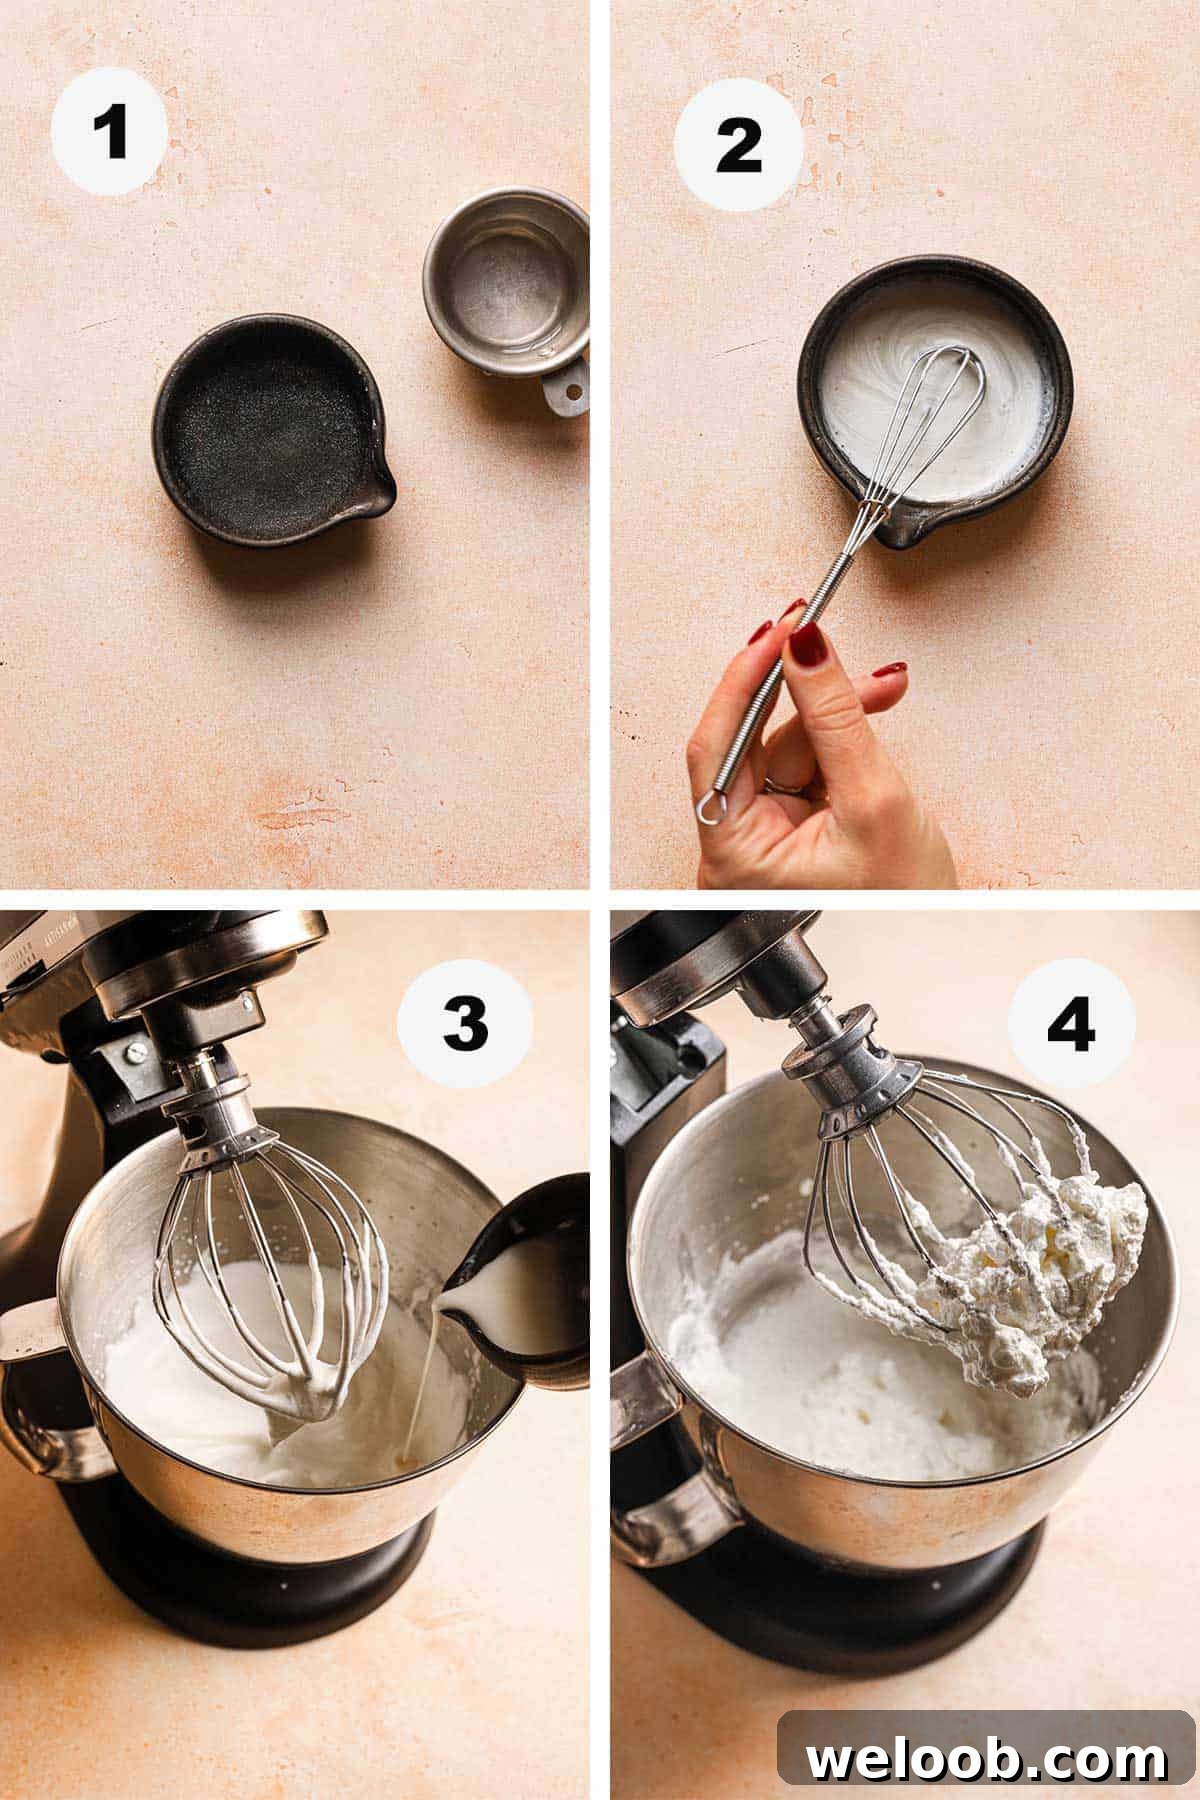
Variations
Flavored whipped cream:
Add flavor gently: dissolve 1 tsp instant coffee with 1 tsp vanilla for coffee whipped cream, fold in chocolate chips when the cream reaches stiff peaks, blend strawberry powder with the sugar, and add extracts (almond, vanilla) at the soft peak stage. Fresh fruit or delicate solids should be folded in at the end.
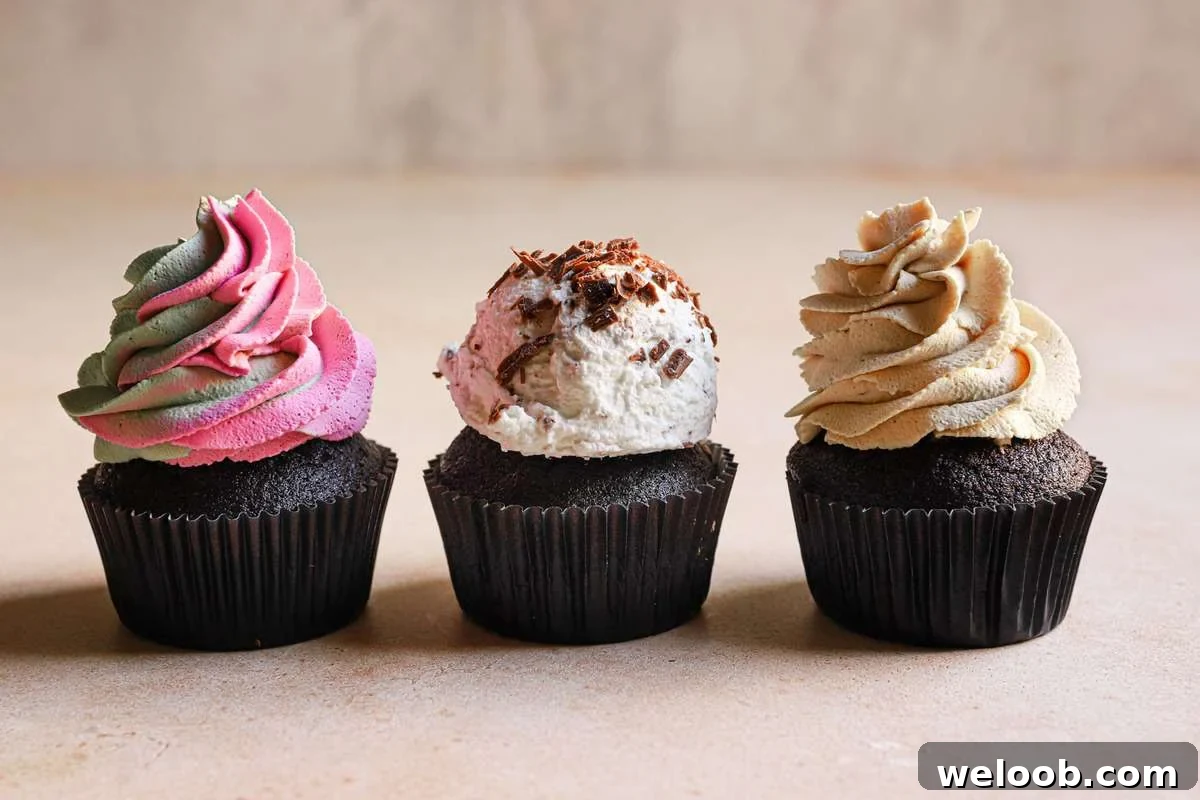
For colored whipped cream, add gel or paste food coloring when the cream reaches a soft peak and finish whipping to the desired firmness.
How to make ahead, store, freeze (and thaw)
Fresh: Refrigerate stabilized whipped cream as soon as possible — ideally within 30–60 minutes. Use chilled, and avoid leaving it at room temperature for long.
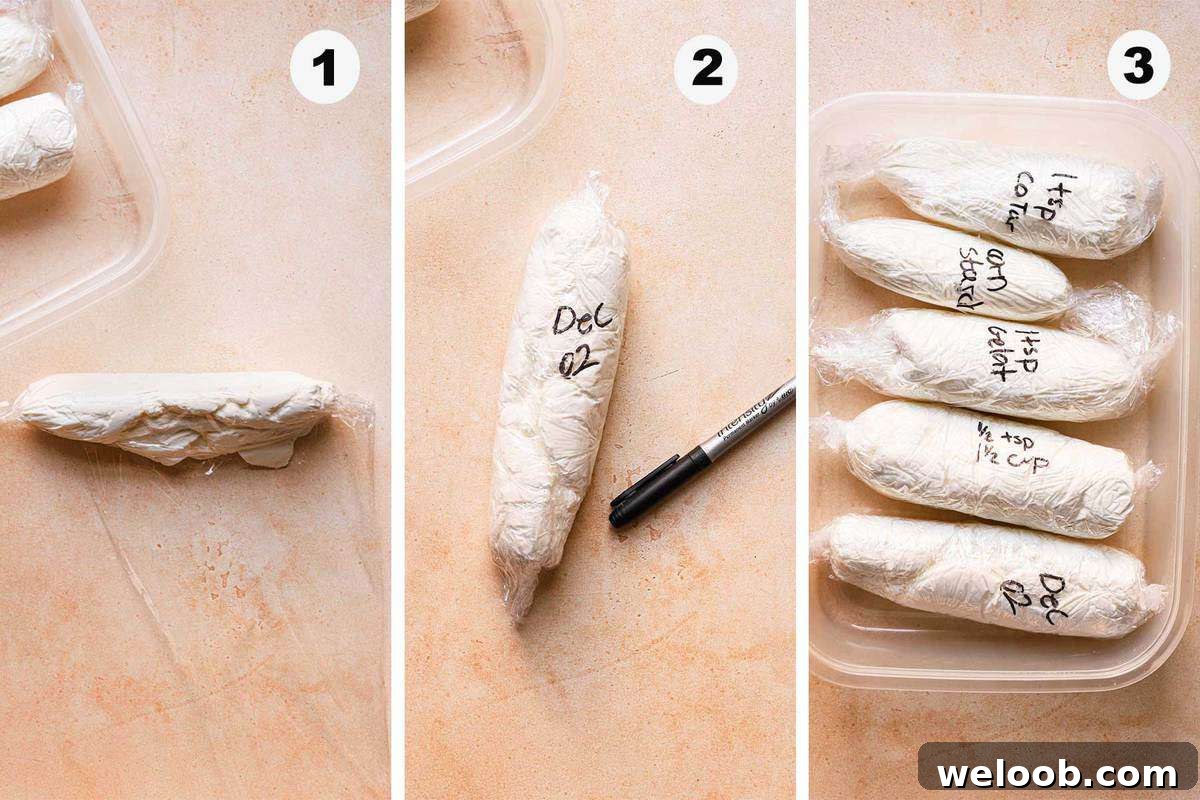
Make ahead and refrigerate: You can prepare stabilized cream up to 3 days in advance. Store in an airtight container and refrigerate. When using on baked goods, return the finished item to the fridge within three hours.
Make ahead and freeze: Pipe or frost while fresh, then freeze the finished cupcakes or cake in a sealed container. Thaw in the refrigerator for about 2–3 hours before serving. Note: freezing reduces stability by roughly half, so frozen-thawed cream is best for appearance rather than fine piping details.
How to prevent whipped cream from deflating
Three simple rules:
- Use only the amount of stabilizer the recipe recommends — too much can collapse the foam.
- Do not overmix — stop as soon as you reach stiff peaks.
- Chill quickly and keep it cool; warm temperatures will cause the fat to soften and the structure to collapse.
Troubleshooting
Not whipping: The cream or equipment may be too warm, or too much powdered milk was added. Chill everything and try again.
Stringy or lumpy texture: Warm gelatin added directly to cold cream can curdle it. Make sure gelatin is cooled slightly and tempered before adding.
Curdled or overwhipped: If the cream looks curdled but has no liquid, gently fold in up to 50% more unwhipped chilled cream. If liquid (butter) separates, you’ve gone too far and created butter.
Melting: If the cream starts to melt, refrigerate immediately; prolonged exposure to warmth will soften the fat and collapse the structure.
Expert tips
- Chill your bowl and whisk: Cold equipment helps the fat stay firm while you whip.
- Less is more: Don’t overdo stabilizers or flavorings. Use one method at a time for predictable results.
- Decorate promptly: For best results, pipe or frost soon after whipping.
- Use an electric mixer: A stand mixer with a whisk attachment makes it easier to incorporate air quickly and evenly.
- Add flavoring carefully: Add extracts at soft peak and powders with the sugar; fold in solids like fruit at the end.
- Refrigerate quickly: Keep the cream cold to maintain firmness.
- Non-dairy whipped toppings often already contain stabilizers — check the label and add cornstarch or agar if needed.
- Avoid covering frosted cream with fondant; the weight and moisture will cause the cream to weep or melt.
Suggested recipes for stabilized whipped cream
Use stabilized whipped cream on cream puffs, tarts, pavlovas, and layer cakes. It’s ideal for cupcake frosting, filled pastries, and any dessert that benefits from a stable, airy topping.
If you try these methods, please rate and comment on the original recipe source and tag the author on social media if you share photos.

Stabilized whipped cream — 5 ways
Prep Time: 3 mins
Yield: 2 cups
Author: Dikla Levy Frances
Equipment
- Large mixing bowl (chilled)
- Stand mixer with whisk attachment, or hand mixer
Ingredients
For all methods:
- 1 cup heavy whipping cream (240 ml / 8 oz), chilled
- 2 tbsp powdered sugar
Method 1 (choose one stabilizer):
- 1/4 tsp cream of tartar
- 1 tbsp dried milk powder OR 1/4 tsp xanthan gum OR 1 tbsp instant pudding mix
Method 2 (cornstarch):
- 1 tsp cornstarch
Method 3 (gelatin):
- 1 tsp gelatin
- 1 1/2 tsp water
- 1 tsp heavy cream for tempering gelatin
Instructions (quick methods)
- In a small bowl, mix powdered sugar with your chosen stabilizer.
- Pour chilled cream into a chilled bowl and add the sugar mixture.
- Whip on medium, increasing to high, until stiff peaks form.
Instructions (cornstarch)
- Stir cornstarch with sugar and whisk in 1/3 cup cream.
- Cook in a saucepan until thickened, cool completely, then combine with remaining cream and chill.
- Whip to stiff peaks.
Instructions (gelatin)
- Bloom gelatin in water, warm briefly, and stir in 1 tsp cream.
- Whip the remaining chilled cream to soft peaks and slowly drizzle in the gelatin mixture while whisking to stiff peaks.