
Fudgy Triple Chocolate Drop Cookies Recipe
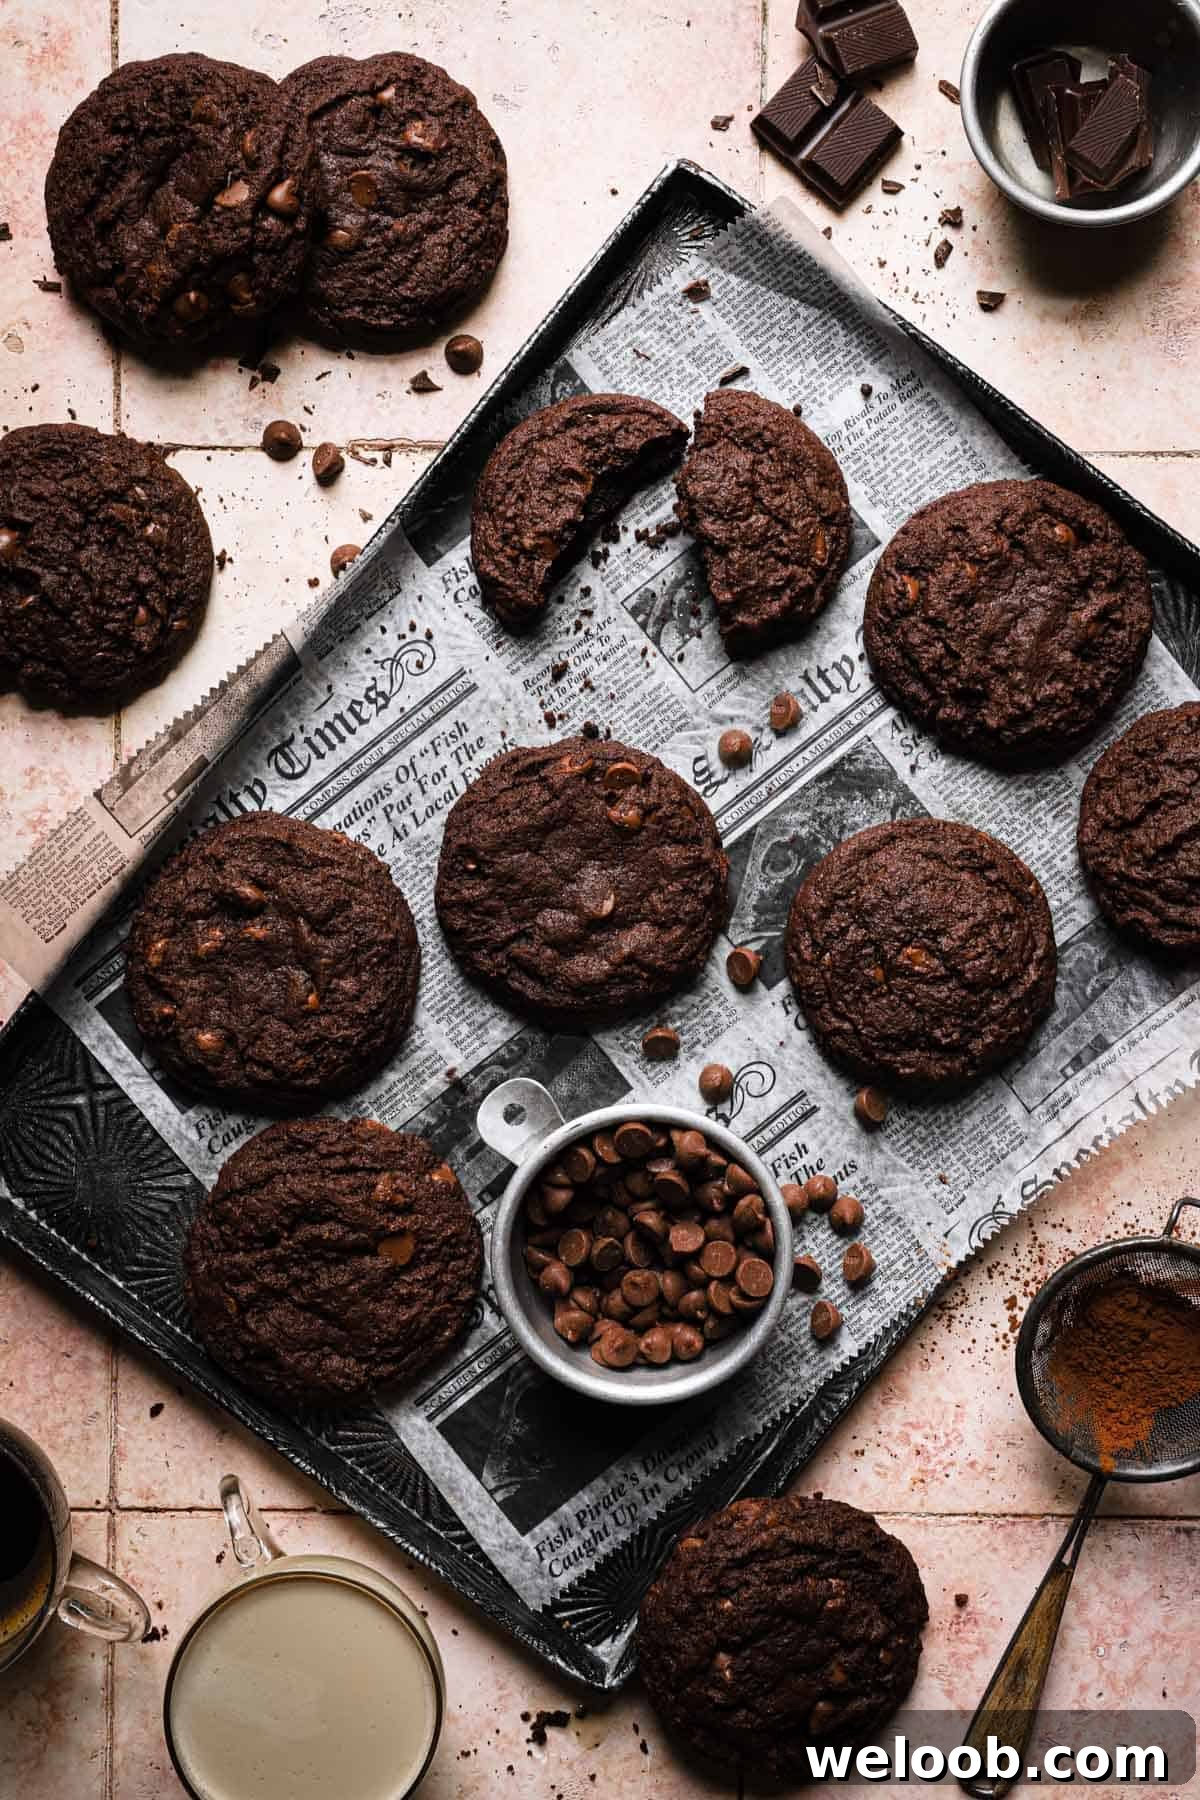
This Chocolate Drop Cookies recipe combines three kinds of chocolate to create a rich, fudgy cookie that every chocolate lover will appreciate. These cookies are tender, deeply chocolatey, and have a melt-in-your-mouth texture. They’re a perfect addition to any dessert rotation, and they pair well with other chocolate treats like brownie cakes, chocolate-covered pecans, and matcha-chocolate desserts.
One bite and you’ll understand why these are so addictive. While the flavor feels luxurious, the method is classic and straightforward: mix, scoop, and bake. This is essentially a timeless drop-cookie recipe that delivers comfort and chocolate intensity in every bite.
This recipe is adapted from the Bigger Bolder Baking cookbook.
What is a drop cookie?
A drop cookie is made by dropping rounded spoonfuls of dough directly onto a baking sheet rather than shaping or molding the dough first. The cookies bake free-form and spread slightly as they bake. This method is quick, forgiving, and perfect for rustic, soft-centered cookies.
Why these Chocolate Drop Cookies?
These triple-chocolate drop cookies are an obvious choice for anyone craving intense chocolate flavor. Beyond that, they are:
- Easy: Straightforward steps and common ingredients make this an accessible recipe for bakers of all levels.
- Versatile: Perfect for holidays, bake sales, gift boxes, or an everyday treat. They can be dressed up with sprinkles, crushed peppermint, or left simple for a classic look.
- Customizable: Use the chocolate as the main flavor or add mix-ins like coconut, peanut butter, or orange zest for a different profile.
- Make-ahead friendly: Dough can be chilled or frozen for quick baking later—ideal for last-minute cravings or unexpected guests.
Key ingredients
See the full ingredient list and exact measurements in the recipe card below. Key components that define the flavor and texture include:
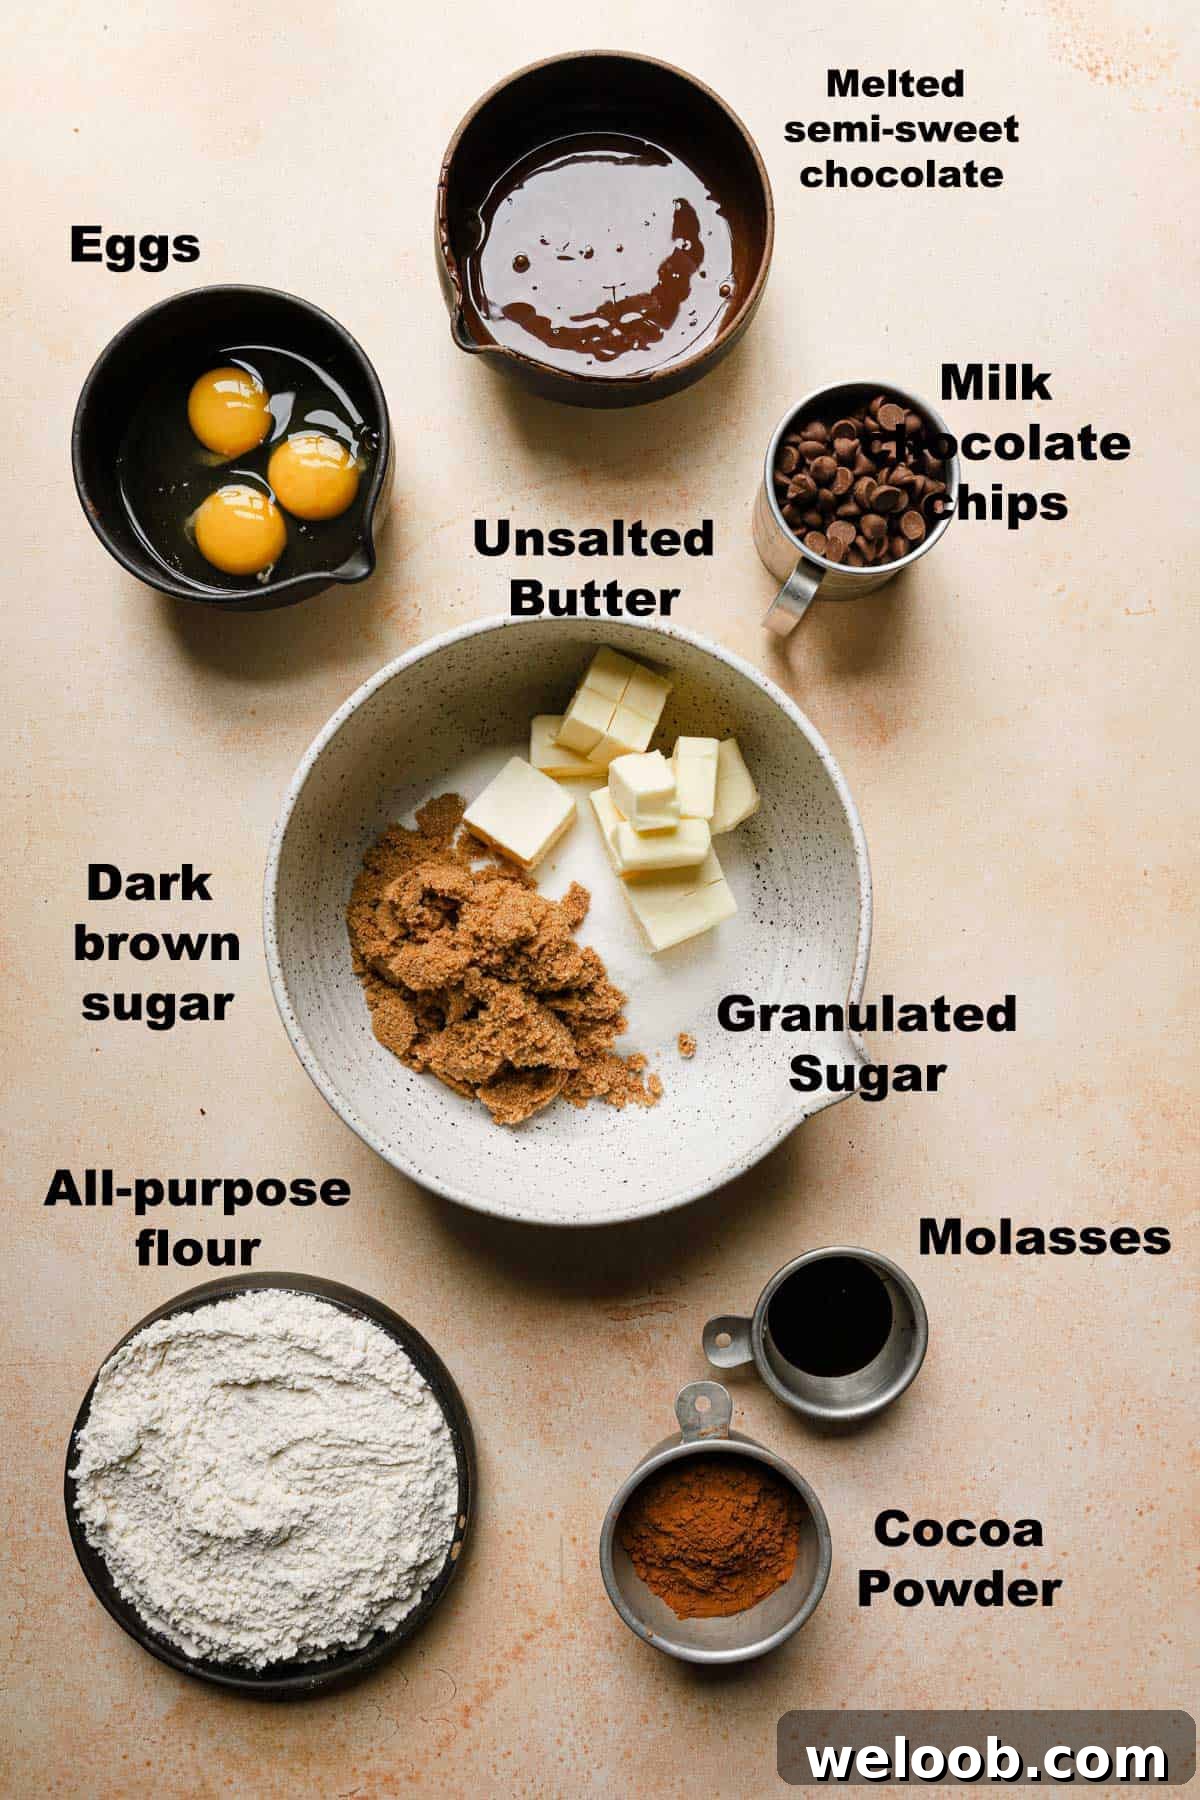
- Chopped bittersweet chocolate: Melted into the batter for depth of flavor—use a quality chocolate (not unsweetened) for best results.
- Unsalted butter, softened: Or use salted butter and omit additional salt if preferred.
- Granulated and dark brown sugar: Brown sugar adds moisture and chewiness, while granulated sugar helps with structure and crisp edges.
- Molasses: Enhances flavor and keeps these cookies especially tender and moist.
- Dry ingredients: All-purpose flour, unsweetened cocoa powder, baking soda, and salt make up the structure and chocolate backbone.
- Eggs: Use at room temperature for better emulsion and texture.
- Milk chocolate chips: Provide pockets of creamy, sweet chocolate throughout the cookie.
What chocolate to use
Choose chocolate you enjoy eating. Bittersweet chocolate yields a deeper, richer result, while semisweet or milk chocolate will produce a sweeter cookie. Keep in mind that the cocoa powder is unsweetened, so darker chocolate will increase chocolate intensity and slight bitterness.
Substitutions
This recipe relies on everyday pantry ingredients. For best texture and flavor, follow the ingredient list closely. If necessary you can substitute 1:1 gluten-free flour for a gluten-free version, or use dairy-free butter and chocolate for a vegan-friendly option.
How to make Chocolate Drop Cookies
Bring all ingredients to room temperature before beginning—this helps with proper mixing and a consistent texture.
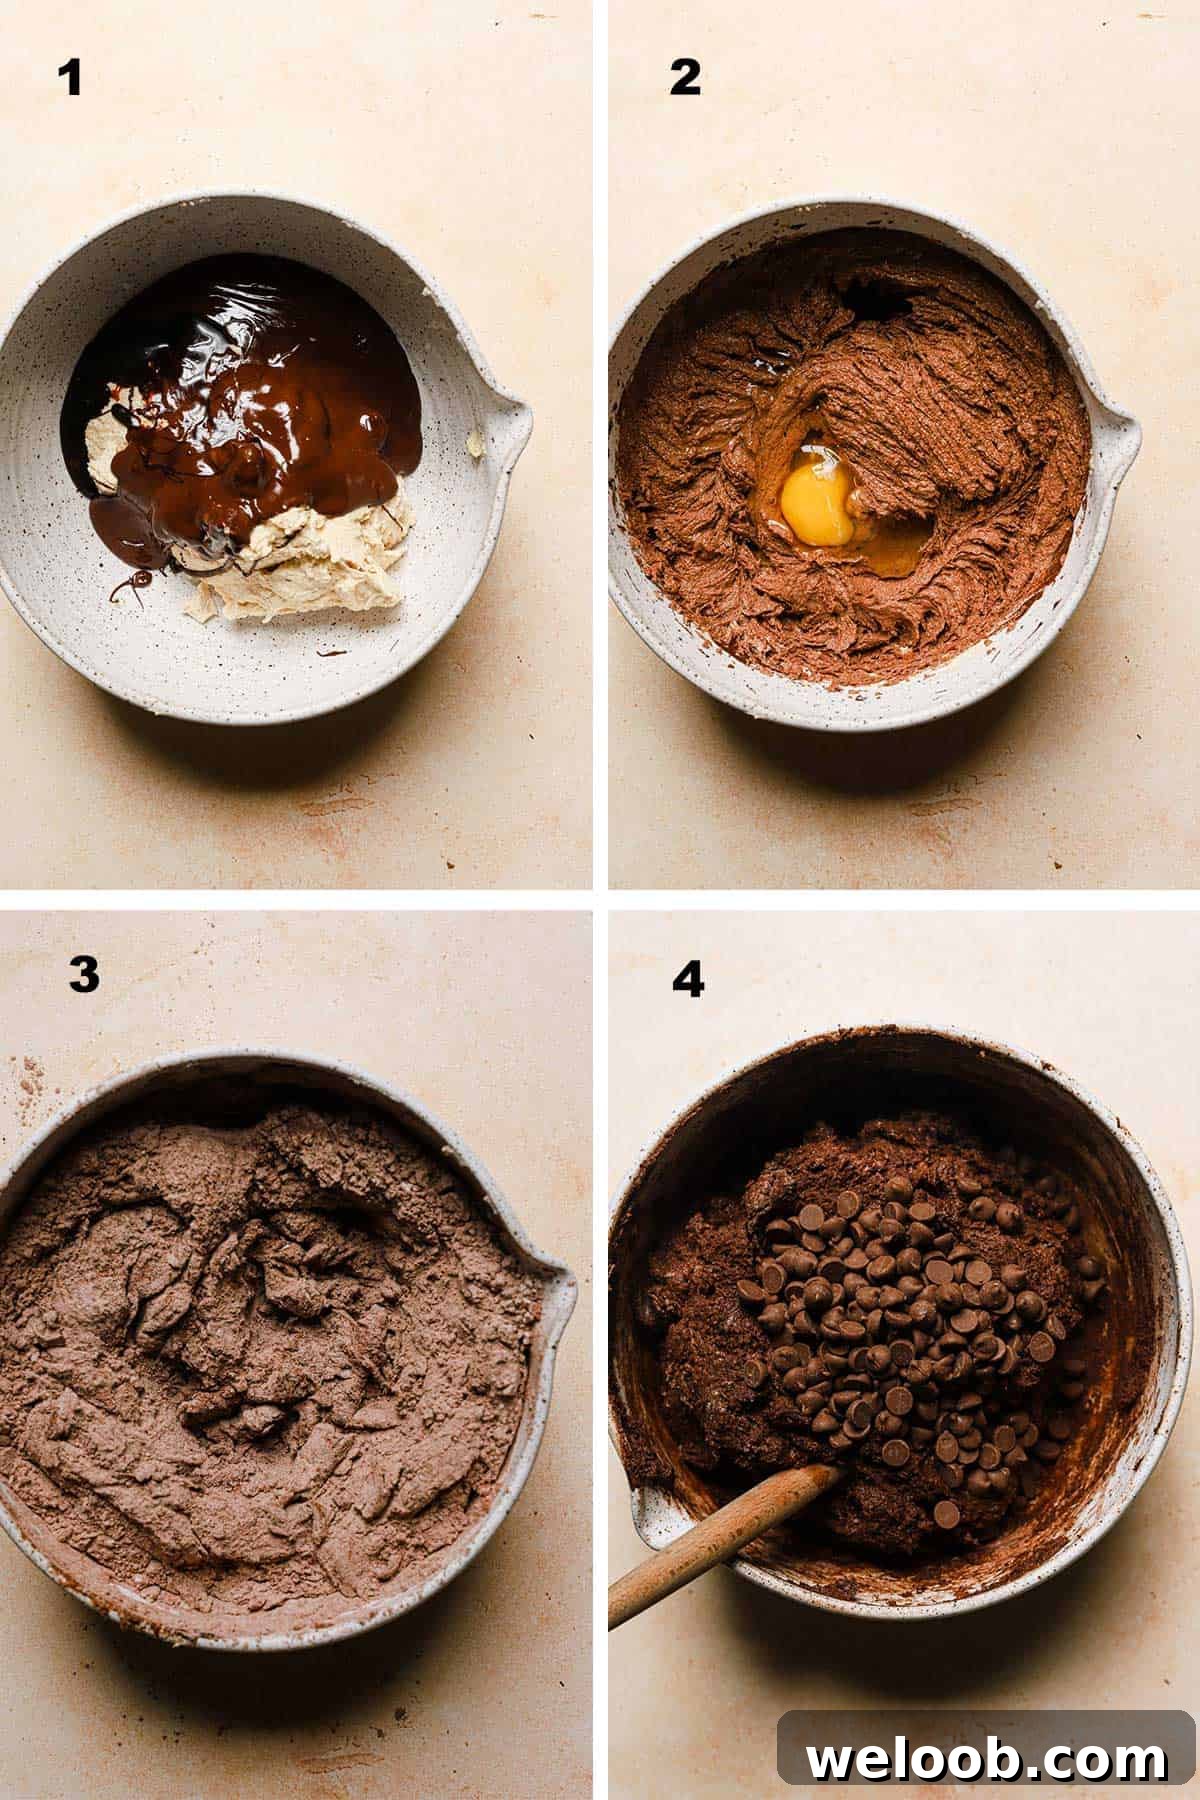
- Cream the butter and both sugars in a stand mixer or with a hand mixer until light and fluffy. Take your time here—this step incorporates air and produces tender cookies.
- Slowly drizzle in the melted bittersweet chocolate and molasses while mixing on low. Mix until combined, then add the eggs one at a time, mixing thoroughly after each egg.
- In a separate bowl, whisk together the flour, cocoa powder, baking soda, and salt. Add the dry ingredients to the wet mixture and mix until just combined.
- Fold in the milk chocolate chips by hand to distribute them evenly without overmixing.
- Use a small or medium cookie scoop to drop dough rounds onto a parchment-lined baking sheet, leaving about 2 inches between cookies. Bake until the surface loses its shine and looks matte—typically 8–10 minutes at 350°F (see recipe card).
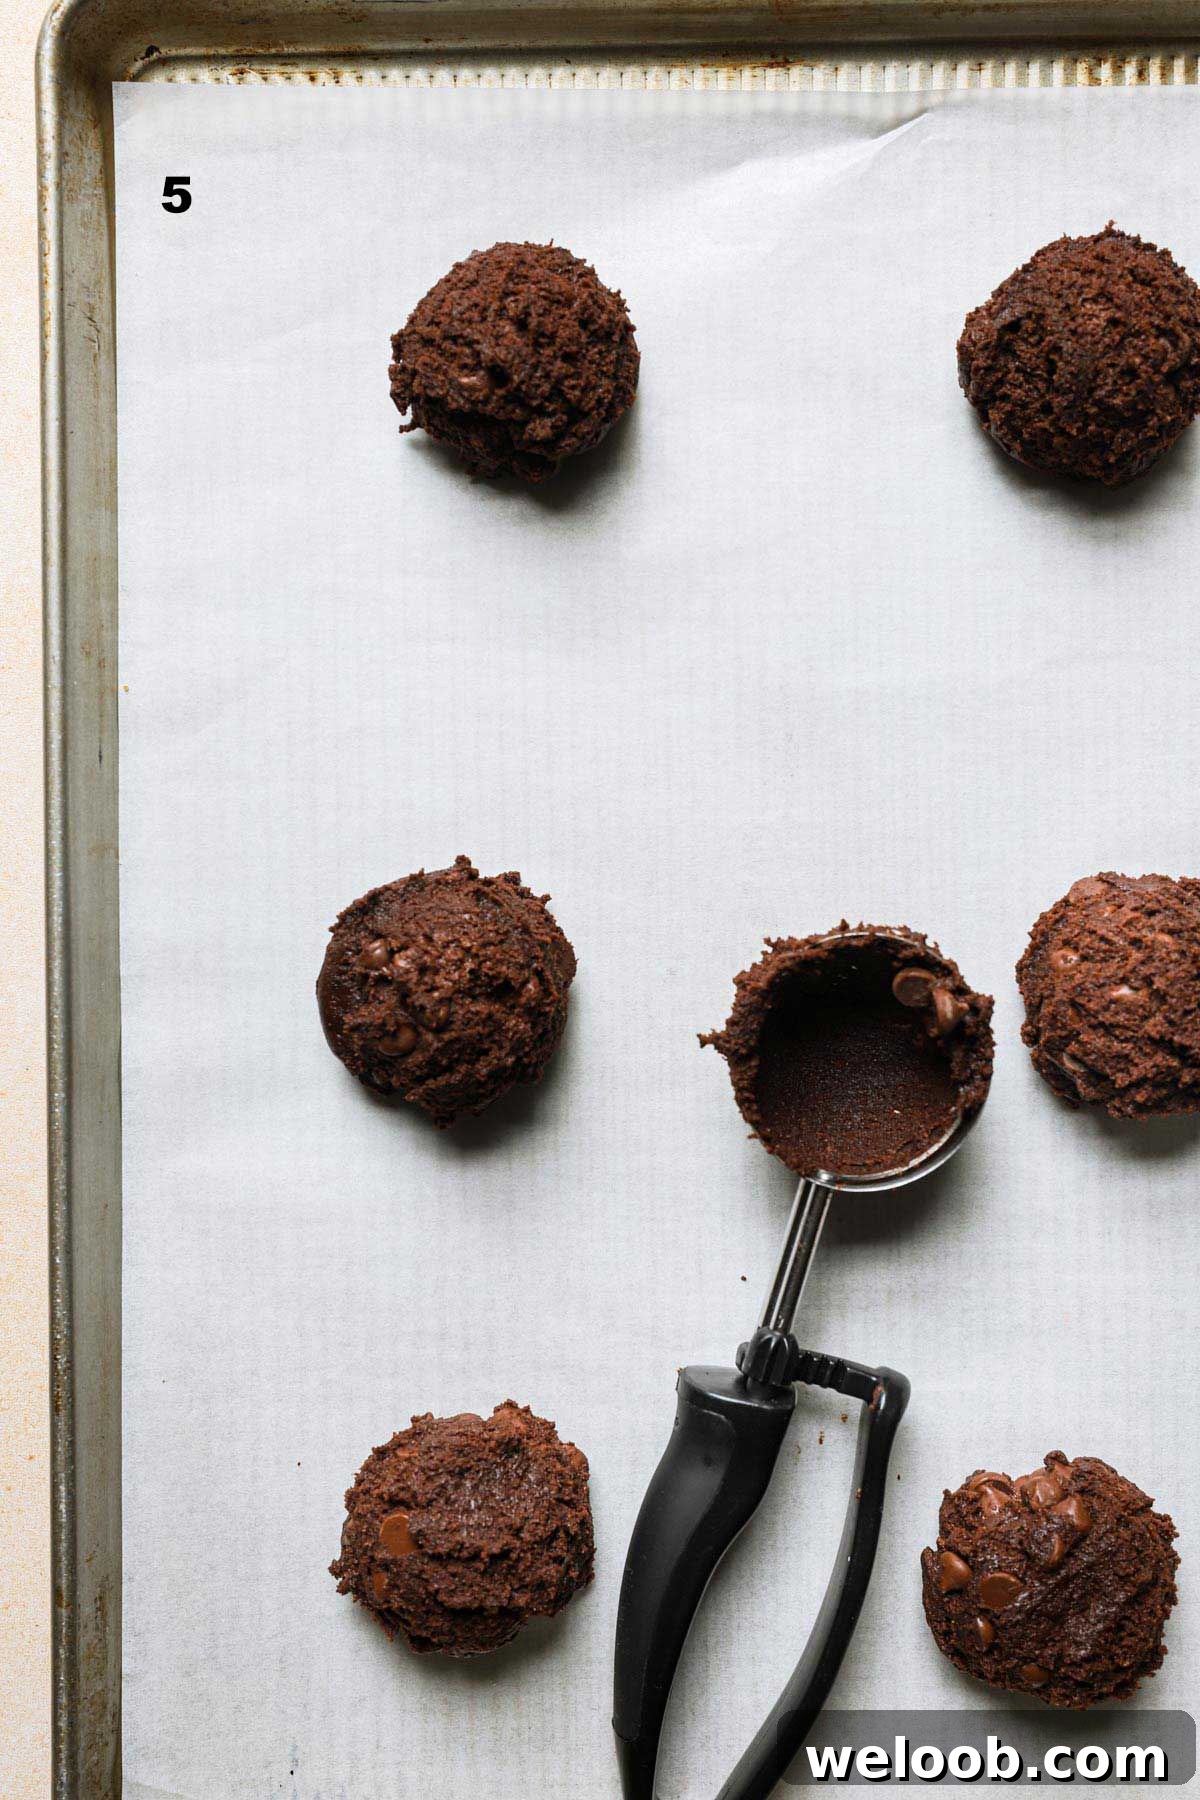
How to know the cookies are done
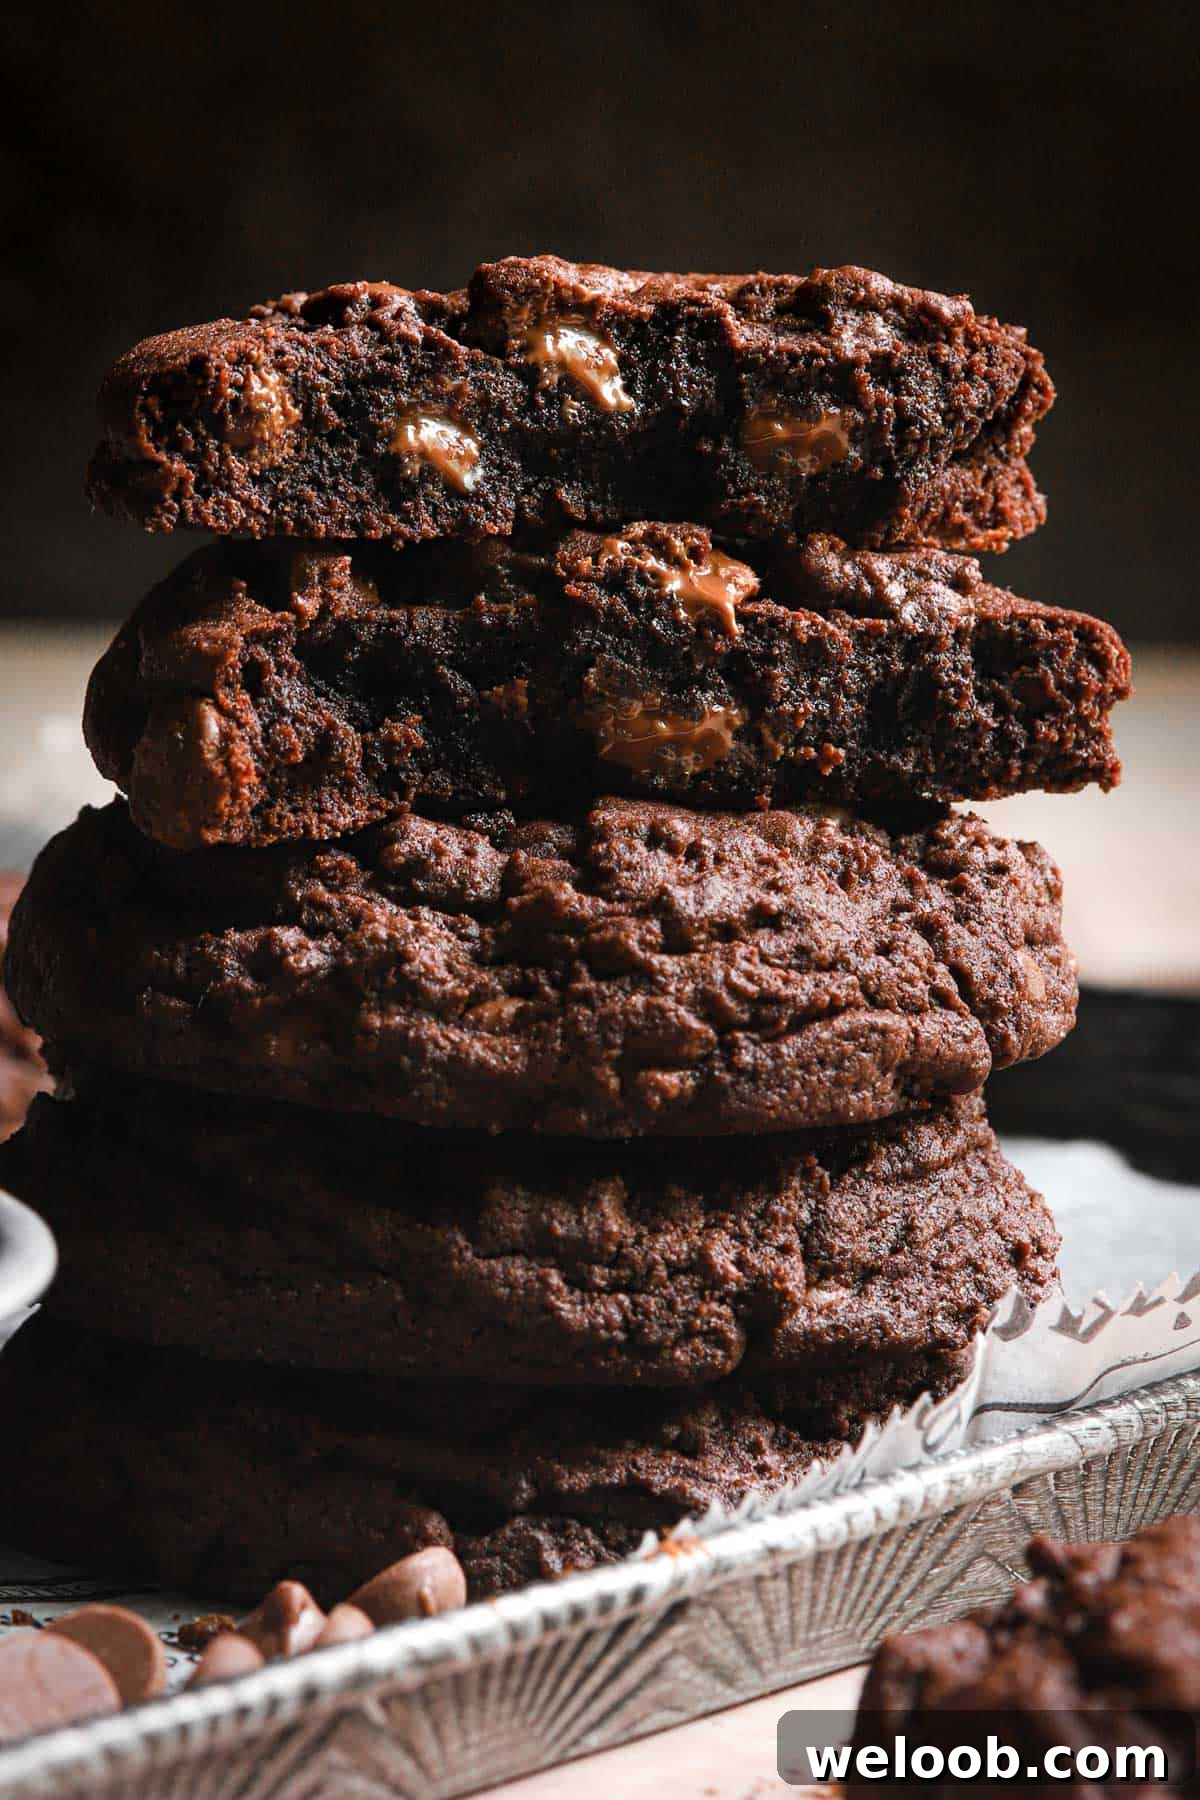
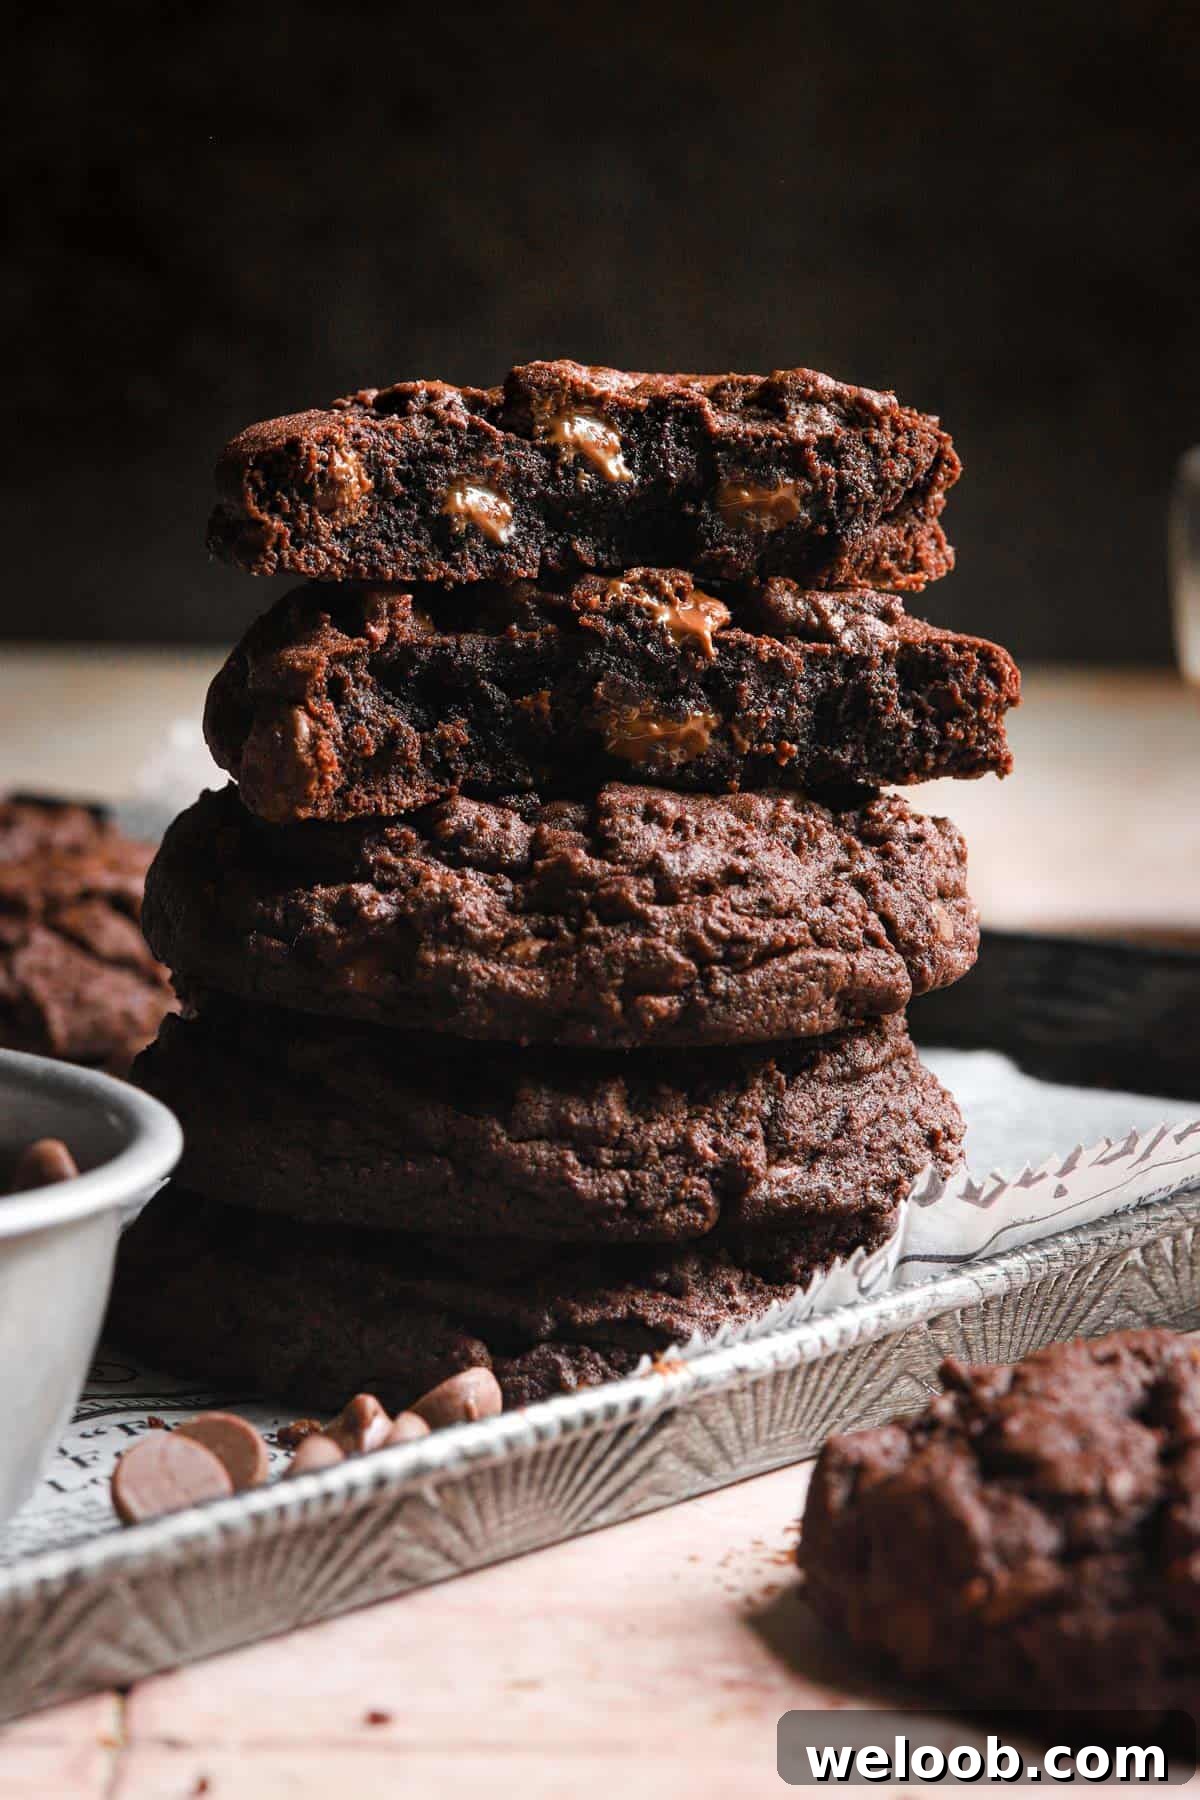
Cookies are finished when their shiny surface turns matte and the tops no longer look wet. They will be very soft straight from the oven, so let them rest on the baking sheet for a few minutes before transferring to a cooling rack to finish setting. This ensures a tender, fudgy center with slightly crisp edges.
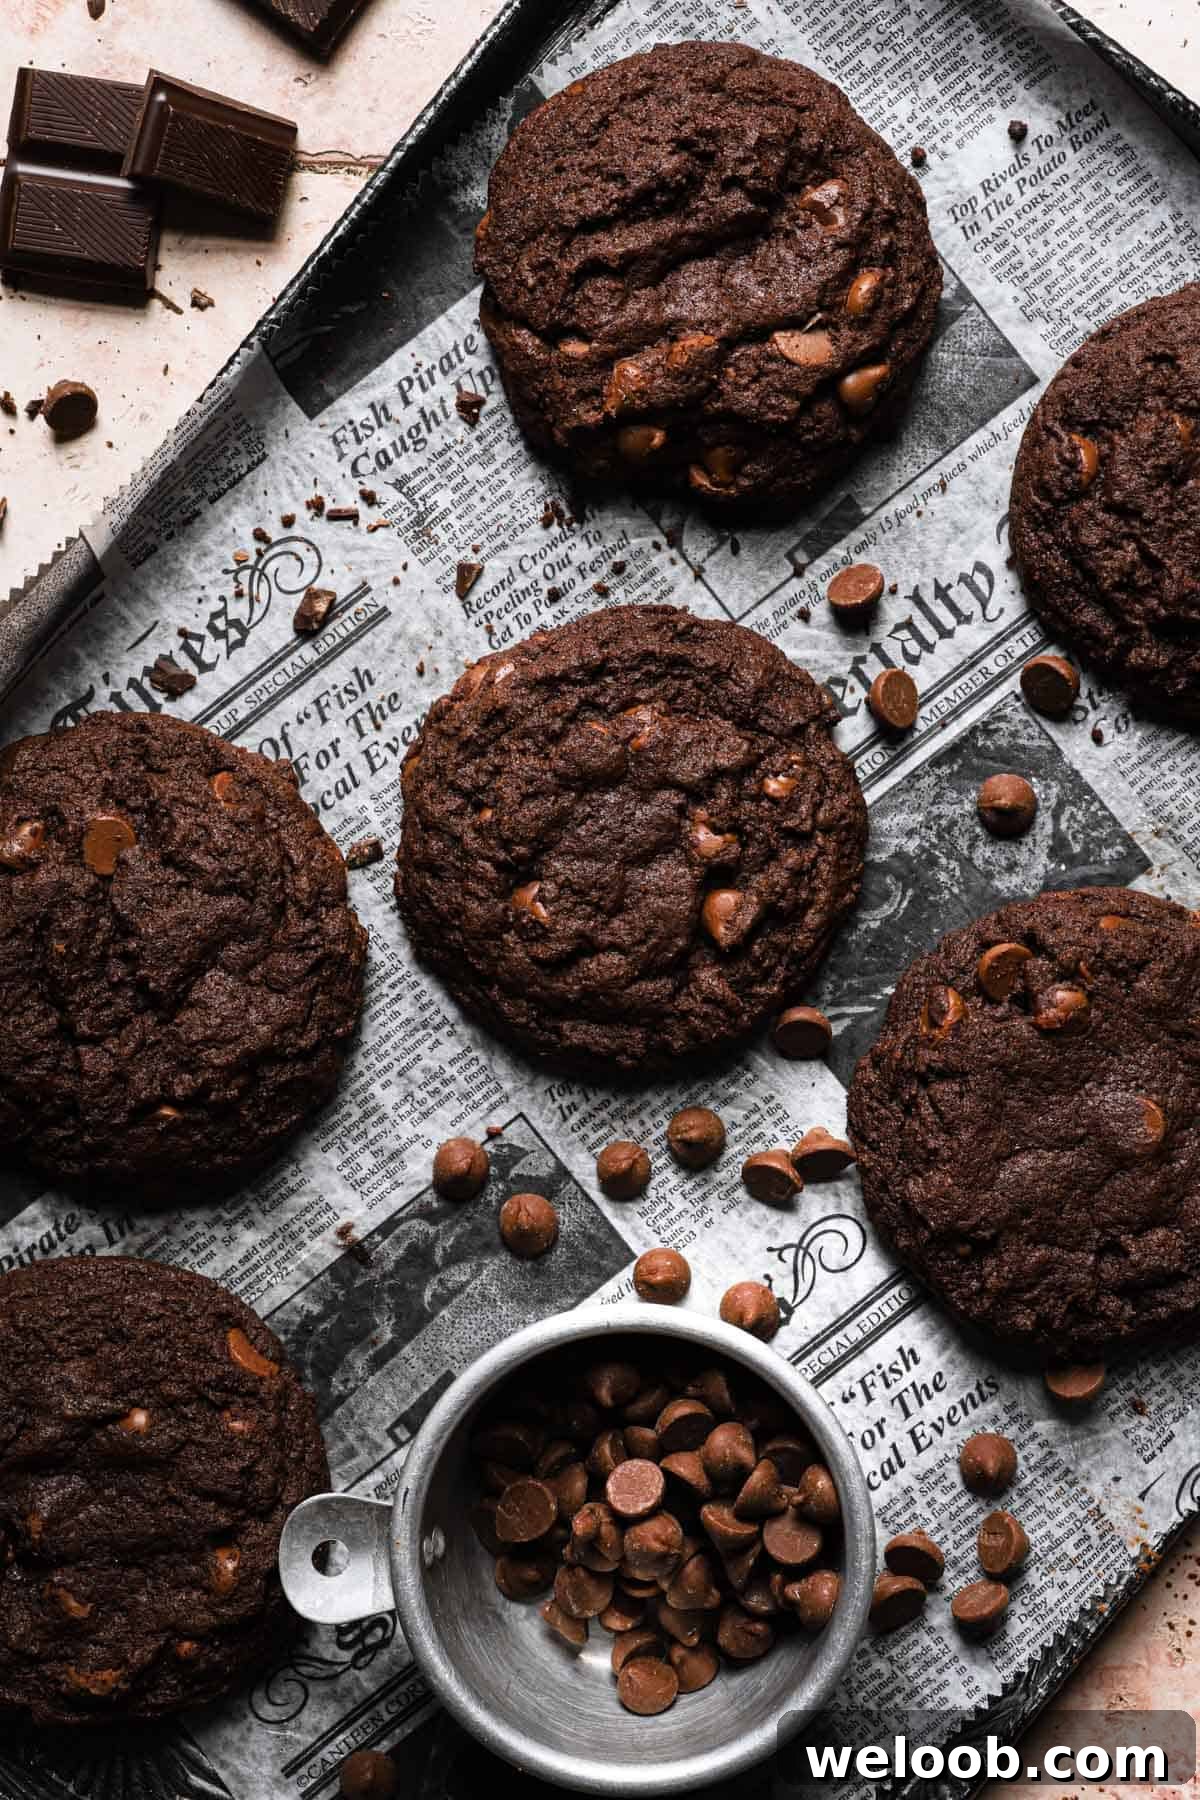
Troubleshooting and expert tips
Even experienced bakers run into issues. Read these tips to avoid common problems and to get the best results from this recipe.
- Cookies too flat: Beat the butter and sugar long enough to incorporate air. If dough is too warm, chill it for 20–30 minutes before baking. Also check your oven temperature—if it runs cool, increase it slightly.
- Dough didn’t spread: You may have added too much flour—measure by weight for accuracy. If the dough was very cold, bring it to room temperature before baking.
- Bitter cookies: Avoid using cocoa or chocolate that’s too high in cocoa percentage (over 65%) unless you prefer more bitterness.
- Dry cookies: This usually means too much flour. Use a kitchen scale for consistent results.
- Use lighter-colored baking sheets if you want slightly more spread; dark pans bake faster and can set cookies sooner.
- Fold in flour with a rubber spatula to avoid overworking the dough, which can make cookies tough.
Chilling vs. no chilling
Chilling is not required for this dough, but if your kitchen is very warm or the dough is too soft to scoop, chill for 30–45 minutes. Chilling can concentrate flavors and help control spread.
Alternatives and flavoring
- Gluten-free: Substitute 1:1 gluten-free flour.
- Dairy-free: Use plant-based butter and dairy-free chocolate.
- Mix-ins: Add crushed peanuts, shredded coconut, or white chocolate chips. Try 1/4–1/2 tsp of cinnamon, cardamom, or a pinch of cayenne for a twist.
- Decorations: Top with ganache, sprinkles, or crushed peppermint for holidays.
- Ice cream sandwiches: Sandwich a scoop of ice cream between two cooled cookies.
Storing and make-ahead
Store baked cookies in an airtight container at room temperature for up to 3 days. To make ahead, scoop dough, chill until firm, then freeze in a sealed bag for up to 4 weeks. When ready to bake, thaw to room temperature and bake as directed.
Did you try this recipe?
If you make these cookies, please rate and comment on the recipe so others can learn from your experience. Your feedback and questions are valuable and help improve future recipes.
Share your results on social media and tag the original author if you like.

Triple Chocolate Chip
20 mins
10 mins
36 cookies
Dikla Levy Frances
Equipment
- Stand mixer or electric hand mixer
- 2 bowls
- 2 cookie sheets
- Parchment paper
- Rubber spatula
- Cookie scoop
Ingredients
- 1 cup chopped bittersweet chocolate (170 g / 6 oz)
- 2 cups all-purpose flour (284 g / 10 oz)
- 1/2 cup unsweetened cocoa powder (57 g / 2 oz)
- 1 tsp baking soda
- 1 tsp salt
- 3/4 cup unsalted butter, softened (170 g / 6 oz)
- 3/4 cup granulated sugar (170 g / 6 oz)
- 2/3 cup dark brown sugar (115 g / 4 oz)
- 1 tbsp molasses
- 3 large eggs
- 1 1/2 cups milk chocolate chips (255 g / 9 oz)
Instructions
- Preheat oven to 350°F (175°C). Line two cookie sheets with parchment paper.
- Melt the bittersweet chocolate and let it cool for about 10 minutes.
- In a mixer fitted with the paddle or in a large bowl, beat the butter and sugars until light and fluffy.
- Reduce speed to low and slowly add the molasses and melted chocolate. Mix to combine.
- Add the eggs one at a time, mixing until fully incorporated.
- Sift together the flour, cocoa powder, baking soda, and salt. Add to the wet ingredients and mix until the dough comes together.
- Fold in the milk chocolate chips.
- Use a small or medium cookie scoop to place dough onto the prepared pans, leaving about 2 inches between each cookie.
- Bake for 8–10 minutes, remove from the oven, and let the cookies rest on the baking sheet for a few minutes before transferring to a cooling rack.
Notes
- Ensure all ingredients are at room temperature for best results.
- Bake on the middle rack and monitor time based on your pan color—dark pans may require slightly less time.