
Make Laminated Dough for Croissants and Puff Pastry
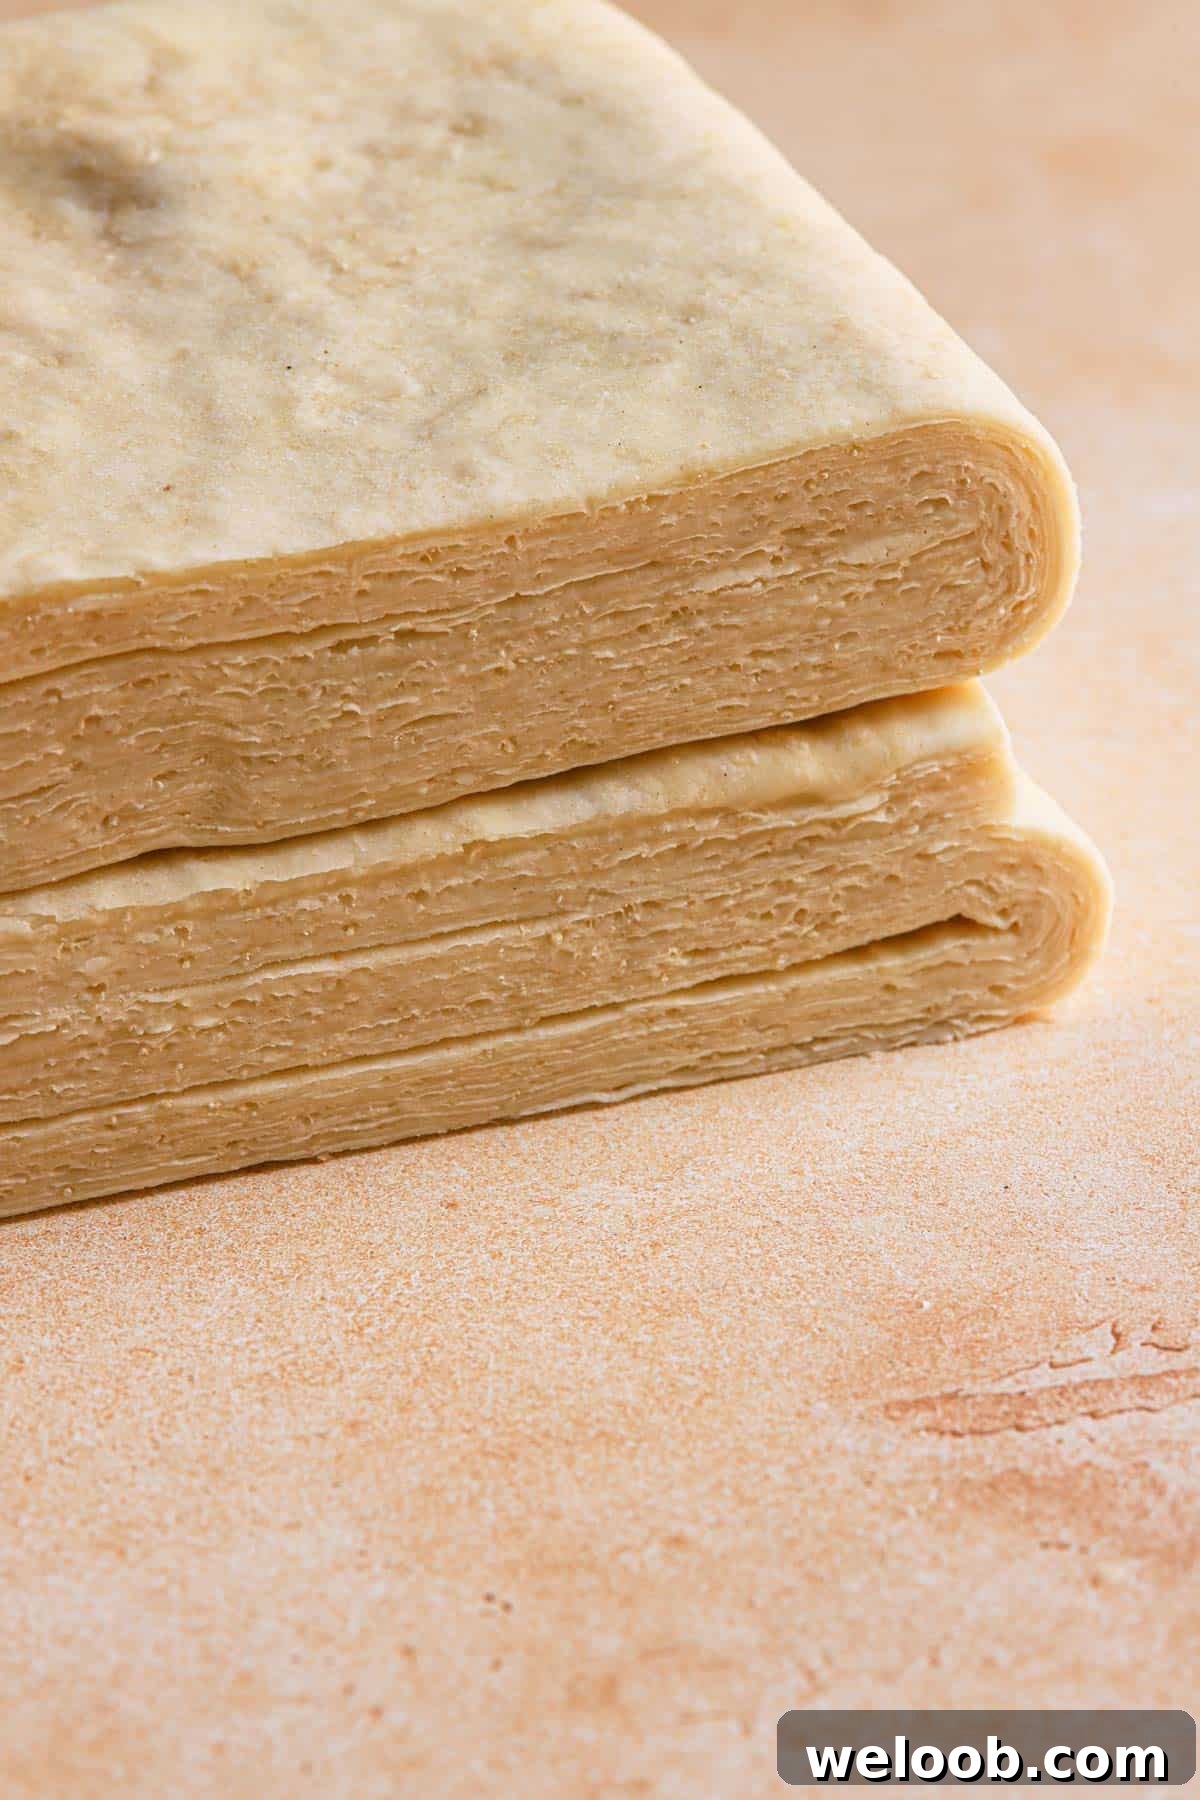
Have you ever admired the delicate, flaky layers of a croissant or the tender, buttery texture of a Danish? Those signature layers come from a technique called lamination. Below is a clear, step-by-step guide to making laminated dough at home so you can enjoy bakery-quality pastries right from your oven.
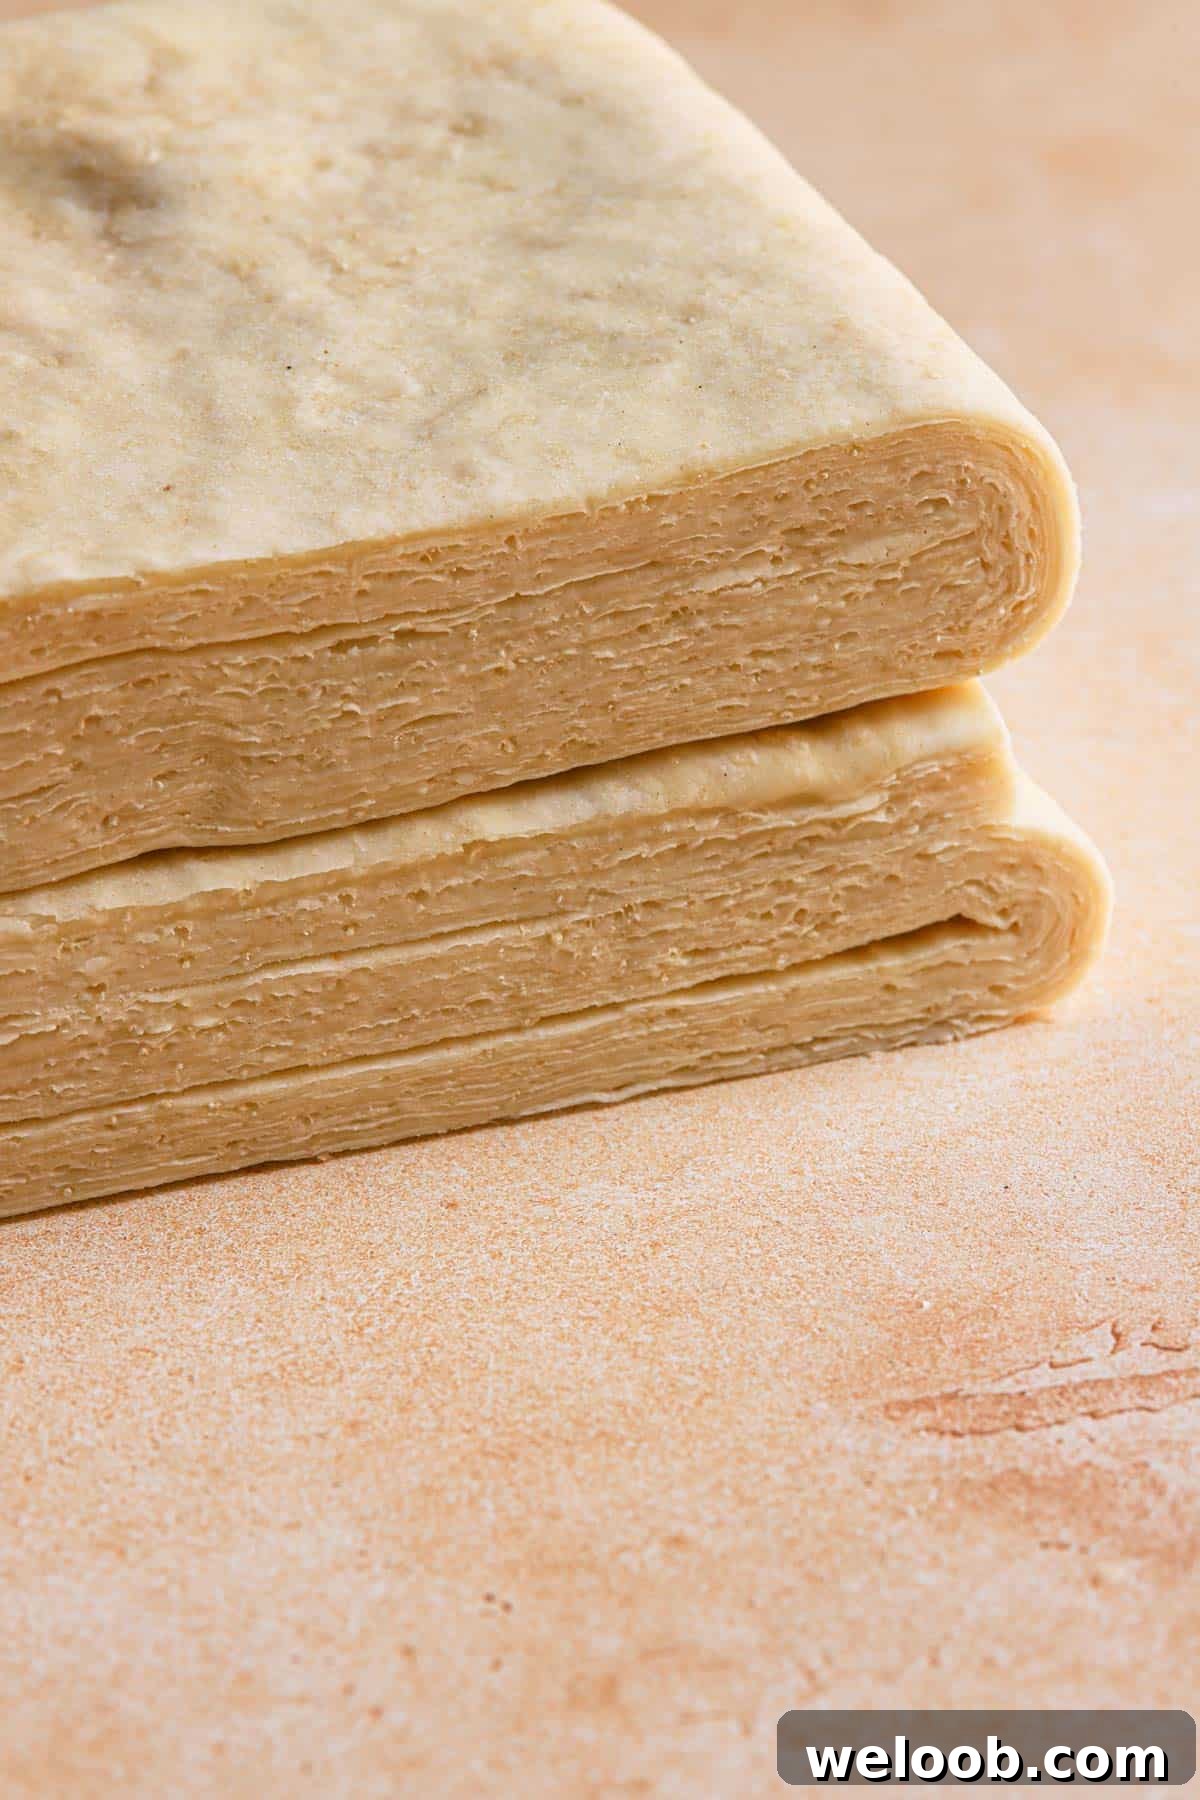
What is Laminated Dough?
Laminated dough is the technique behind croissants, puff pastry and many classic viennoiseries. The method creates alternating layers of dough and butter: the dough is rolled out, a flattened block of butter is enclosed, and then the dough is folded and rolled repeatedly. When baked, the water in the butter turns to steam and separates the dough into distinct, flaky layers. The result is a light, airy pastry with a crisp, golden crust.
Depending on the recipe and resting times, preparing laminated dough at home can take a few hours to a full day, as chilling between turns is essential.
Margarine vs. Butter
Butter is generally preferred for flavor, while margarine can be used if needed. Keep in mind margarine’s water content and consistency vary, which can affect the final texture. If you use margarine, choose a block with a similar firmness to butter and test how it laminates before making large batches.
Pastries Made with Laminated Dough
Laminated dough is the foundation for many beloved pastries, including croissants, Danish pastries, puff pastry twists, cornetti, pain aux raisins, cruffins, pain au chocolat, and more. The lamination process is what gives these pastries their signature lift, lightness, and flaky texture.


Tools You Need
You don’t need professional equipment—just a few basic tools make lamination straightforward:
- A rolling pin
- Pastry brush
- A long ruler or measuring tape
- Plastic wrap
- A sharp kitchen knife or a pizza cutter
How to Make Laminated Dough
Time needed: About 3–12 hours depending on recipe and chilling times
Read the steps and tips below before you start. Keep everything cold and work patiently for the best layers.
- Make the dough
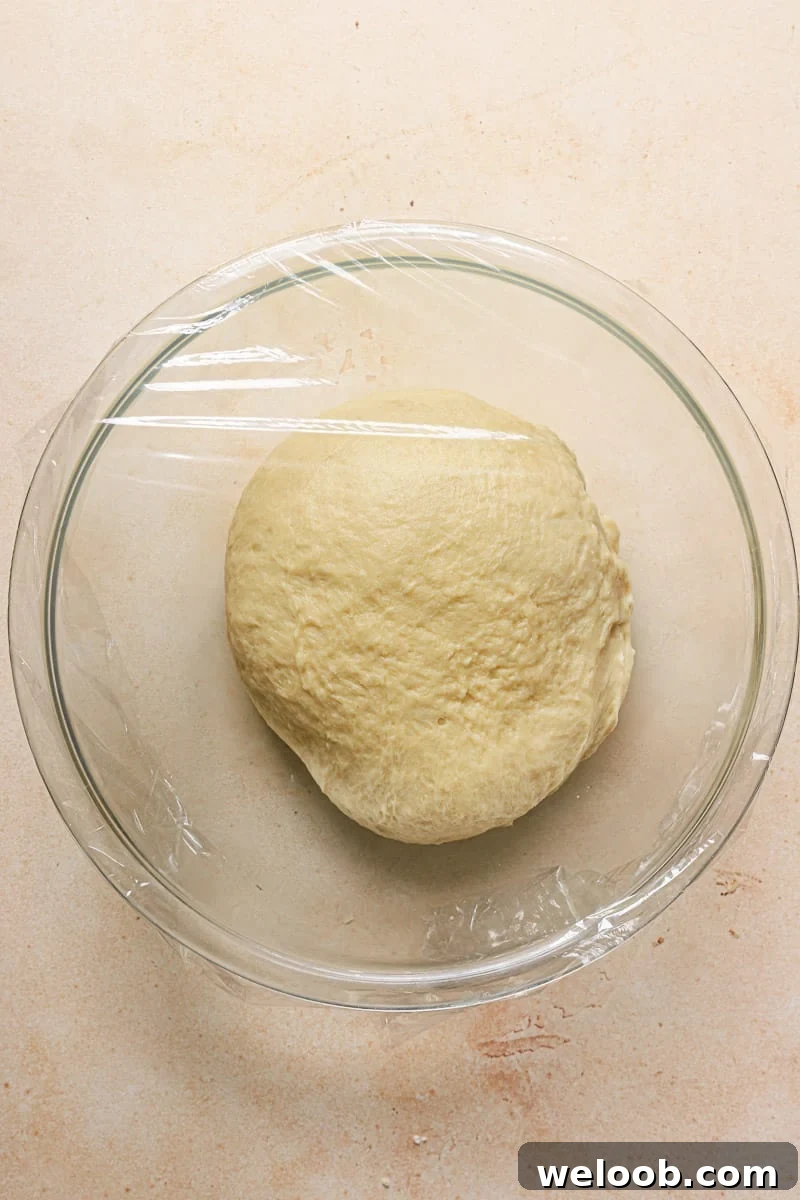
Start with a basic enriched dough, depending on your recipe: flour, water or milk, a small amount of sugar, salt, and yeast if required. Mix the dry ingredients, add the wet, and knead until smooth and elastic. Shape the dough into a ball and allow it to rest so the gluten relaxes. Chilling the dough briefly makes handling easier.

- Prepare the butter
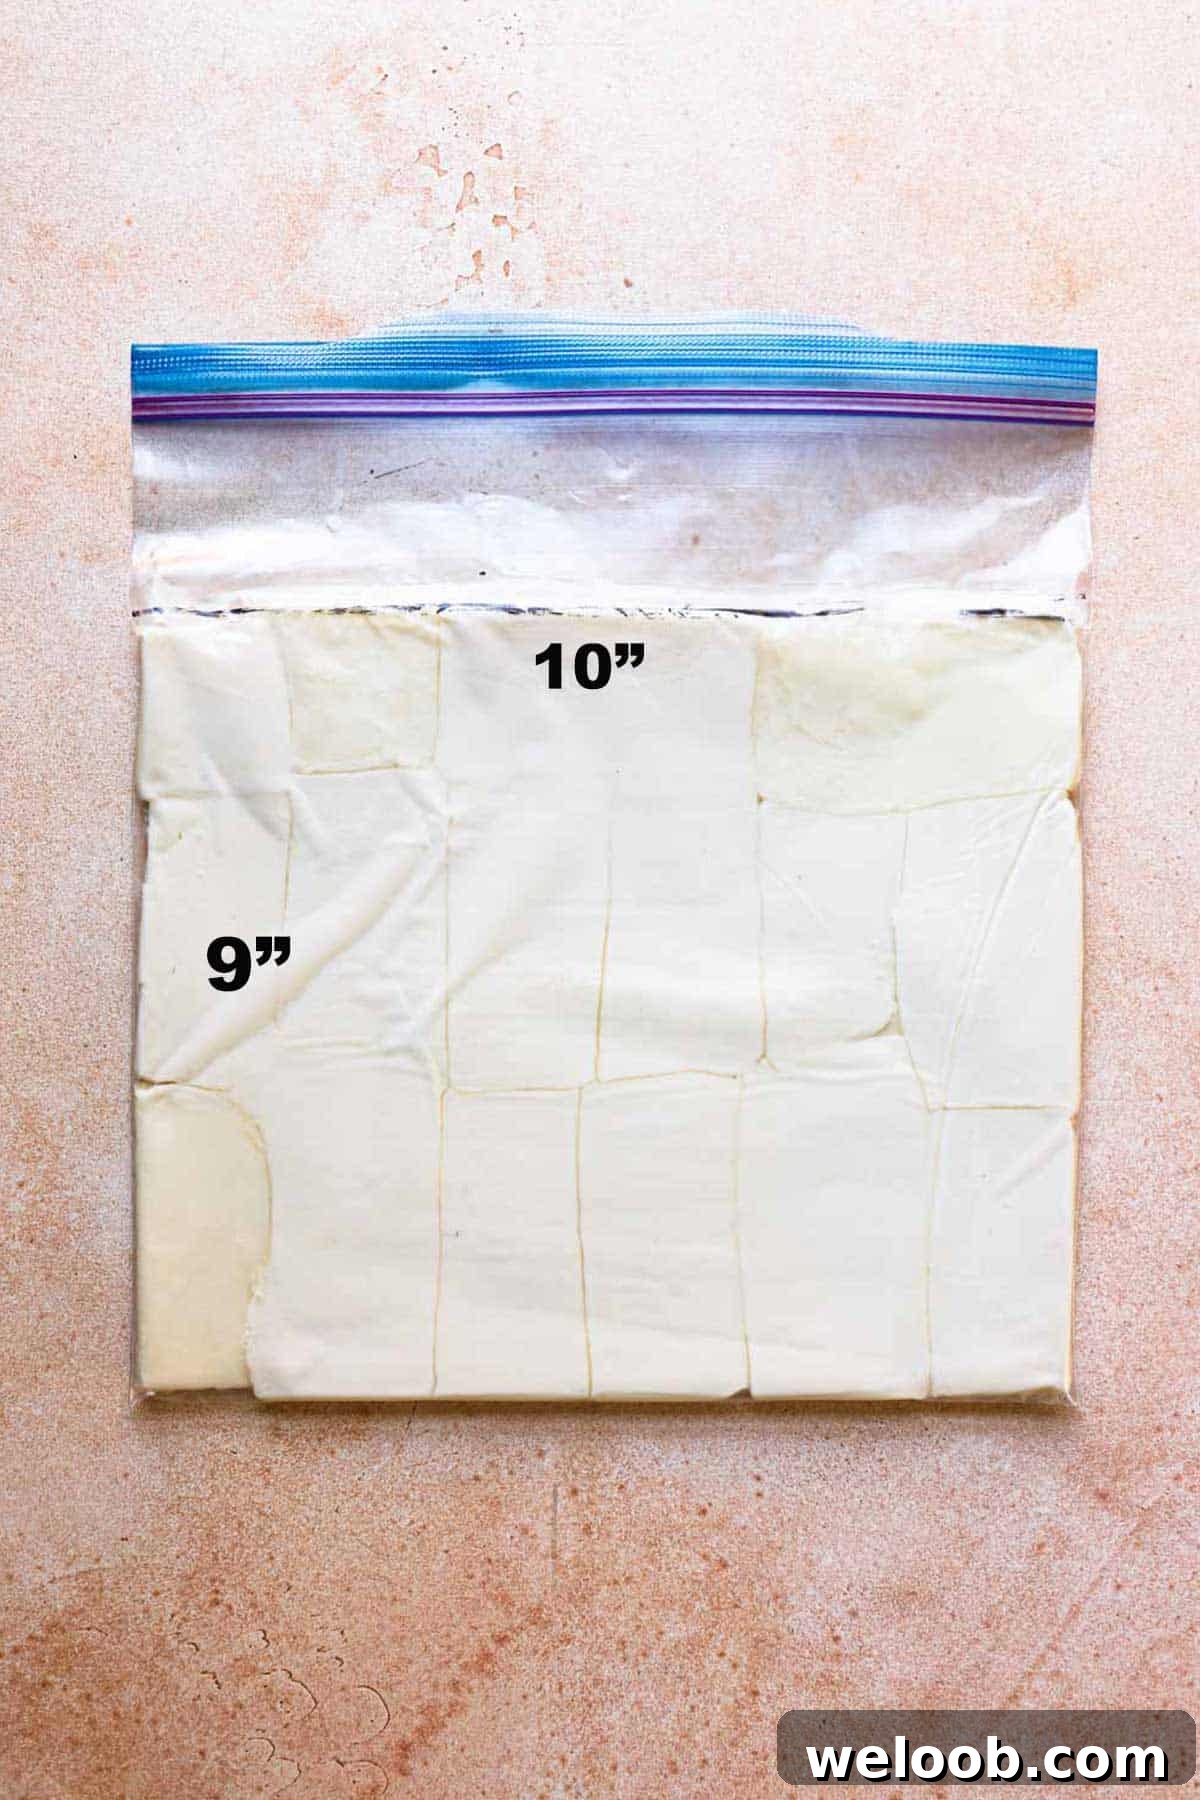
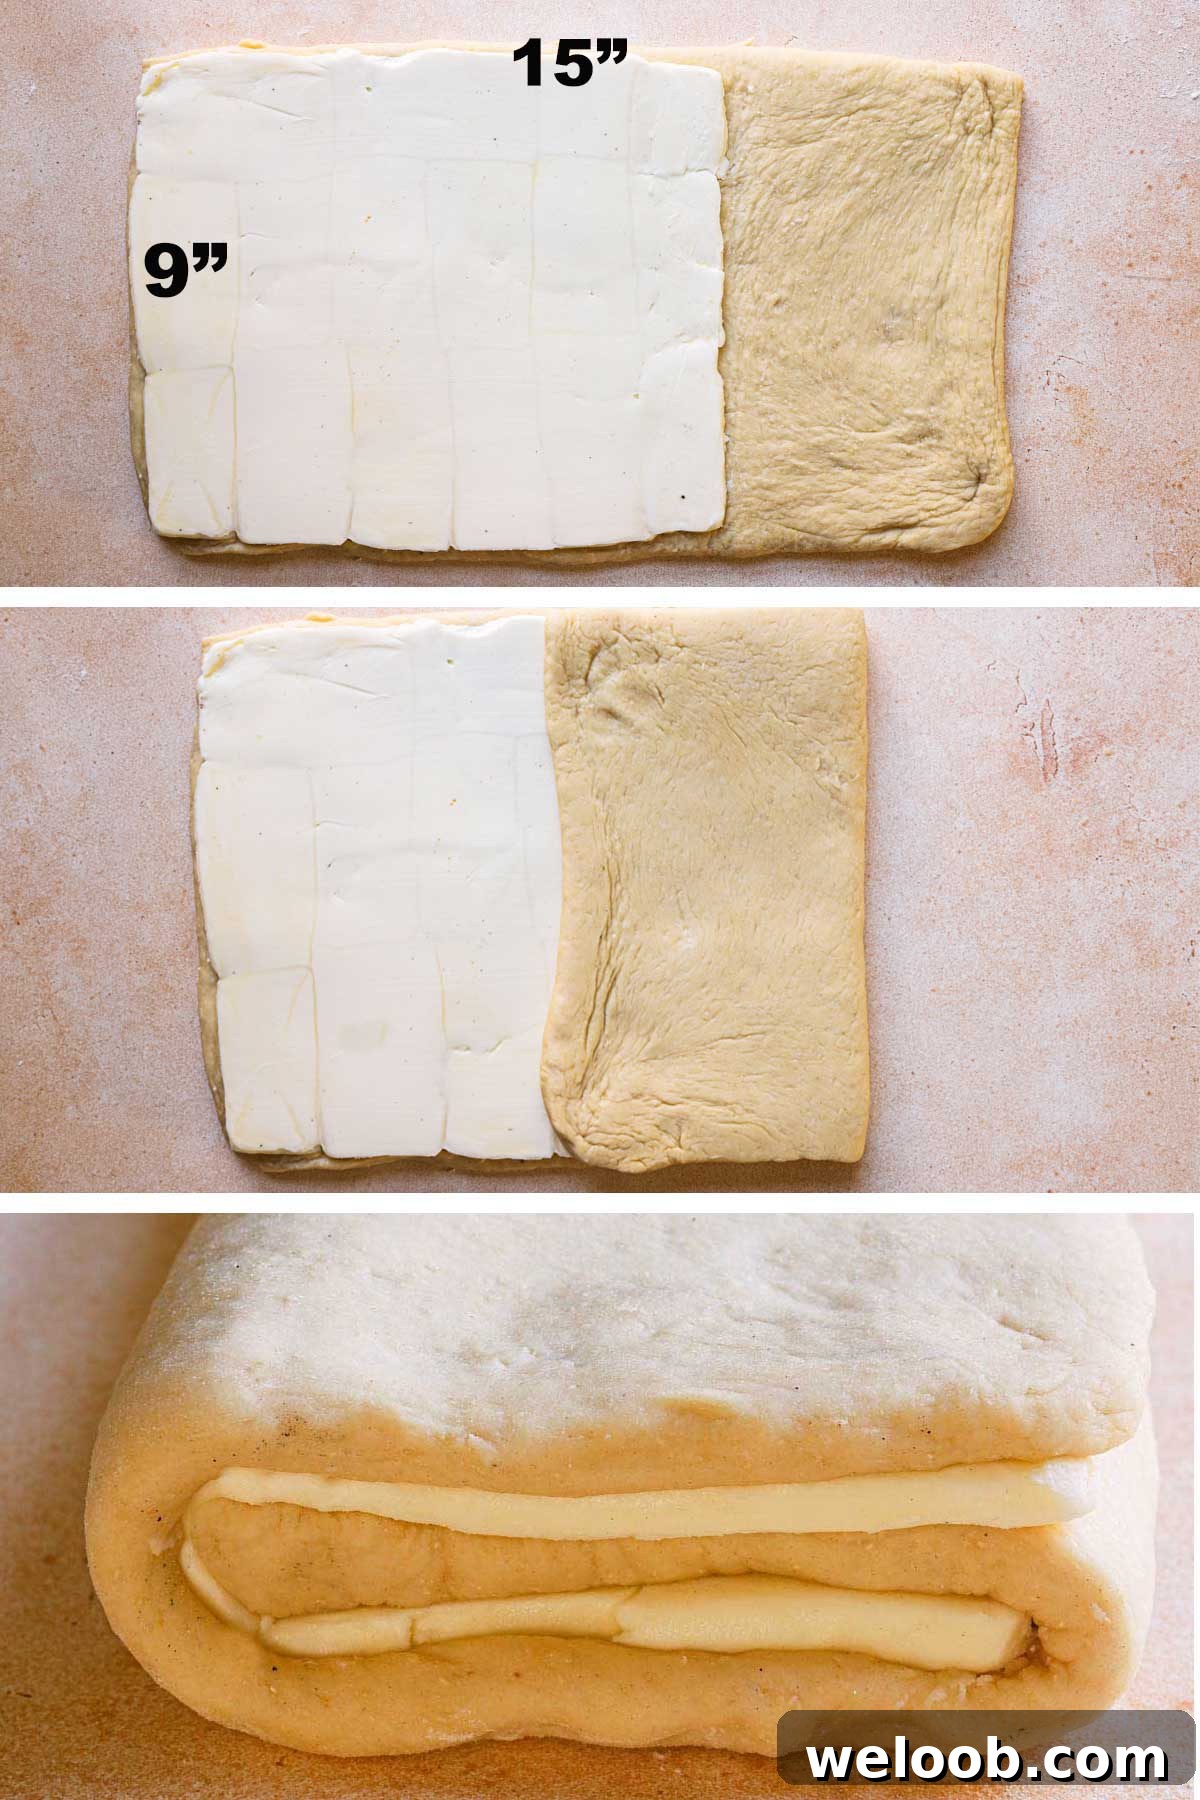
Use cold, but pliable butter—unsalted is common. Place the butter between parchment paper or in a bag and pound it with a rolling pin into a flat square or rectangle, roughly the size your recipe calls for (a common target is about 9×10 inches). The butter should be even and cohesive so it laminates evenly. Chill until ready to use, removing it from the fridge about 20 minutes before you need to work with it.
- Lock the butter
Roll the dough into a rectangle large enough to enclose the butter (about 9×15 inches is typical). Place the chilled butter on one side of the dough so the edges align without exposing dough beyond the butter. Fold the uncovered dough over the butter, then fold the remaining flap to fully encase the butter. The butter should be sealed inside the dough with smooth edges.
- First fold — the book fold (x1)
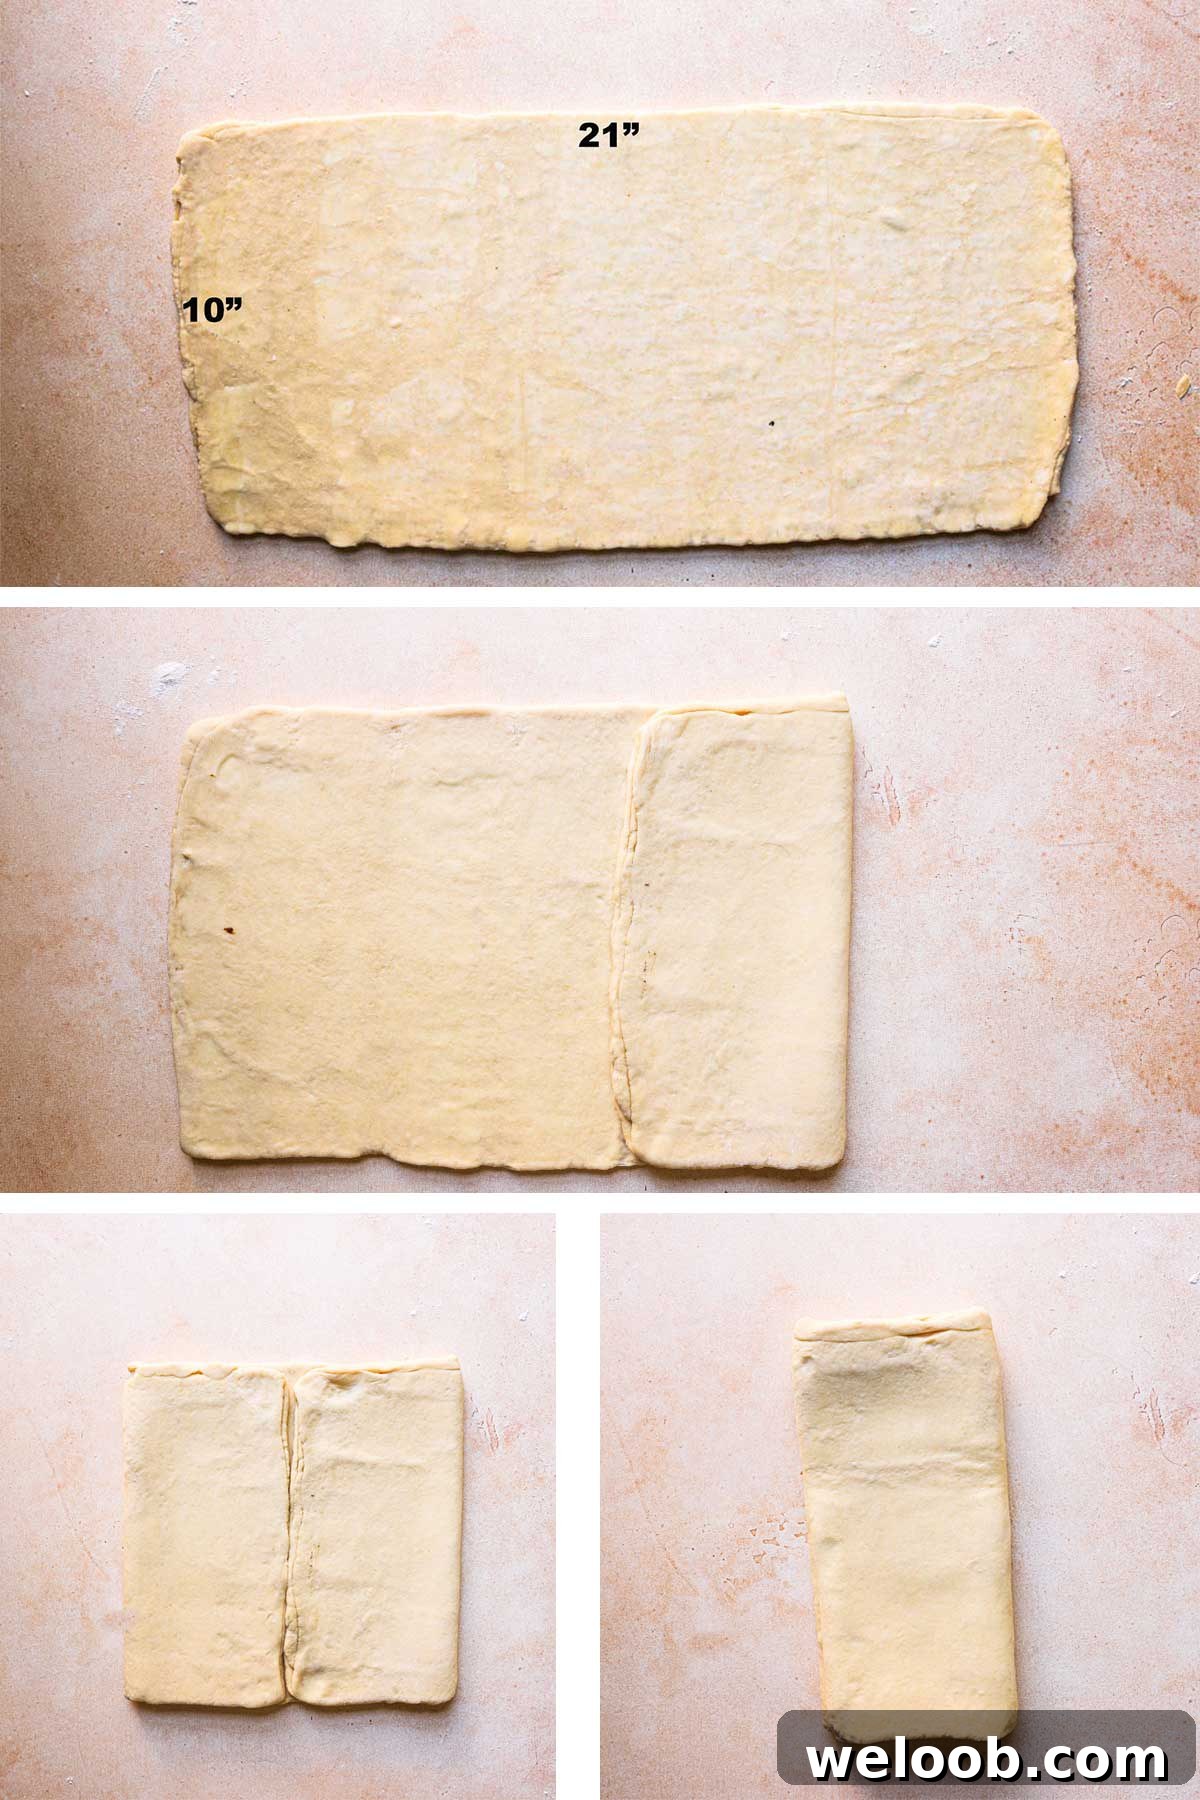
Roll the dough into a longer rectangle (about 10×21 inches). Fold it in half to find the center, then fold each end toward that center and fold again so the right side folds over the left, creating a compact “book” of layers. Wrap and chill the dough after this first turn to firm up the butter and relax the gluten.
- Envelope folds (x2)
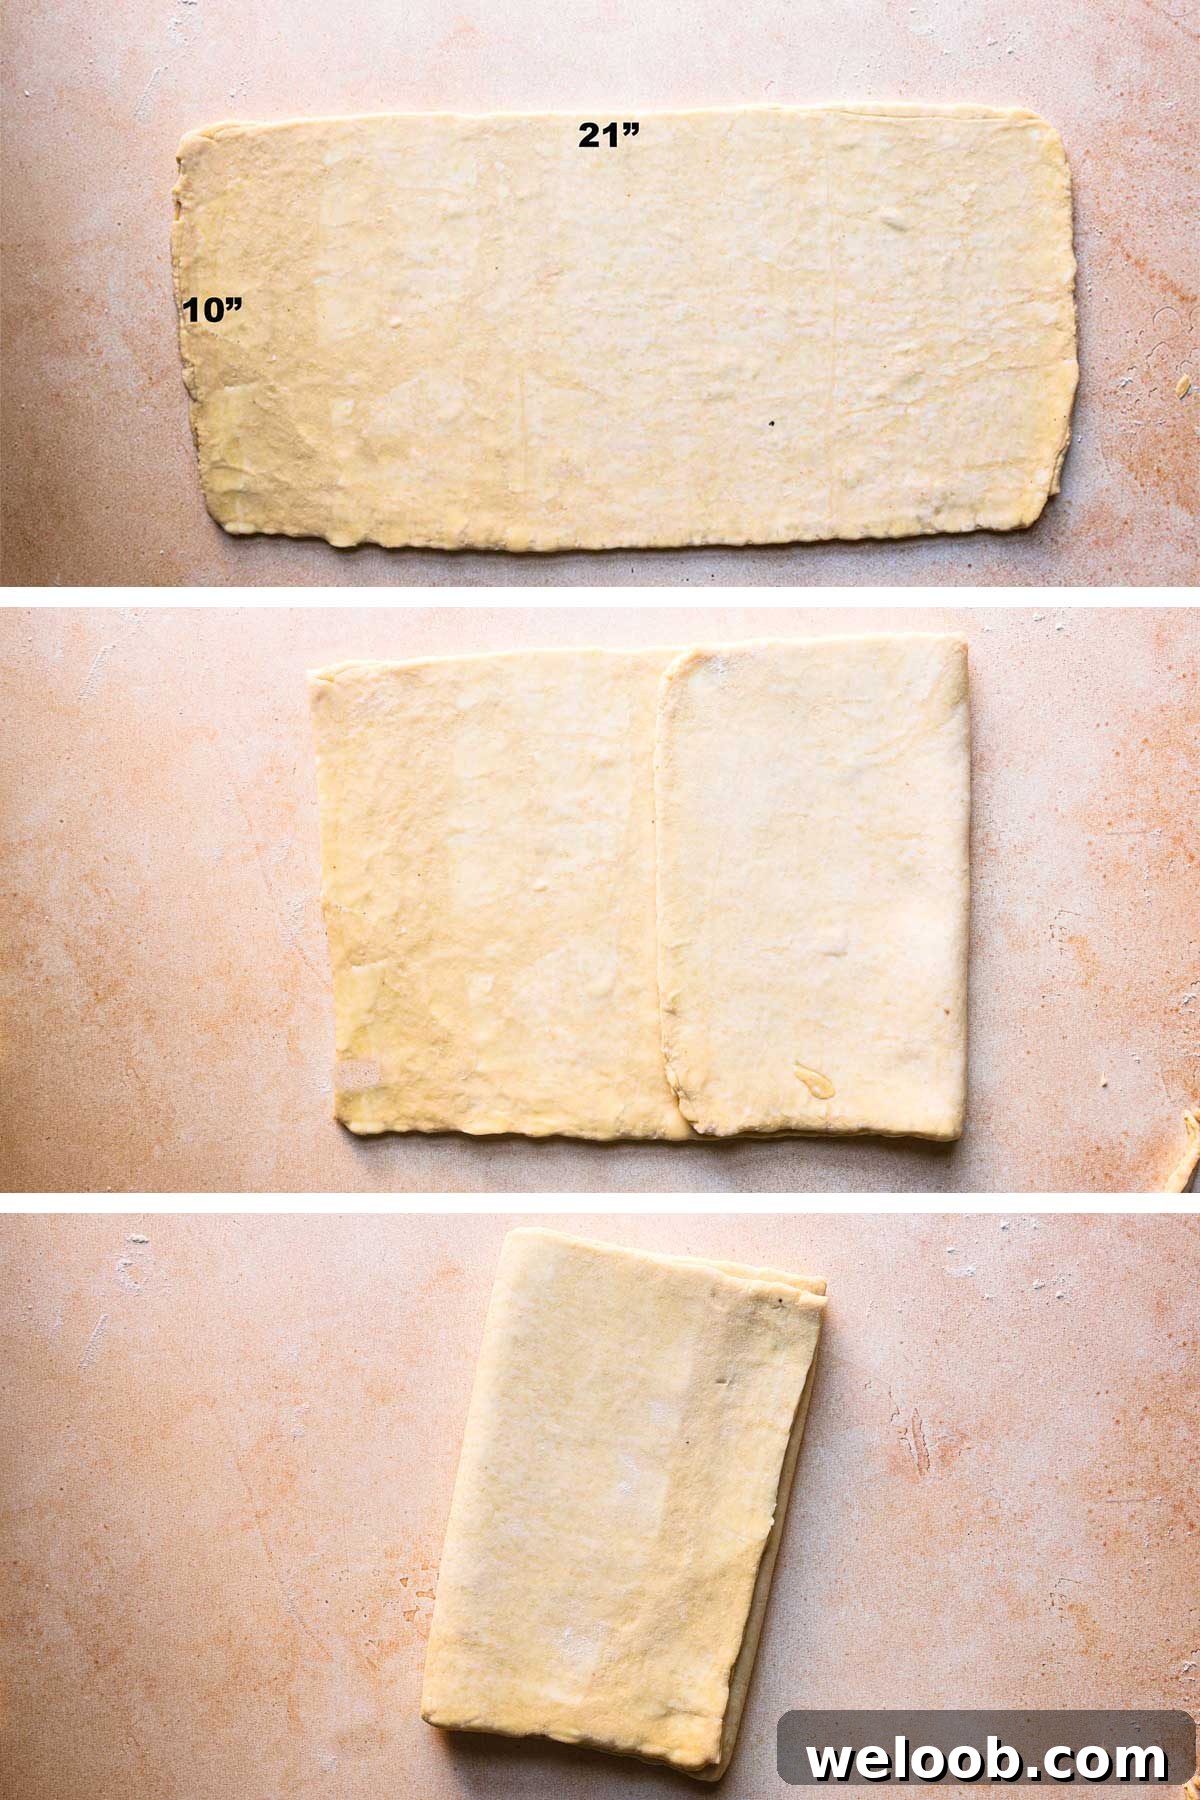
After chilling, roll the dough again to a similar rectangle and perform an envelope fold: fold one third over the center, then fold the remaining third on top. Rotate the dough 90 degrees, wrap, and chill 30–45 minutes. Repeat this process for the number of turns your recipe requires; two to four turns is common, depending on how many layers you want.
- Shape
After the final rest, roll the dough to the thickness required for your pastry and cut or shape as needed for croissants, Danishes, or other treats. Allow shaped pieces to proof until nearly doubled, then bake in a preheated oven until deeply golden and flaky. Proper proofing and a hot oven help produce the best lift and crust.
Tips
- Add subtle flavors to the dough—lemon or orange zest, or a touch of almond extract—if you want a personalized twist.
- Keep dough and butter cold throughout the process. Temperature control is essential to preserve distinct layers and prevent the butter from melting into the dough.
- Lightly flour your work surface and use a pastry brush to remove excess flour before folding so layers remain clean and even.
- The butter should be “playable”: firm enough to hold its shape, but soft enough to bend slightly without cracking.
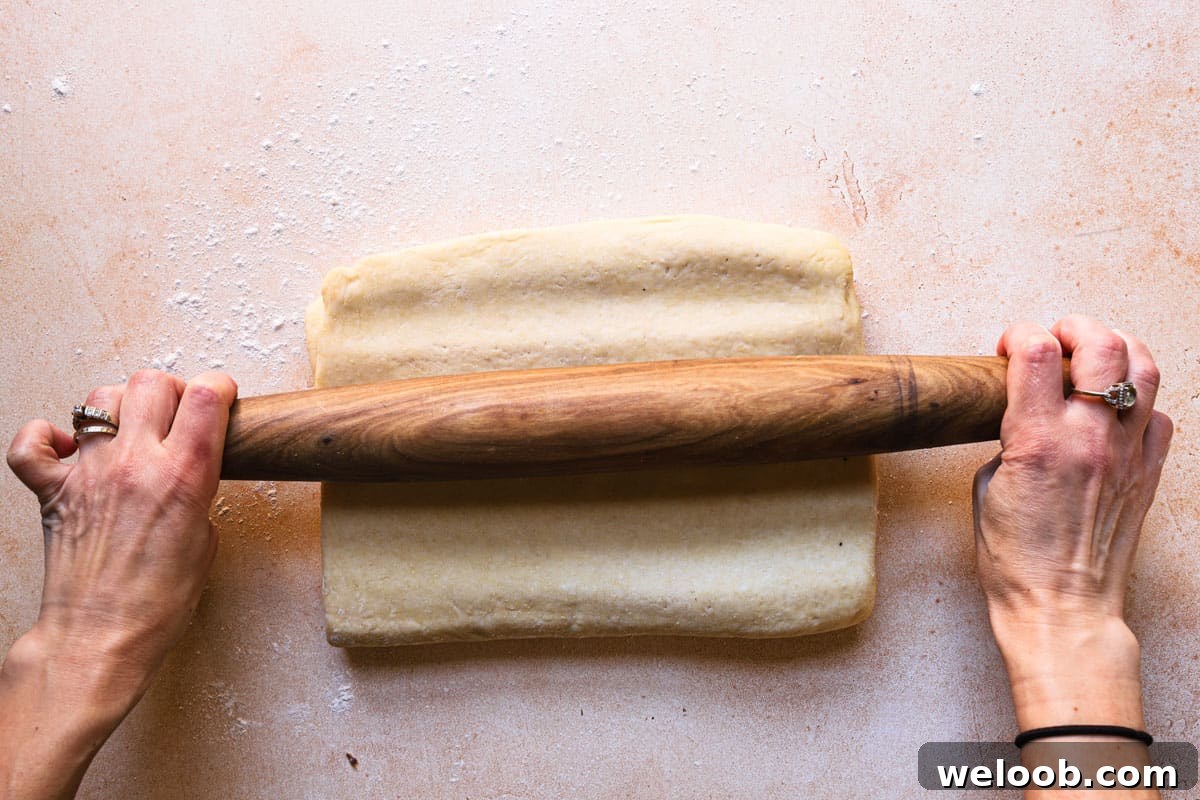
- Before you roll, tap the dough lightly with the rolling pin to relax the gluten—this reduces elastic recoil and makes rolling easier.
- Be patient between turns. Chilling the dough 30–45 minutes relaxes gluten and keeps the butter firm for sharper layers.
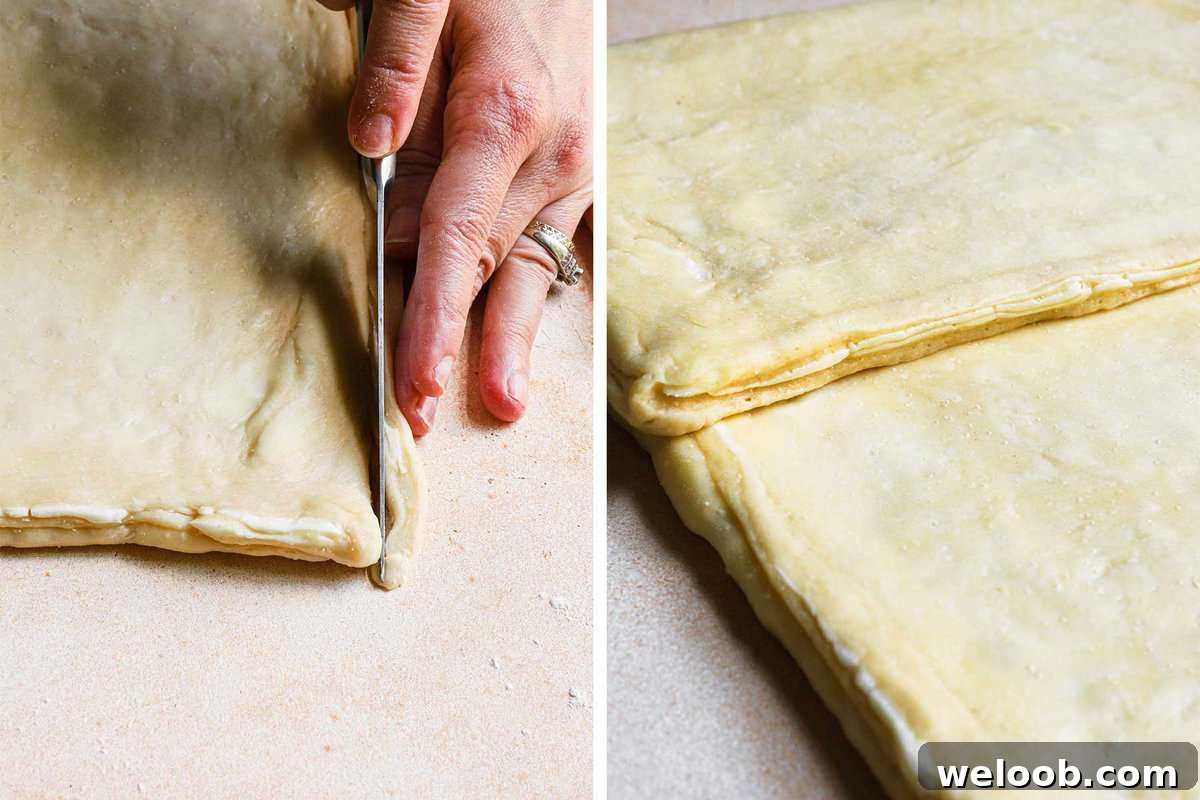
- Trim corners or any uneven edges before folding so layers align. A sharp knife or cutter helps produce clean layers that bake evenly.
Storing
Store laminated dough in the refrigerator for up to 24 hours after the final fold; it may continue to rise slightly, so gently press with the rolling pin to remove excess air before shaping. For longer storage, wrap the dough tightly in plastic wrap, place it in a freezer bag, and freeze for up to two months. Thaw overnight in the refrigerator before using.
With this step-by-step guide, you can confidently make laminated dough at home and create a wide range of flaky pastries. Gather your tools, keep everything chilled, and enjoy the satisfying process of building buttery layers.
Happy baking!
More Recipes You Might Enjoy
Choux a la Creme, Tarte aux Fraises, How to Make Brioche Bread