
Flaky Cherry Hand Pies Recipe

These Homemade Cherry Hand Pies combine a tender, flaky crust with a creamy layer of cream cheese and a bright, luscious cherry filling. They’re perfect for parties, picnics, or a cozy dessert at home. Follow this straightforward recipe to make delicious, handheld cherry pies that bake up golden and irresistible.
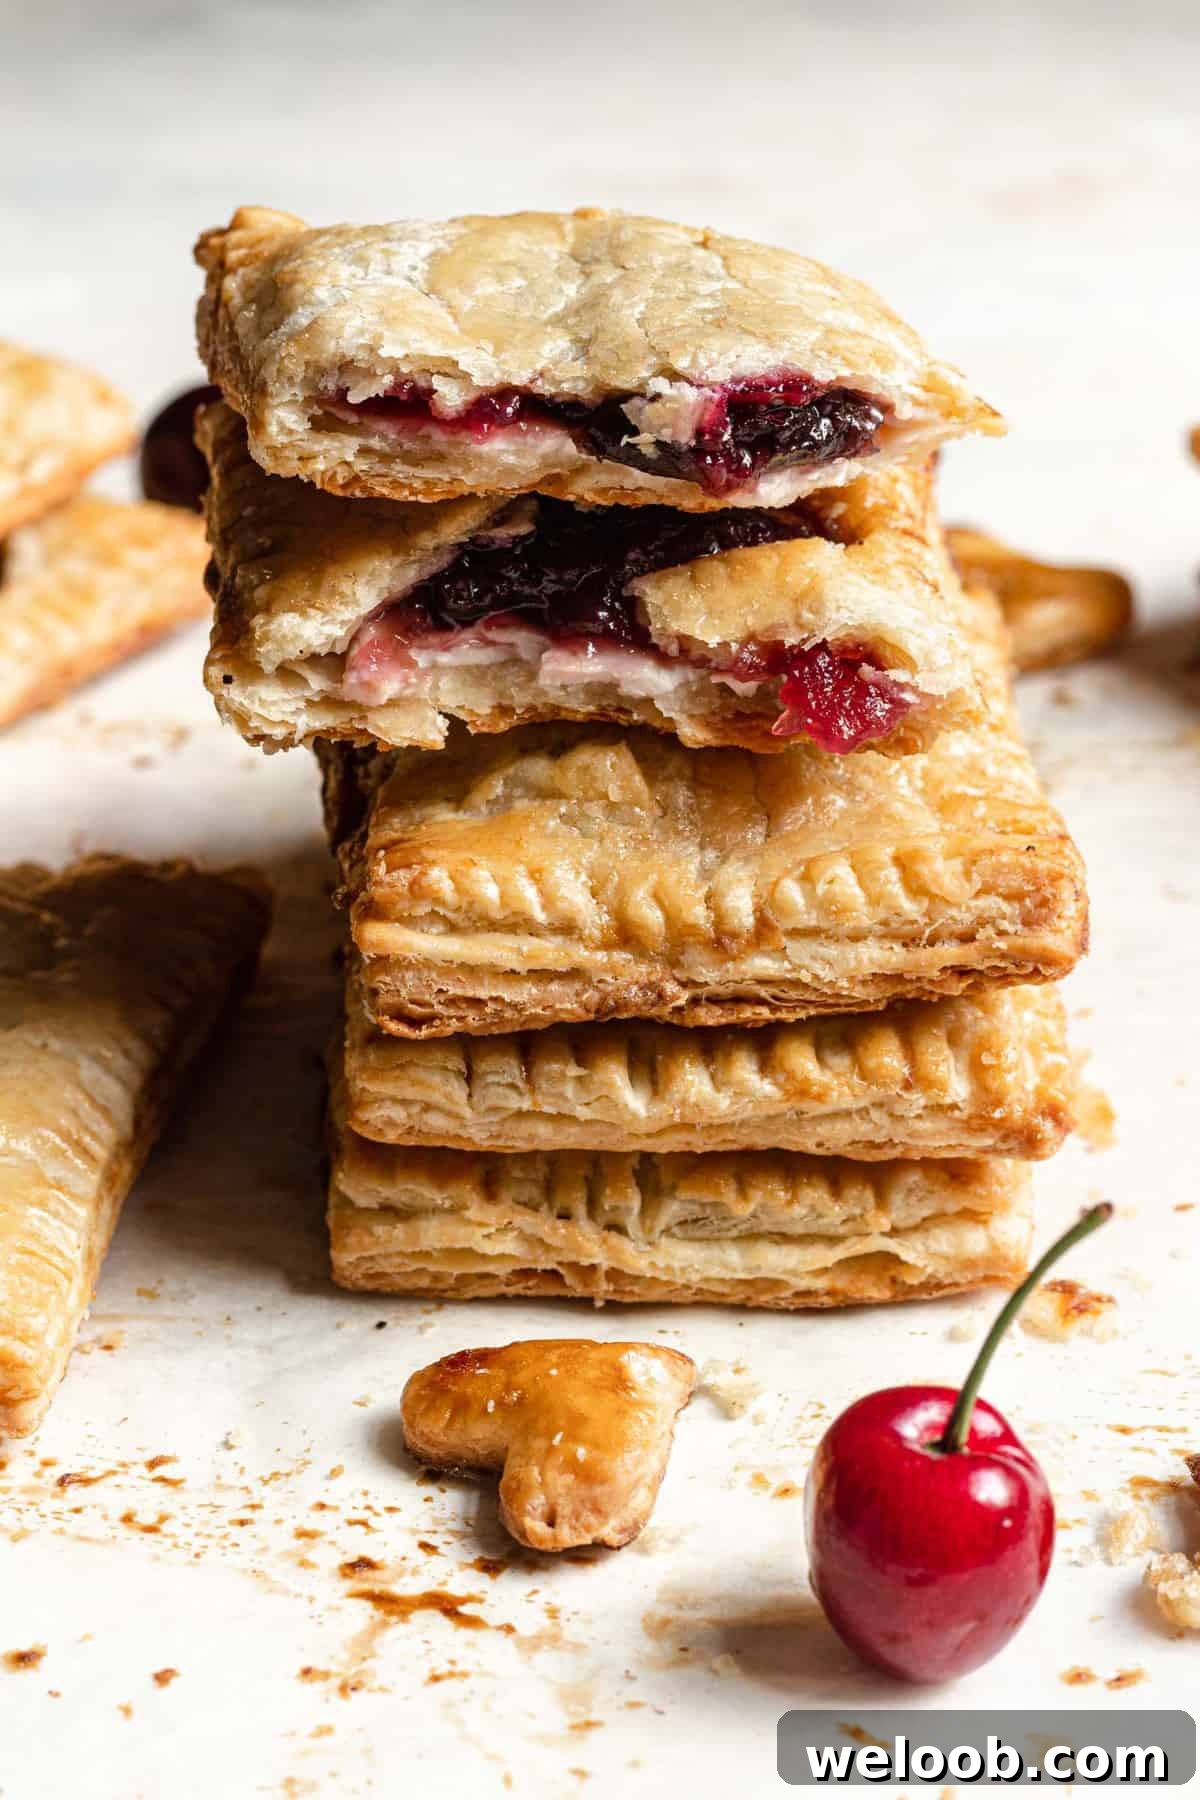
Pies are a favorite dessert for many, and cherry pie is one of the classics. This version turns the classic pie into convenient hand pies by combining a buttery, flaky crust with a smooth cream cheese layer and a homemade cherry filling. The result is a perfectly balanced bite of sweet-tart cherries and creamy filling encased in a crisp, golden crust.
Ingredients
For the Crust
This recipe uses a cream-cheese pie crust for extra tenderness, though an all-butter crust or high-quality store-bought crust will also work. Prepare dough ahead for best results.
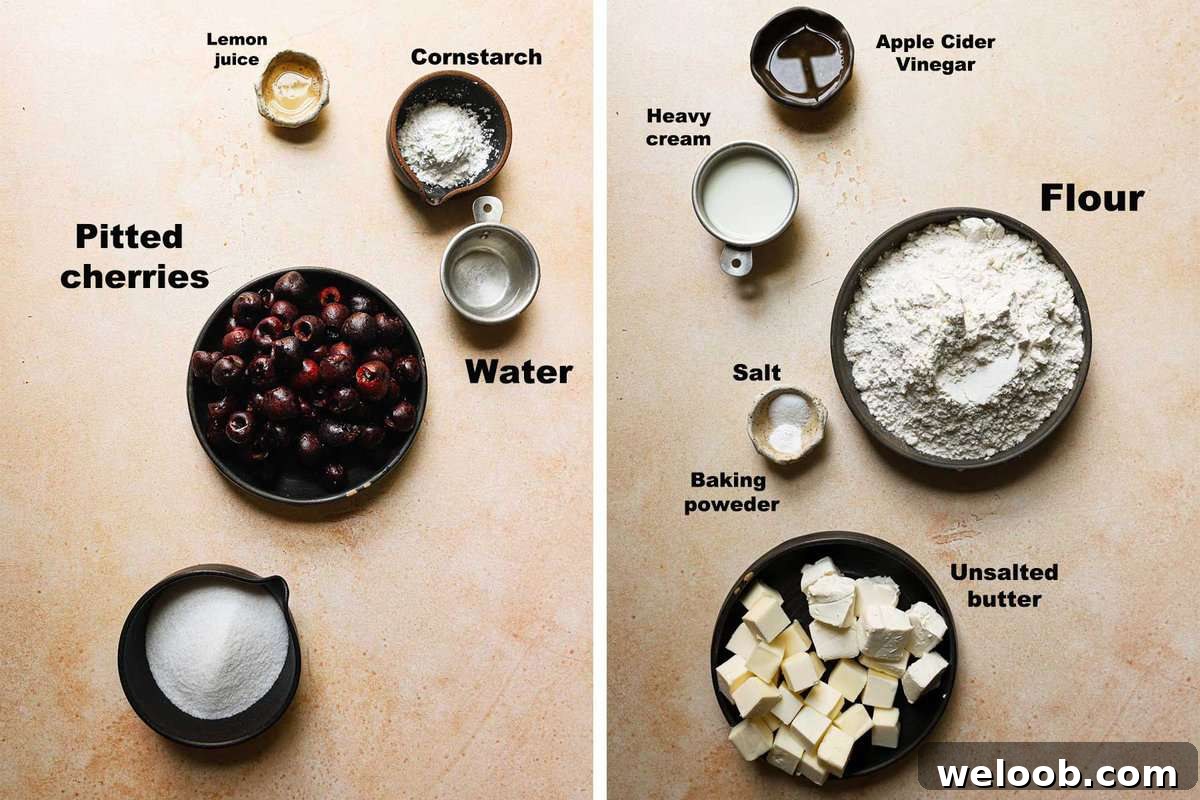
- Bleached all-purpose flour
- Cream cheese, cut into 1-inch pieces and chilled
- Unsalted butter, cold and cut into 1-inch pieces
- Salt and a small amount of baking powder
- Heavy cream or ice water
- Apple cider vinegar (to help tenderize the dough)
For the Cherry Filling
- Fresh or frozen pitted cherries (tart or sweet)
- Granulated sugar
- Cornstarch
- Water (for dissolving the cornstarch)
- Fresh lemon juice
- Optional pinch of salt
How to Make Cherry Hand Pies
Make the Pie Crust
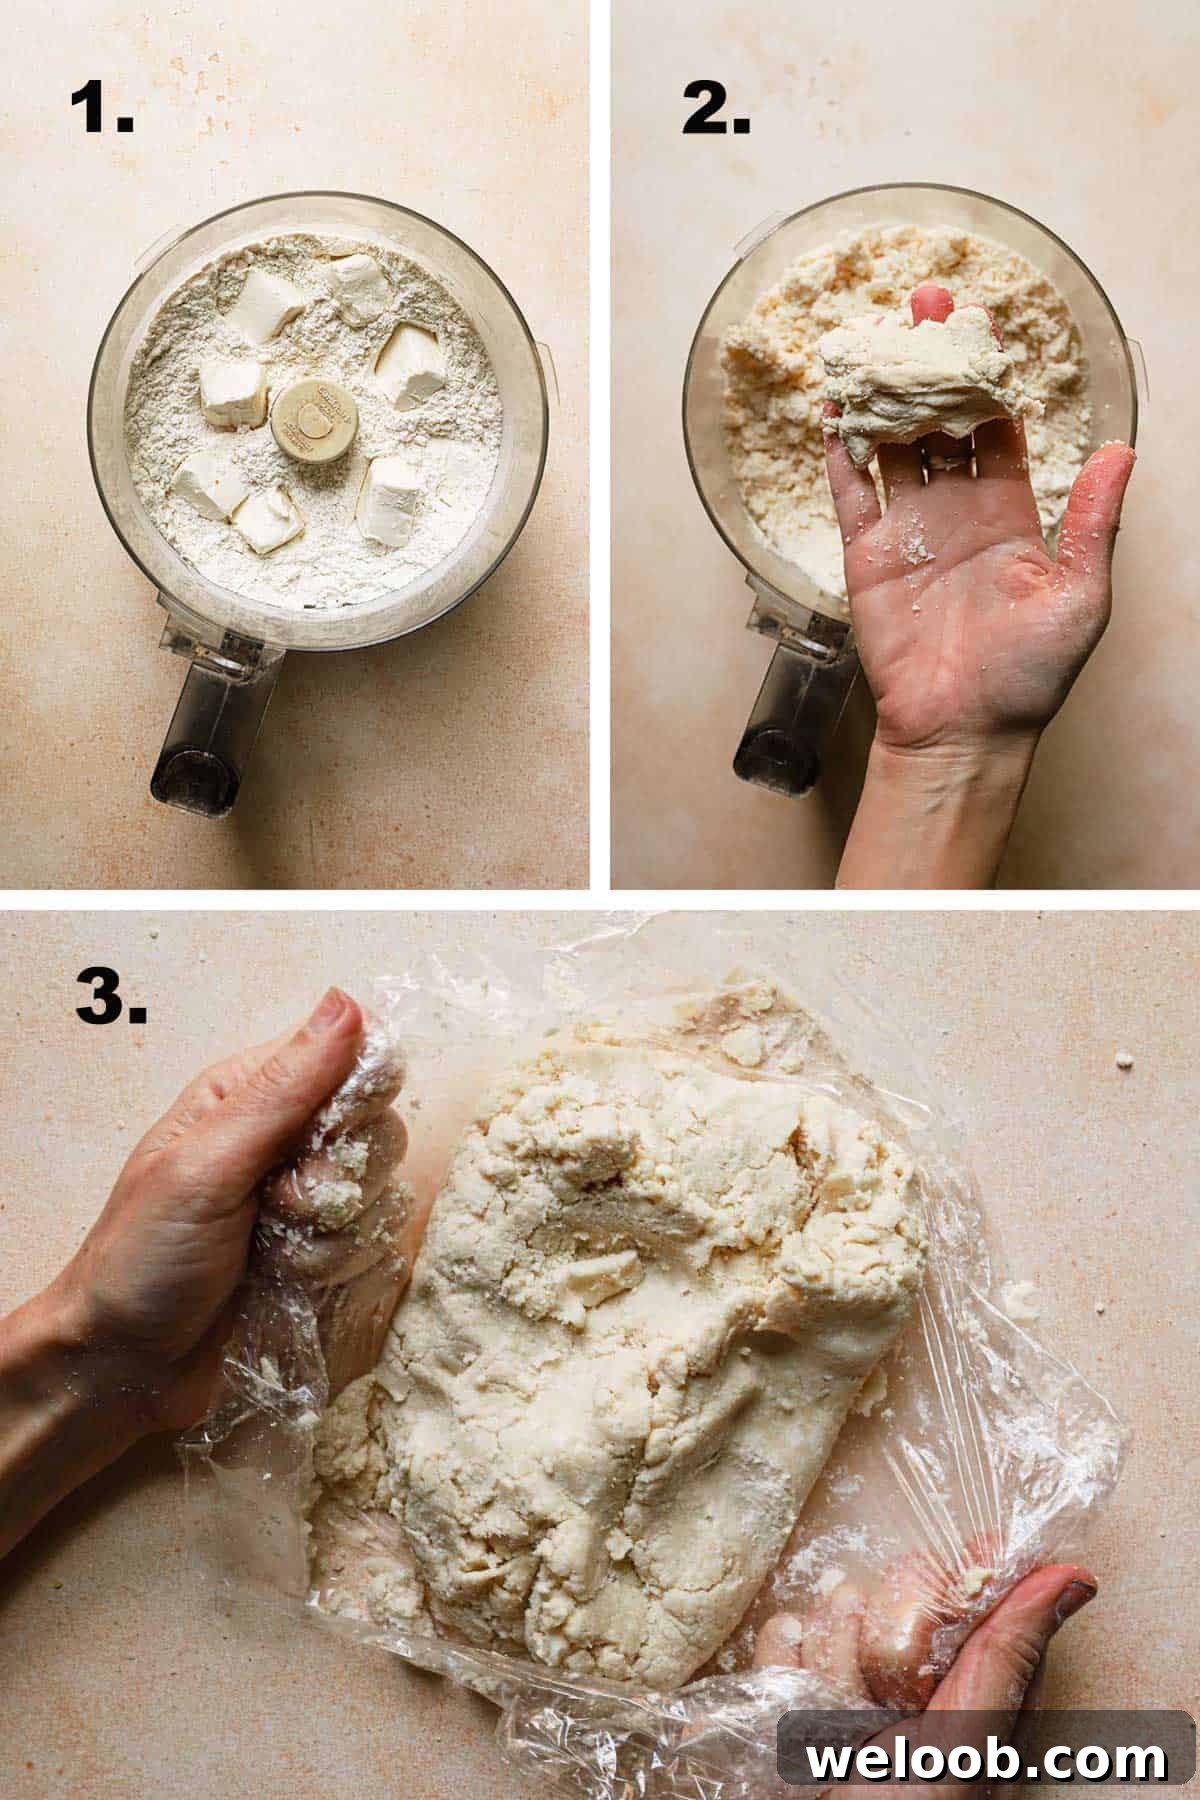
You can prepare the dough in a food processor for speed or by hand using a bowl and a pastry blender. The goal is a coarse, sandy texture before adding the liquid.
- Combine flour, baking powder, and salt; pulse briefly in a food processor (or stir in a bowl).
- Add the chilled cream cheese and pulse until it’s broken into pea-sized pieces, then add the cold butter and pulse until the mixture resembles coarse crumbs.
- Mix cream (or ice water) with the vinegar, then add to the dry mixture and pulse just until the dough holds together when pressed between your fingers. Do not overwork.
- Turn the dough onto plastic wrap, gather and press into a disc. Divide into two discs, wrap each, and chill for at least 60 minutes or overnight for better flavor and easier rolling.
Make the Cherry Filling
Homemade filling is quick and allows you to control sweetness and thickness. Adjust sugar depending on how sweet or tart the cherries are.
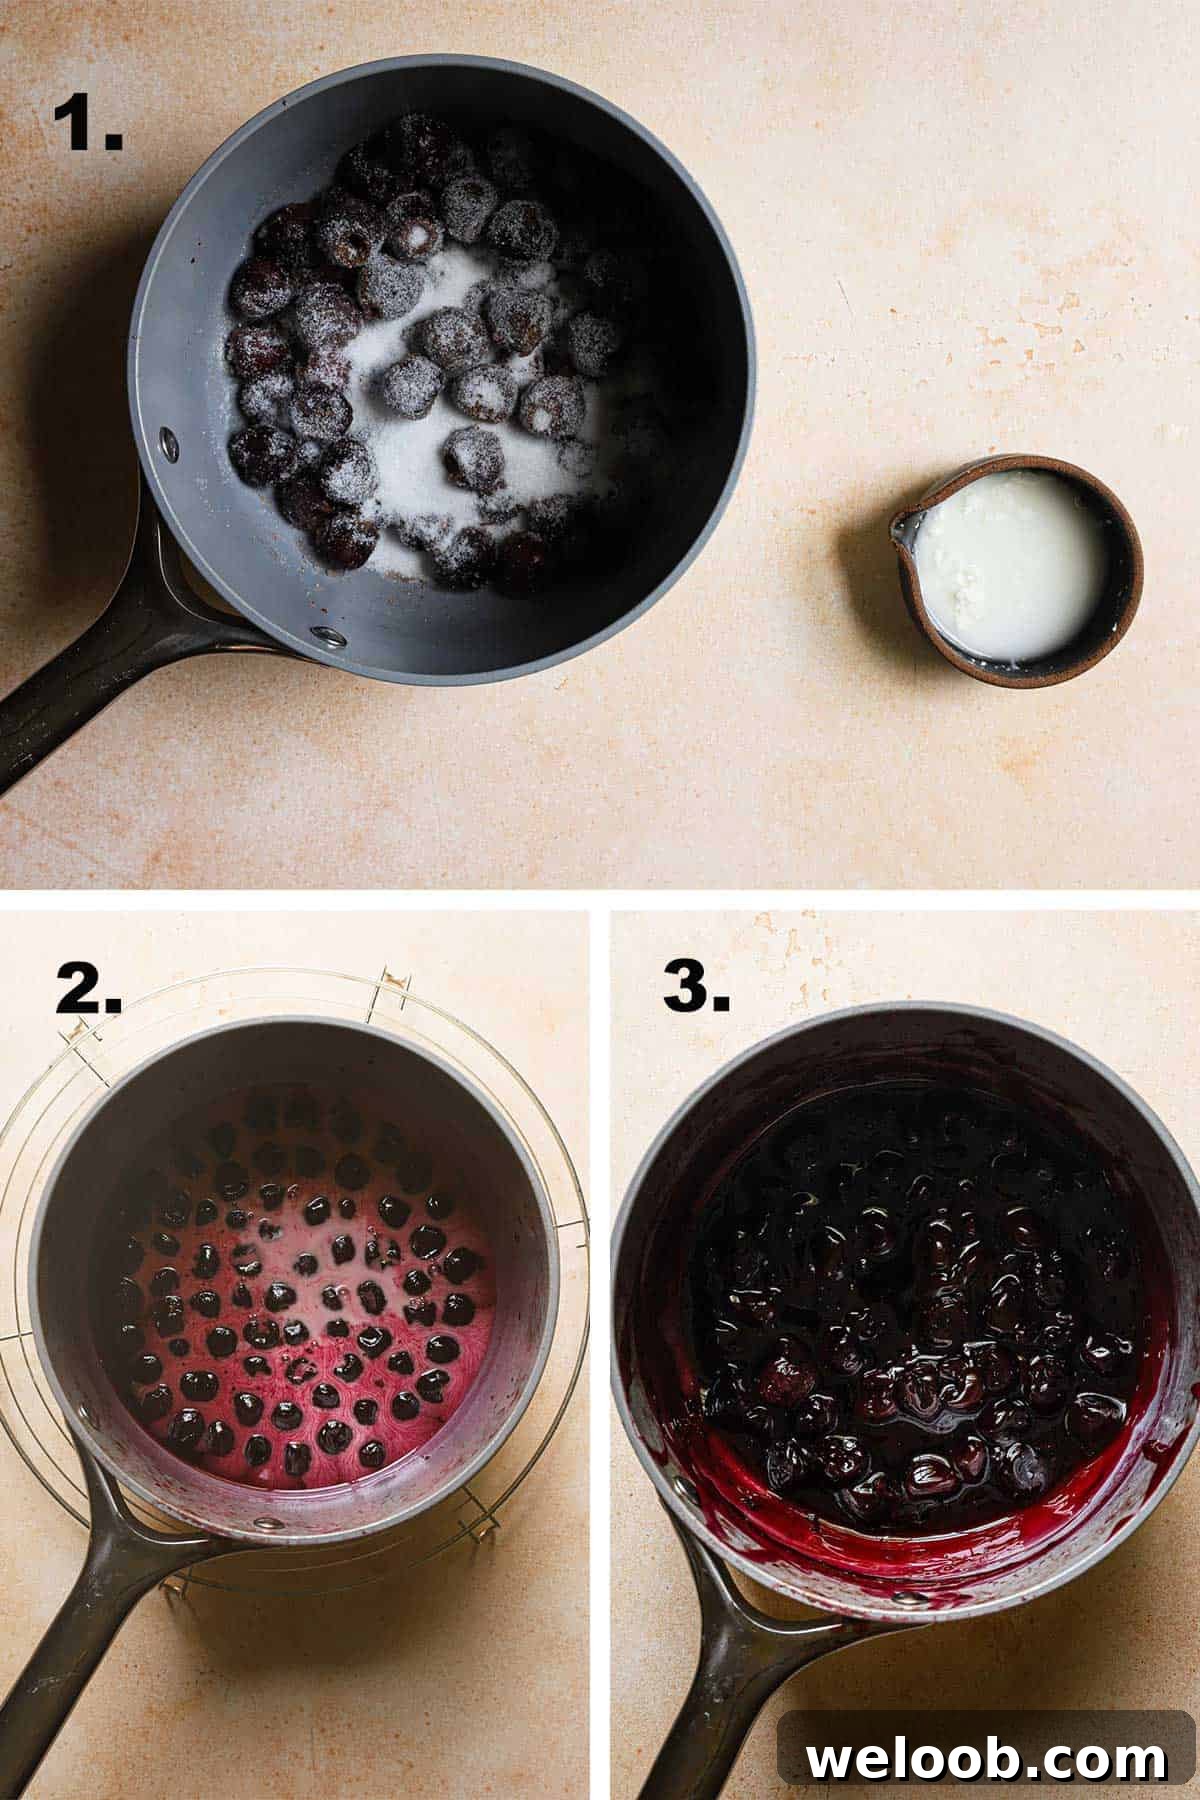
- Combine pitted cherries and lemon juice in a saucepan, sprinkle in the sugar, and toss to combine.
- Mix the cornstarch with a small amount of cold water to make a slurry and set aside.
- Cook the cherries over medium heat until they release their juices. Reduce heat to a gentle simmer and cook, covered, for about 15 minutes until the fruit is tender. If the mixture seems too dry, add 1–2 tablespoons of water.
- Stir the cornstarch slurry into the hot cherries and cook for another minute until the filling thickens. Remove from heat and cool completely before assembling.
Assemble and Bake
Make a simple cream cheese filling to balance the cherries: combine softened full-fat cream cheese with sugar and an egg yolk until smooth. Keep components chilled while assembling for tidy hand pies.
- Preheat oven to 375°F (190°C). Line two baking sheets with parchment paper.
- Roll one chilled dough disc to about 1/8-inch thickness on a lightly floured surface. Cut rounds or rectangles about 4–5 inches across and transfer half of the cut pieces to a lined sheet.
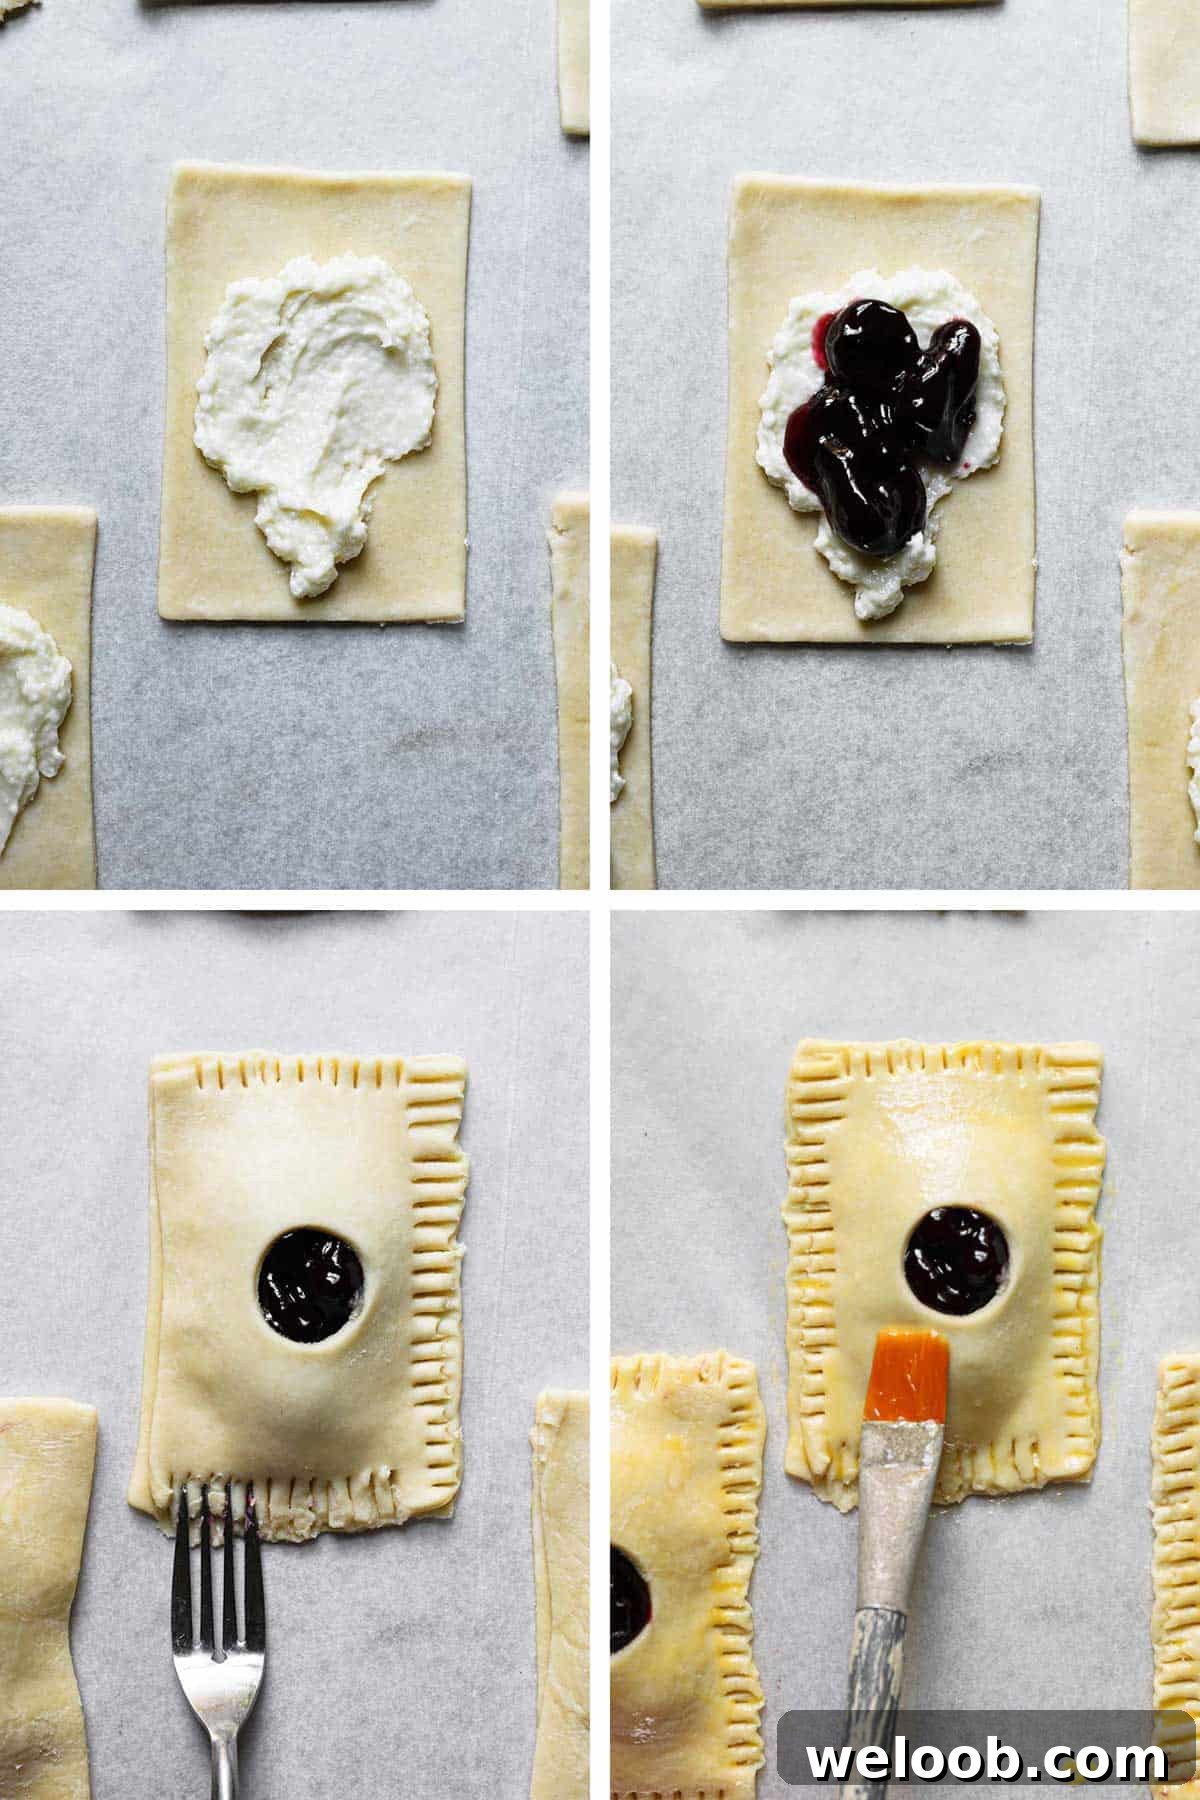
- Place about 1 tablespoon of cream cheese filling in the center of each bottom piece, then top with 1 tablespoon of the cooled cherry filling, leaving a small border around the edges.
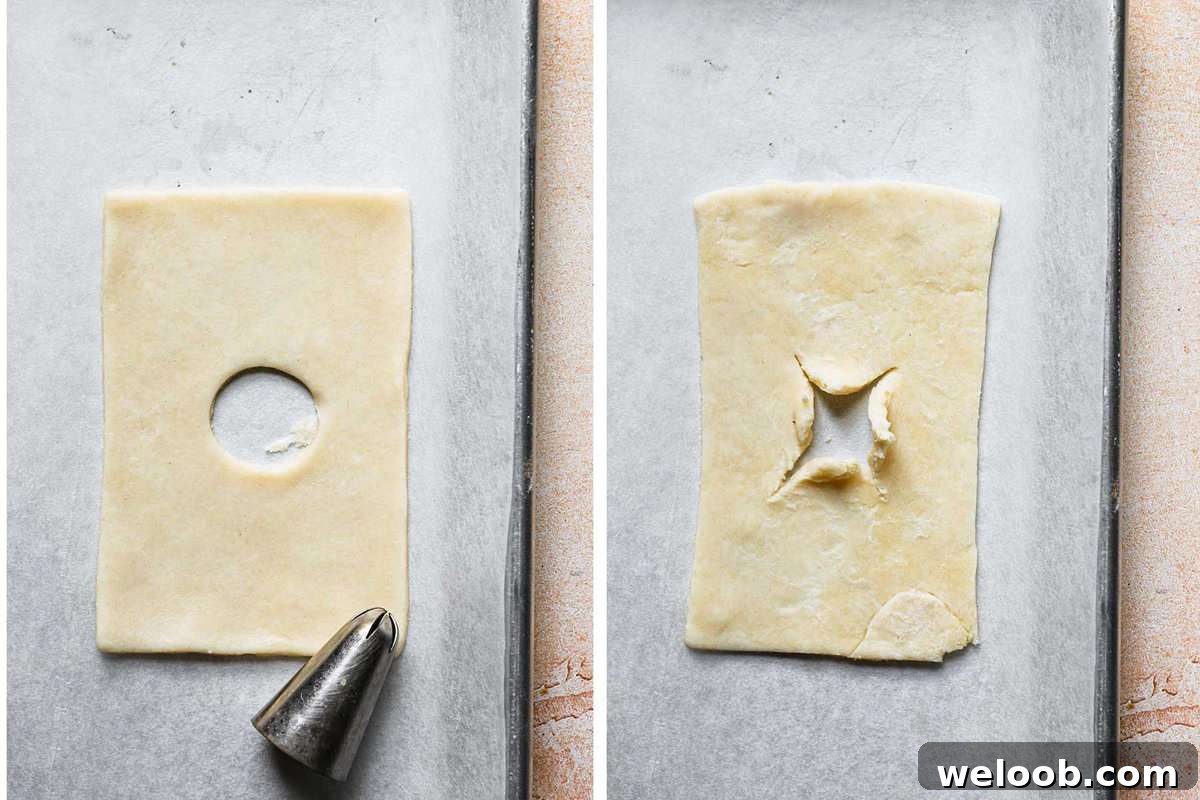
- Top each filled piece with a second dough cut. If desired, cut a small vent or decorative shape in the top piece before sealing. Press edges together and crimp with a fork to seal well.
- Brush the pies with an egg wash (1 beaten egg with a splash of water) for a glossy, golden finish. Chill the assembled pies for at least 30–45 minutes to help them hold their shape while baking.
- Bake until the crust is deeply golden, about 20–25 minutes. Remove and cool on a rack for at least an hour so the filling sets and slices cleanly.

Tips for Perfect Hand Pies
- If cherries are out of season, frozen cherries work well—thaw and drain them before cooking to avoid excess water.
- Add a drop of almond extract or a little lemon zest to the filling to brighten the cherry flavor.
- For extra crunch and sparkle, sprinkle turbinado, coarse, or cinnamon sugar on the tops just before baking.
- These hand pies can be made with puff pastry for a lighter, flakier crust if preferred.
- Leftover cherry filling is excellent swirled into cupcakes, brownies, or used as a topping for brioche or ice cream.
- Use spare pie dough to bake small cookies or pie pops for a no-waste finish.
Make Ahead and Storage
Make Ahead: The cherry filling can be prepared up to five days ahead and kept refrigerated. Pie dough can be made up to three days in advance and refrigerated, or frozen for longer storage. Unbaked assembled hand pies freeze well in a single layer separated by parchment paper for up to eight weeks.
Store: Once baked and cooled, store the hand pies in an airtight container at room temperature for 2–3 days. For longer storage, freeze unbaked pies and bake from frozen—add a few extra minutes to the baking time to ensure the crust browns evenly.

More Recipes You Might Enjoy
Cherry Galette; Cherry Olive Oil Cake; Chocolate Cherry Cake. Try these variations to explore cherry desserts beyond hand pies.
If you try this recipe, feel free to share a photo on your social channels and tag the recipe originator if you know them. Happy baking!