
Cherry Cheesecake Stuffed Cookies: Gooey, Irresistible Treats
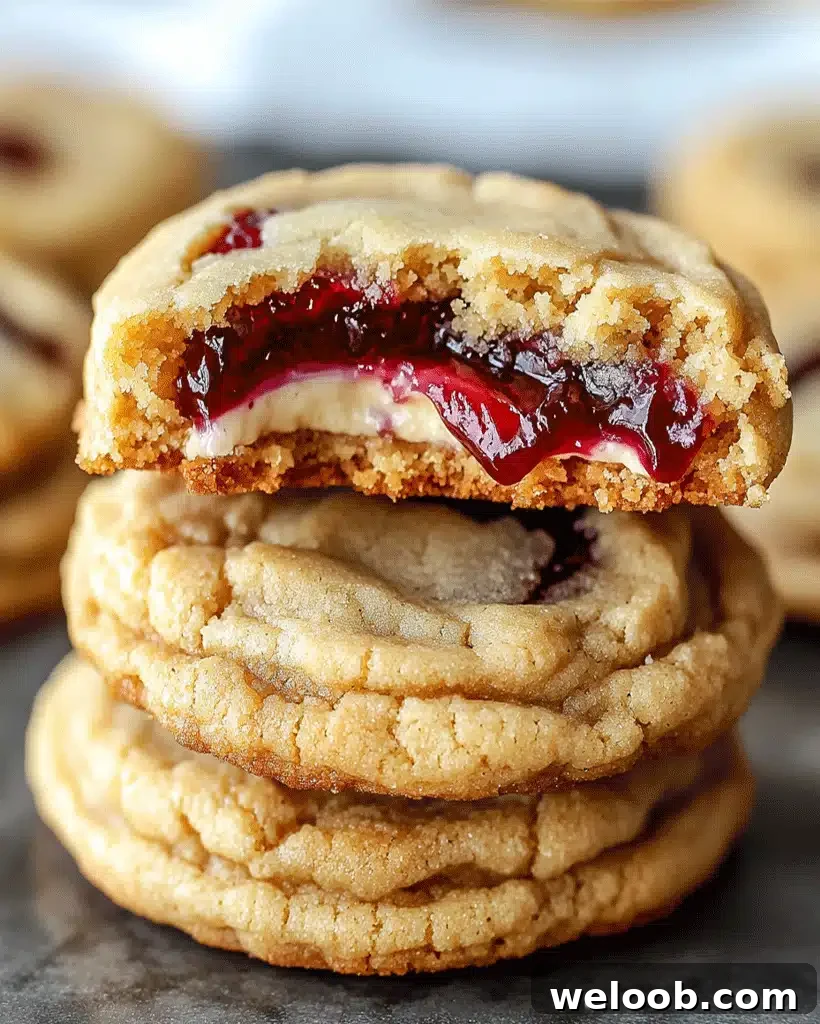
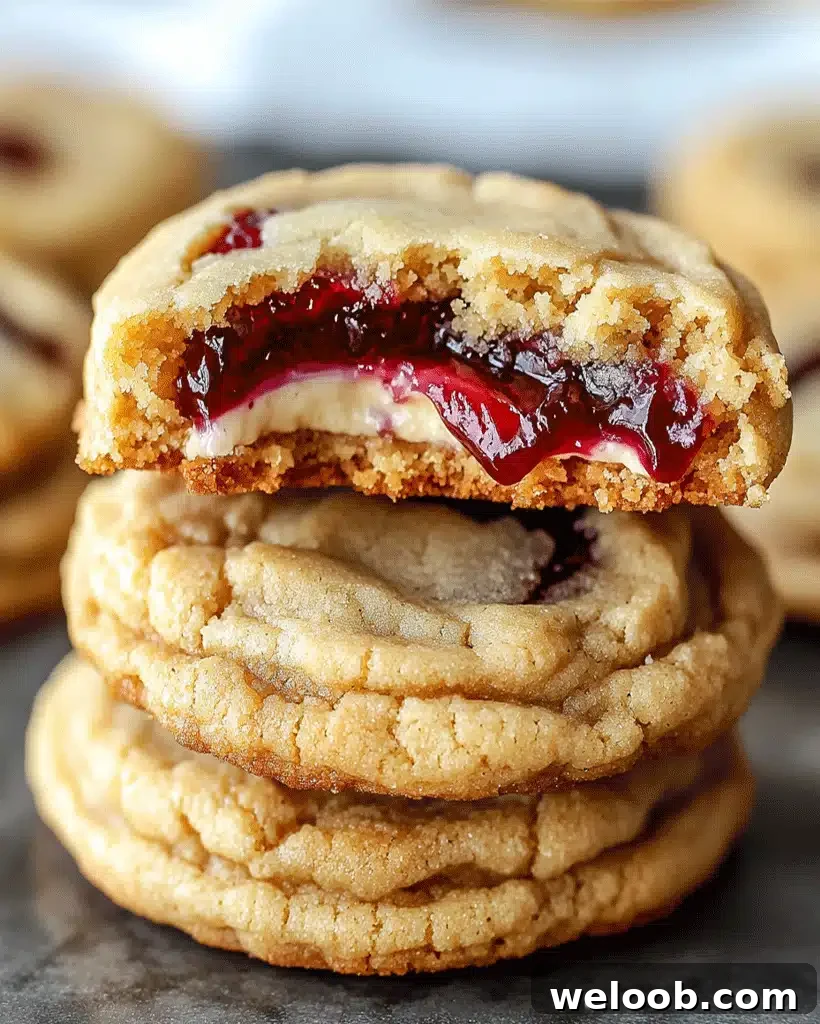
Cherry Cheesecake Stuffed Cookies – Gooey & Delicious Treat
Author: Patricia
Description
These Cherry Cheesecake Stuffed Cookies bring together the best of two desserts: a soft, chewy cookie exterior and a creamy, tangy cheesecake center with bright cherry flavor. Each bite contrasts a golden-brown cookie shell with a gooey cream cheese filling swirled with cherry pie filling. They’re easy to make, portable, and perfect for gatherings, bake sales, or a special weeknight treat.
Ingredients for Cherry Cheesecake Stuffed Cookies
- 1/2 cup unsalted butter, softened
- 1/2 cup granulated sugar
- 1/2 cup brown sugar, packed
- 1 large egg
- 1 tsp vanilla extract
- 1 1/2 cups all-purpose flour
- 1/2 tsp baking soda
- 1/4 tsp salt
- 1/2 cup cream cheese, softened
- 1/4 cup powdered sugar
- 1/4 cup cherry pie filling
Optional substitutions: For dairy-free versions, use vegan butter and vegan cream cheese. To make the recipe gluten-free, substitute a 1:1 gluten-free all-purpose flour blend.
Instructions
Step 1: Prepare the dough
In a large mixing bowl, cream together the softened butter, granulated sugar, and brown sugar until smooth. Add the egg and vanilla extract, mixing until fully combined and the mixture is light and creamy.
Step 2: Mix the dry ingredients
In a separate bowl, whisk together the all-purpose flour, baking soda, and salt. Gradually add the dry ingredients to the wet mixture, stirring just until incorporated. Take care not to overmix—overworking the dough can make the cookies tough.
Step 3: Make the cheesecake filling
In a medium bowl, beat the softened cream cheese with the powdered sugar until smooth and creamy. This will be the cheesecake center, so ensure there are no lumps.
Step 4: Assemble the cookies
Portion the cookie dough by tablespoonfuls. Flatten each portion slightly, then place a small spoonful of the cream cheese mixture in the center followed by a smaller spoonful of cherry pie filling. Carefully fold the dough around the fillings, rolling it into a sealed ball so the filling stays inside during baking.
Step 5: Bake
Preheat the oven to 350°F (175°C) and line a baking sheet with parchment paper. Arrange the stuffed dough balls about 2 inches apart. Bake for 10–12 minutes, or until the edges are lightly golden but the centers still look slightly soft.
Step 6: Cool and serve
Let the cookies cool on the baking sheet for a few minutes, then transfer to a wire rack to cool completely. As they cool, the cheesecake center will set slightly while remaining delightfully gooey.
Helpful Tips
- Softened butter: Use room-temperature butter for a smooth, even dough and proper creaming with the sugars.
- Chill if sticky: If the dough is too soft to handle, chill it for 10–20 minutes to firm up before assembling.
- Seal tightly: Make sure each cookie is well sealed so the filling doesn’t leak during baking.
- Avoid overbaking: Pull cookies from the oven when the edges are golden—this keeps them chewy rather than dry.
Cooking Tips for the Best Results
Bake the cookies on parchment paper for even heat distribution and easy cleanup. If you prefer a shinier, slightly crisper top, gently press the dough balls once before baking. For consistent size and even baking, use a small cookie scoop to portion the dough.
Serving Suggestions
Serve these cookies warm for the best gooey-cheesecake experience. Garnish with a light dusting of powdered sugar or a thin drizzle of melted dark or white chocolate. They pair beautifully with a glass of milk, coffee, or cherry-flavored tea.
Nutritional Information (per serving)
- Calories: 140
- Fat: 7 g
- Carbohydrates: 18 g
- Protein: 2 g
- Sugars: 12 g
- Fiber: 1 g
Nutrition varies with exact ingredients and portion size. Use lower-sugar fillings or reduced-fat cream cheese to lower calories if desired.
Storage and Leftovers
Store cookies in an airtight container in the refrigerator for up to 5 days. To restore a slightly gooey center, warm a cookie for 10–15 seconds in the microwave before serving. These cookies also freeze well—freeze baked cookies in a single layer, then transfer to a freezer bag for up to 2 months. Thaw at room temperature or reheat briefly.
Frequently Asked Questions
Can I freeze these cookies?
Yes. Freeze baked cookies for up to 2 months. Thaw at room temperature or reheat briefly in the microwave to revive the filling.
How do I prevent the filling from leaking?
Be sure to completely enclose the cream cheese and cherry filling within the cookie dough and seal the seams well. Chilling the filled dough balls for a few minutes before baking can help them hold their shape.
Can I use fresh cherries instead of cherry pie filling?
Yes—use fresh or thawed frozen cherries. Cook them down with a bit of sugar until they release juices and thicken slightly, then cool before using as the filling to avoid adding excess moisture.
What can I substitute for cream cheese?
Mascarpone is a good substitute and creates a richer, slightly different flavor. For dairy-free alternatives, use a vegan cream cheese.
Related Recipe Ideas
- S’mores Marshmallow Crunch Truffles
- German Chocolate Ganache Cookies — Decadent Treats
Conclusion
Cherry Cheesecake Stuffed Cookies are a simple and delightful way to enjoy cheesecake flavors in cookie form. They’re ideal for celebrations, cozy evenings, or whenever you want a handheld dessert that’s both comforting and a little indulgent. Try the recipe as written, or experiment with different fruit fillings and flavored extracts to make it your own. Happy baking!