
Cookie Monster Oreo and White Chocolate Cookies Recipe
Cookie Monster Cookies – Best Oreo White Chocolate Recipe
No reviews
- Author: Patricia
Description
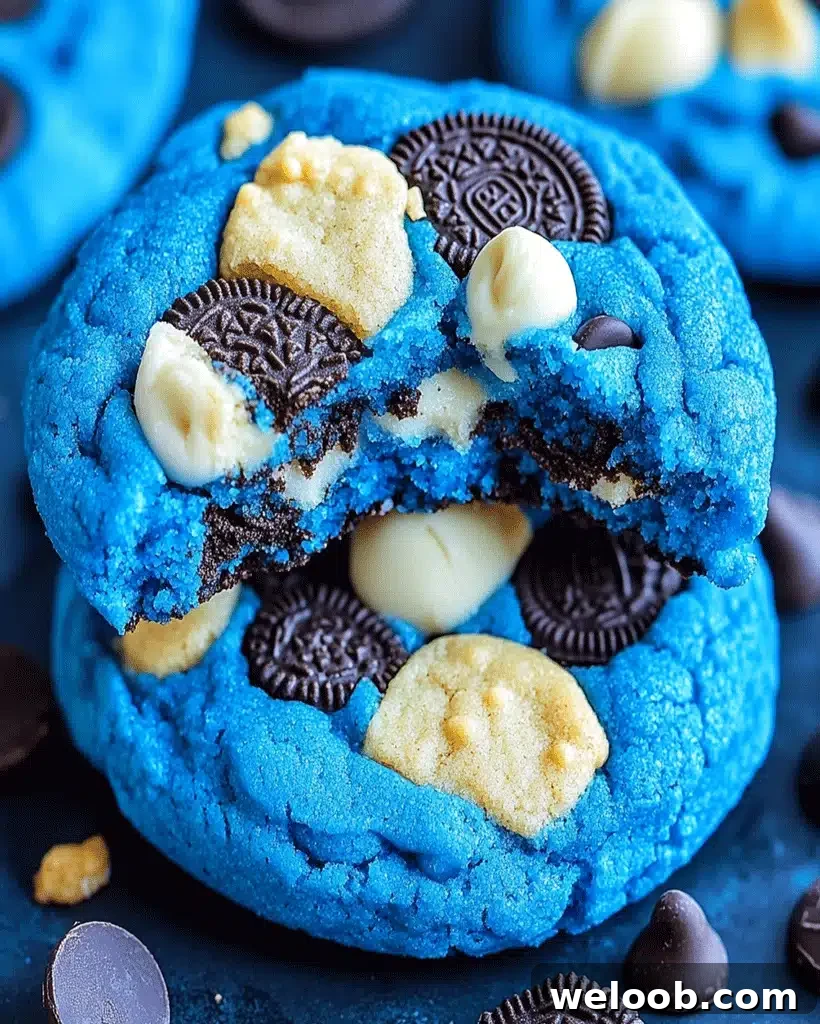
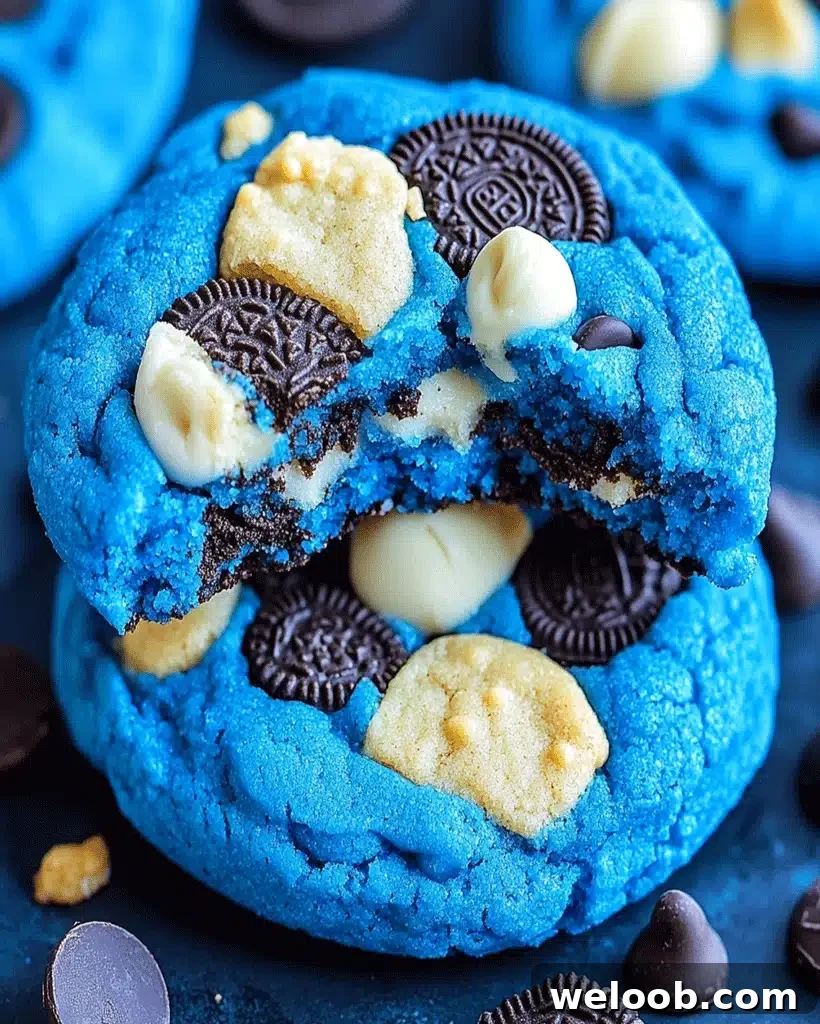
Welcome, cookie lovers! These Cookie Monster Cookies—Midnight Blue Oreo & White Chocolate Chunk Cookies—are a fun, colorful twist on the classic chocolate-chip treat. Vibrant midnight-blue dough, mini Oreo pieces, white chocolate chunks and a sprinkle of mini chocolate chips create a chewy, visually striking cookie that’s ideal for parties, cookie swaps, or comforting weekend baking. This recipe balances playful presentation with dependable flavor and texture: soft centers, slightly crisp edges, and a delightful mix of chocolate and cookie crunch.
Ingredients
Wet Ingredients
- 1 cup unsalted butter, softened
- 1 cup granulated sugar
- 1 cup packed brown sugar
- 2 large eggs
- 1 tablespoon vanilla extract
- Blue food coloring (gel or paste recommended for a rich, even color)
Dry Ingredients
- 3 cups all-purpose flour
- 1 teaspoon baking soda
- 1/2 teaspoon baking powder
- 1/2 teaspoon salt
Add-ins
- 1 cup mini Oreo cookies, roughly chopped
- 1 cup white chocolate chips or chunks
- 1/2 cup mini chocolate chips
- 1/2 cup crushed shortbread or vanilla wafer cookies
Substitutions & Variations
- For gluten-free: replace all-purpose flour with a trusted gluten-free baking blend that measures cup-for-cup.
- To make vegan: use dairy-free butter and dairy-free white chocolate, and substitute eggs with flax or chia egg replacer according to package directions.
- Swap mini Oreos for crushed sandwich cookies or graham cracker pieces if preferred.
- Adjust add-ins—sprinkles, toffee bits, or chopped nuts work well if you want a different texture or flavor profile.
Instructions
Step 1: Preheat the oven
Preheat the oven to 350°F (175°C). Line baking sheets with parchment paper or silicone mats for even baking and easy cleanup.
Step 2: Cream the butter and sugars
In a large bowl, cream together 1 cup softened butter, 1 cup granulated sugar and 1 cup packed brown sugar until the mixture is light and fluffy. Proper creaming incorporates air and helps produce soft, tender cookies.
Step 3: Add the wet ingredients
Beat in 2 large eggs, one at a time, then stir in 1 tablespoon vanilla extract. Add blue food coloring a little at a time until you reach a deep midnight-blue shade; gel or paste colorings give the best saturation without changing dough consistency.
Step 4: Combine dry ingredients
Whisk together 3 cups all-purpose flour, 1 teaspoon baking soda, 1/2 teaspoon baking powder, and 1/2 teaspoon salt in a separate bowl. Gradually add the dry mixture to the wet ingredients and mix until just combined—avoid overmixing to keep cookies tender.
Step 5: Fold in the add-ins
Gently fold in the chopped mini Oreos, 1 cup white chocolate chips, 1/2 cup mini chocolate chips, and crushed shortbread. Distribute the add-ins evenly for consistent bites.
Step 6: Shape
Scoop rounded tablespoons of dough and place them about 2 inches apart on prepared baking sheets. For larger cookies, use a 2-tablespoon scoop and increase baking time slightly.
Step 7: Bake and cool
Bake for 10–12 minutes, or until edges are set and centers still look slightly soft. Let cookies cool on the baking sheet for 5 minutes to finish setting, then transfer to a wire rack to cool completely.
Tips & Notes
- Color: Gel or paste food coloring yields intense color without thinning the dough. Add color gradually—a little goes a long way.
- Room temperature ingredients: Use softened butter and room-temperature eggs for better incorporation and consistent texture.
- Chilling: Chill dough for 30 minutes if you prefer thicker, taller cookies. Cold dough spreads less in the oven.
- Batch baking: Allow baking sheets to cool between batches to prevent excess spreading and maintain even results.
- Fresh leavening agents: Make sure baking soda and baking powder are fresh to ensure proper rise and texture.
Serving Suggestions
Serve these Cookie Monster Cookies with a tall glass of milk, a scoop of vanilla ice cream, or alongside hot chocolate. They make a festive dessert for themed parties, birthdays, or holiday cookie platters. For gifting, stack cooled cookies in clear treat bags and tie with a ribbon for an eye-catching homemade present.
Nutritional Information (per cookie)
- Calories: 210
- Fat: 10 g
- Carbohydrates: 28 g
- Protein: 2 g
- Sugar: 18 g
- Fiber: 1 g
Storage & Leftovers
- Room temperature: Store cooled cookies in an airtight container for up to 5 days.
- Freezing: Freeze unbaked dough balls or baked cookies in a freezer-safe bag for up to 3 months. Thaw before serving or bake frozen dough straight from the freezer, adding a minute or two to the baking time.
- Reheating: Warm a cookie in the microwave for 10–15 seconds to restore softness.
Frequently Asked Questions
Can I make the dough ahead?
Yes. Refrigerate the dough up to 48 hours; bring it to room temperature for 10 minutes or bake directly from chilled for slightly thicker cookies.
How do I prevent excessive spreading?
Chill the dough, use cool baking sheets, and avoid over-creaming the butter and sugars. If dough is very soft, refrigerate 30 minutes before scooping.
Is liquid food coloring OK?
You can use liquid coloring, but gel or paste is recommended to avoid altering dough consistency and to achieve a richer blue.
What makes these cookies unique?
The vivid midnight-blue color combined with mini Oreos and white chocolate chunks creates a playful appearance and a satisfying mix of textures and flavors.
Related Recipes
- Vanilla Custard Cream Bars – an easy, creamy dessert bar
- Mini Tater Tot Cheeseburgers – a fun savory snack for gatherings
Conclusion
These Cookie Monster Cookies are a show-stopping, delicious option when you want something both playful and reliably tasty. With simple ingredients, easy steps, and plenty of room for customization, this recipe is perfect for bakers of any skill level. Try the base recipe first, then experiment with add-ins and colors to make the cookies your own. Happy baking!