
Cheesy Baked Huevos Rancheros Casserole Recipe
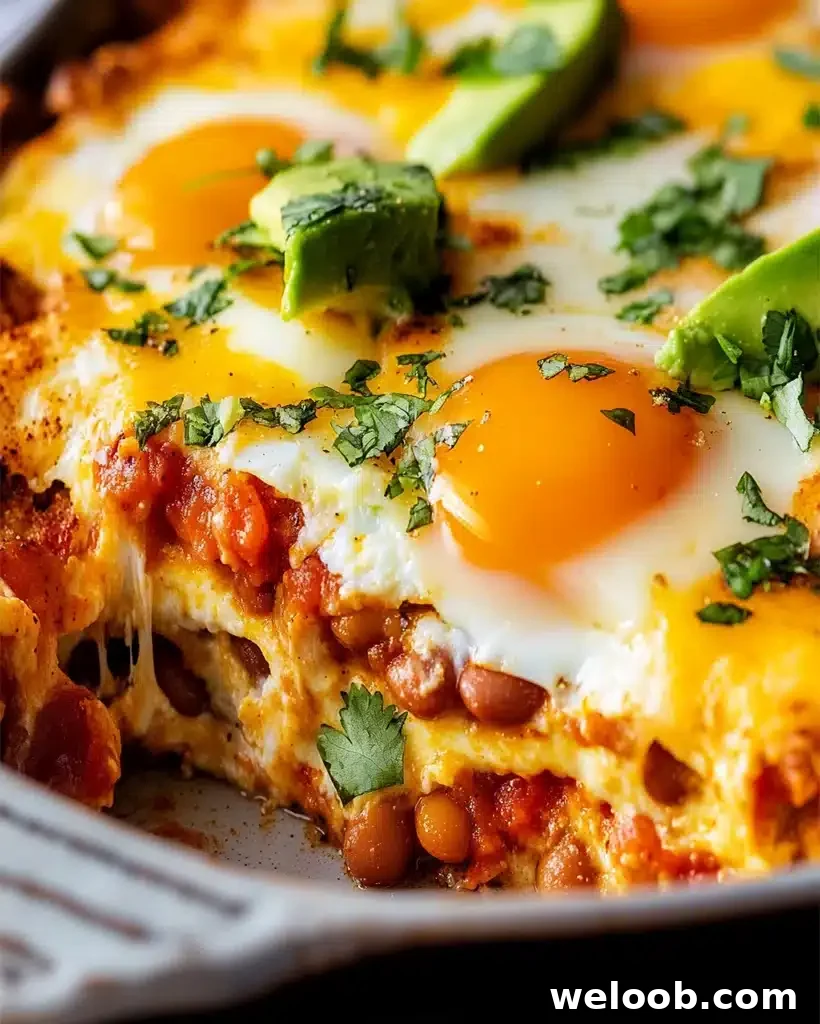
Welcome to a flavorful and easy breakfast favorite: Cheesy Baked Huevos Rancheros Casserole. This hearty, Mexican-inspired dish layers tortillas, black beans, salsa, cheese, and baked eggs into a single casserole that’s perfect for busy mornings, brunch with friends, or a comforting weekend meal. The recipe is flexible: keep the cheese for a rich, gooey version; omit or swap cheese for a plant-based alternative to make it vegan-friendly.
Introduction
Huevos Rancheros is a classic Mexican breakfast that traditionally pairs fried eggs with tortillas and salsa. This Cheesy Baked Huevos Rancheros Casserole captures those bright, savory flavors in a convenient casserole format. By assembling the layers and baking the eggs in the dish, you save time at the stove while creating a satisfying meal that feeds a crowd. The casserole balances protein and fiber from eggs and black beans, and it’s easily adapted to dietary preferences by changing the cheese, tortillas, or adding extra vegetables.
Ingredients for Cheesy Baked Huevos Rancheros Casserole
Gather the following ingredients. Quantities and choices are flexible to suit taste and dietary needs.
- 30 oz canned black beans, drained
- 3 cups medium, chunky red salsa
- 3–4 cups Mexican cheese blend (cheddar and Monterey Jack work well; use vegan cheese to make it dairy-free)
- 6–8 large eggs (adjust depending on how many servings you want)
- 24 corn tortillas (or flour tortillas if preferred)
- Fresh chopped cilantro, for garnish
- Sliced green onion, for garnish
- Chopped avocado, for garnish
Substitutions:
- To make the casserole vegan, replace the cheese with a plant-based alternative and swap eggs for scrambled tofu or a vegan egg substitute.
- Use whole wheat or gluten-free tortillas as needed for dietary preferences.
How to Make Cheesy Baked Huevos Rancheros Casserole – Step by Step
Follow these clear steps to build and bake the casserole.
- Preheat the oven to 400°F. Grease a 9×13-inch casserole dish to prevent sticking.
- Create the base layer: Place 8 corn tortillas on the bottom of the dish. Spread 1 cup of salsa evenly over the tortillas. Scatter half of the drained black beans over the salsa and sprinkle with one-third of the cheese.
- Build the second layer: Add another layer of tortillas, top with the remaining beans and another third of the cheese. Pour another cup of salsa over this layer.
- Top and make spaces for eggs: Arrange the final tortillas on top and spread with the last cup of salsa. Use the back of a spoon to make shallow wells where individual eggs will be added.
- Add the eggs: Crack an egg into each well, taking care to keep the yolks intact if you prefer them runny.
- Bake: Place the casserole in the oven and bake for 25–30 minutes, or until egg whites are set. If you prefer softer yolks, begin checking at 20 minutes. For firmer eggs, bake in additional 5-minute increments.
- Garnish and serve: Remove from the oven, let rest for a few minutes, and garnish with chopped cilantro, sliced green onion, and diced avocado before serving.
Helpful Tips
- For extra texture, lightly toast the tortillas in a skillet before layering. This helps them hold up to the moisture in the salsa and beans.
- Add sautéed onions, bell peppers, or mushrooms between layers for more depth of flavor and additional vegetables.
- If preparing ahead, assemble the casserole and refrigerate overnight; add the eggs just before baking for best texture.
Cooking Tips for Best Results
- Best equipment: Use a glass or ceramic 9×13 casserole dish for even baking and easy serving.
- Cheese variations: A blend of cheddar and Monterey Jack melts smoothly; pepper jack adds a spicy kick.
- Tortilla choice: Corn tortillas deliver a more traditional flavor, while flour tortillas create a softer, more familiar texture for some palates.
Serving Suggestions
This casserole pairs well with simple sides to round out the meal:
- Mexican rice or refried beans for a heartier plate.
- A light green salad with lime vinaigrette to add freshness and acidity.
- Freshly squeezed orange juice or a lightly sweetened agua fresca for a bright beverage pairing.
Nutritional Information
This recipe provides a balanced combination of protein and fiber from eggs and black beans, making it a nutritious way to start the day.
Estimated nutrition per serving:
- Calories: 400
- Fat: 20g
- Carbohydrates: 45g
- Protein: 18g
- Fiber: 10g
- Vitamins: A good source of vitamins A and C, plus calcium from the cheese.
Storage and Leftovers
- Storage: Refrigerate leftovers in an airtight container for up to 3 days.
- Reheating: Reheat individual servings in the microwave for 1–2 minutes or warm in a 350°F oven for 10–12 minutes until heated through.
- Freezing: The casserole freezes well for up to one month. Thaw overnight in the refrigerator before reheating.
Frequently Asked Questions
- Can I make this ahead of time?
Yes — assemble the casserole the night before and store it covered in the refrigerator. Add the eggs and bake when ready.
- How can I make this vegan?
Use a plant-based cheese or omit the cheese entirely, and replace eggs with scrambled tofu or a vegan egg substitute.
- How do I adjust the spice level?
Choose a mild salsa for a gentler flavor, or add chopped jalapeños or hot salsa to increase heat.
- Can I use flour tortillas?
Yes — flour tortillas work fine and yield a softer texture, while corn tortillas provide a more traditional taste.
Conclusion
Cheesy Baked Huevos Rancheros Casserole is a flexible, crowd-pleasing breakfast or brunch dish that delivers bold Mexican flavors with minimal fuss. Layer it, bake it, and enjoy a comforting meal that’s easy to customize for different diets and taste preferences. Try variations with extra vegetables, a spicier salsa, or dairy-free cheese to make the recipe your own.
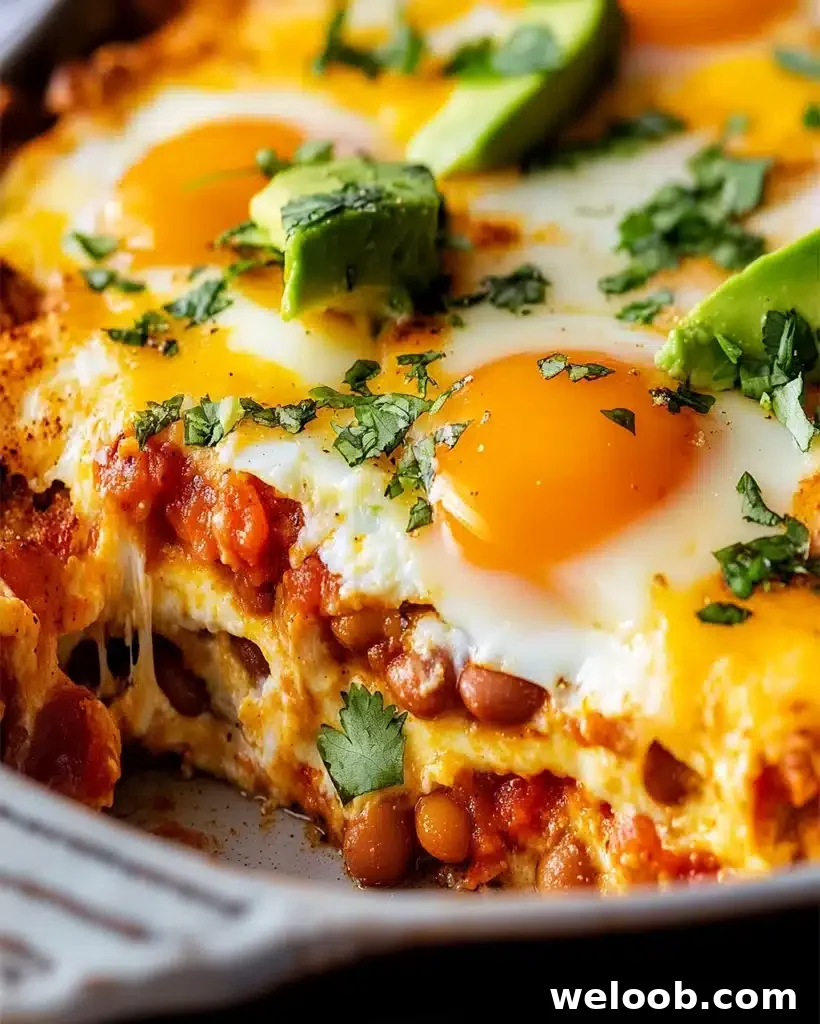
Cheesy Baked Huevos Rancheros Casserole – Easy Recipe
Author: Patri