
Cream Cheese Pie Crust: Tender, Flaky and Foolproof

Tender & Flaky Cream Cheese Pie Crust (Foolproof!)
My cream cheese pie crust is a delightful variation on the classic all-butter crust. It combines rich butter with cream cheese for a tender, slightly tangy crust that bakes into delicate, flaky layers. The cream cheese contributes fat and moisture for extra tenderness, while the cold butter creates the crisp golden layers we love. Made in a food processor, this crust is quick to prepare and versatile enough for fruit pies, custards, quiches, and small baked treats.

This recipe was developed over many tests and adjustments. I experimented with different flours, ratios of cream cheese to butter, and various liquids to achieve a crust that’s easy to make, reliably sturdy enough for both juicy fruit fillings and creamy custards, and delightfully tender so the crust competes with—rather than hides behind—the filling.
My approach was to simplify the process so the crust doesn’t feel intimidating like some all-butter methods can. The recipe below is the result: straightforward, consistent, and forgiving. I learned a great deal about pie technique from Rose Levy Beranbaum, whose explanations of process and baking science are invaluable.
Ingredients and Key Ratios
The full measurements are listed in the recipe card below, but here’s a brief overview of the most important components and optional substitutions.
- All-purpose flour: A lower-gluten flour is ideal for a tender crust, but tested results show bleached and unbleached all-purpose flour both work well. Use what you have.
- Cream cheese and unsalted butter: Both should be cold. Do not use low-fat or skim cream cheese—the full-fat version yields the best texture. Pie dough benefits from a high fat proportion; even though cream cheese is fatty, it also adds protein, so I kept a generous amount of butter to achieve a tender yet flaky structure.
- Sour cream: I prefer a small amount of cold sour cream rather than water or milk. The acidity helps keep the crust tender and prevents it from becoming tough.
An Easy, Reliable Crust
This is my go-to crust because it’s been baked many times with consistently excellent results. Below are a few practical tips to help you get the best texture and handling every time.
- Keep ingredients cold. I keep a bag of flour in the freezer and chill the butter and cream cheese until ready to use. Cold ingredients slow gluten formation and keep the fat from melting prematurely.
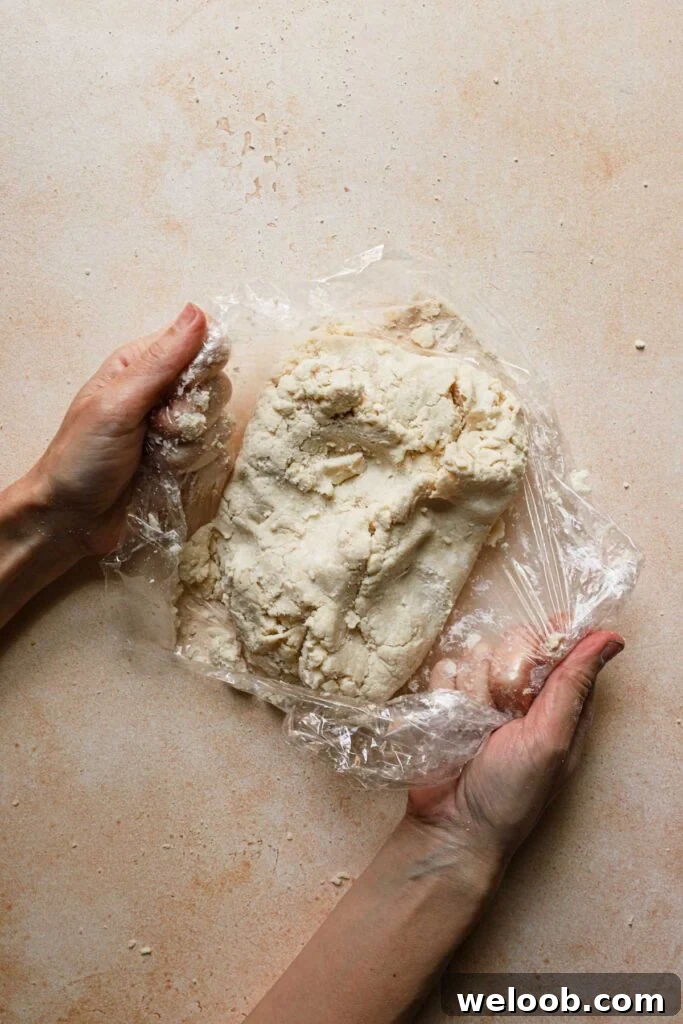
- When forming the dough, avoid kneading. Use gentle pressing motions with plastic wrap or your hands to bring the mixture together. Pressing helps the dough unify without developing gluten.
- If the dough seems too dry, add a teaspoon or two of very cold sour cream (or cold water) using a spray bottle or a spoon. Add sparingly until the dough just holds together.
Best Uses for a Cream Cheese Crust
A cream cheese crust pairs beautifully with both sweet and savory fillings. Here are some ideas to try:
- Classic fruit pies—apple, cherry, blueberry—or rustic fruit galettes for a tender, flavorful base.
- Creamy custard pies like lemon meringue, coconut cream, and pumpkin pie.
- Savory quiches—spinach and feta, bacon and cheddar, or mushroom quiche benefit from the subtle tang of cream cheese.
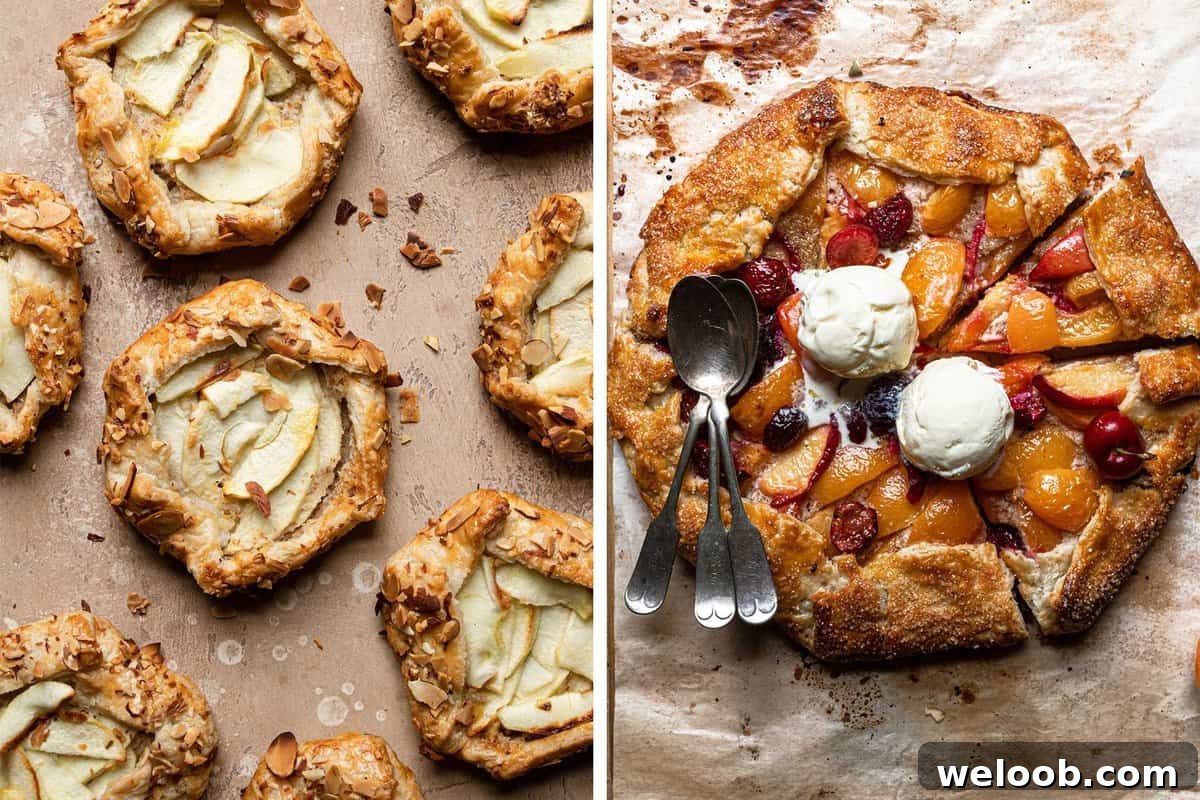
- Hand pies and mini galettes—cut shapes, fill, and bake for portable treats.
Tender & Flaky Cream Cheese Pie Crust (Foolproof!)
15 mins
15 mins
2 9″ discs
Dikla Levy Frances
Ingredients
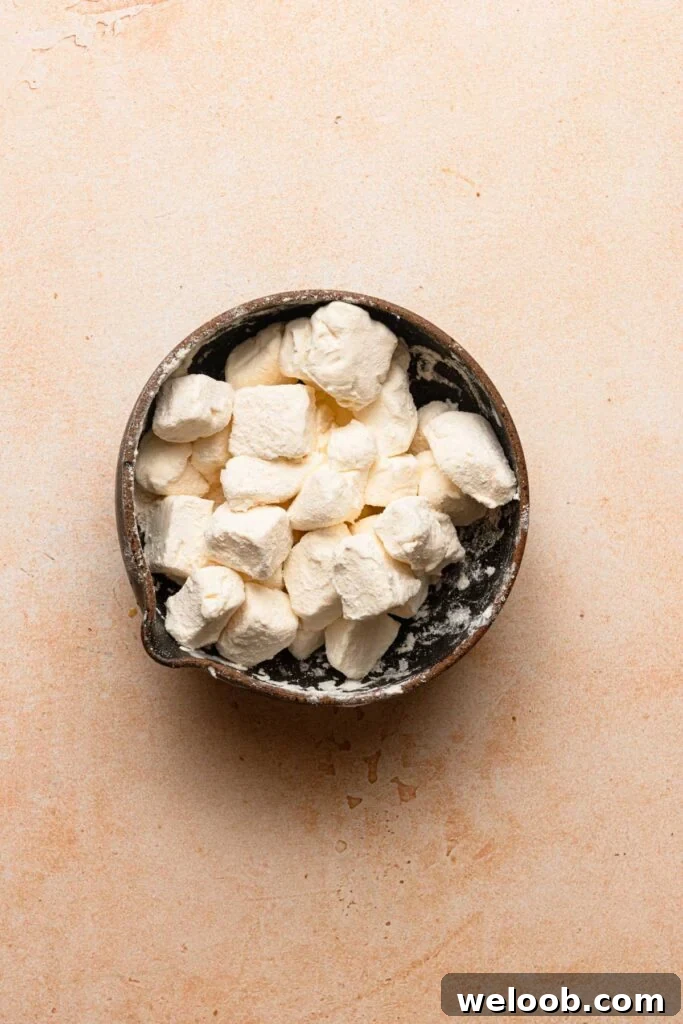
- 1/2 Cup (113 g) Cold cream cheese, cut into 1/2-inch pieces
- 2 1/4 Cups (280 g) All-purpose flour Preferably bleached, but unbleached is fine
- 1/2 teaspoon Salt
- 1/4 teaspoon Baking powder
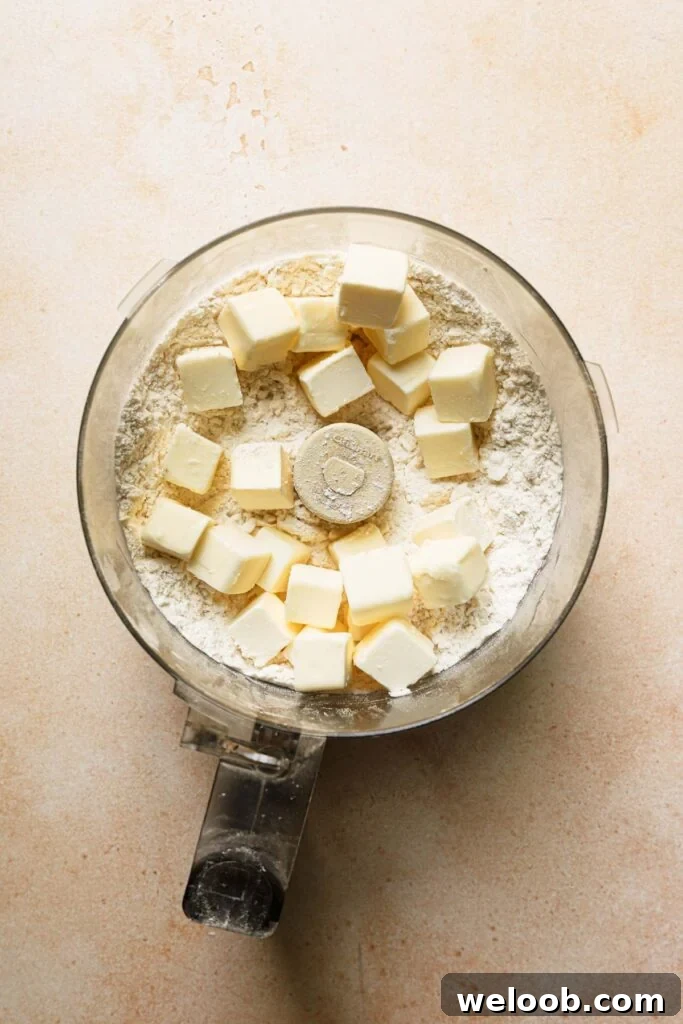
- 3/4 Cup (170 g) Unsalted butter, cold and cut into 1/2-inch pieces
- 3 Tablespoons Cold sour cream
Instructions
- This recipe makes enough for one double-crust 9-inch pie (two 9″ discs). For a single crust, halve the recipe.
- Cut the cream cheese into 1/2-inch pieces and toss them with 2 tablespoons (15 g) of the flour in a small bowl. This helps keep the cream cheese from clumping.
- In the bowl of a food processor, combine the remaining flour (265 g), salt (1/2 teaspoon), and baking powder (1/4 teaspoon). Pulse for 5 seconds to mix.
- Add the cold butter and pulse in 5–8 short bursts (2 seconds each) until the butter is roughly the size of large peas.
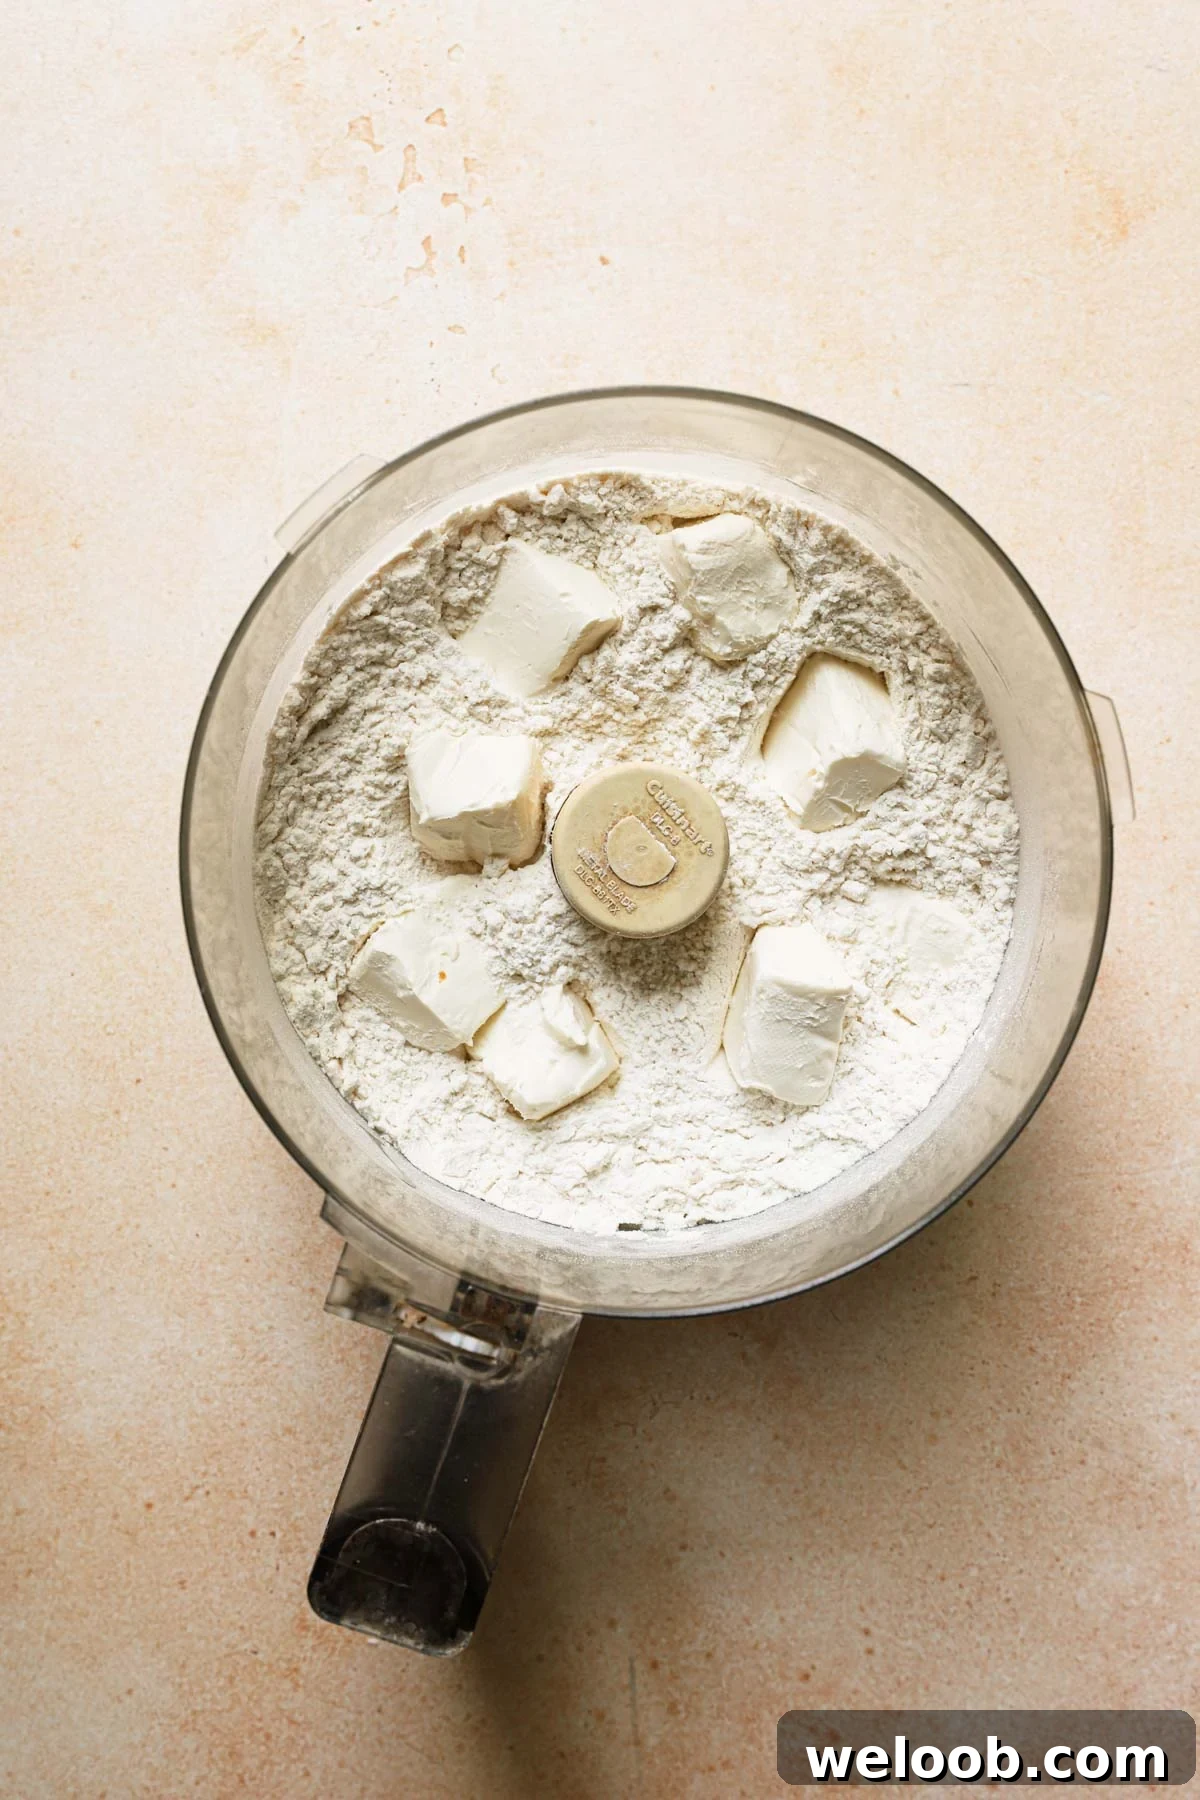
- Add the floured cream cheese pieces and any remaining flour from the bowl. Pulse about 8 times, 2 seconds per pulse, until the mixture is combined but still crumbly.
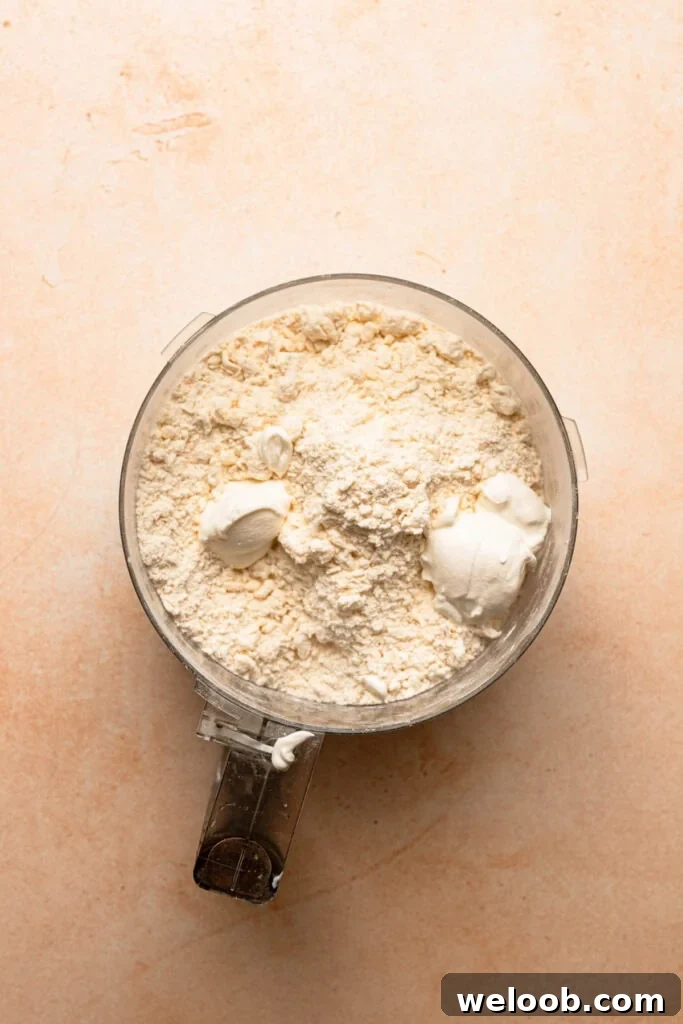
- Remove the lid and dot the mixture with the cold sour cream. Pulse 8–10 more times in short bursts until the dough begins to come together.
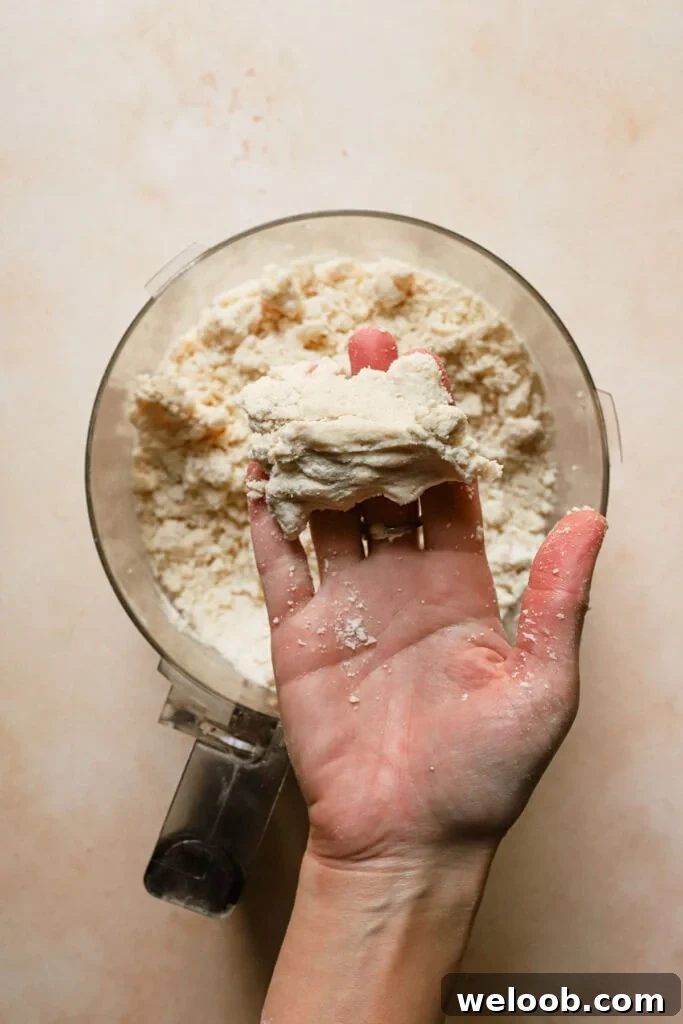
- Test the dough by pressing a small handful in your palm. If it holds together, it’s ready. If it remains very dry and crumbles, add another 1–2 teaspoons of sour cream and pulse again.
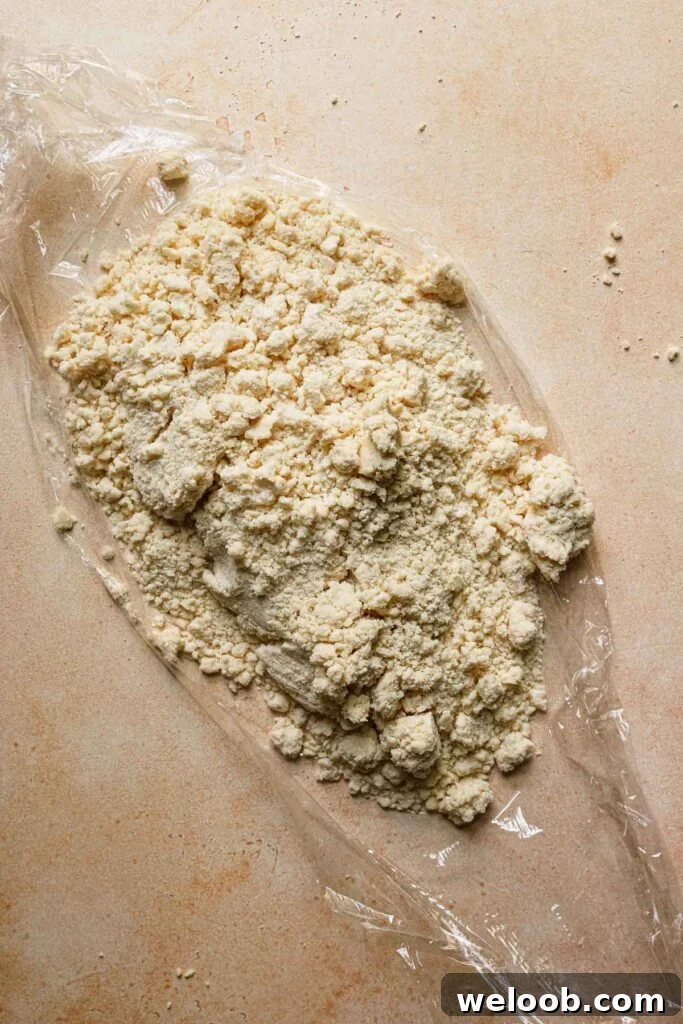
- Transfer the mixture onto a large sheet of plastic wrap. Gather the crumbs together and press into a ball while pulling the wrap around it.
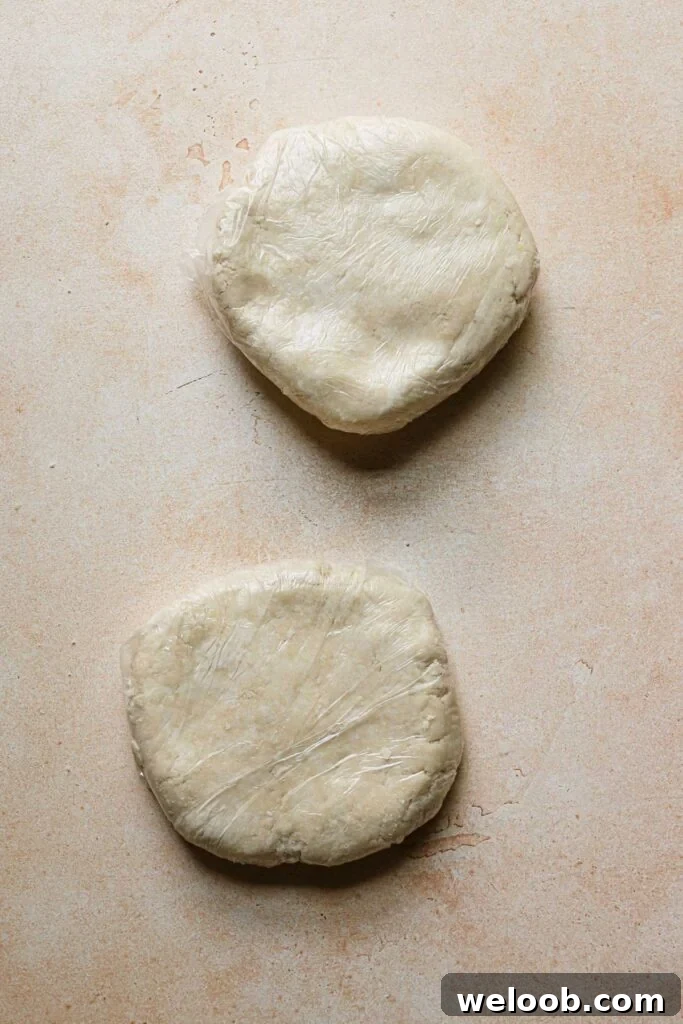
- Divide the dough into two equal portions. Wrap each portion tightly and shape into a disc. Refrigerate for at least 60 minutes or up to three days. For a lattice-top pie, divide into two equal parts; for a double crust pie, reserve about one-third of the dough for the top crust.
- You can prepare the dough up to three days ahead in the refrigerator or freeze it for up to three weeks. Thaw in the refrigerator before using.
- To make small crust treats: roll the dough on a lightly floured surface to about 1/8-inch thickness, cut with cookie cutters, brush with beaten egg, and bake at 425°F (220°C) for 12–15 minutes until golden.