
Creamy Homemade Peanut Butter and Jelly Cheesecake Recipe
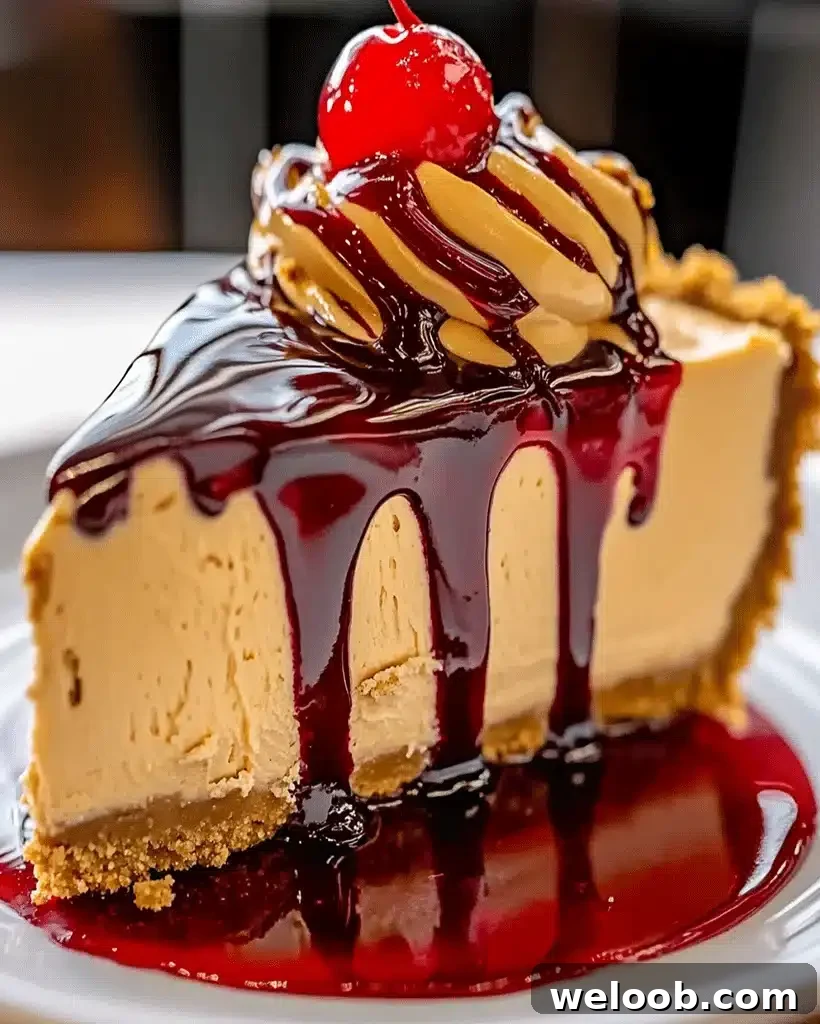
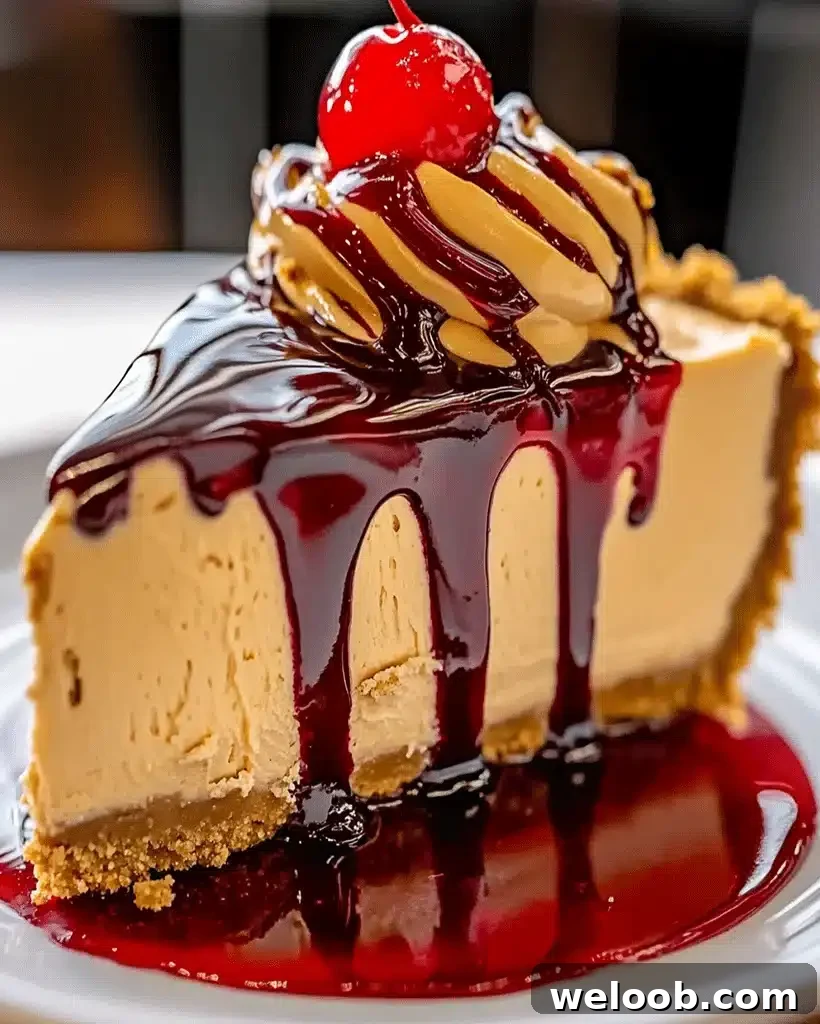
Peanut Butter and Jelly Cheesecake Recipe – Easy Dessert
No reviews
- Author: Patricia
Description
Hello, cheesecake lovers! I’m excited to share a creamy, nostalgic dessert: the Peanut Butter and Jelly Cheesecake. This recipe combines rich, velvety cheesecake with smooth peanut butter and bright strawberry preserves, all resting on a buttery graham cracker crust. The result is comforting, indulgent, and perfect for special occasions or a cozy weekend treat. Follow the steps below for a reliably delicious cheesecake that showcases the classic peanut butter and jelly pairing in a luxurious form.
Ingredients
For the Crust
- 2 cups graham cracker crumbs
- 6 tablespoons butter, melted
For the Cheesecake Filling
- 4 (8-ounce) packages cream cheese, softened
- 1 cup smooth peanut butter
- 3/4 cup sugar
- 3 tablespoons all-purpose flour
- 2 teaspoons vanilla extract
- 3/4 cup heavy whipping cream
- 3 large eggs
- 1 1/2 cups strawberry topping or preserves, warmed
You can substitute the strawberry topping with other fruit preserves such as raspberry or blueberry. For a dairy-free variation, use non-dairy cream cheese and whipped coconut cream.
Instructions
Step 1: Prepare the Crust
Preheat the oven to 350°F (175°C). In a food processor or a sturdy bag with a rolling pin, crush the graham crackers into fine crumbs. Stir in the melted butter until the mixture holds together when pressed. Press the crumbs firmly into the bottom and about 1 inch up the sides of a prepared springform pan. Bake the crust for 10 minutes, then remove and let it cool while you prepare the filling.
Step 2: Make the Cheesecake Filling
In the bowl of a stand mixer fitted with the paddle attachment (or using a hand mixer), beat the softened cream cheese and peanut butter together on medium speed until smooth and well combined. Add the sugar and flour and beat for 1–2 minutes until fully incorporated. With the mixer on low, slowly add the heavy cream and vanilla extract. Increase the speed to medium-high and beat one minute more to incorporate air for a smooth texture. Add the eggs one at a time, mixing briefly after each addition—do not overmix.
Step 3: Assemble the Cheesecake
Pour half of the cheesecake batter into the cooled crust. Spoon half of the warmed strawberry preserves over the batter, then use a skewer or toothpick to swirl the jam gently into the filling. Add the remaining batter and top with the remaining preserves, swirling again for a marbled effect.
Step 4: Bake the Cheesecake
Bake at 350°F (175°C) for 15 minutes. After 15 minutes, reduce the oven temperature to 200°F (93°C) without opening the door, and bake for another 50–55 minutes. The cheesecake is done when the edges are set and the center still has a slight jiggle. Turn off the oven and crack the oven door, leaving the cheesecake inside to cool for 15 minutes to prevent sudden temperature change.
Step 5: Cool and Set
Remove the cheesecake from the oven and cool on a wire rack for about 1 hour. For best results, refrigerate the cheesecake overnight so it can fully set and develop the flavors before slicing.
Notes & Tips
- Room Temperature Ingredients: Make sure the cream cheese and eggs are at room temperature to prevent lumps and ensure a silky texture.
- Swirl Effect: Use a toothpick or skewer to make a gentle swirl with the preserves. A light hand creates an attractive marbled pattern without overmixing.
- Baking Time: Ovens vary, so check the cheesecake at the 50-minute mark during the low-temperature bake. The center should be slightly jiggly but not liquid.
- Pan Choice: A springform pan makes removal easier, but a well-lined round cake pan will work in a pinch—use parchment for easy release.
- Preventing Cracks: Cooling gradually helps avoid cracks. The initial higher temperature helps set the edges, and the lower temperature finishes the bake gently.
Serving Suggestions
Serve slices chilled with a dollop of whipped cream, a sprinkle of chopped peanuts, and an extra spoonful of strawberry preserves if you like. This cheesecake pairs wonderfully with a tall glass of cold milk or a shot of espresso for a balanced finish.
Nutritional Information (approx. per serving)
- Calories: 450
- Fat: 30 g
- Carbohydrates: 40 g
- Protein: 7 g
- Fiber: 2 g
- Sugar: 30 g
- Vitamins: A, C, Calcium (minor amounts)
Values are estimates and will vary based on exact ingredients and portion sizes.
Storage & Leftovers
Wrap the cheesecake or cover the springform pan tightly with plastic wrap or foil and refrigerate for up to five days. For longer storage, wrap individual slices in plastic and place them in an airtight freezer bag. Thaw slices in the refrigerator overnight before serving.
Frequently Asked Questions (FAQs)
Do I need to make this cheesecake in advance?
Yes. This cheesecake tastes better after chilling overnight, which allows the texture to firm up and the flavors to meld.
Can I use a different nut butter?
Absolutely. Almond butter or cashew butter are great alternatives if you prefer a different flavor or have peanut allergies.
What can I substitute for heavy cream?
You can use half-and-half for a lighter version, or full-fat coconut cream for a dairy-free option.
Do I need a springform pan?
A springform pan is recommended for easy removal, but a well-lined round cake pan with parchment can also work. Be sure to chill the cheesecake well before attempting to unmold.
Related Recipes for Peanut Butter and Jelly Lovers
- Cranberry Pineapple Upside-Down Cake – Perfect Festive Dessert
- Mini Cherry Peanut Butter Cheesecakes — Easy Dessert Recipe
Conclusion
Thank you for trying this Peanut Butter and Jelly Cheesecake recipe. I hope you enjoy the creamy peanut butter filling and the bright swirl of strawberry preserves. Feel free to adapt the recipe with your favorite nut butter or fruit preserves, and share any personal twists you discover. Happy baking — I can’t wait to hear how your cheesecake turns out!