
DIY Halloween Sandwich Cookies: Spooky Decorating Ideas
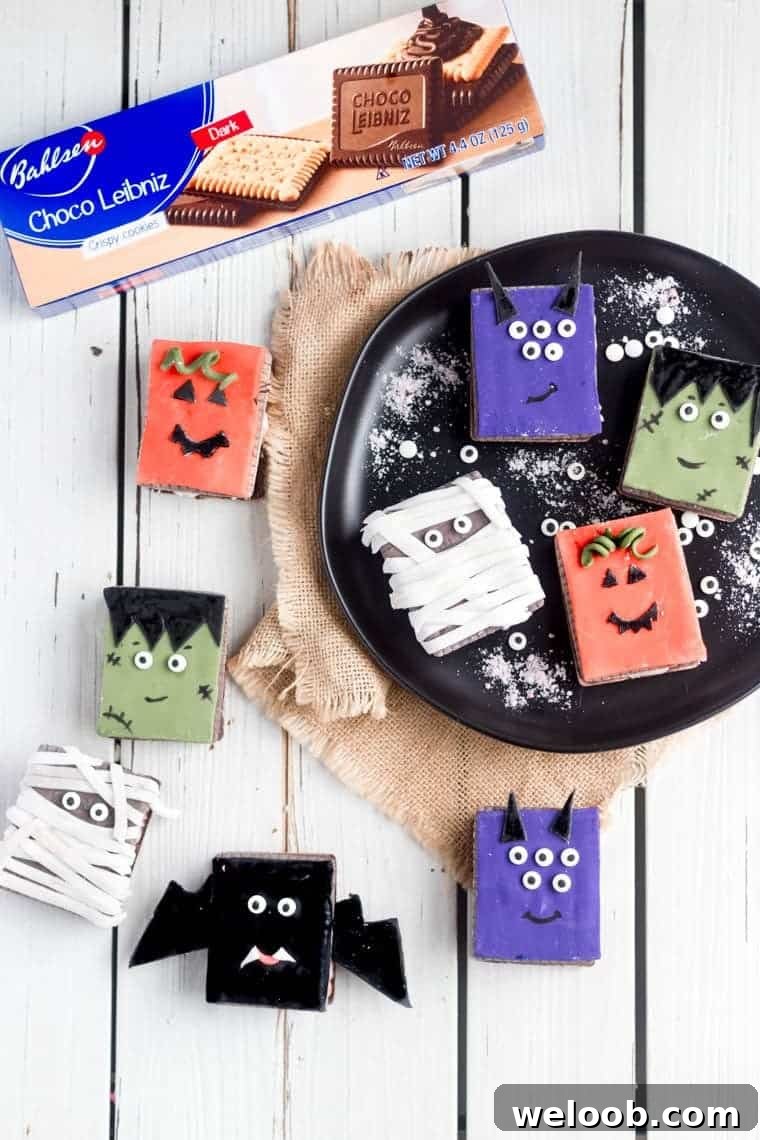
Easy Halloween Decorated Sandwich Cookies
These decorated Halloween sandwich cookies are a fun, easy project for adults and kids alike — crisp dark-chocolate biscuits sandwiched with a creamy peppermint candy filling and topped with playful fondant decorations.
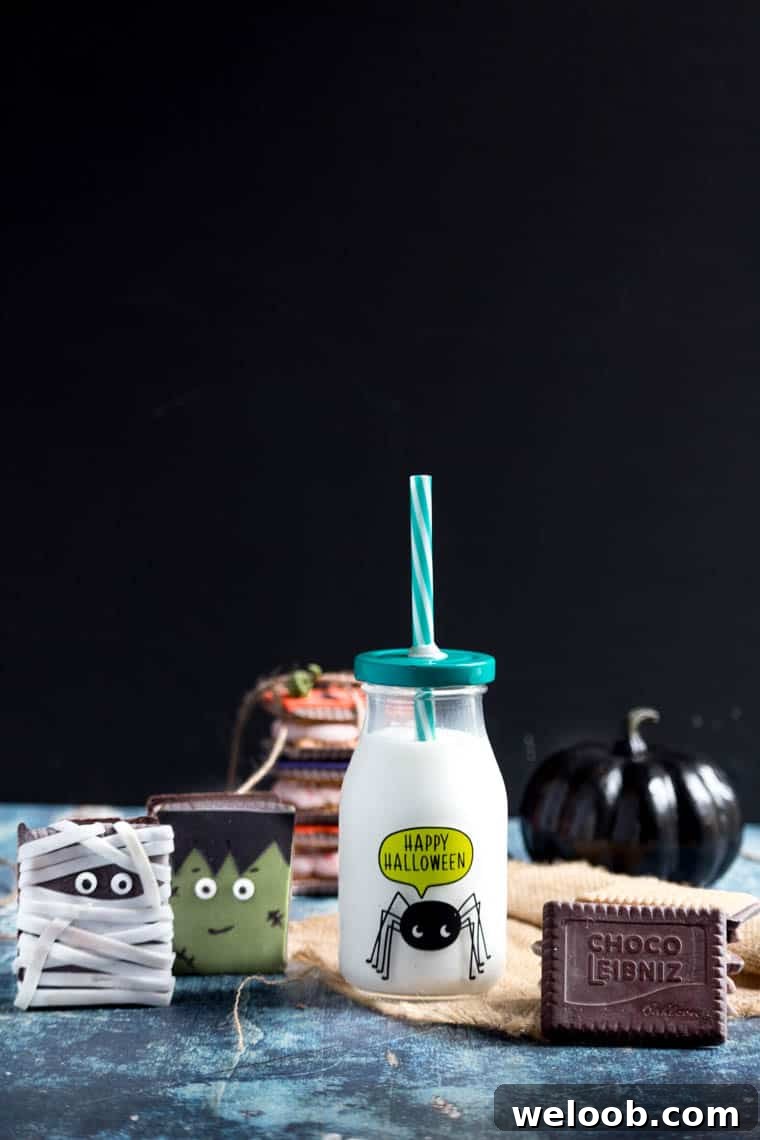
As a baker and cake decorator, I sometimes avoid elaborate projects for holidays because they can be time-consuming and not always kid-friendly. But Halloween is all about having fun, so I turned to a simple shortcut: using crisp, chocolate-coated Leibniz (Bahlsen-style) biscuits as the base. These cookies hold up well, crisp enough to bite into while the chocolate gives a smooth finish — perfect for adding fondant decorations and filling with a peppermint candy frosting.
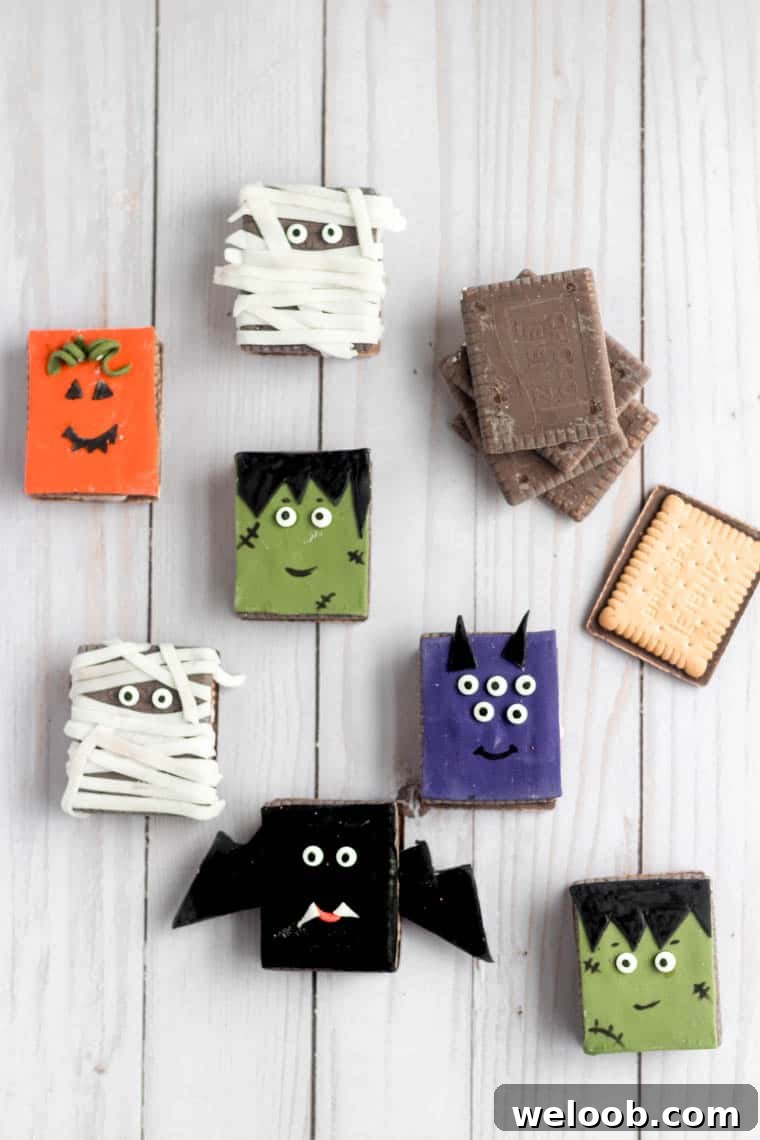
What you’ll need
- Leibniz dark chocolate biscuits (or similar chocolate-coated sandwich biscuits)
- Different colored fondant
- Sharp knife
- Small rolling pin
- Cornstarch (to dust the work surface)
- Edible eyes
- Small paint brush
- Edible black marker
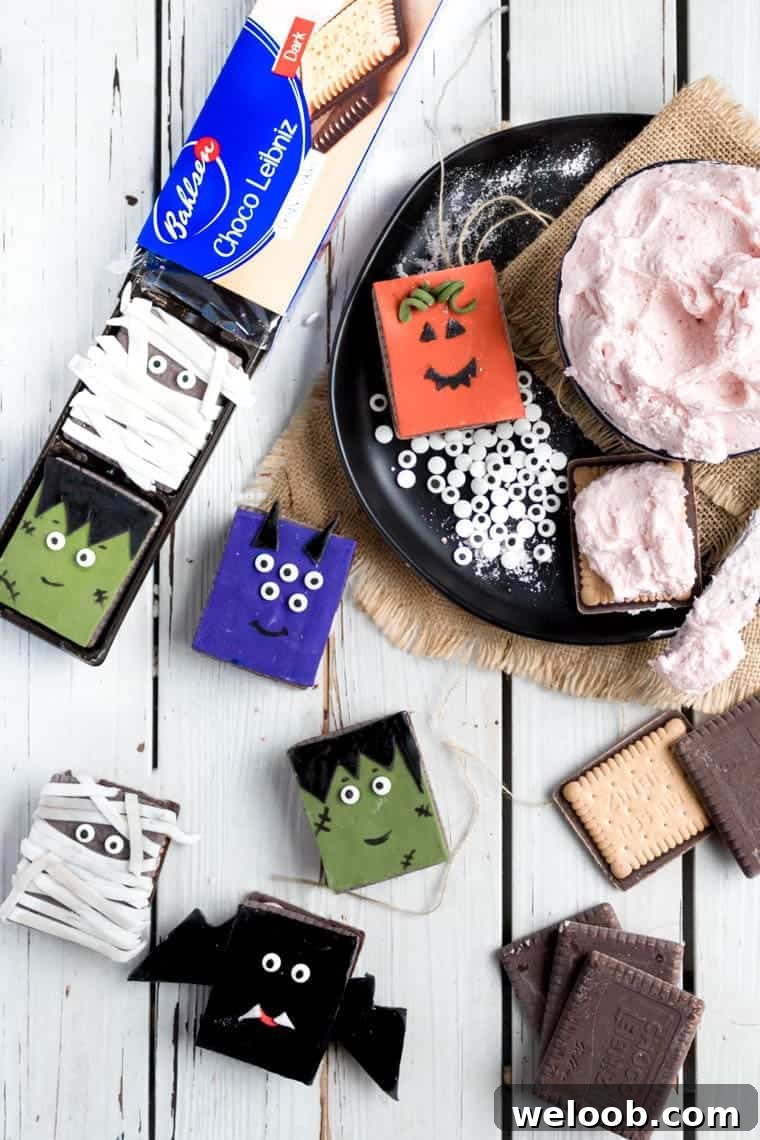
Basic decorating steps
- Lightly dust your work surface with cornstarch to prevent sticking. Roll out a piece of fondant to about 1/4 inch (6 mm) thick.
- Place a Leibniz biscuit on the fondant and trace around it with a sharp knife. Cut out the circle of fondant to match the biscuit size.
- Warm one biscuit in the microwave for about 10–15 seconds so the chocolate softens. The melted chocolate will act as glue.
- Using a small paint brush, apply a thin layer of the softened chocolate to the chocolate-coated side of the biscuit, then place the fondant circle on top and gently press to adhere.
- Continue decorating each cookie as desired, then sandwich with the peppermint candy filling between two biscuits.
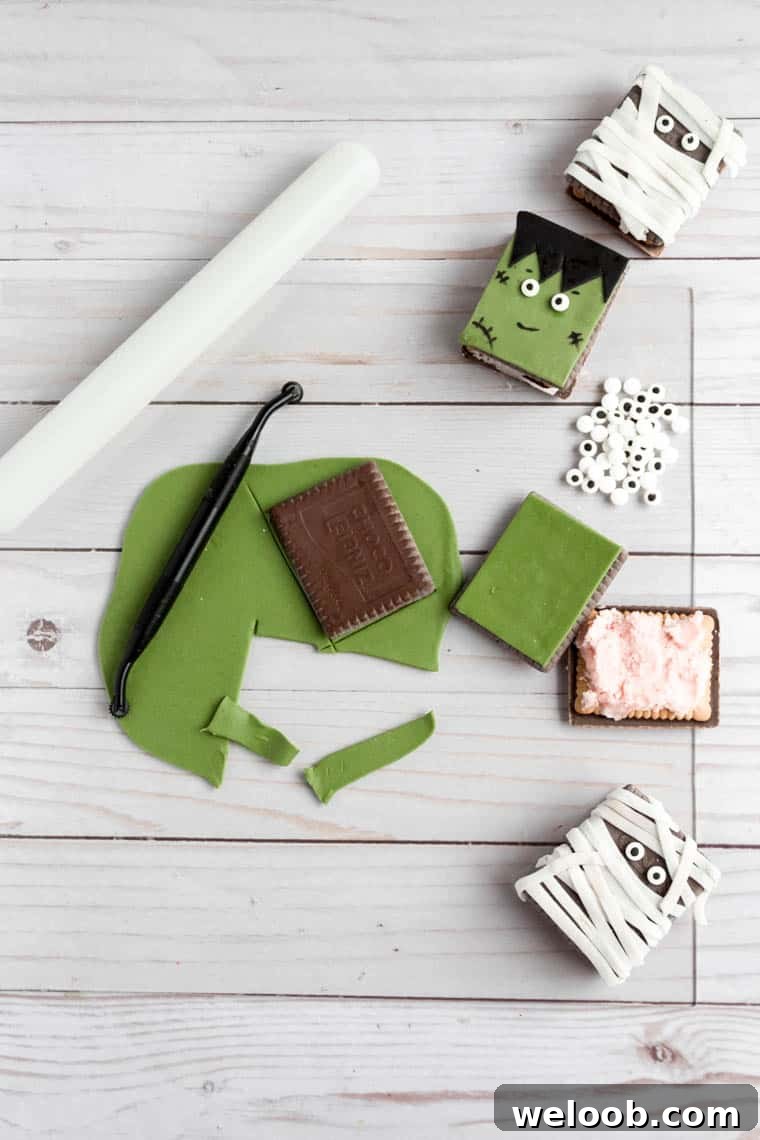
How to create the Mummy cookie
Attach two edible eyes to the fondant using a dab of melted chocolate. Roll white fondant into thin strips and cut small bandage pieces. Lay the strips across the cookie randomly, avoiding the eyes. Start by placing a strip above and below each eye, then fill in the rest for a layered mummy look.

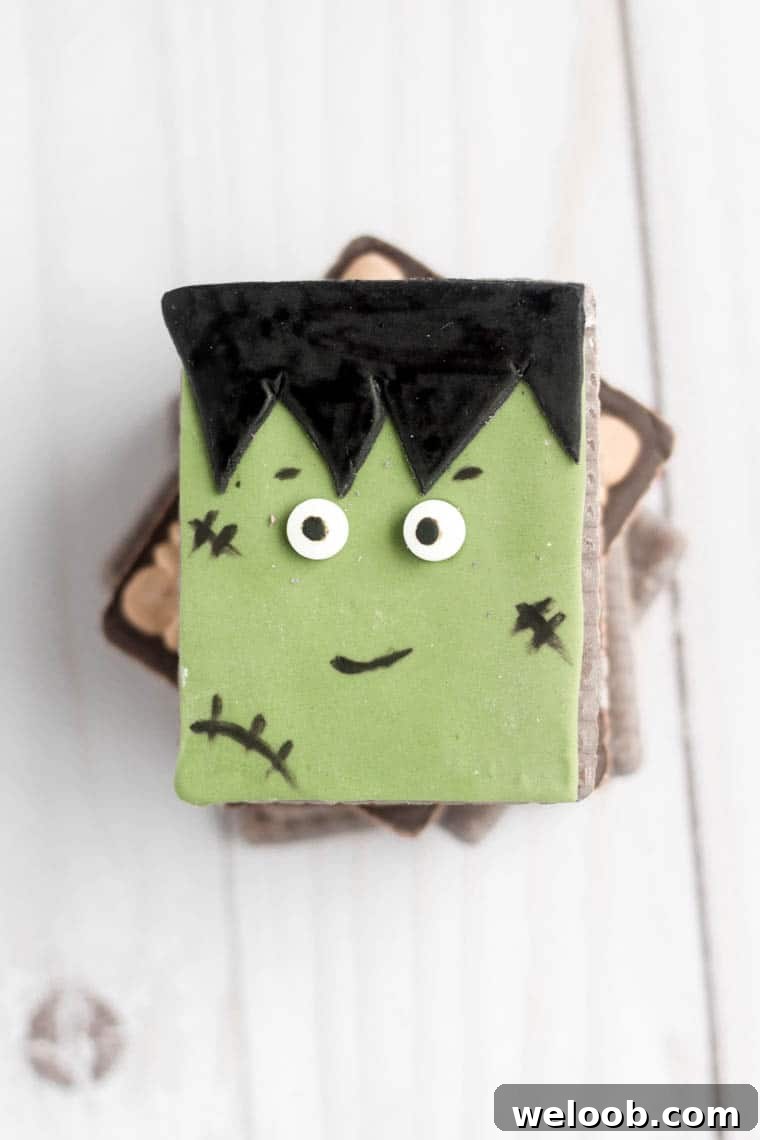
How to create the Frankenstein cookie
Cover the biscuit with green fondant. Cut a strip of black fondant and trim a jagged edge or triangular hairline; attach it to the top of the green face. Add edible eyes, then draw scars or stitch marks with an edible black marker to finish the character.
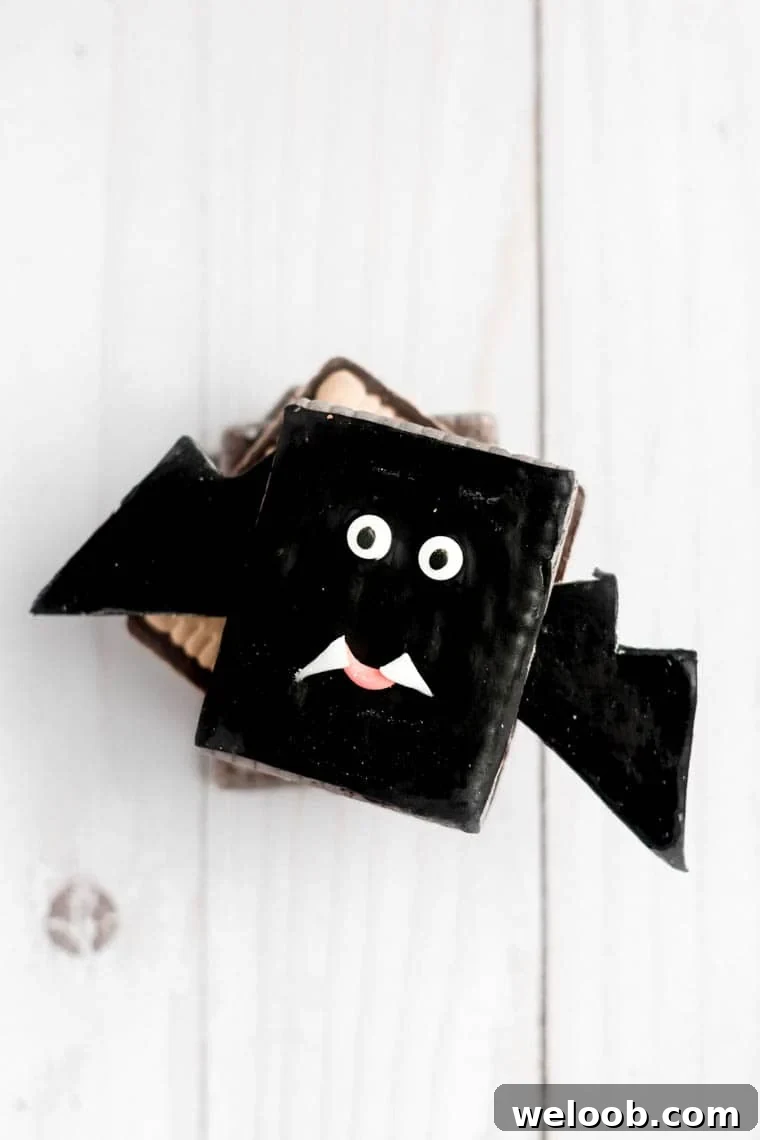
How to create the Vampire cookie
Use black fondant to create a cape shape and attach it to the top of the cookie. Make small mouth pieces and tiny fangs from white fondant, then glue on edible eyes. Use a small amount of red or darker fondant for a little vampire bite if desired.
Peppermint Candy Filling (Creamy Sandwich Cookie Filling)
This minty filling pairs perfectly with the chocolate-coated biscuits and holds up well inside the sandwich cookies.
Prep time: 10 minutes | Yields: about 16 cookies
Ingredients for the filling
- 2 sticks unsalted butter, softened (about 225 g / 8 oz)
- 4 cups powdered sugar (about 450 g / 16 oz)
- Pinch of salt
- 1 teaspoon peppermint extract (increase to 2 tsp for stronger mint flavor)
- 36 peppermint candies (such as Starlight), crushed to a powder (about 200 g / 7 oz)
- 1–2 tablespoons milk (or water to avoid refrigeration)
Instructions for the filling
- Place the peppermint candies in a food processor and pulse until they form a fine powder. If the candies are difficult to process whole, place them in a zip-top bag between two towels and crush with a rolling pin before processing.
- In a standing mixer bowl, beat the softened butter on high until smooth and creamy.
- Switch the mixer to low and add the powdered sugar one cup at a time. Once all sugar is incorporated, increase the speed to high and beat until light.
- Add the salt and peppermint extract and mix to combine.
- Add milk one tablespoon at a time, mixing between additions, until you reach a spreadable but firm consistency. Beat the filling for about 3–5 minutes to ensure a smooth texture.
- Stir in the crushed peppermint candy until evenly distributed. If the filling becomes too stiff after adding the candy, add a small amount of milk (start with 1 teaspoon) and mix until smooth.
- If you use milk in the filling, refrigerate any unused portion. Bring refrigerated filling to room temperature for about an hour before using; it will be firm straight from the fridge. If you prefer not to refrigerate, substitute water for milk and use less liquid as needed.

Tips and troubleshooting
- If the food processor struggles with whole hard candies, pre-crush them with a rolling pin inside a sealed bag before processing.
- Always add liquid gradually to avoid a runny filling. Start with the smaller amount and only add more if necessary.
- For a stronger peppermint flavor, increase the peppermint extract to 2 teaspoons.
- Work quickly when using the softened chocolate as glue — it sets as it cools. Warm the biscuit briefly again if it cools before you press the fondant on.
- Store finished cookies in an airtight container in the refrigerator if your filling includes milk. Bring to room temperature before serving for the best texture and flavor.
These decorated sandwich cookies are an easy, festive way to celebrate Halloween without a lot of fuss. Using ready-made chocolate-coated biscuits plus a simple peppermint filling and easy fondant accents gives you charming, kid-friendly treats in minimal time.