
DIY Super Bouncy Balls at Home: Step-by-Step Guide
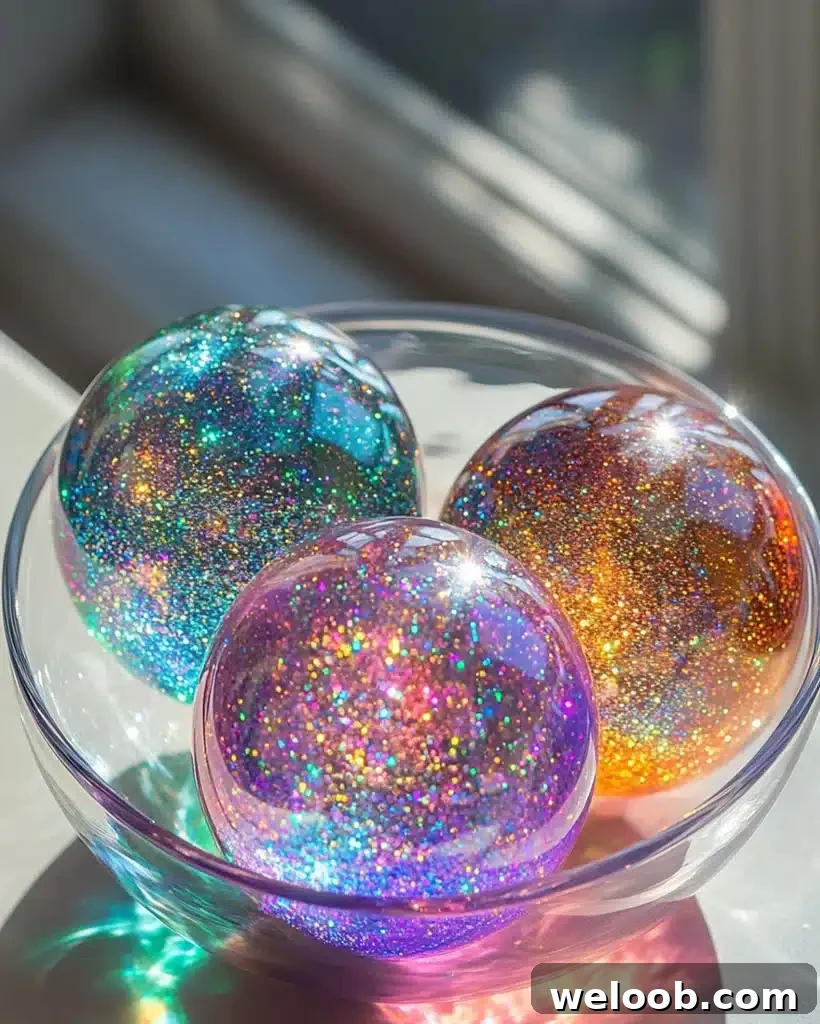
Are you searching for a fun DIY craft or a cool science activity? Learn how to make super bouncy balls at home using just a few common ingredients. This easy homemade bouncy ball recipe is ideal for kids’ science projects, STEM learning activities, and DIY toy-making sessions. It’s simple, inexpensive, and entertaining for both children and adults.
No special materials required
Great for school science fairs and playtime
Customizable with color, glitter, or glow paint
Below you’ll find a reliable recipe, step-by-step instructions, and practical tips to help your bouncy balls bounce higher and last longer.
Why Homemade Bouncy Balls Work (The Science Behind It)
Homemade bouncy balls bounce because of polymerization—a chemical change that happens when white or clear PVA glue reacts with borax (sodium borate). The glue contains polyvinyl acetate, a liquid polymer. When mixed with a borax solution, the polymer chains cross-link and create a stretchy, rubber-like material. That cross-linking gives the ball its firmness and elasticity, producing a satisfying bounce similar to store-bought rubber balls.
If you want a science experiment, try changing the glue-to-borax ratio and measure how the bounce height and texture change. Observing how different ratios affect elasticity is a great hands-on way to explore chemistry and materials science.
What You’ll Need (DIY Bouncy Ball Ingredients)
To make a basic bouncy ball, gather the following simple ingredients:
- ½ cup warm water
- 1 tablespoon borax powder
- 1 to 2 tablespoons clear PVA glue (clear Elmer’s or glitter glue for a sparkly effect)
Optional: food coloring, glow-in-the-dark paint, or fine glitter to personalize your ball.
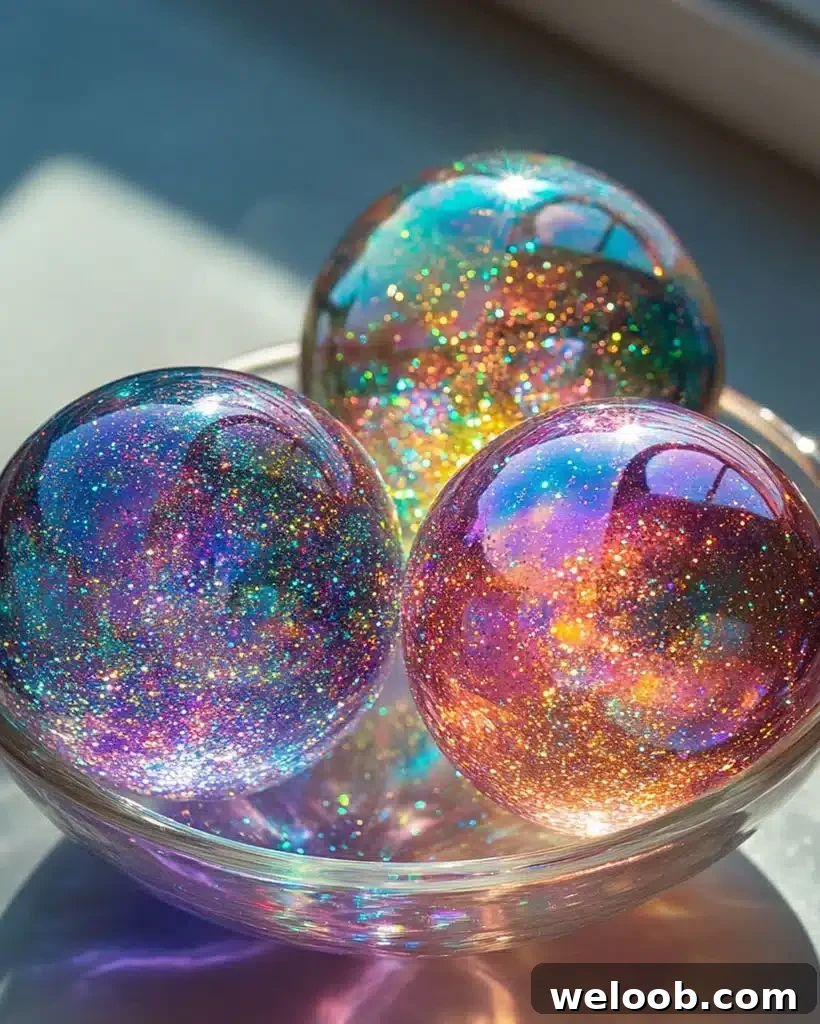
How to Make a Bouncy Ball (Step-by-Step Guide)
Step 1: Make the Borax Solution
Pour ½ cup of warm water into a small bowl. Stir in 1 tablespoon of borax powder until it dissolves completely. Allow the solution to cool slightly before using it.
Step 2: Add the Glue
Pour 1 to 2 tablespoons of glue into the borax solution slowly. If you’re using colored or glitter glue, this is the time to add it. Stir gently so the ingredients begin to combine; you’ll notice the glue starting to clump and thicken as the polymer cross-linking begins.
Step 3: Form the Bouncy Ball
When the mixture begins to solidify, use your hands to squeeze and shape it into a ball. If the mixture feels too sticky, briefly dip the forming ball back into the borax solution, then continue shaping. Work quickly but gently to create a smooth surface.
Step 4: Let It Set and Dry
Once the ball is smooth and holds its shape, set it aside to dry for a few hours. Drying longer will often yield a firmer, bouncier result. After drying, you can roll the ball between your palms to improve its roundness and surface texture.
Tips for Making High-Bouncing Bouncy Balls
Follow these tips to improve bounce and durability:
- Try different types of glue: clear glue gives a translucent look, while glitter glue adds sparkle.
- Avoid overworking the mixture: excessive handling can reduce elasticity.
- Store completed balls in a sealed plastic bag to prevent drying out and cracking.
- Supervise young children and ensure everyone washes their hands after handling borax. Use borax with care—do not ingest and avoid eye contact.
Fun Variations (Customize Your Homemade Bouncy Ball)
Make unique bouncy balls by experimenting with additives:
- Multicolored: swirl different colored glues together before combining with borax for a marbled effect.
- Glow-in-the-dark: mix in glow-in-the-dark paint or pigment for nighttime play.
- Extra sparkle: add fine glitter to the glue for a dazzling finish.
- Different sizes: use more glue for a larger ball or less for a smaller one.
Make It a Learning Activity (STEM Science for Kids)
Turn this craft into a STEM lesson by asking questions and collecting data:
- What happens if you add more glue? More borax?
- How does the bounce height change with different glue-to-borax ratios?
- Does the bounce vary on tile, carpet, or wood floors?
Measure bounce height and texture, record results, and discuss why the polymer structure changes with different ratios and additives.
Troubleshooting: Common Problems and Fixes
If your bouncy ball isn’t turning out as expected, try these fixes:
- Too sticky: dip the ball briefly into the borax solution to firm it up.
- Too hard or won’t bounce: reduce the borax slightly next time for a softer, more elastic texture.
- Won’t hold shape: let the glue sit in the borax solution a bit longer before shaping.
- Cracks or breaks: store the ball in a sealed plastic bag to maintain moisture and flexibility.
Final Thoughts: Start Making Your Own Bouncy Balls Today
Making super bouncy balls at home is an easy, fun, and educational activity for kids and adults alike. Whether for playtime, a school science fair, or a creative craft session, DIY bouncy balls provide a hands-on way to explore chemistry, creativity, and problem-solving. Gather your materials, experiment with colors and additives, and enjoy watching your creations bounce.
Ready to try it? Grab some glue and borax, mix a batch, and start bouncing!