
Flaky Dairy-Free Shortening-Only Pie Crust (Parve)
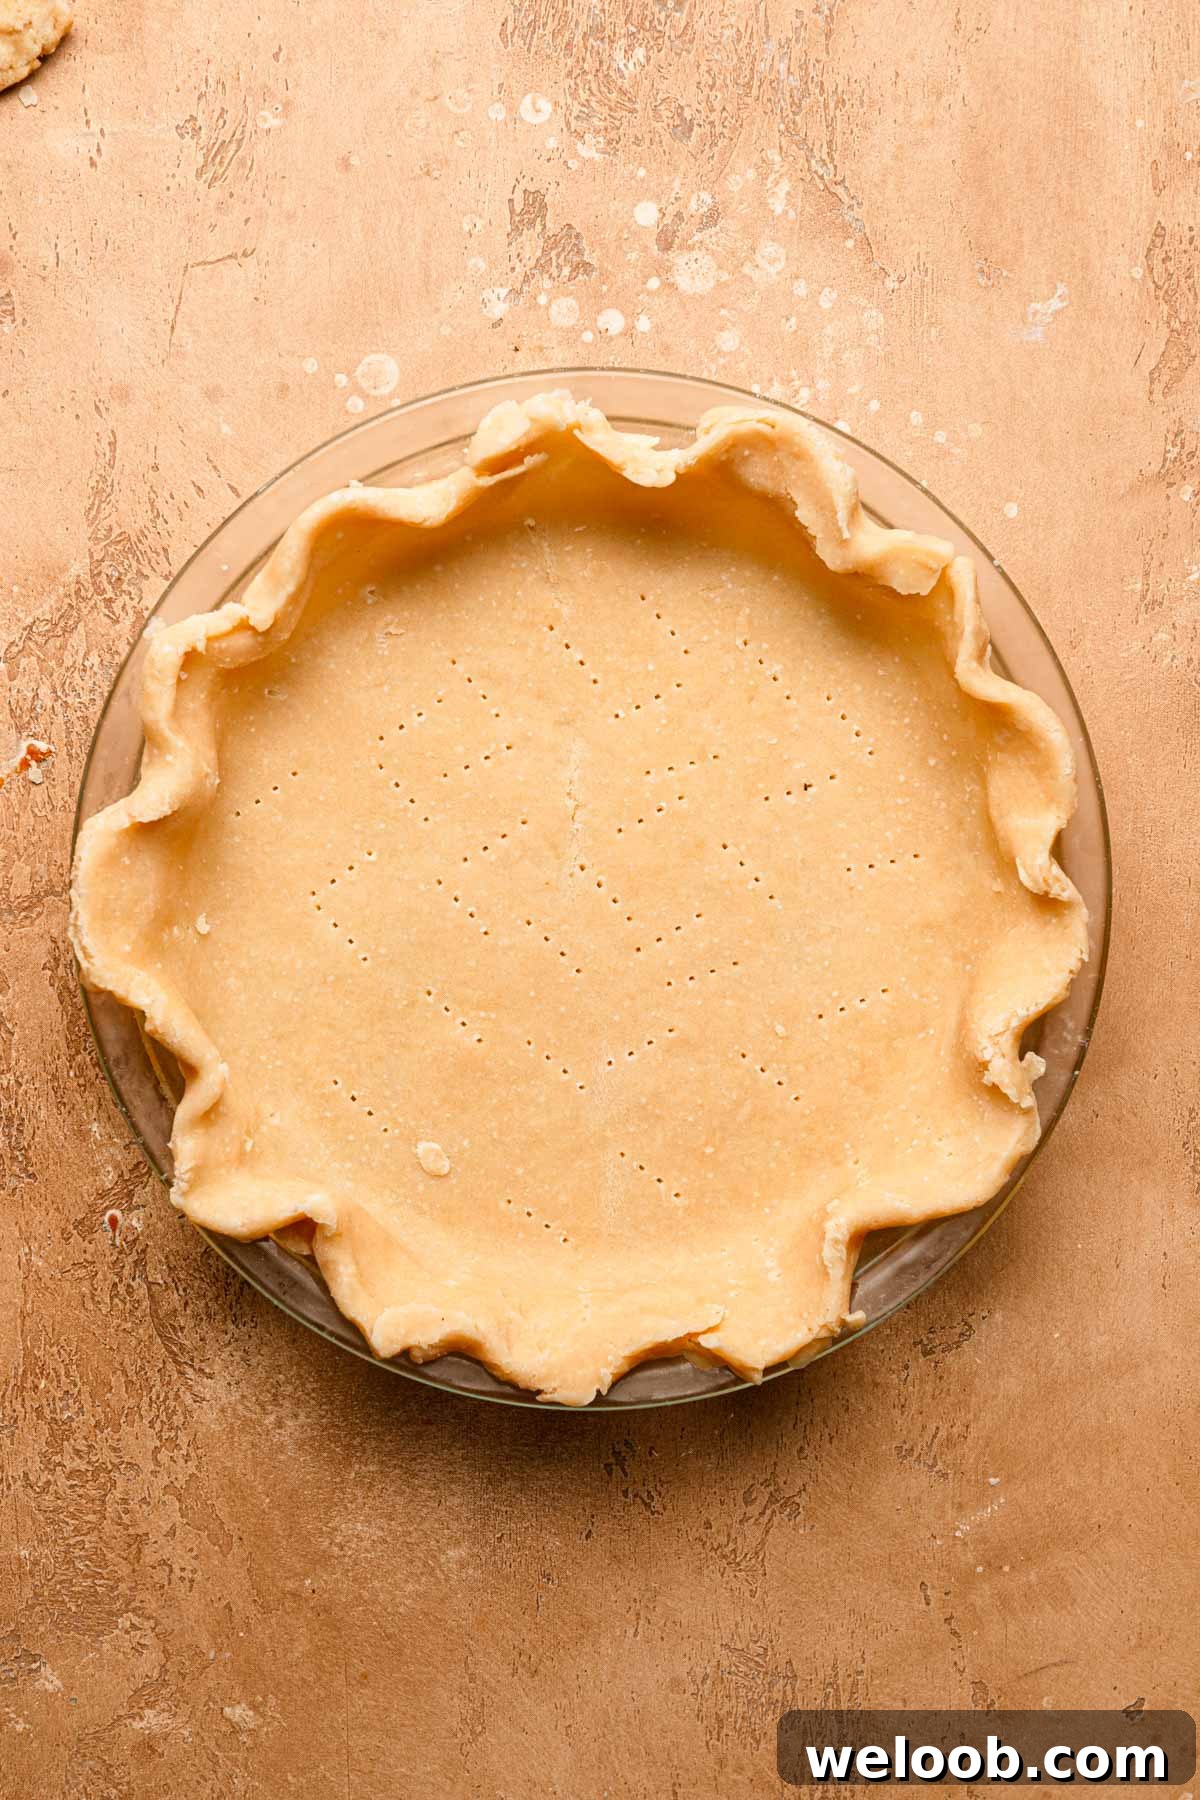
My all-shortening pie crust gives you a reliable, non-dairy alternative to an all-butter crust without sacrificing flakiness or texture. Made entirely with vegetable shortening, this dough rolls smoothly, resists tearing, and bakes into a tender, crisp crust perfect for sweet or savory pies.
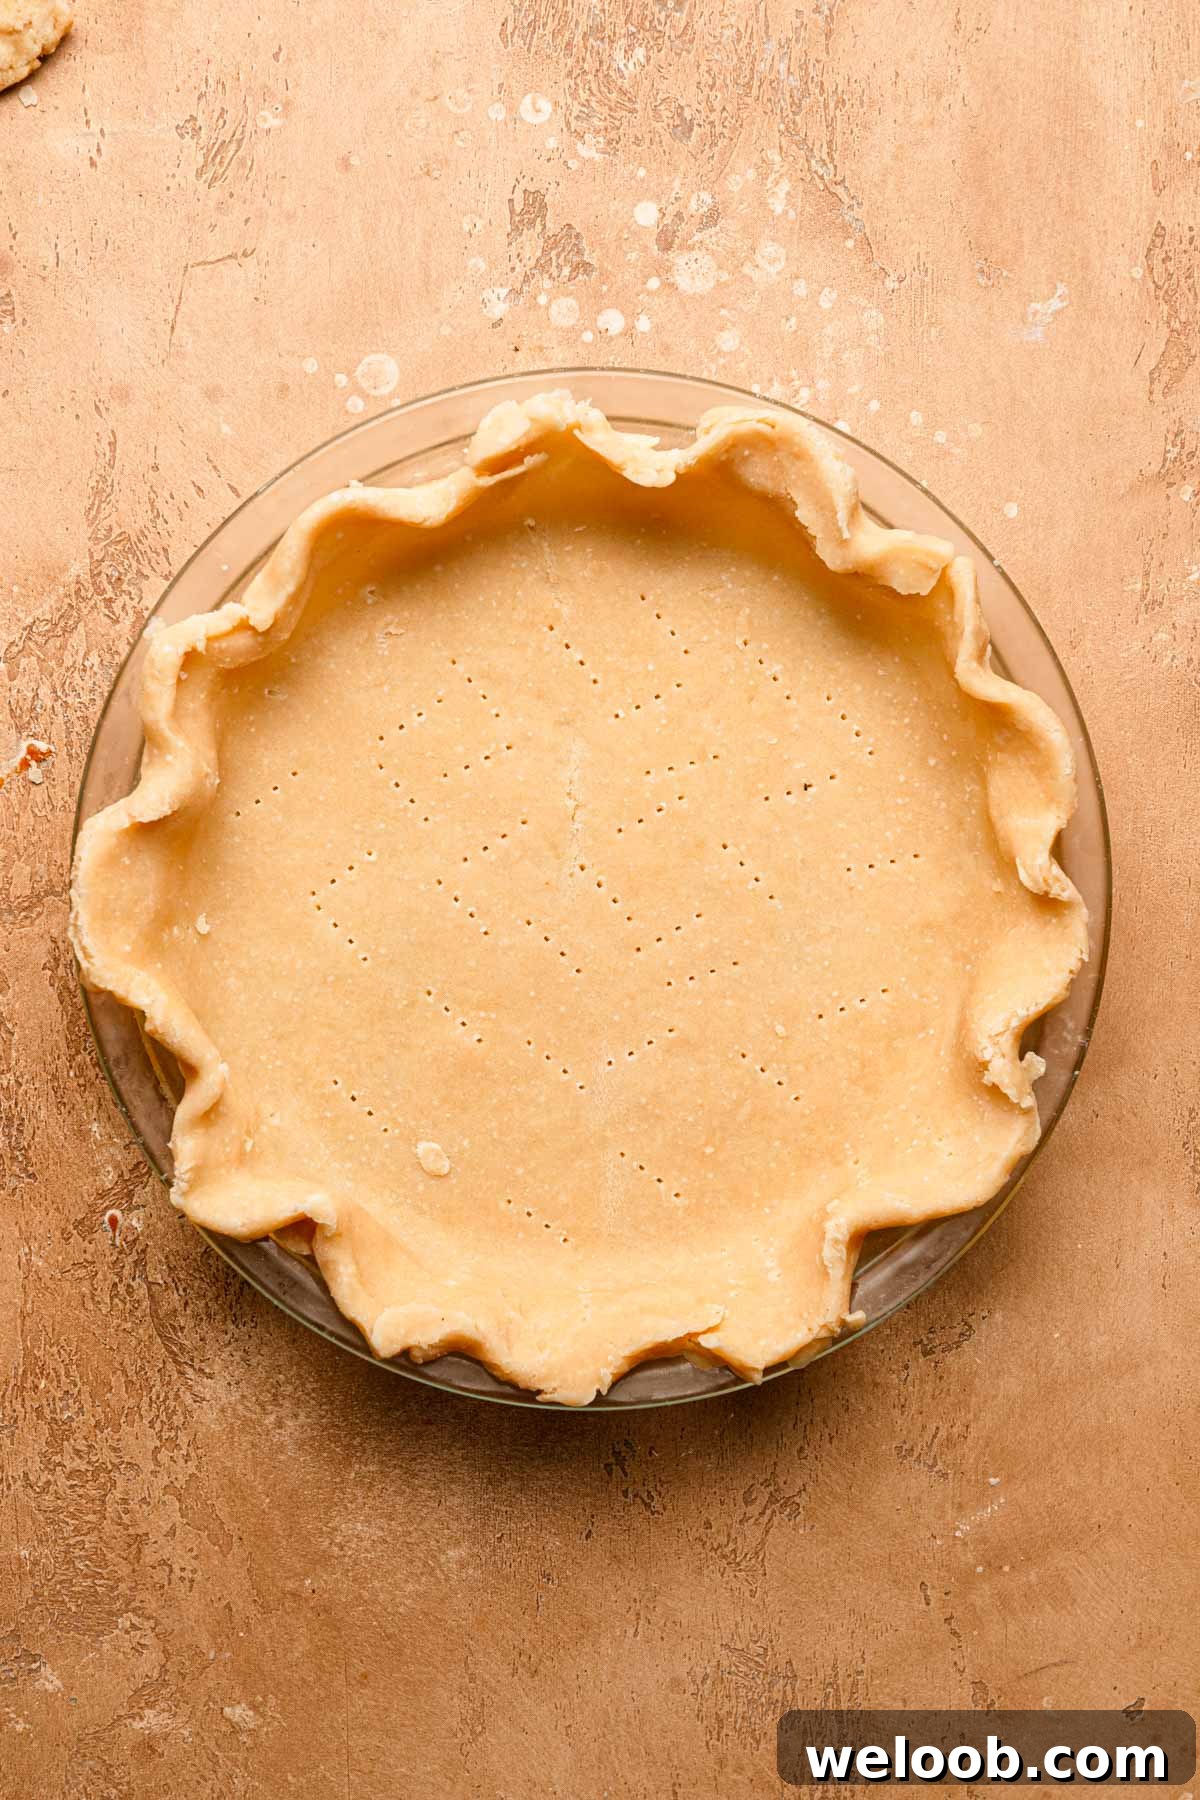
Full disclosure: I avoided an all-shortening crust for years after a disastrous first attempt about a decade ago. The dough tore, became unworkable, and I ended up tossing the whole batch. I’ve always preferred an all-butter crust, but many readers asked for a parve (non-dairy) option for their homemade pies, so I went back to the drawing board. After extensive testing with different shortenings and techniques, I’ve refined a method that produces a dough that is easy to roll and bakes to a light, crisp crust.
If you need a reliable non-dairy pie crust—whether for dietary reasons or holiday baking—this all-shortening crust is a practical, high-quality choice.
The All-Shortening Pie Crust: Problem and Fix
The problem: All-shortening pie dough tends to tear when rolled and shaped.
The cause: Shortening is 100% fat and coats the flour thoroughly. Unlike butter, it contains no water in the fat, so the dough lacks early gluten development and feels fragile and non-elastic.
The solution: Split the flour into two portions. Mix the first portion with the shortening to create a tender, crumbly texture. Reserve the second portion to combine with the water so the dough can develop a little elasticity and become much easier to roll without tearing.
Pastry Cutter vs. Food Processor
Both methods work, but I find a pastry cutter in a bowl gives slightly better results for this recipe. A food processor tends to incorporate water into the flour more quickly, while hand mixing allows a gentler development of elasticity that helps the dough hold together as you roll.
Step-by-step Process and Tips
Shortening behaves differently from butter: it doesn’t solidify the same way and can feel softer. Below are the key tips to make this crust easy to work with, along with step-by-step photos for reference.
- Use plain vegetable shortening. I tested butter-flavored shortening and found it produced a crumbly, sandy dough. Butter-flavored varieties are generally softer and break down faster, which prevents the dough from developing the texture we want.
- Chill the shortening. Shortening won’t firm up like butter, but chilling it for about 30 minutes slows how fast it breaks down into the flour and helps the dough hold together while allowing some gluten to form.
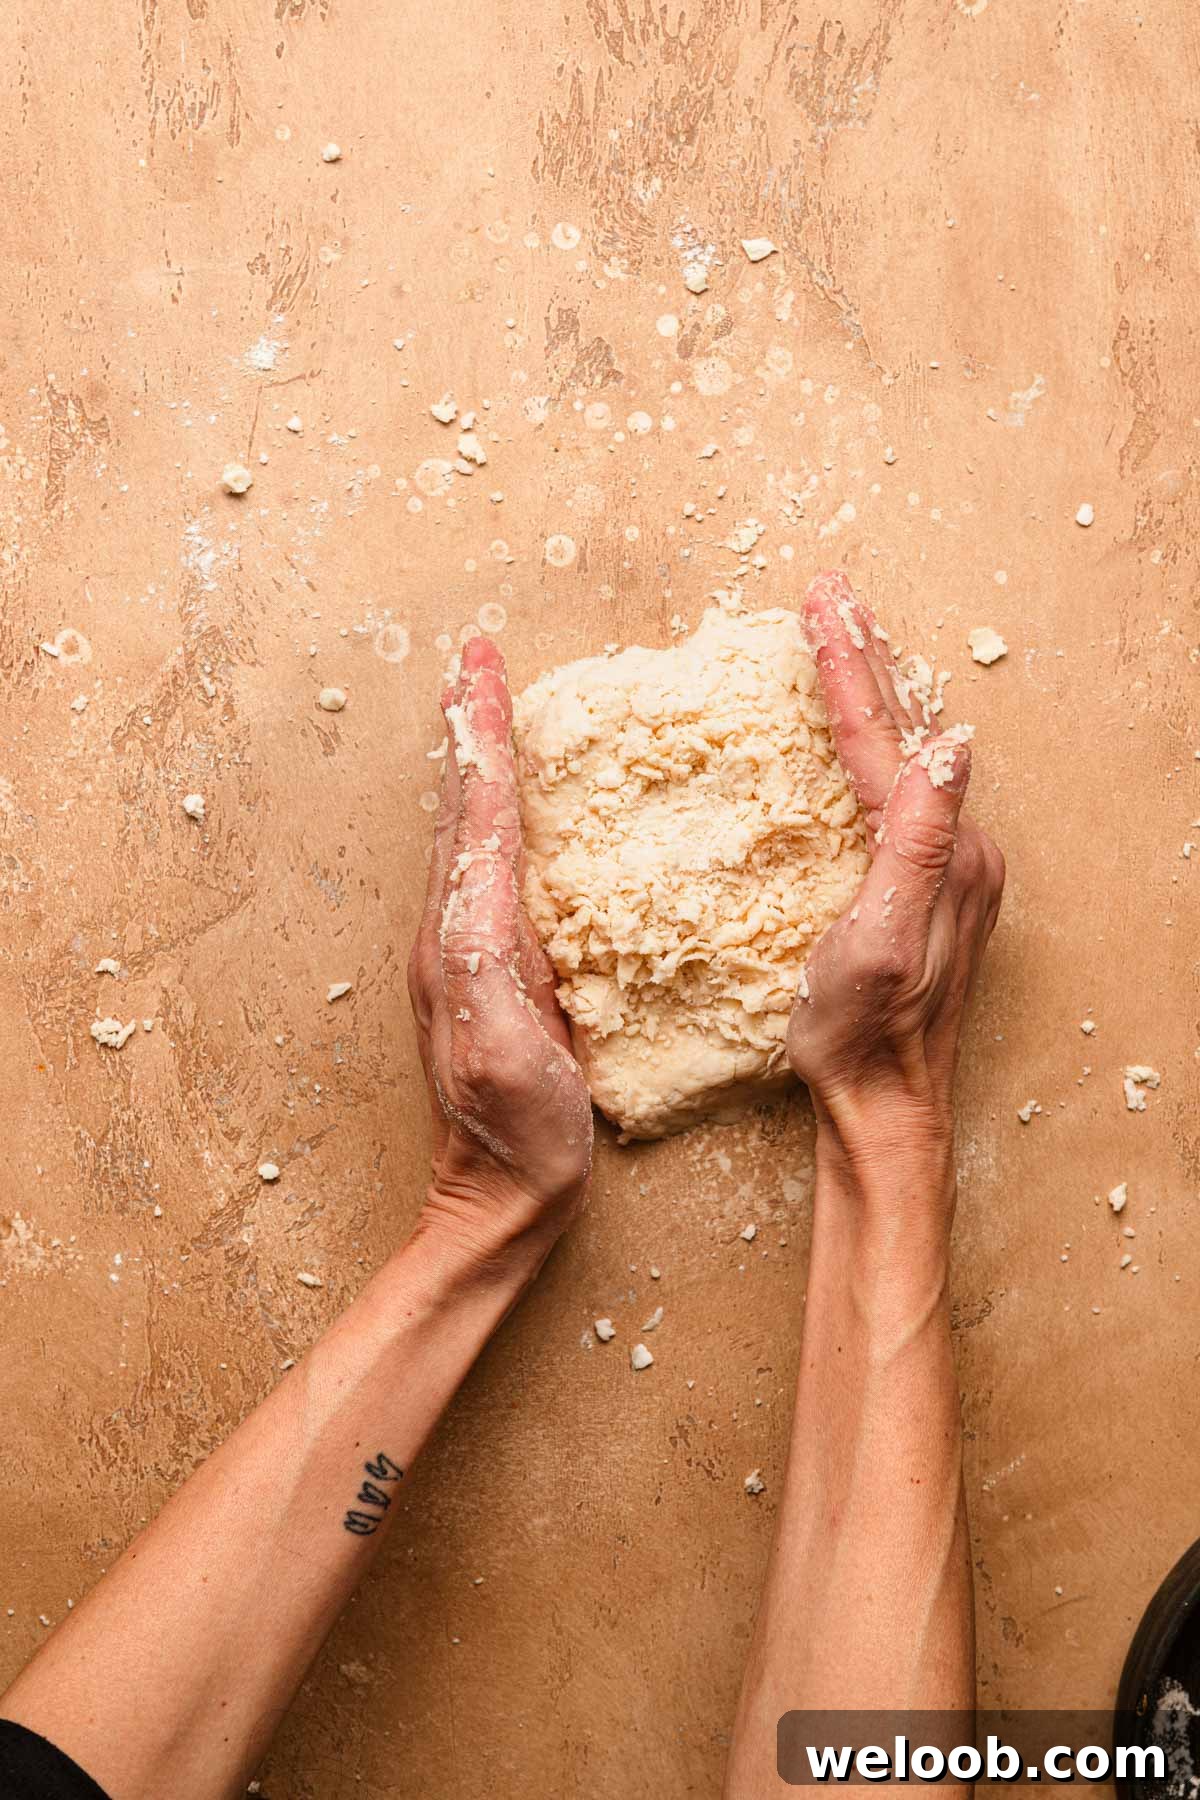
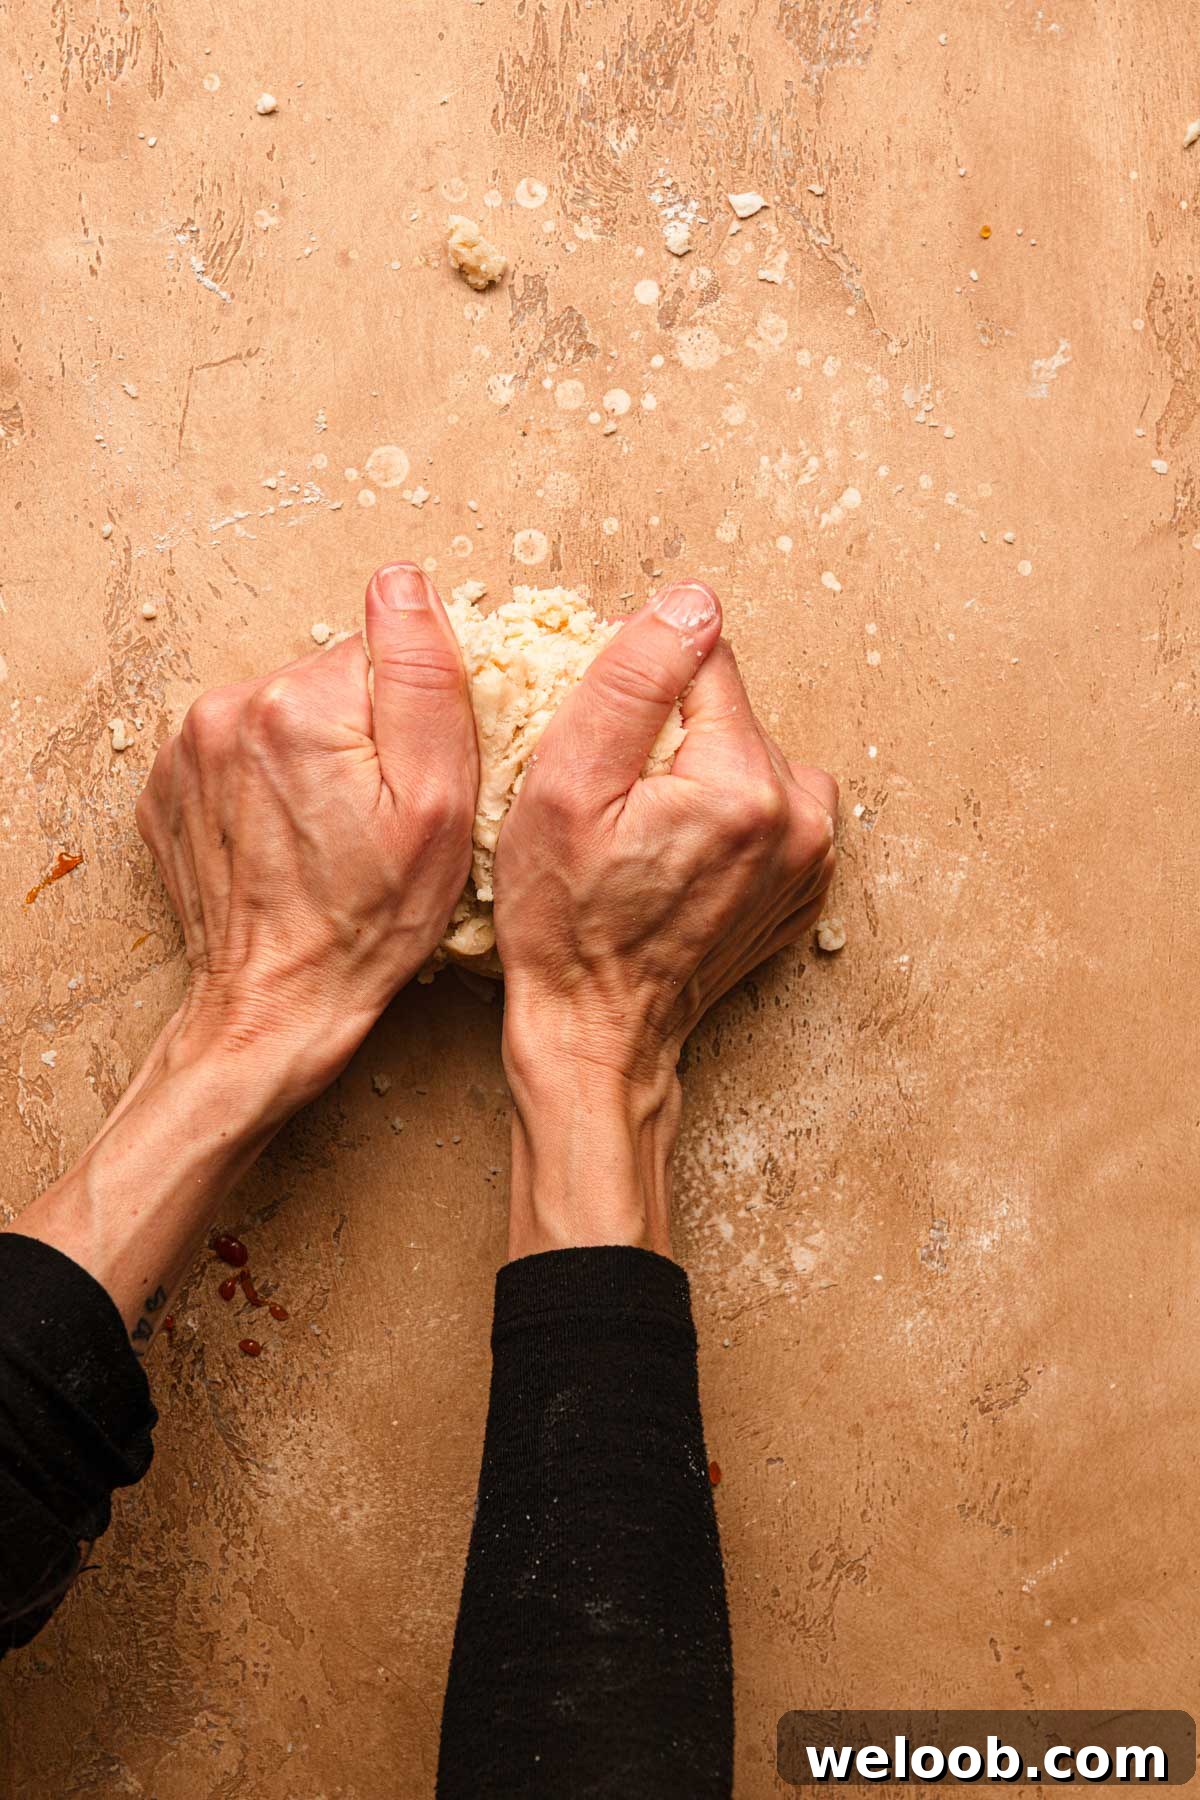
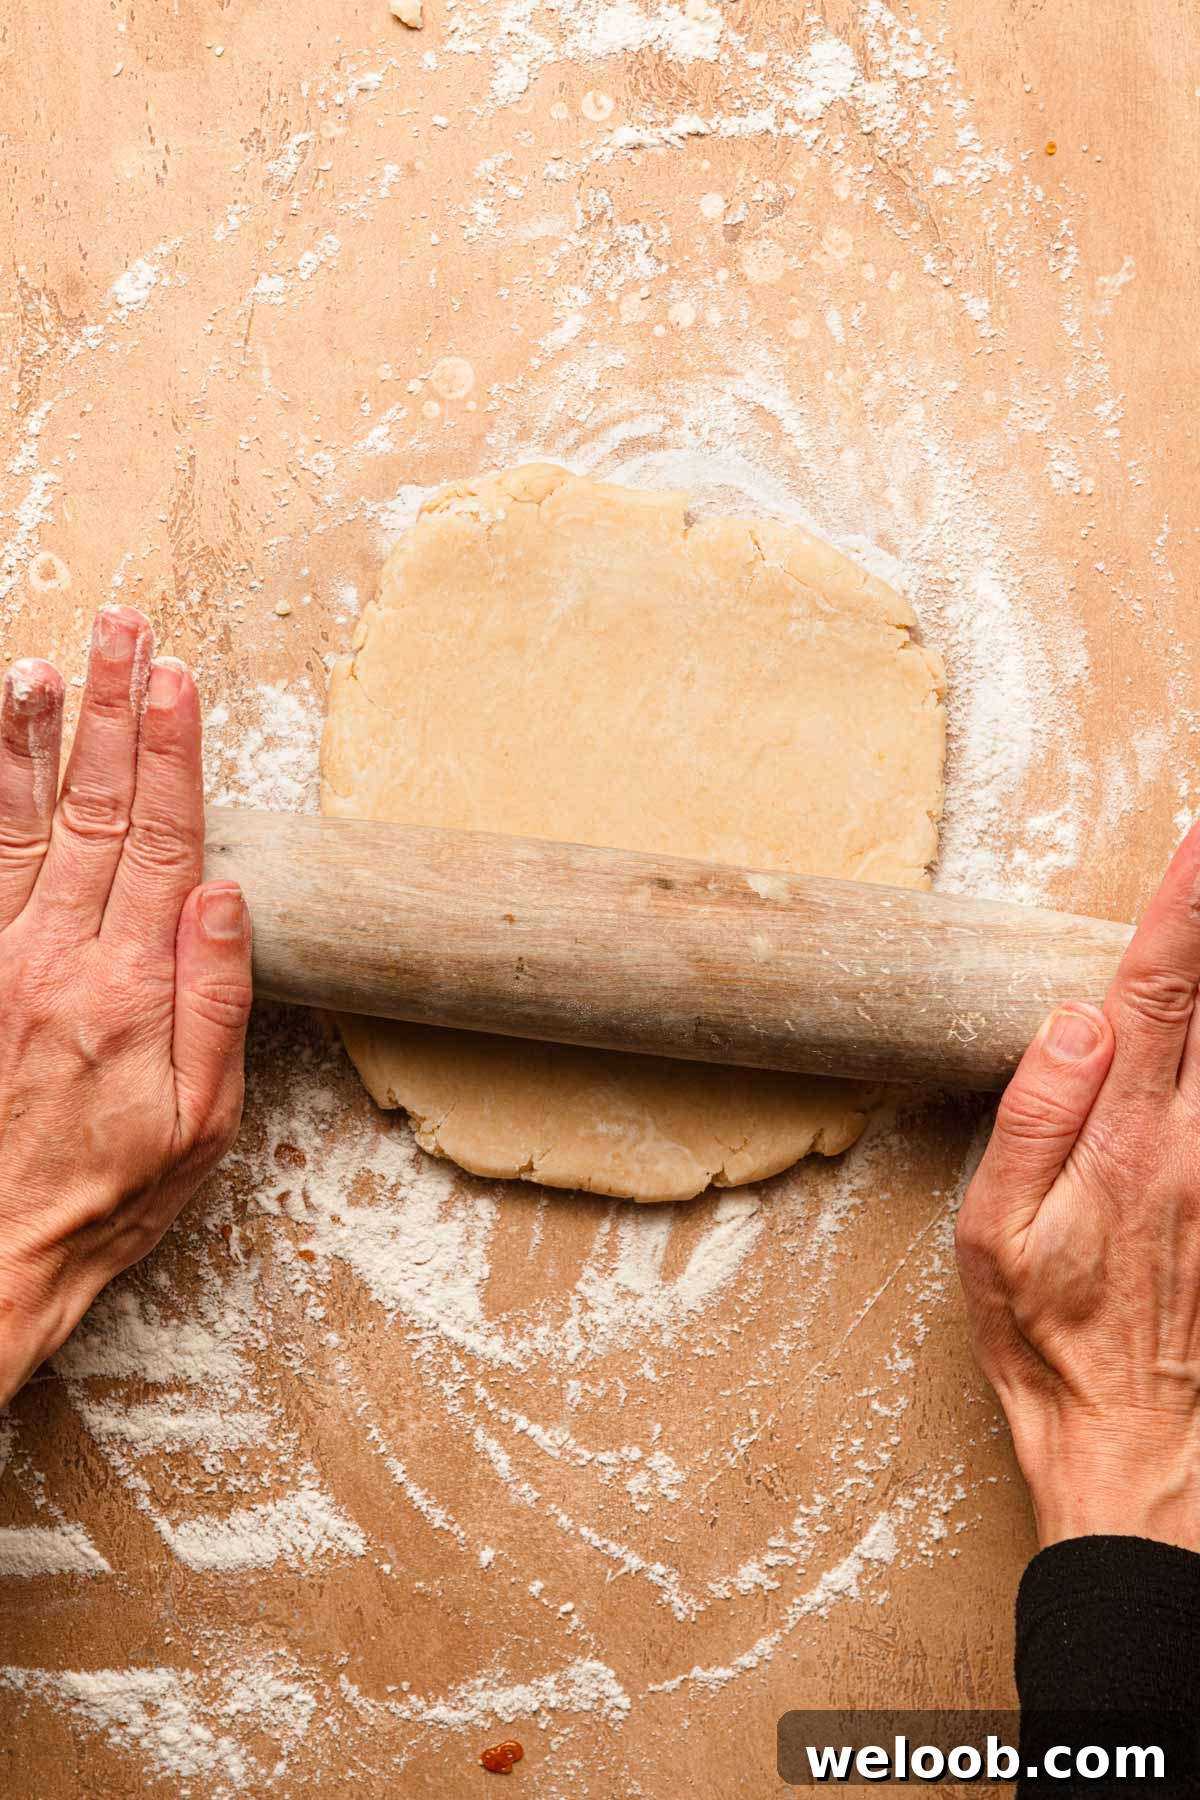
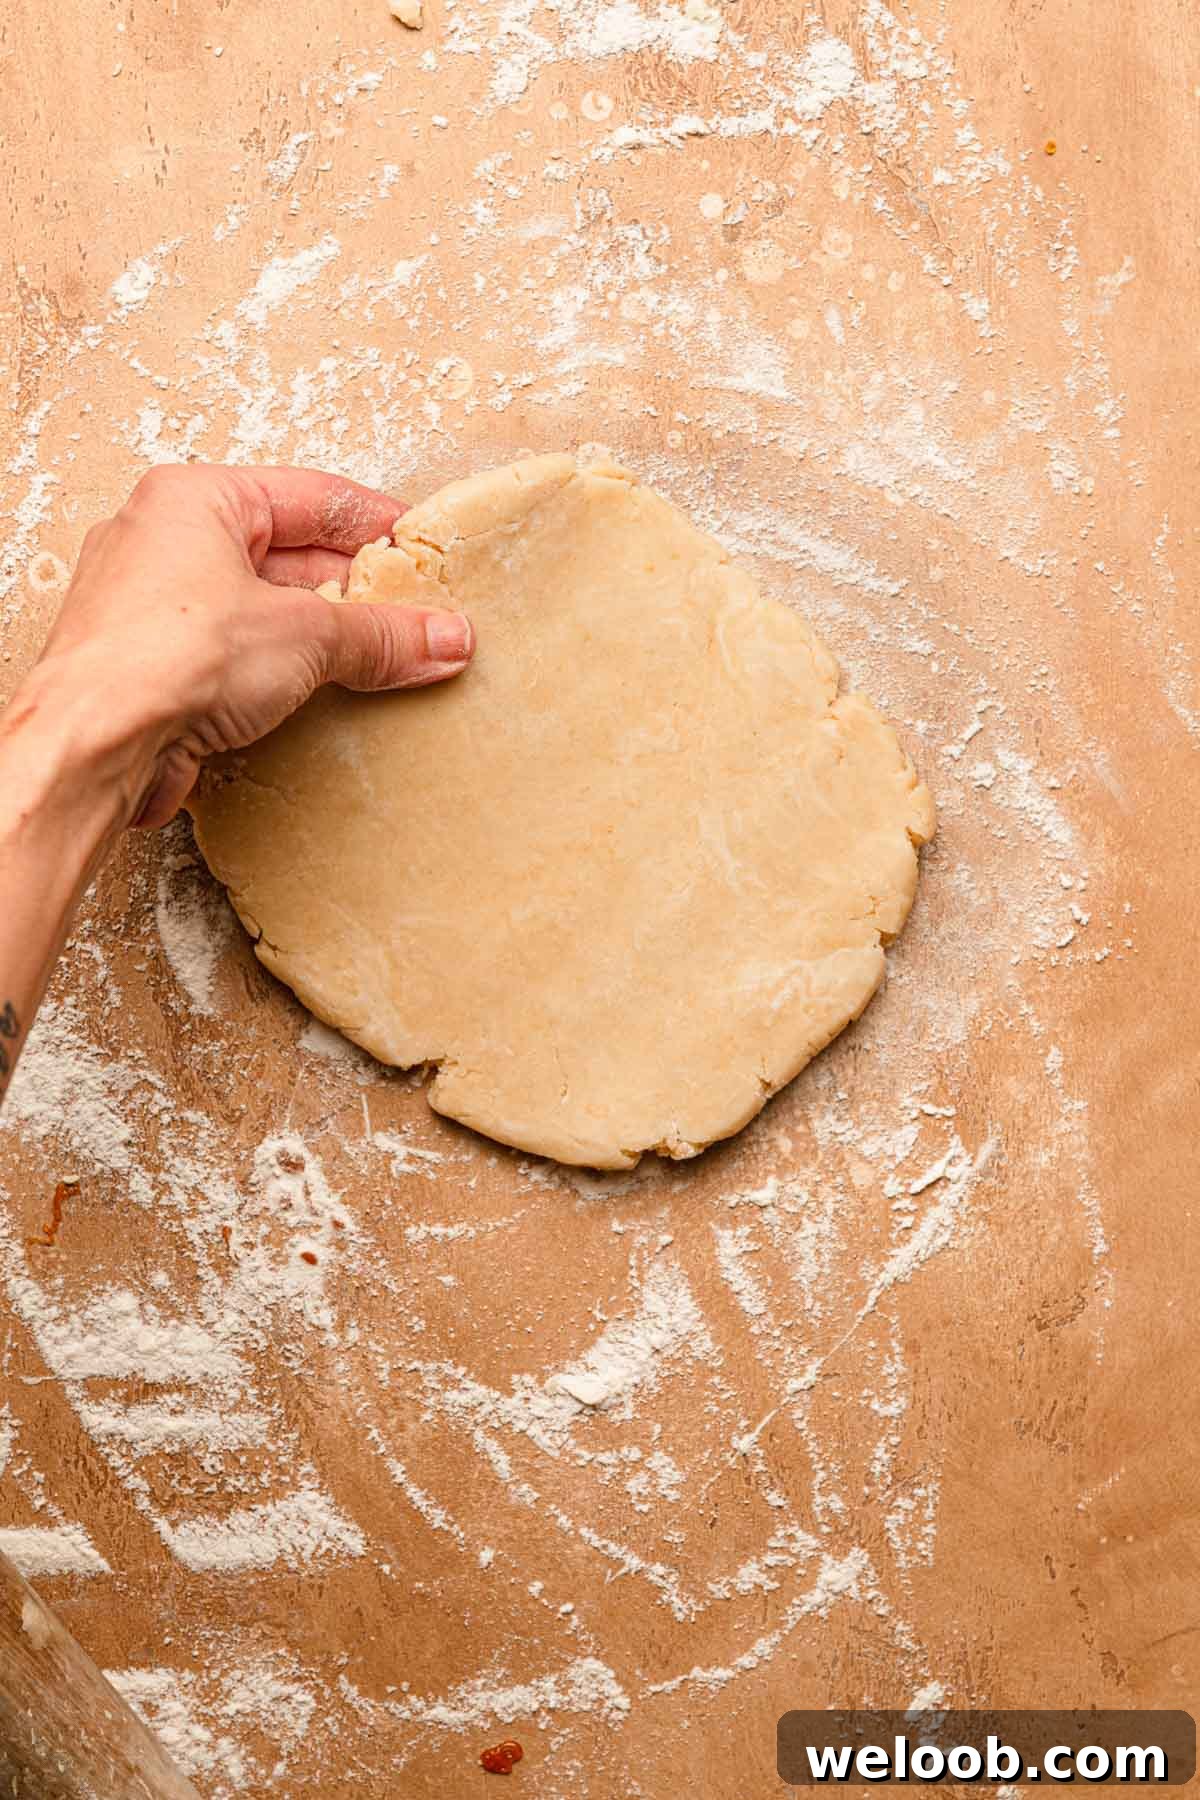
- Before rolling, break the chilled disk and gently bring it back together. This brief manipulation creates a modest amount of elasticity that makes rolling smooth. Don’t overwork the dough—just enough to reunite it.
Roll and Shape the Dough
Par-Baking (Blind Baking)
Suggested Pies to Make with This Crust
- Classic American cherry pie
- Cherry galette with frangipane
- Blueberry lavender pie
- Pear caramel pie
- Apple pie with sour cream
- Dutch cinnamon apple pie
- Brownie pie

All Shortening Pie Crust (Parve, non-dairy)
15 mins
25 mins
1 — 9-inch crust
Dikla Levy Frances
Ingredients
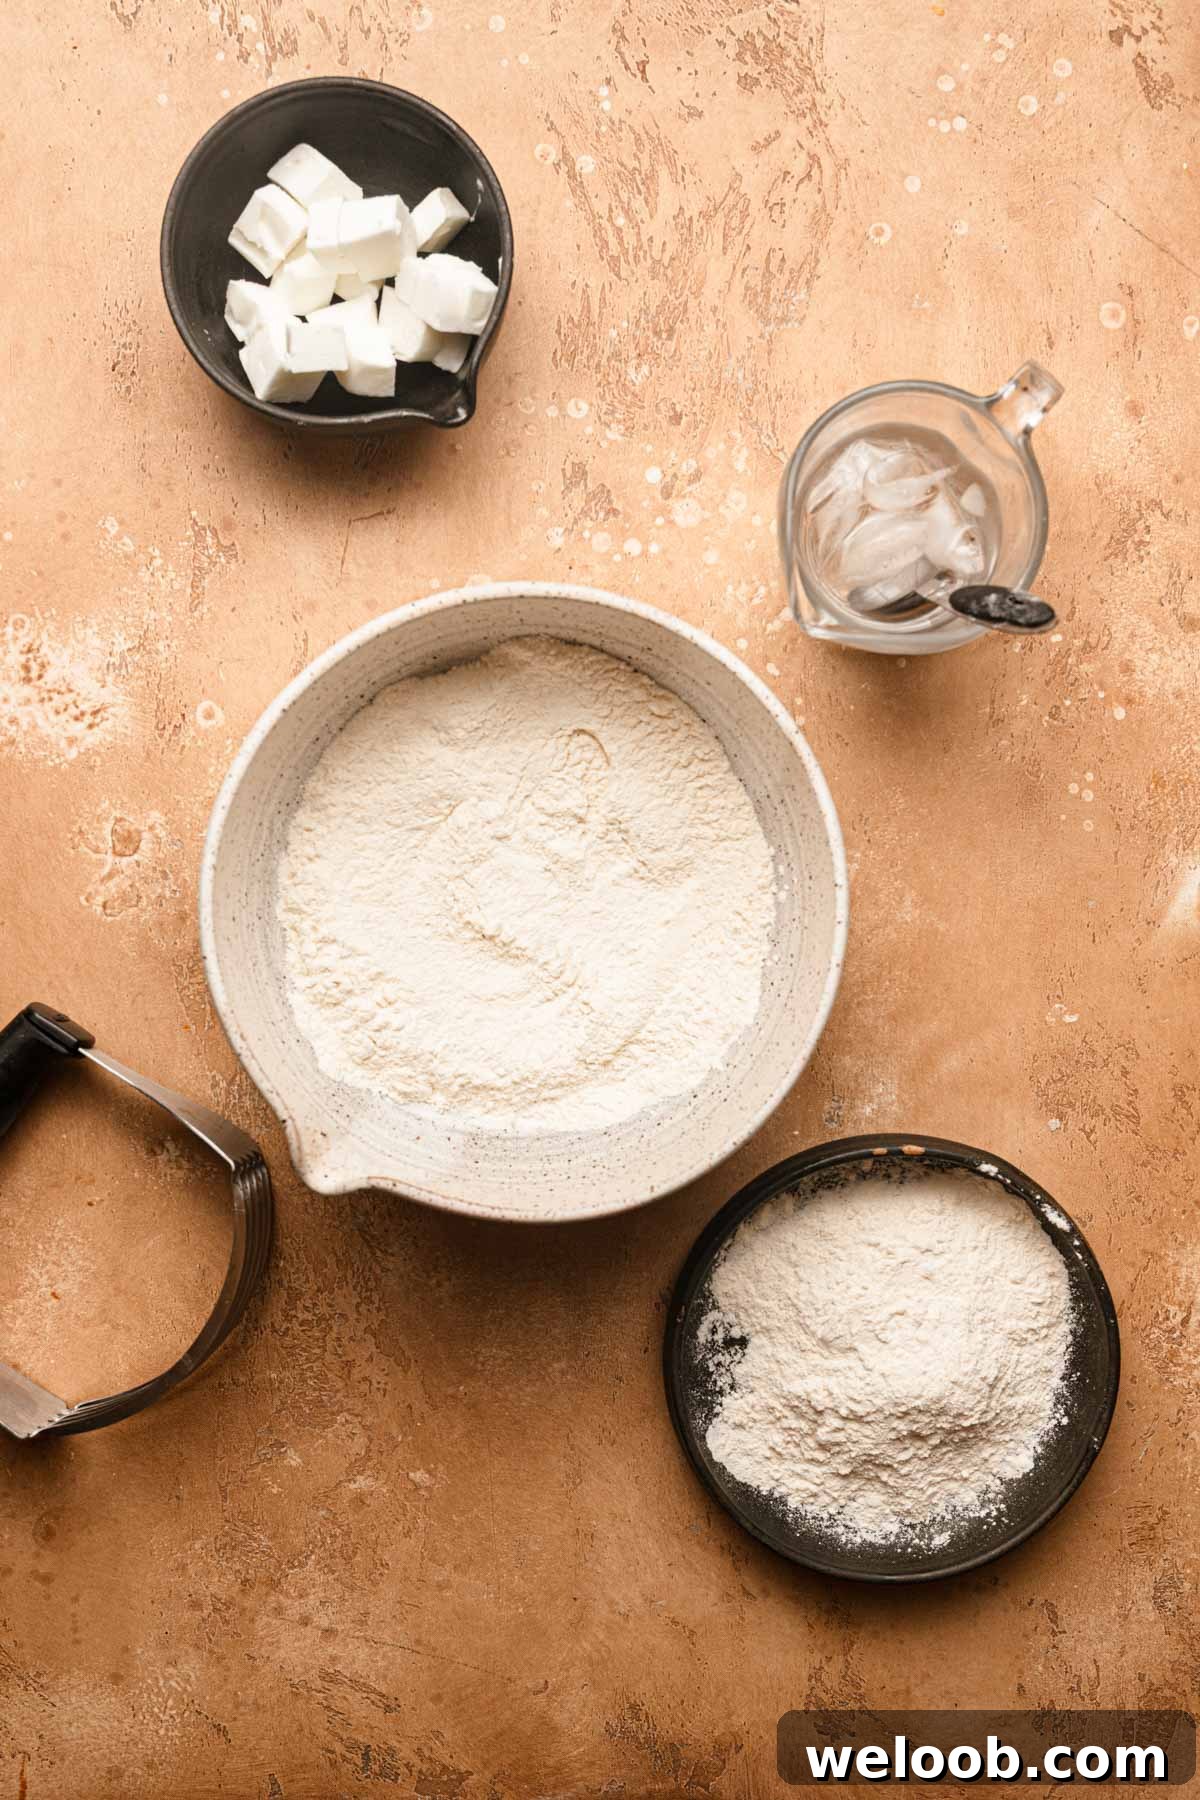
- 1 Cup (120g) all-purpose flour
- 1/8 teaspoon baking powder
- 1/4 teaspoon salt
- 1/2 Cup (85g) plain vegetable shortening (cold, cut into 1/4-inch pieces)
- 1/2 Cup (60g) all-purpose flour (reserved)
- 4 Tablespoons ice water
Instructions
- You can make this recipe in a food processor or in a large bowl with a pastry cutter. For a double crust or a lattice top, double the recipe and divide the dough into two portions.
- Combine the first 1 cup (120g) of flour with the baking powder (1/8 teaspoon) and salt (1/4 teaspoon). Use a fork to mix evenly.
- Top the flour mixture with the cold shortening pieces (85g). Toss the pieces into the flour and use your hands or a spatula to distribute them.
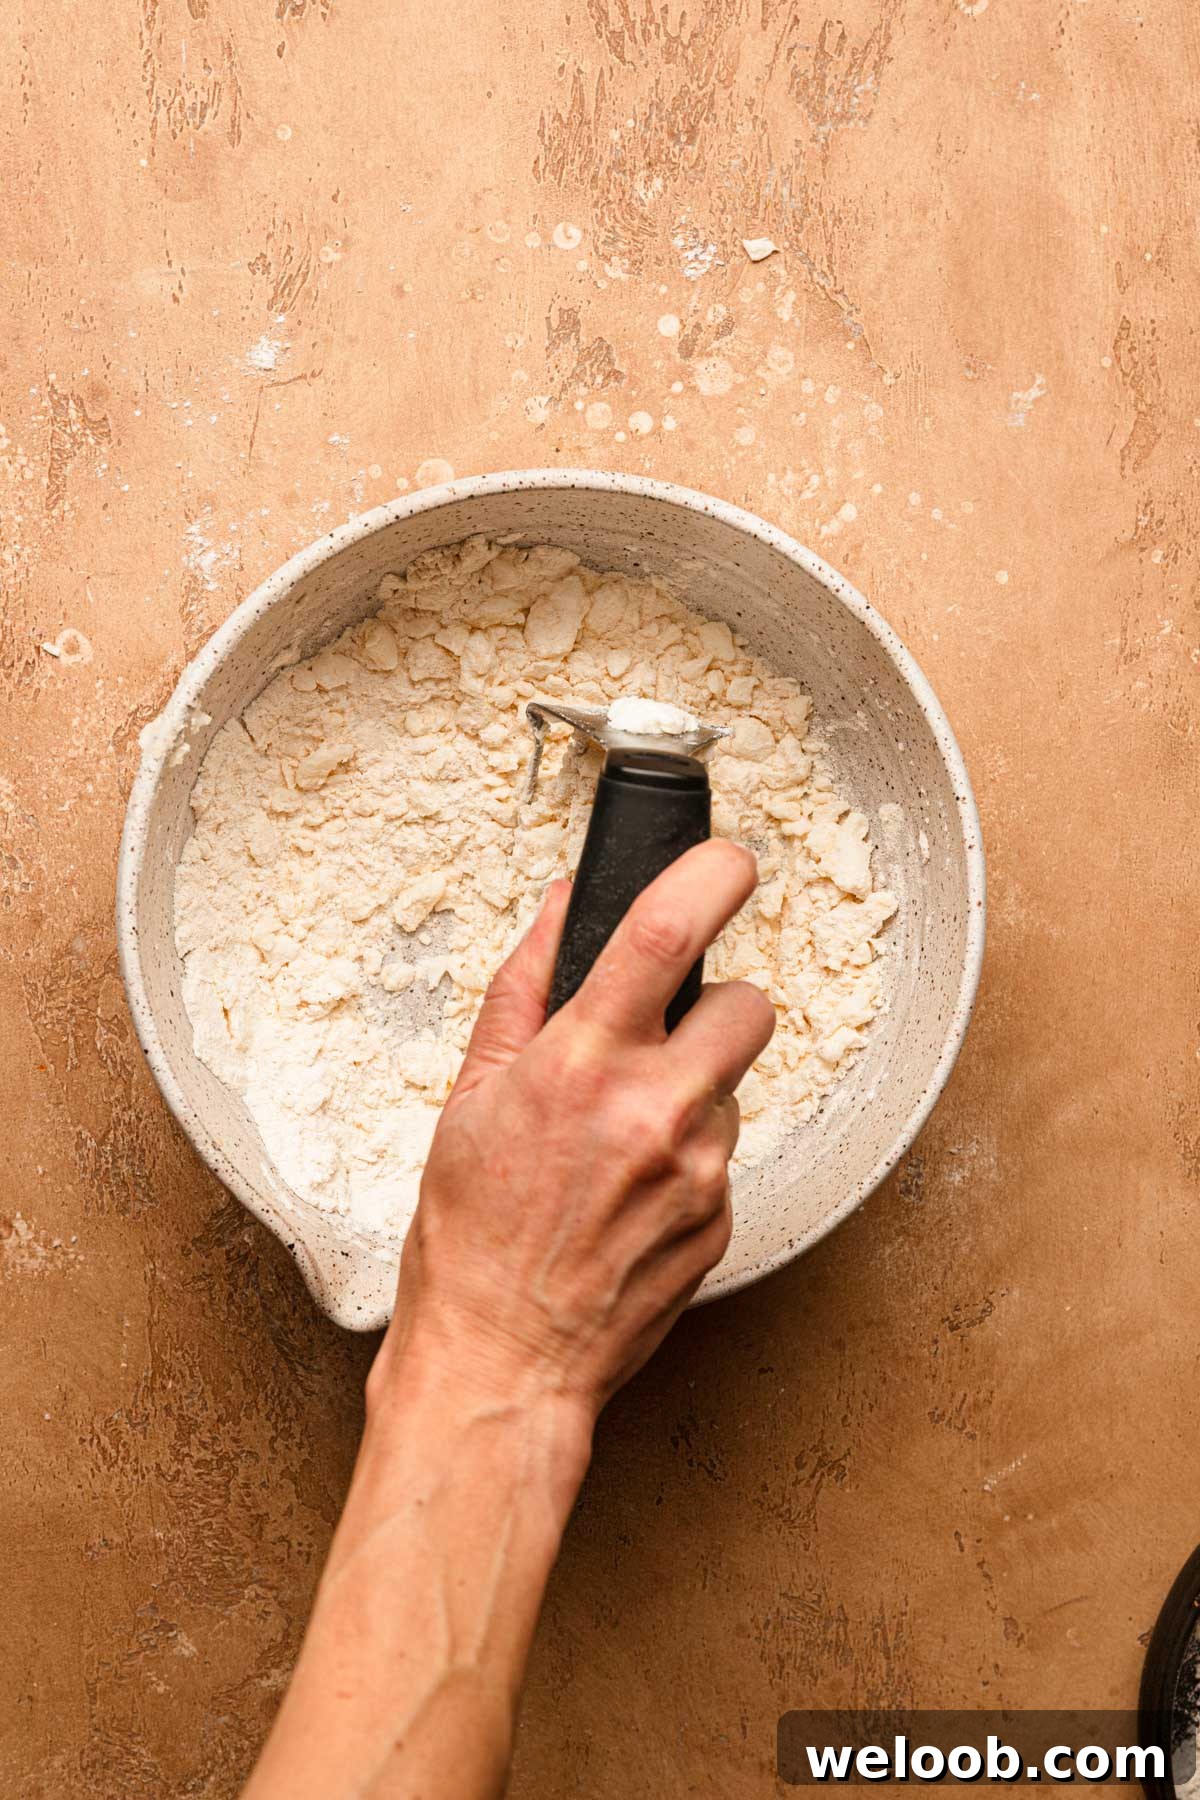
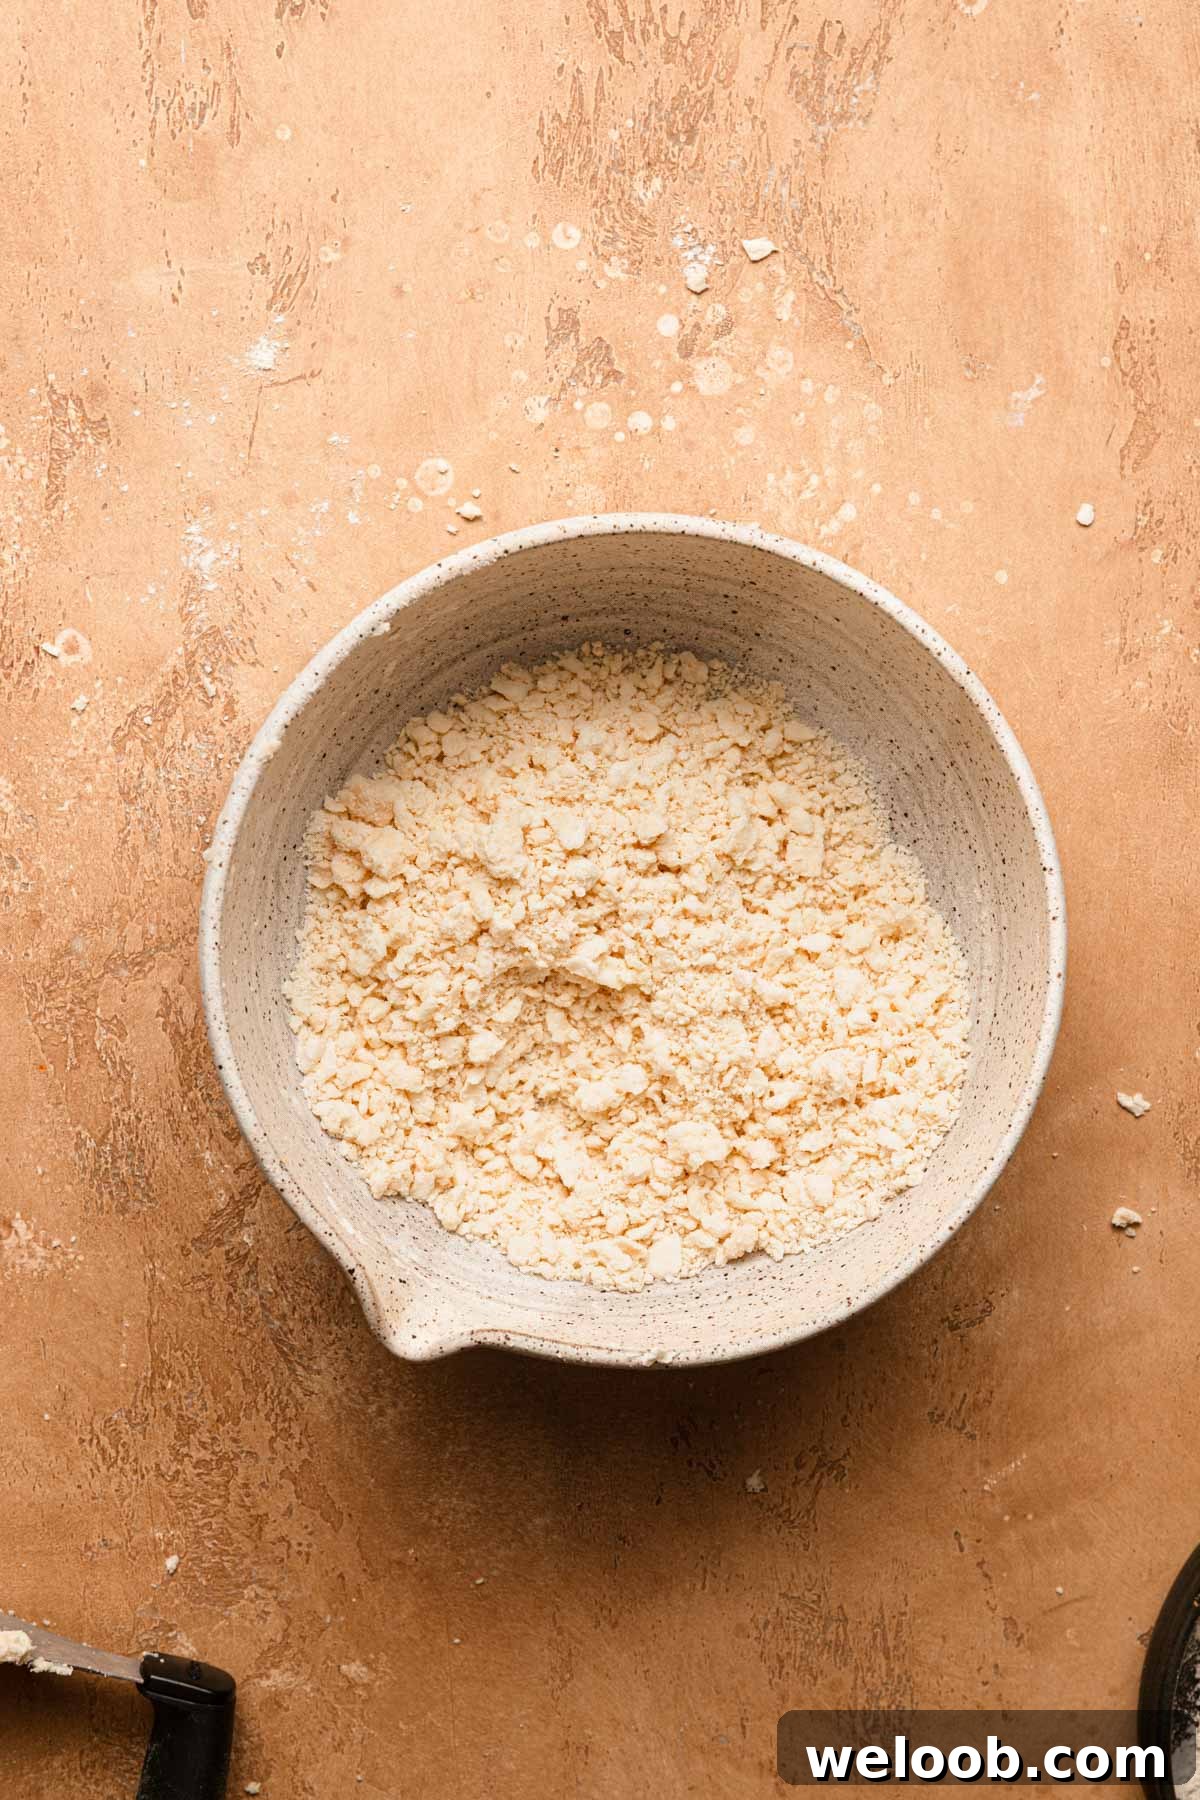
- Use a pastry cutter to cut the shortening into the flour until the mixture is loose and crumbly, resembling coarse wet sand.
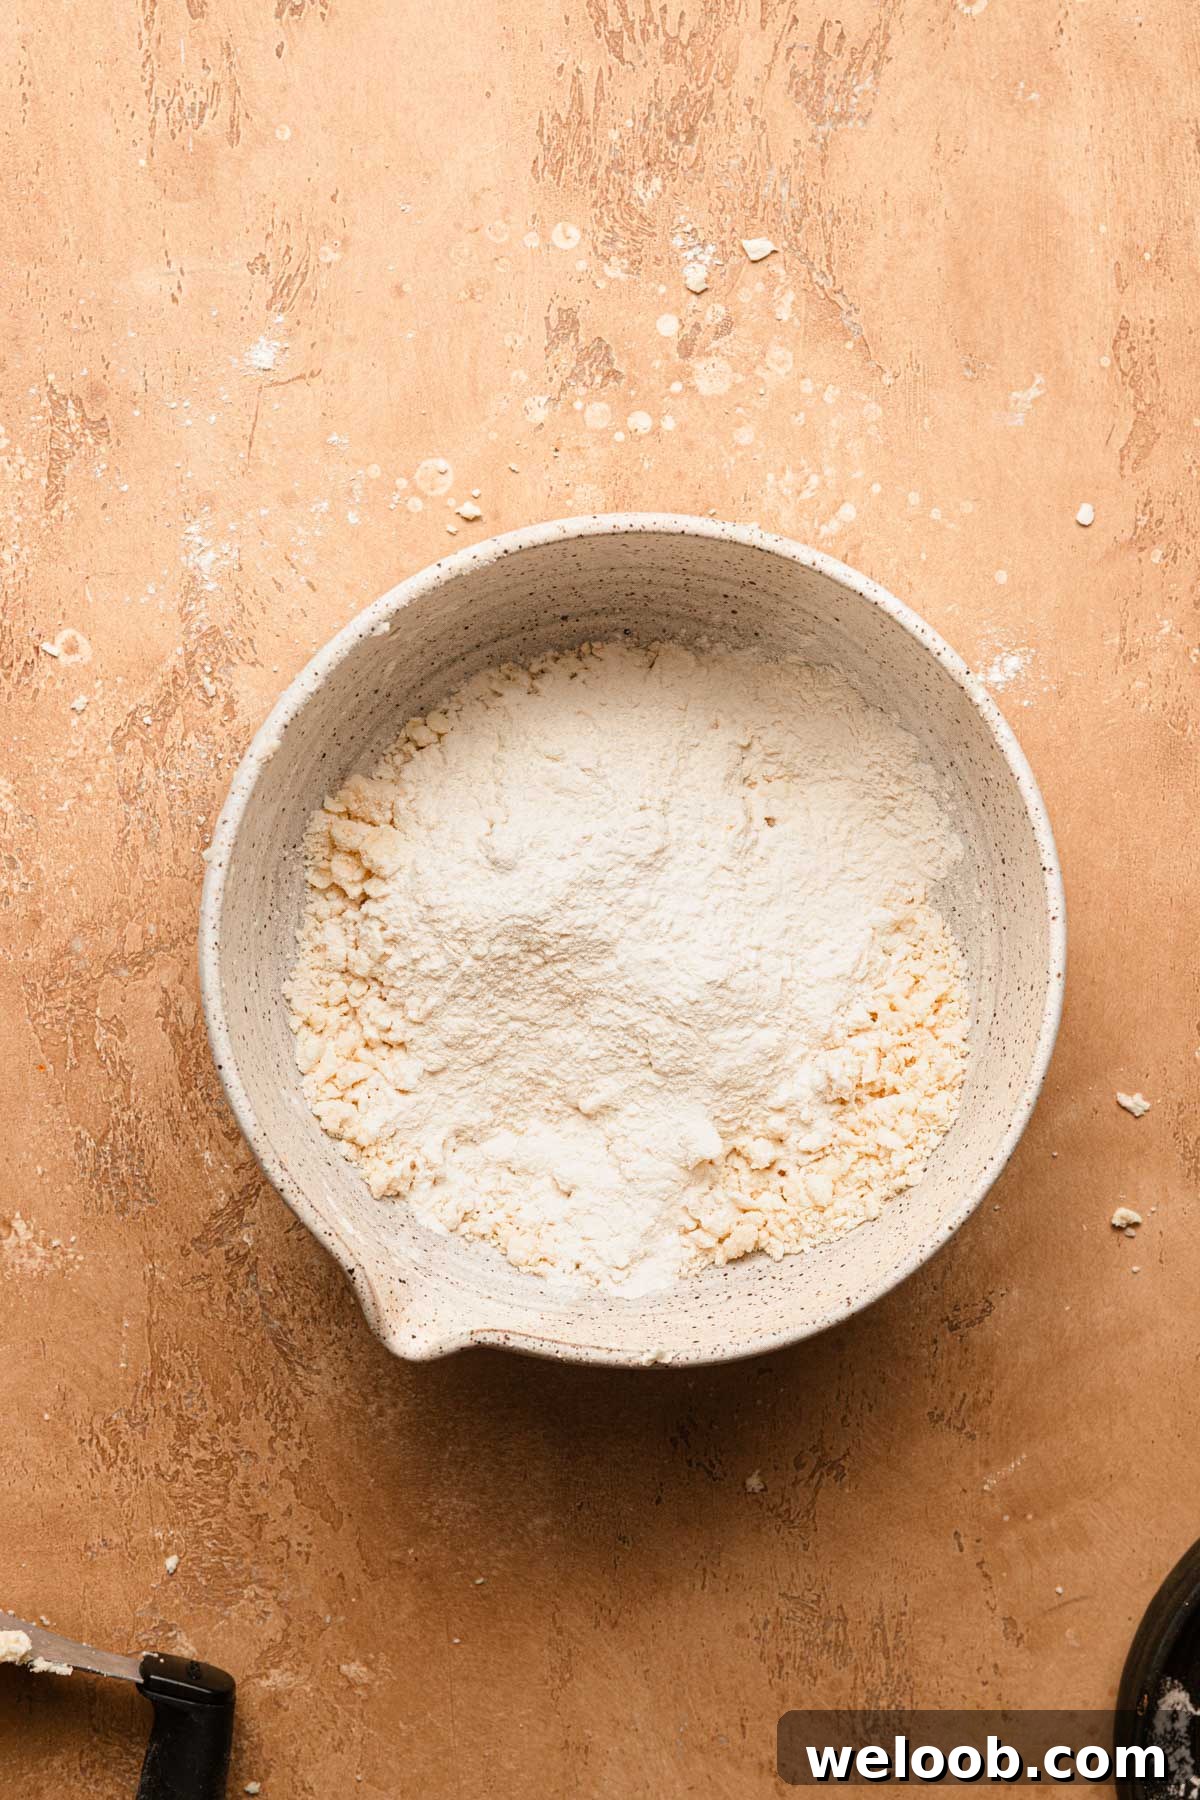
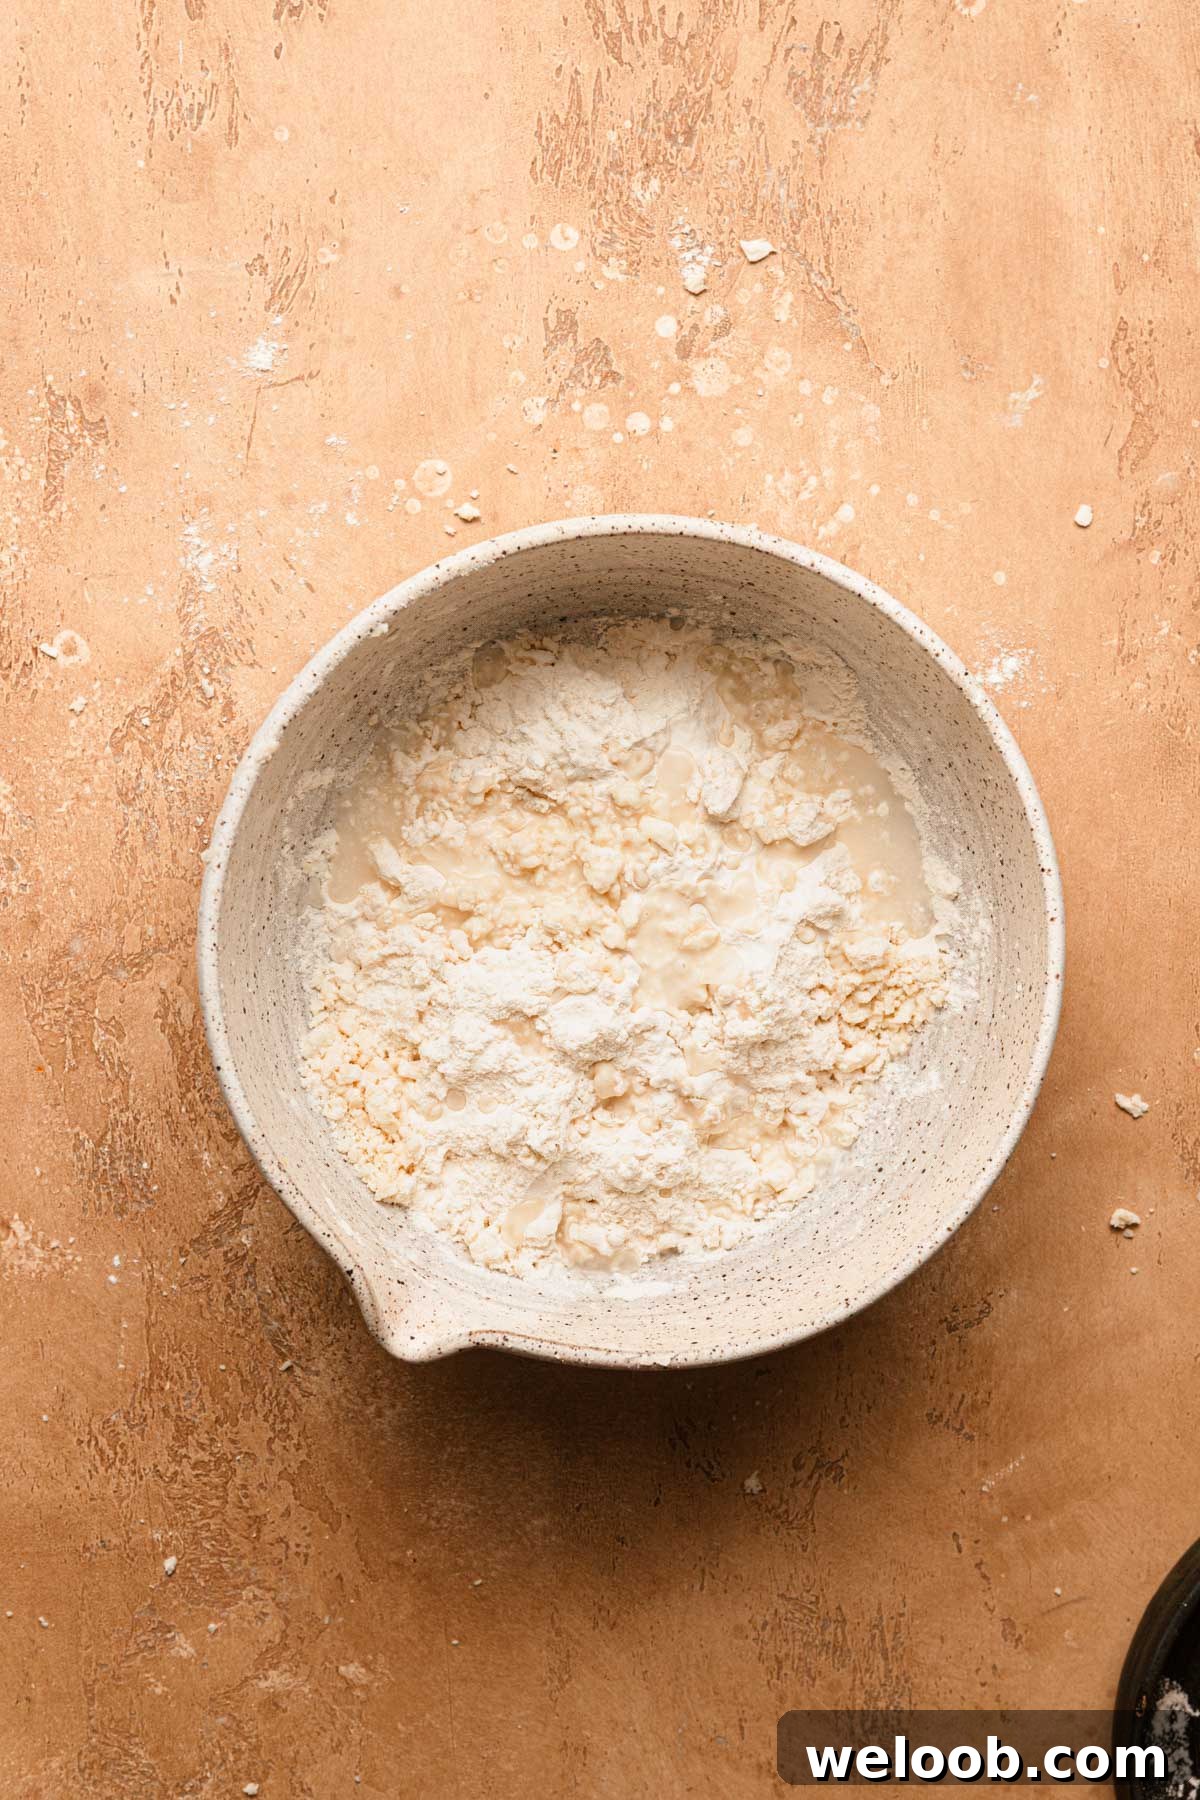
- Sprinkle the reserved 1/2 cup (60g) of flour over the mixture, then drizzle the ice water (4 tablespoons) evenly across the top.
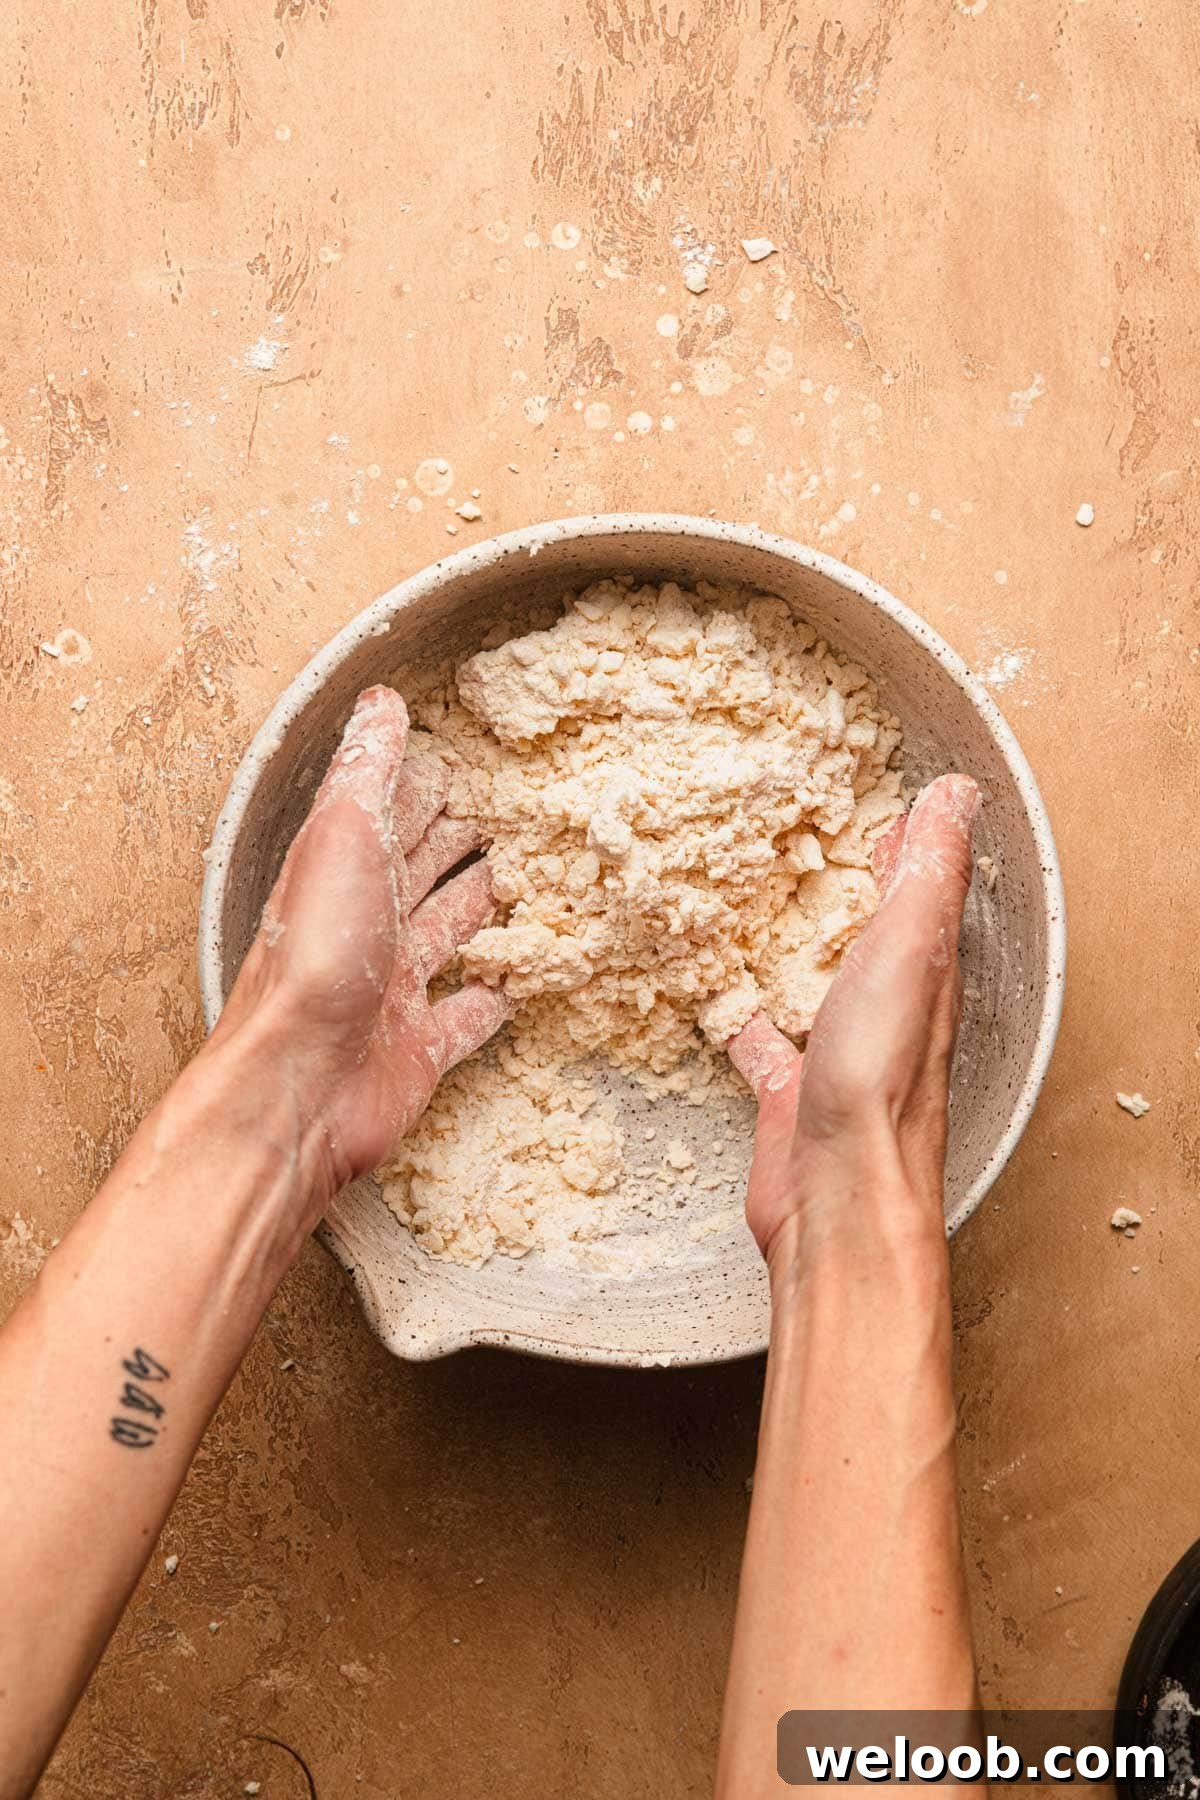
- Use your hands to press the flour and water into the crumbly mixture, incorporating it until the dough just comes together.
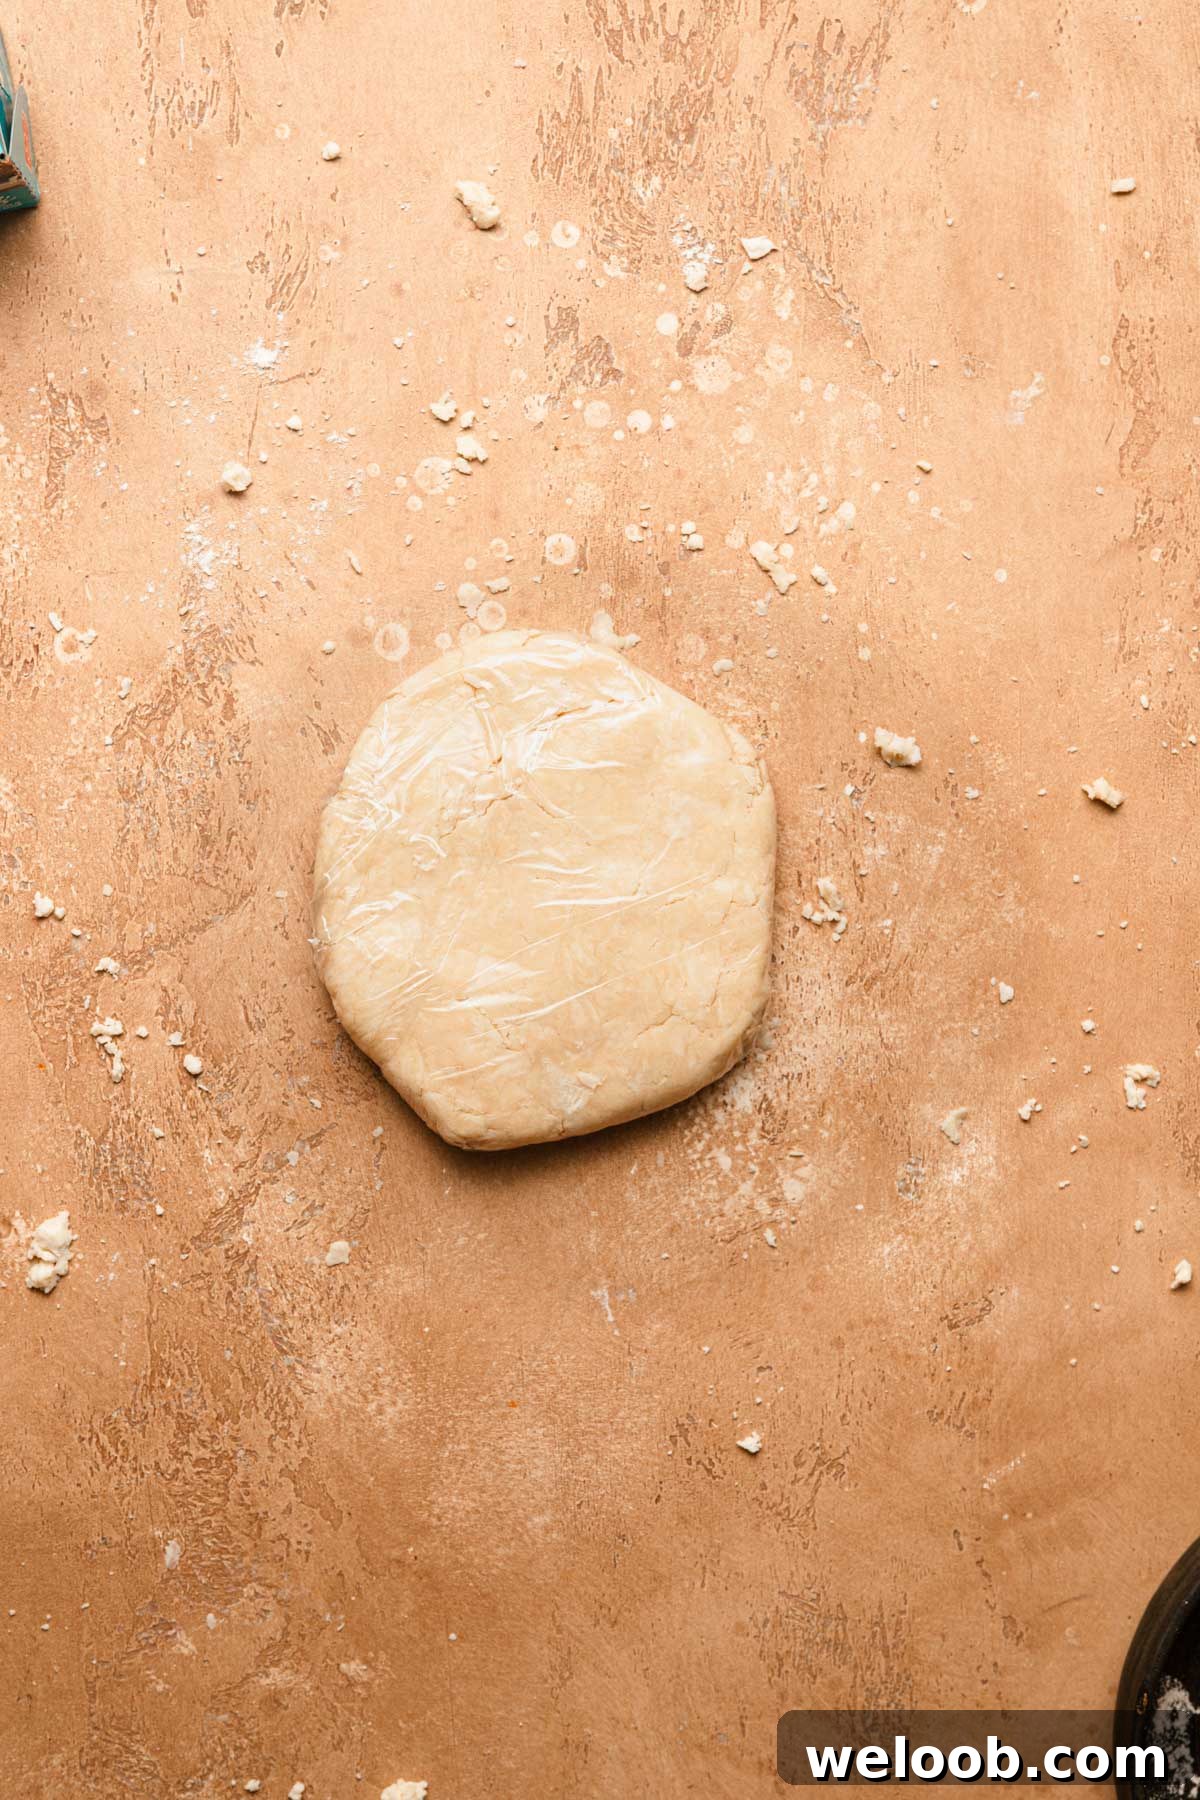
- Turn the hydrated mixture onto a clean work surface and press it into a disk with the palm of your hand.
- Wrap the disk in plastic wrap and massage briefly—no more than 8–10 seconds—to bring it together. Refrigerate for 1–2 hours.
- About 15 minutes before you’re ready to roll, remove the dough, break it apart with your hands, and press it back into a disk once more. Wrap again and chill for another 10–15 minutes.
Roll and Shape
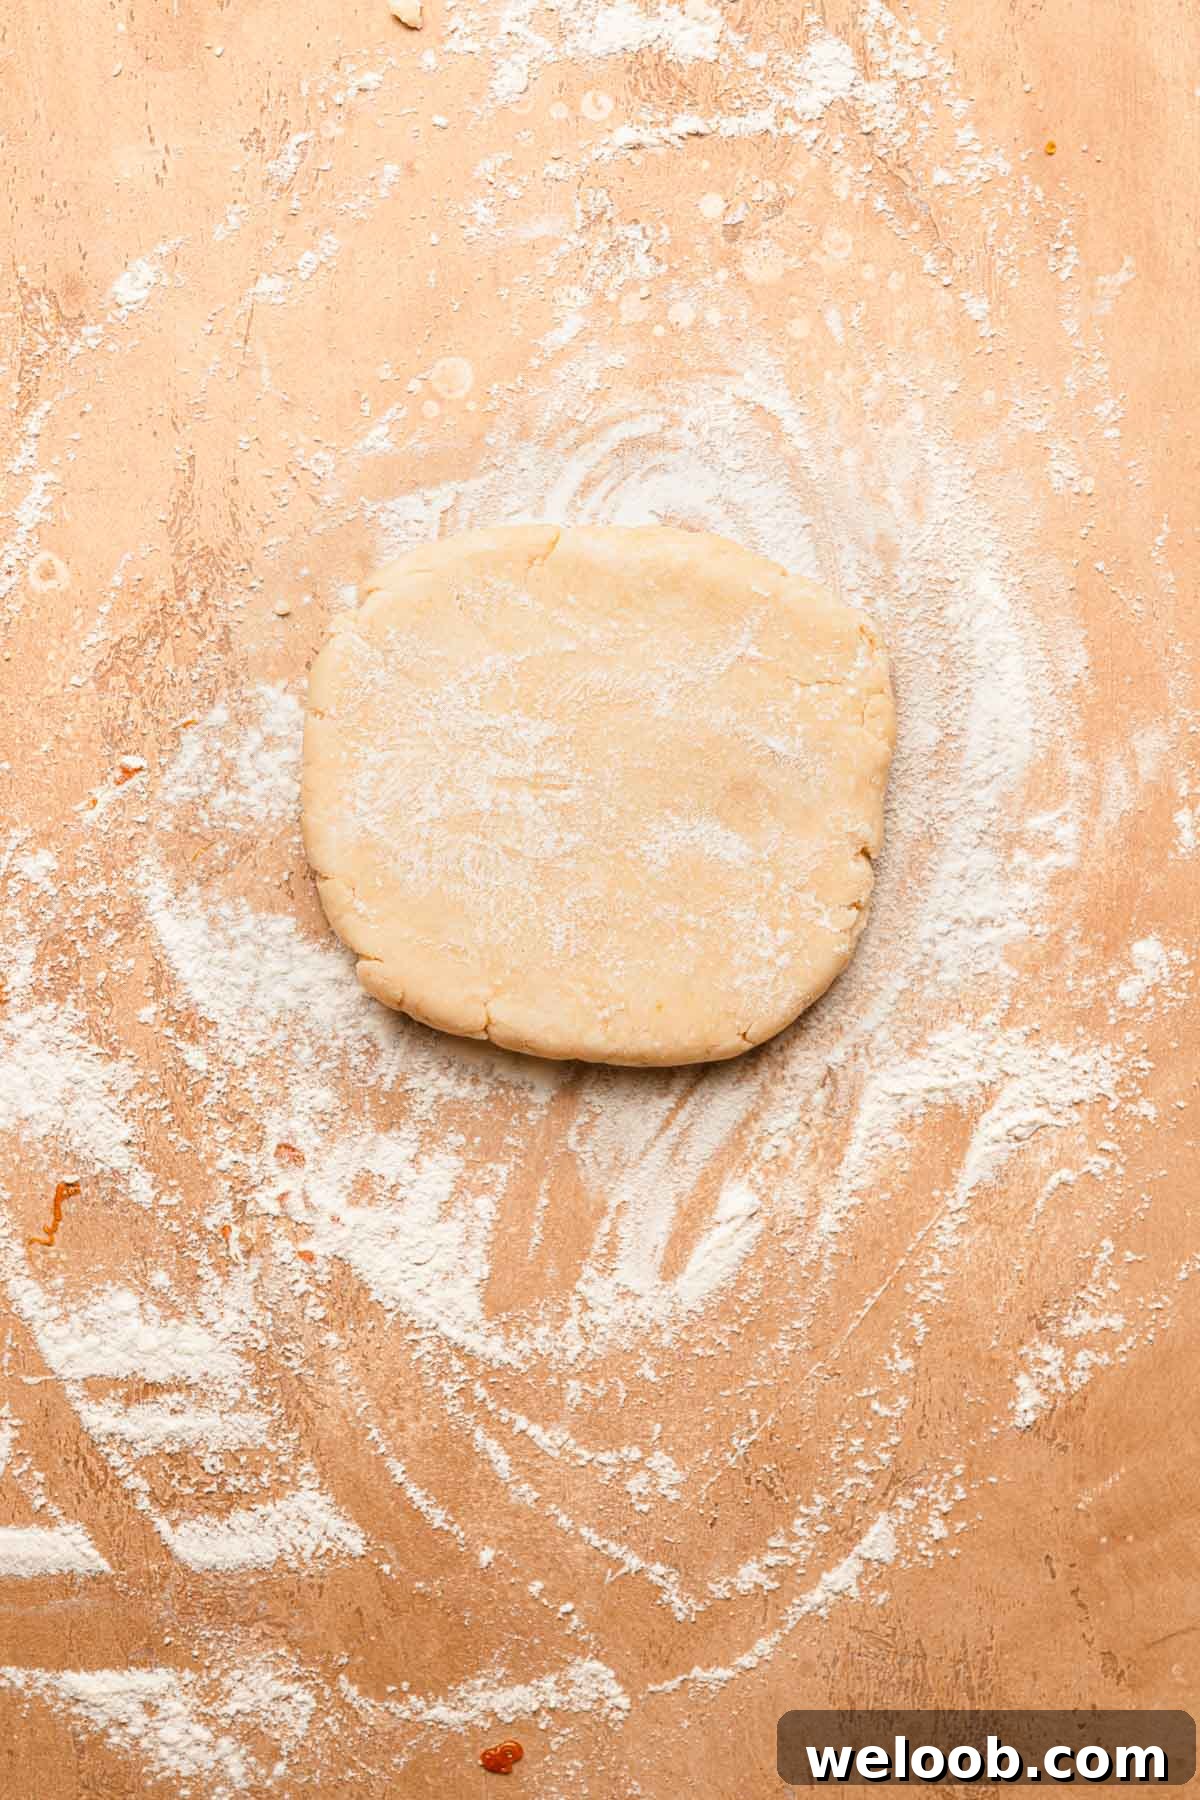
- Place the disk on a clean surface lightly dusted with flour and dust the top sparingly with flour as well.
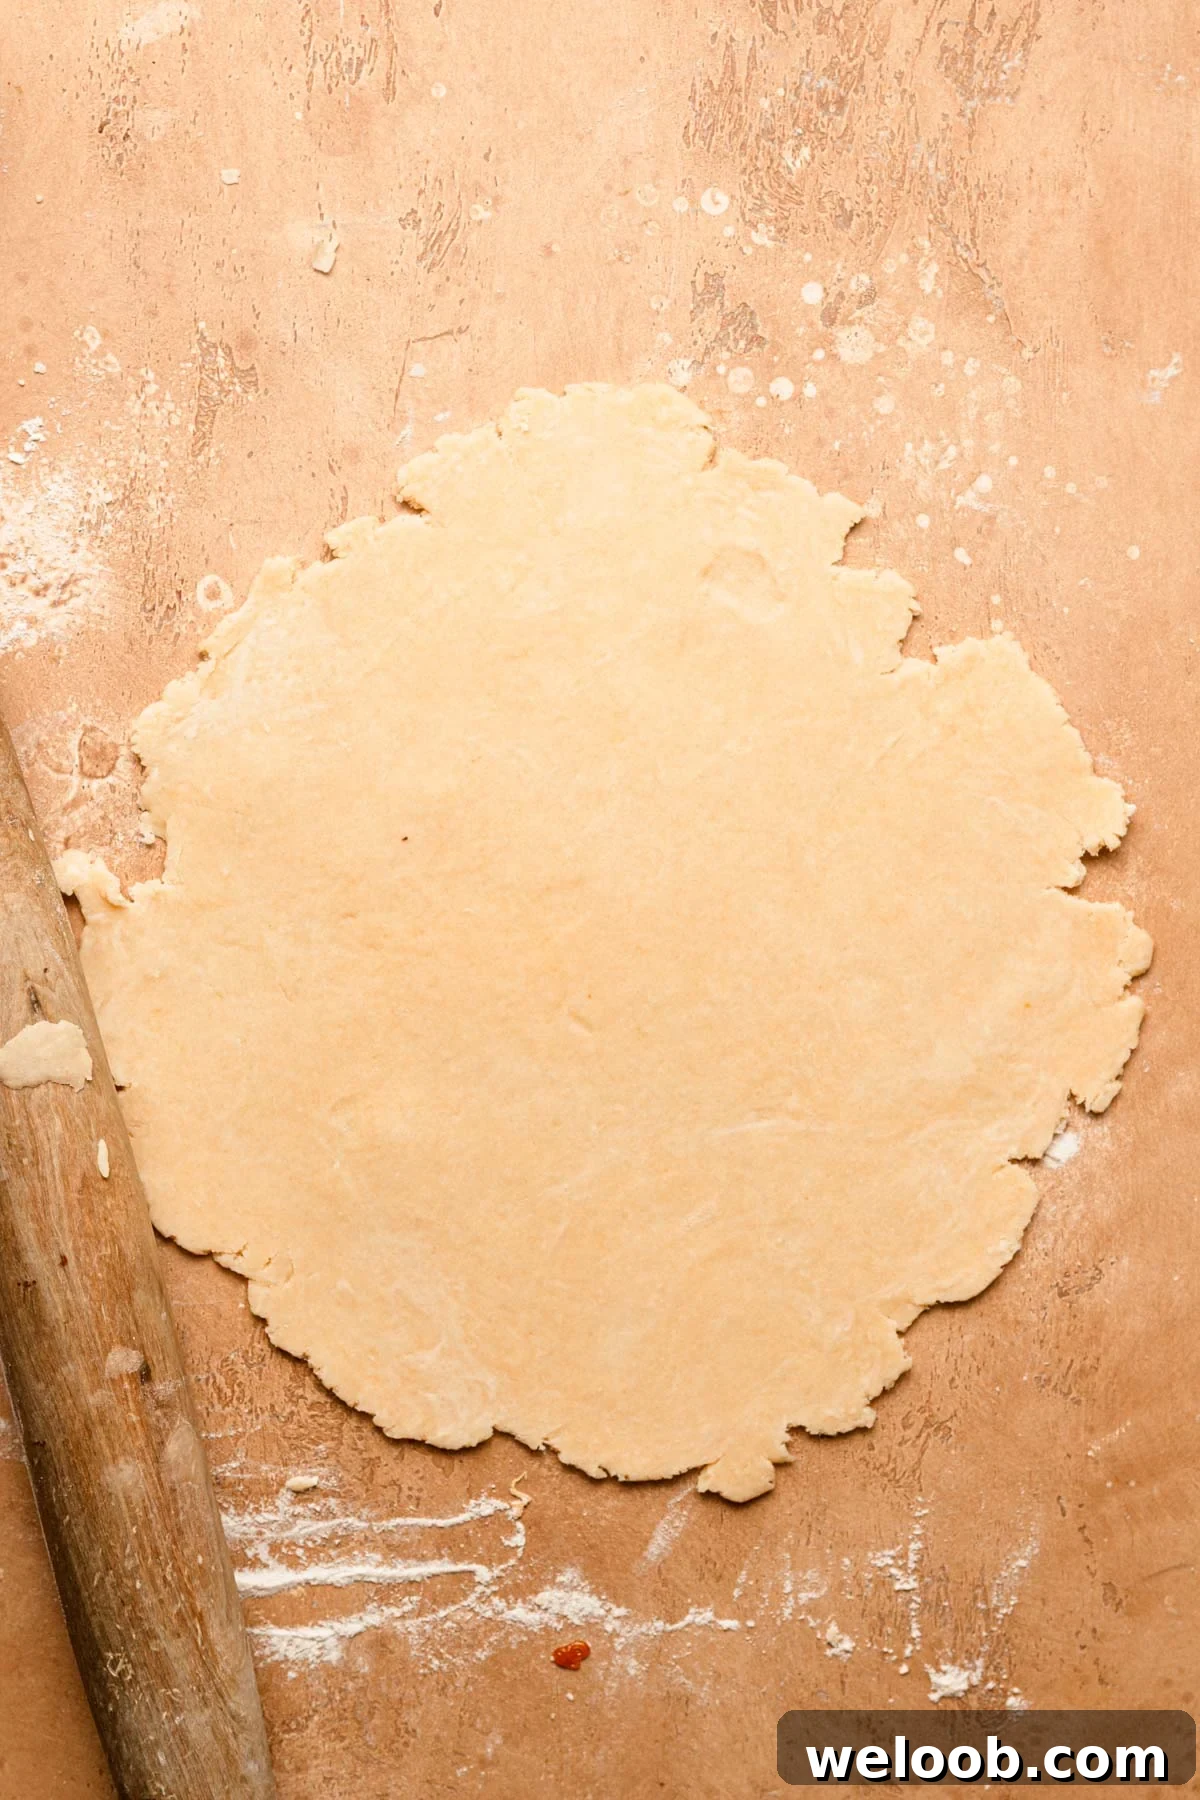
- Roll the dough with a rolling pin, rotating it 90° every 3–4 strokes. Use small amounts of flour as needed so the dough moves freely but isn’t dry.
- Roll to about a 12-inch circle for a standard 9-inch pie pan.
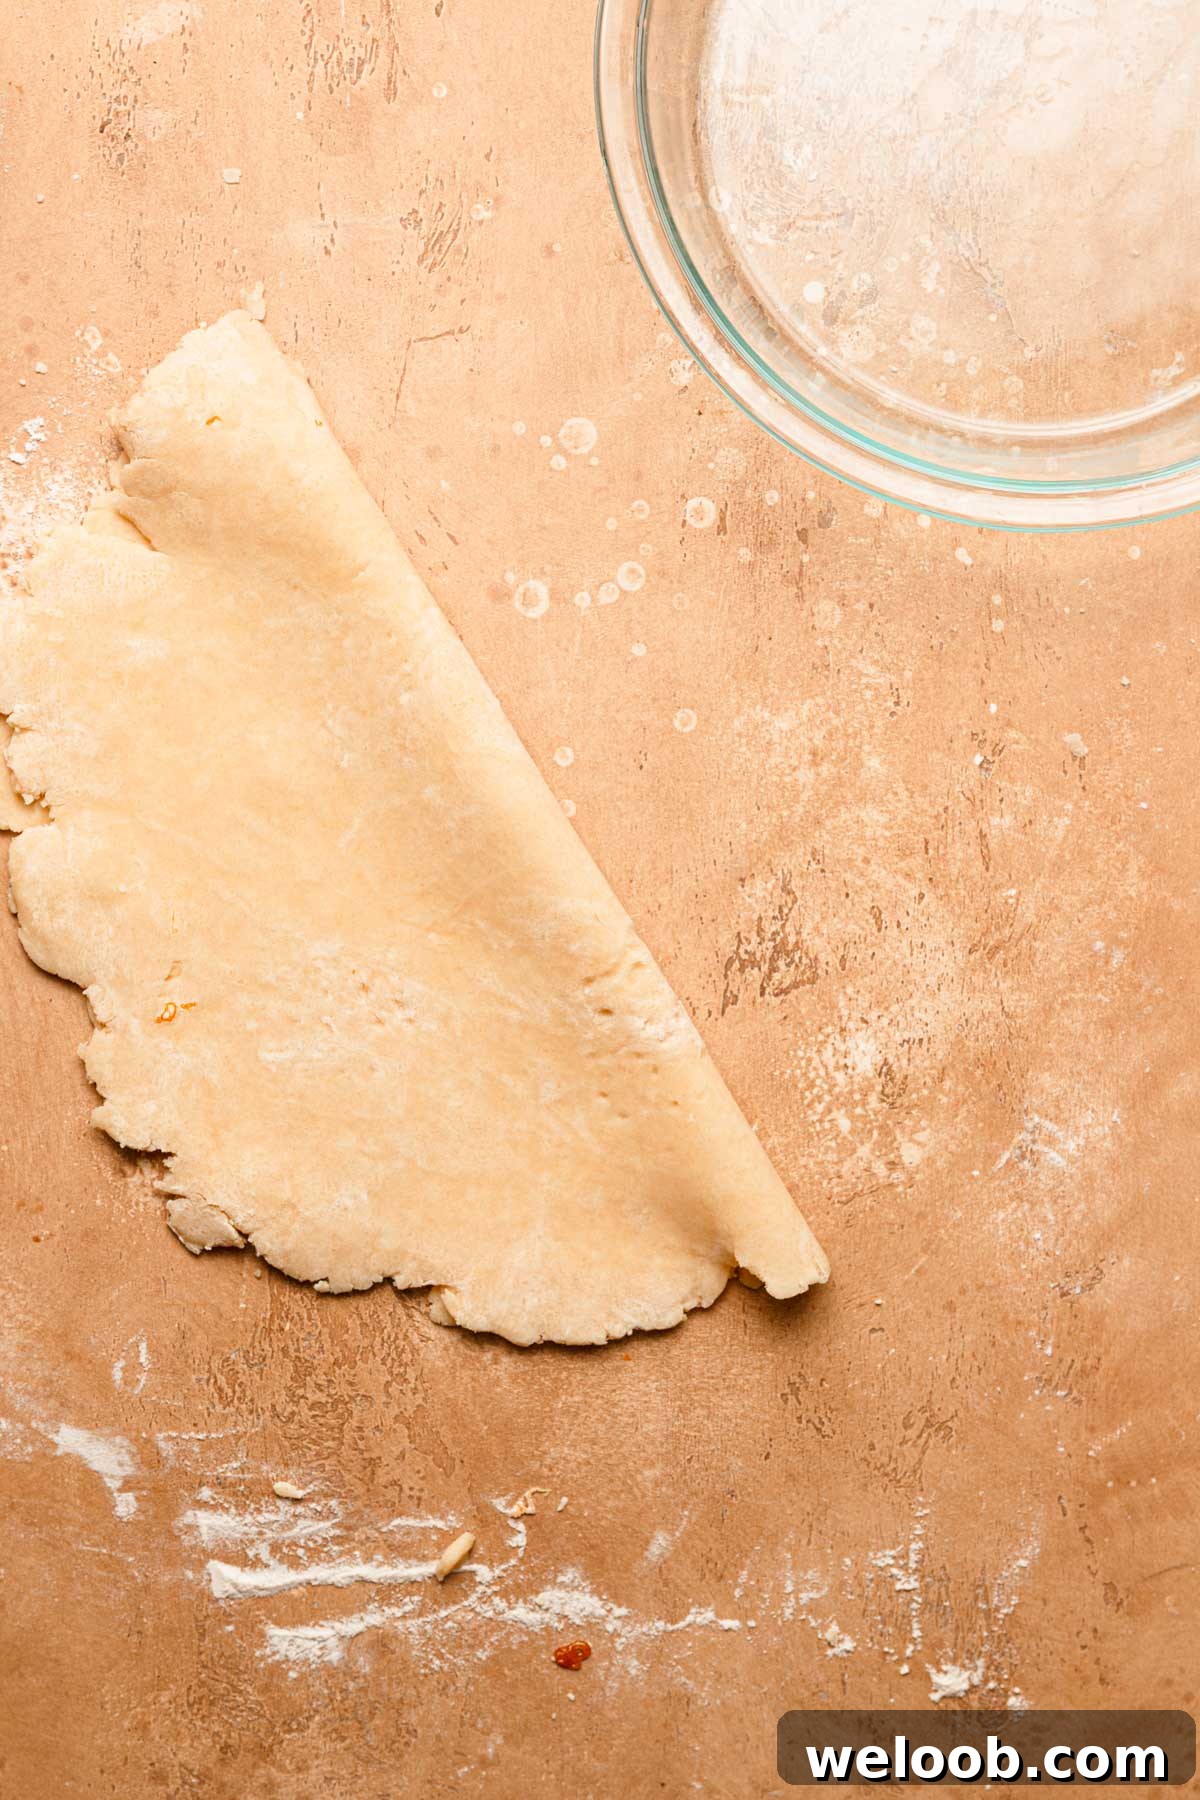
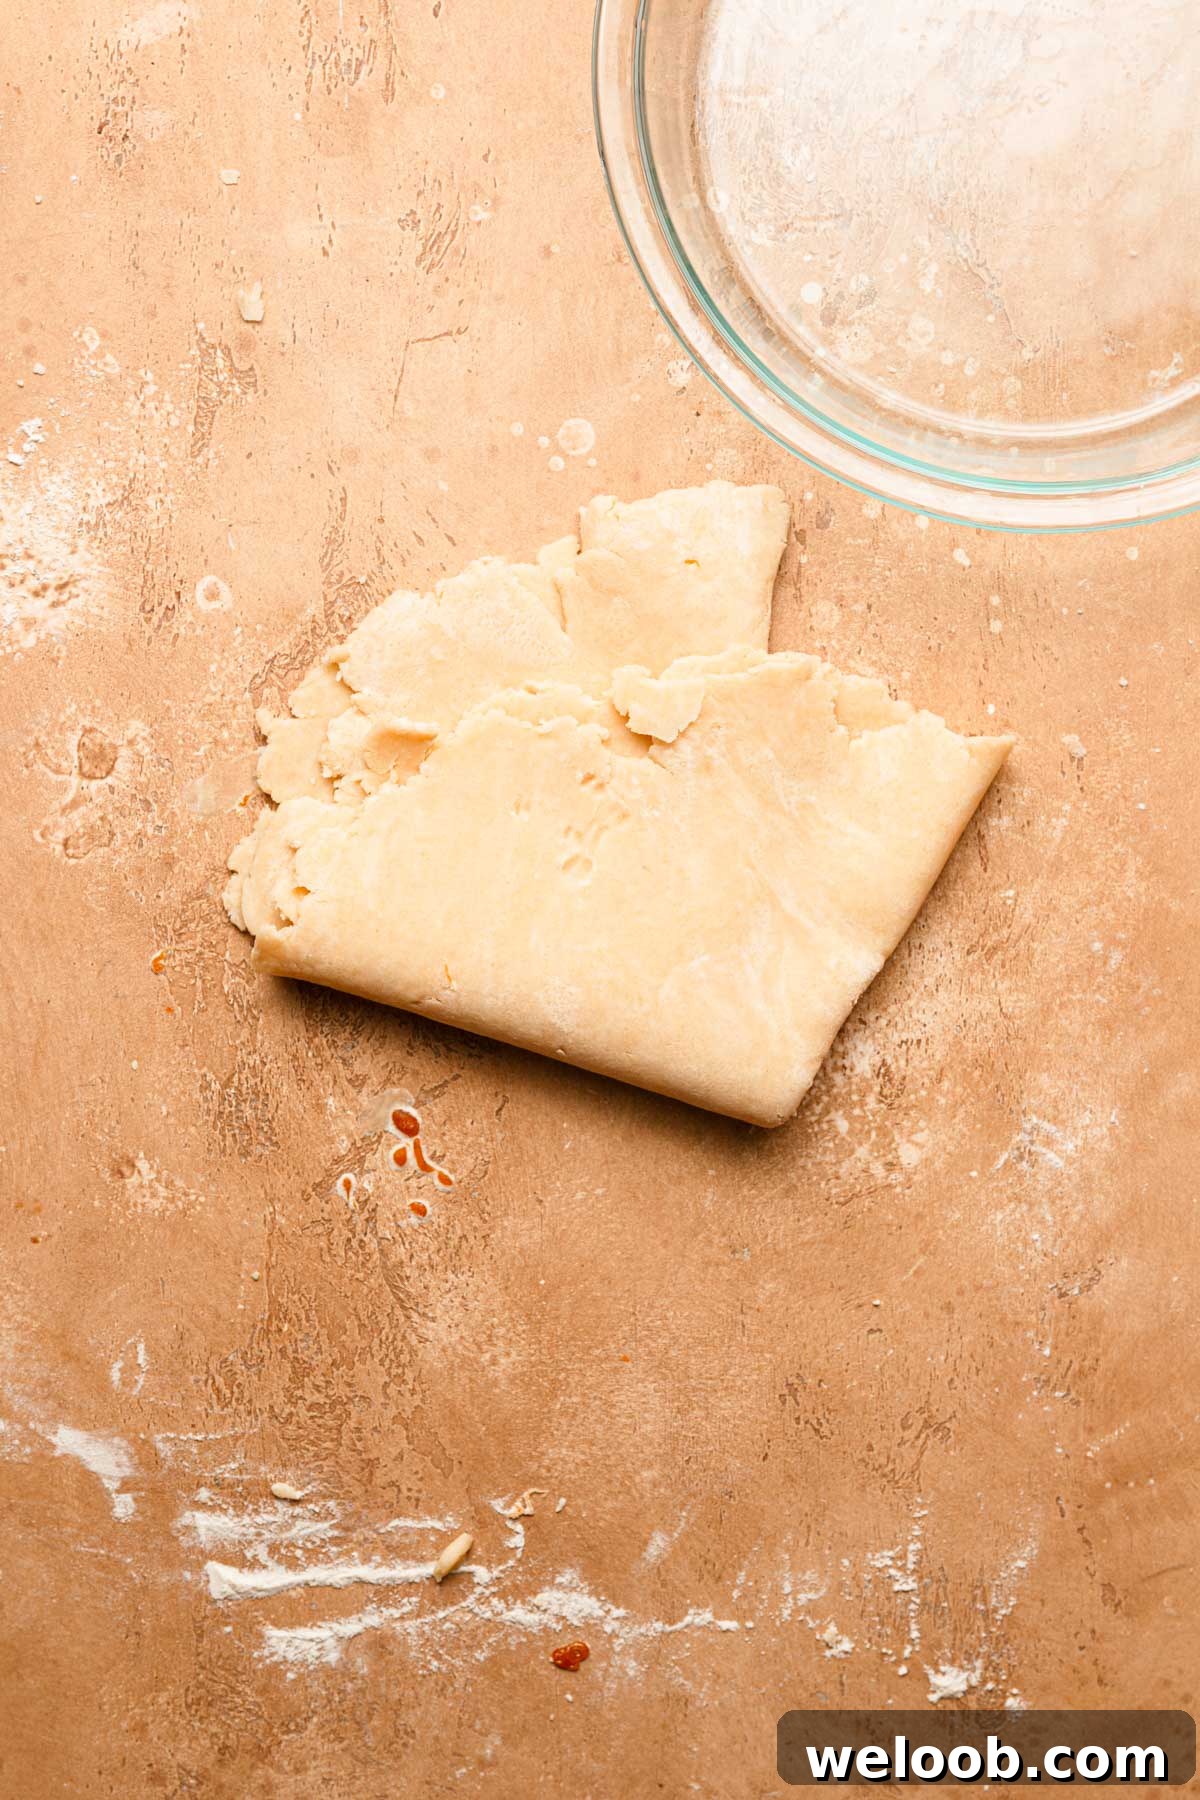
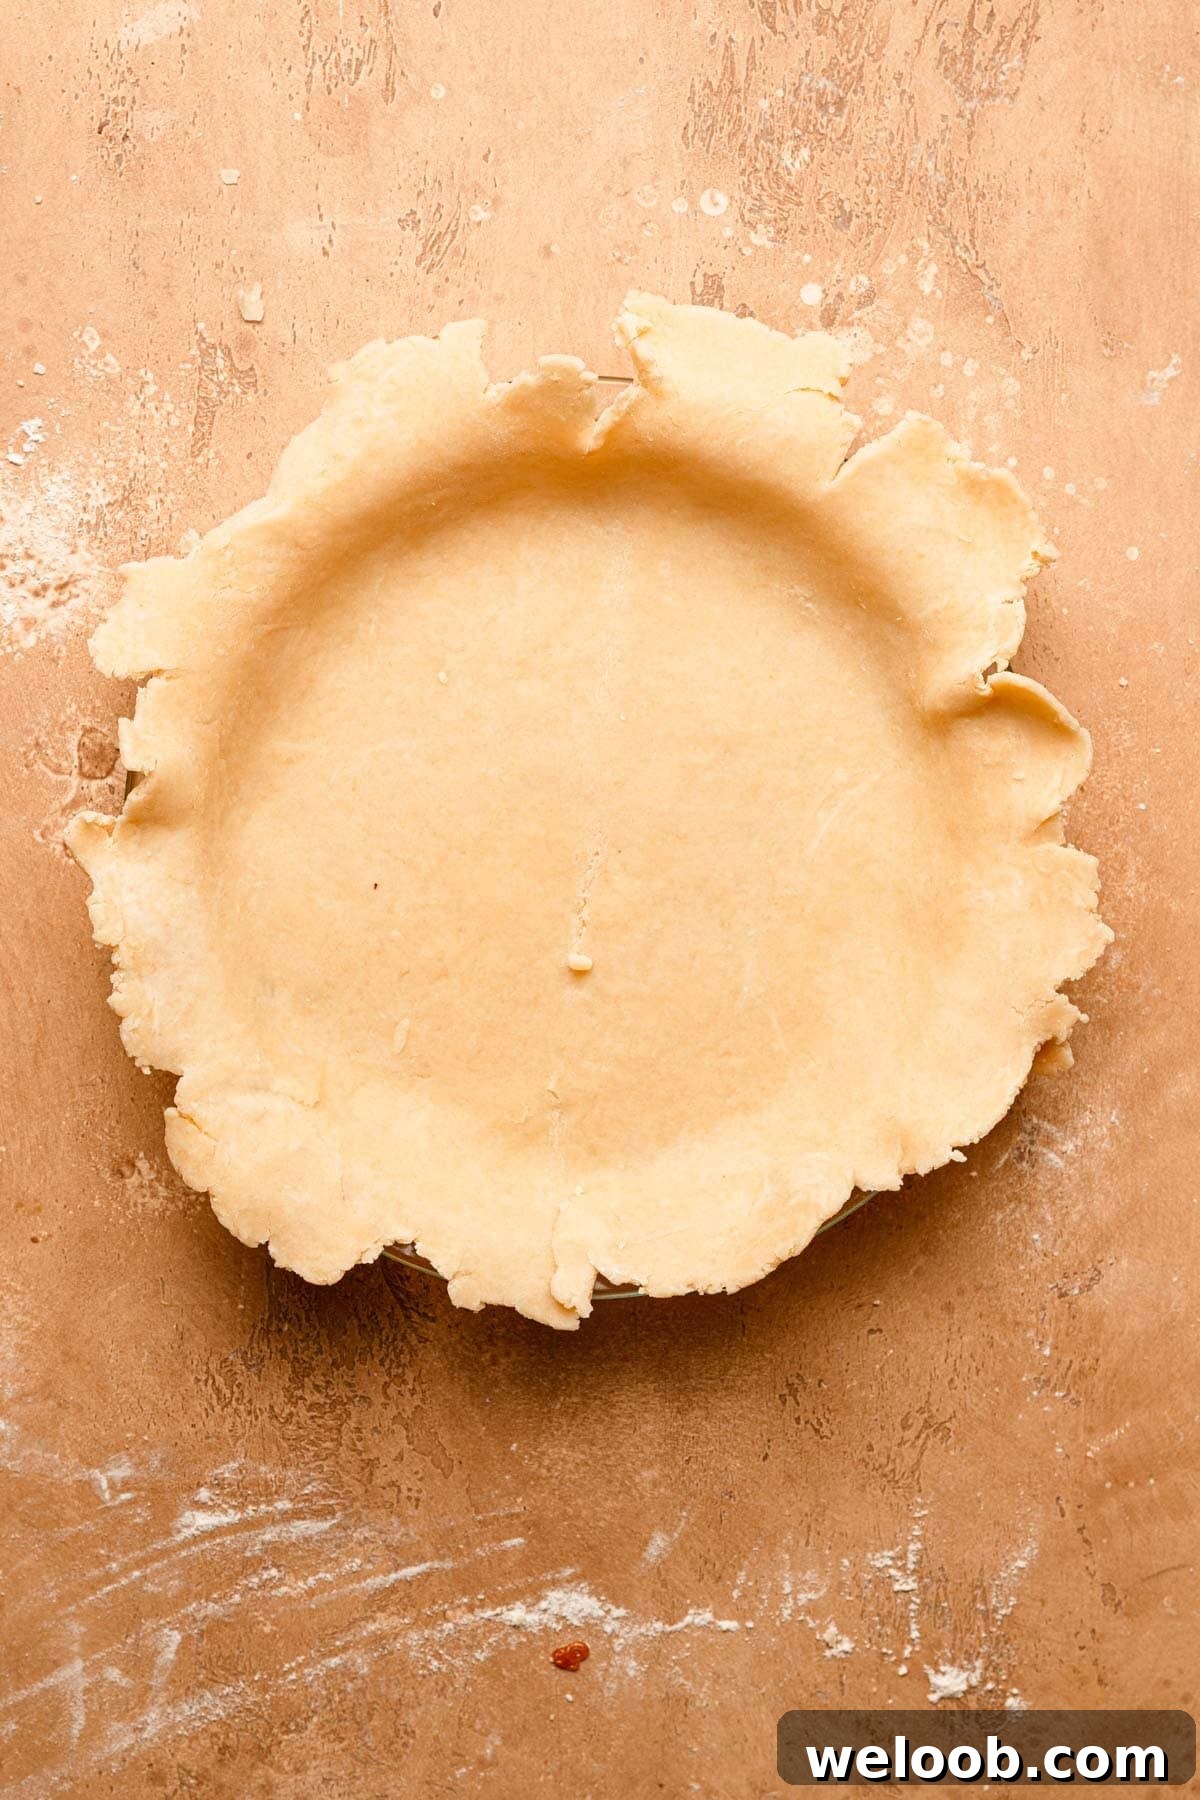
- Fold the circle in half and again into a triangle to transfer it to the pan. Set the triangle tip at the center of the pan and unfold, pressing the dough gently to fit with no gaps.
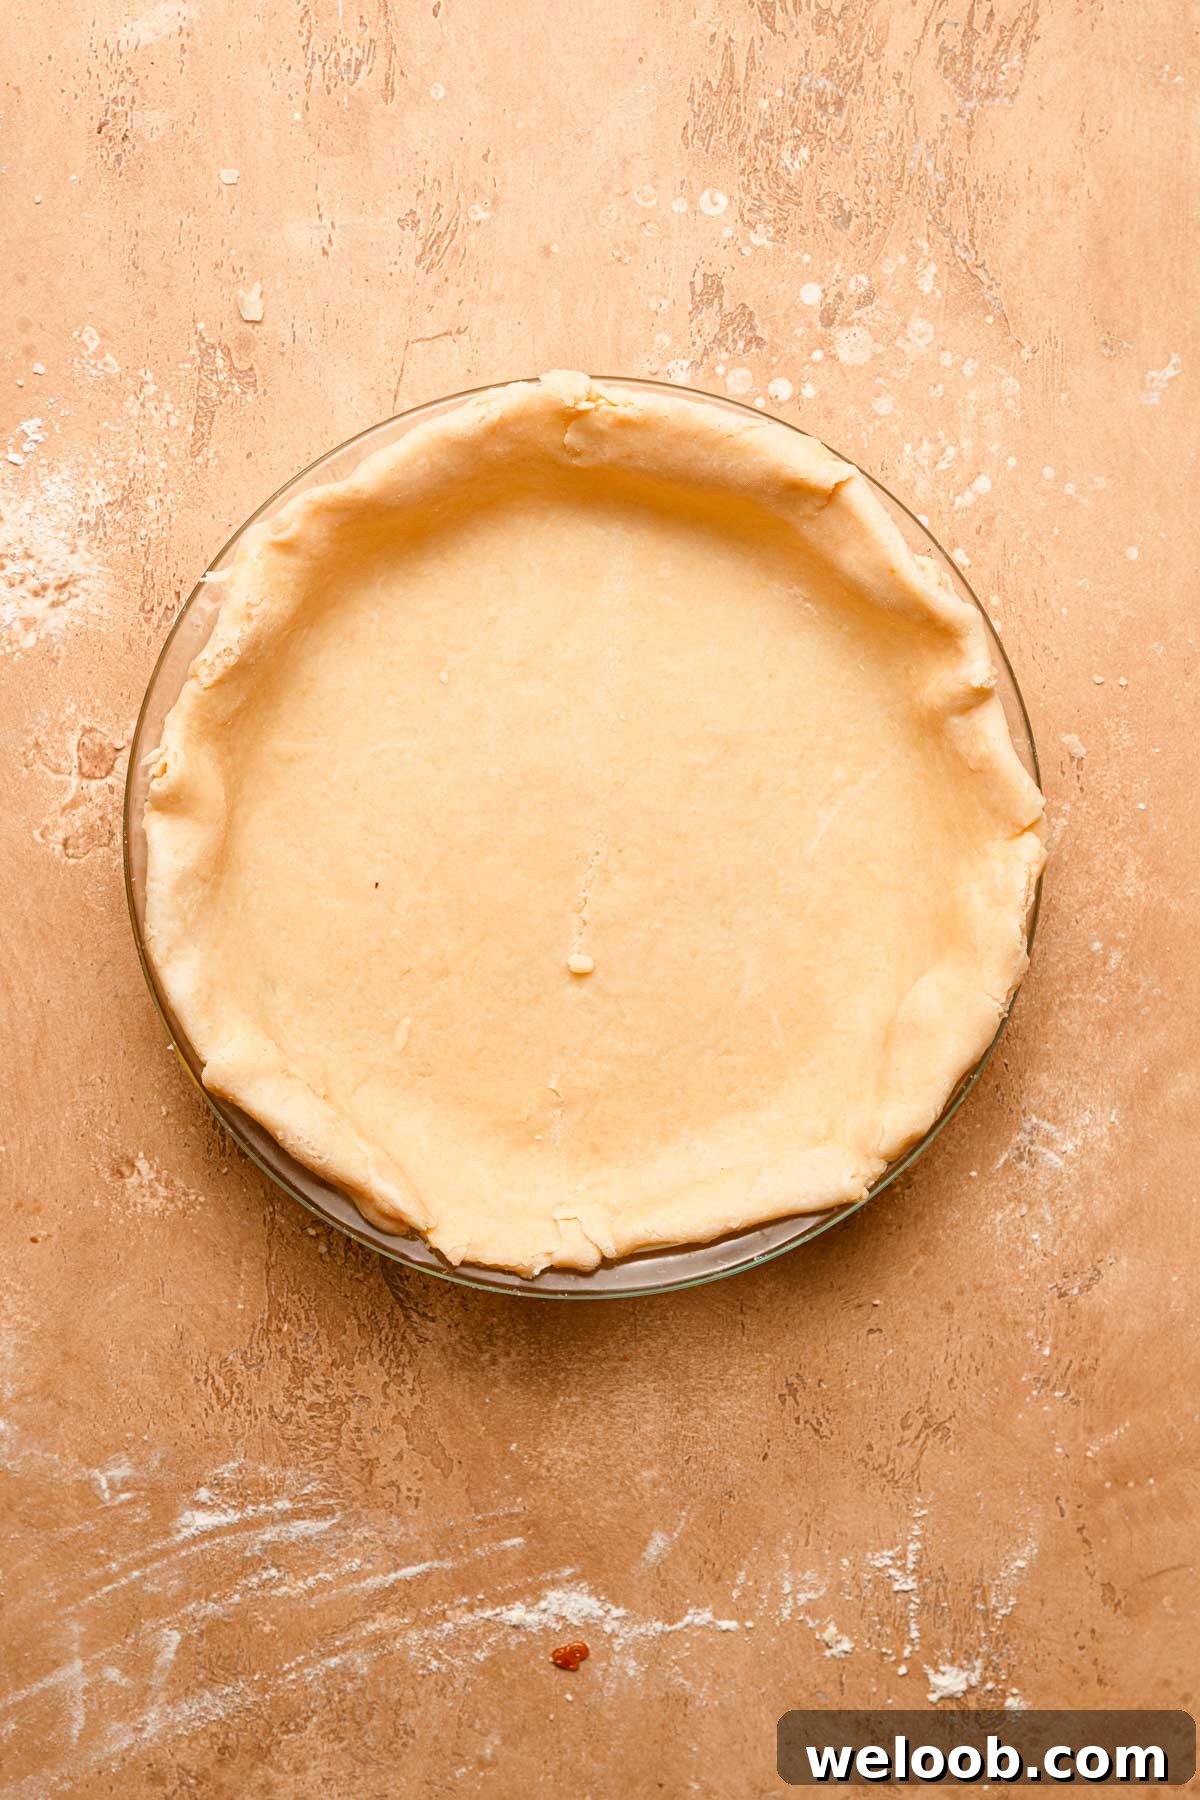
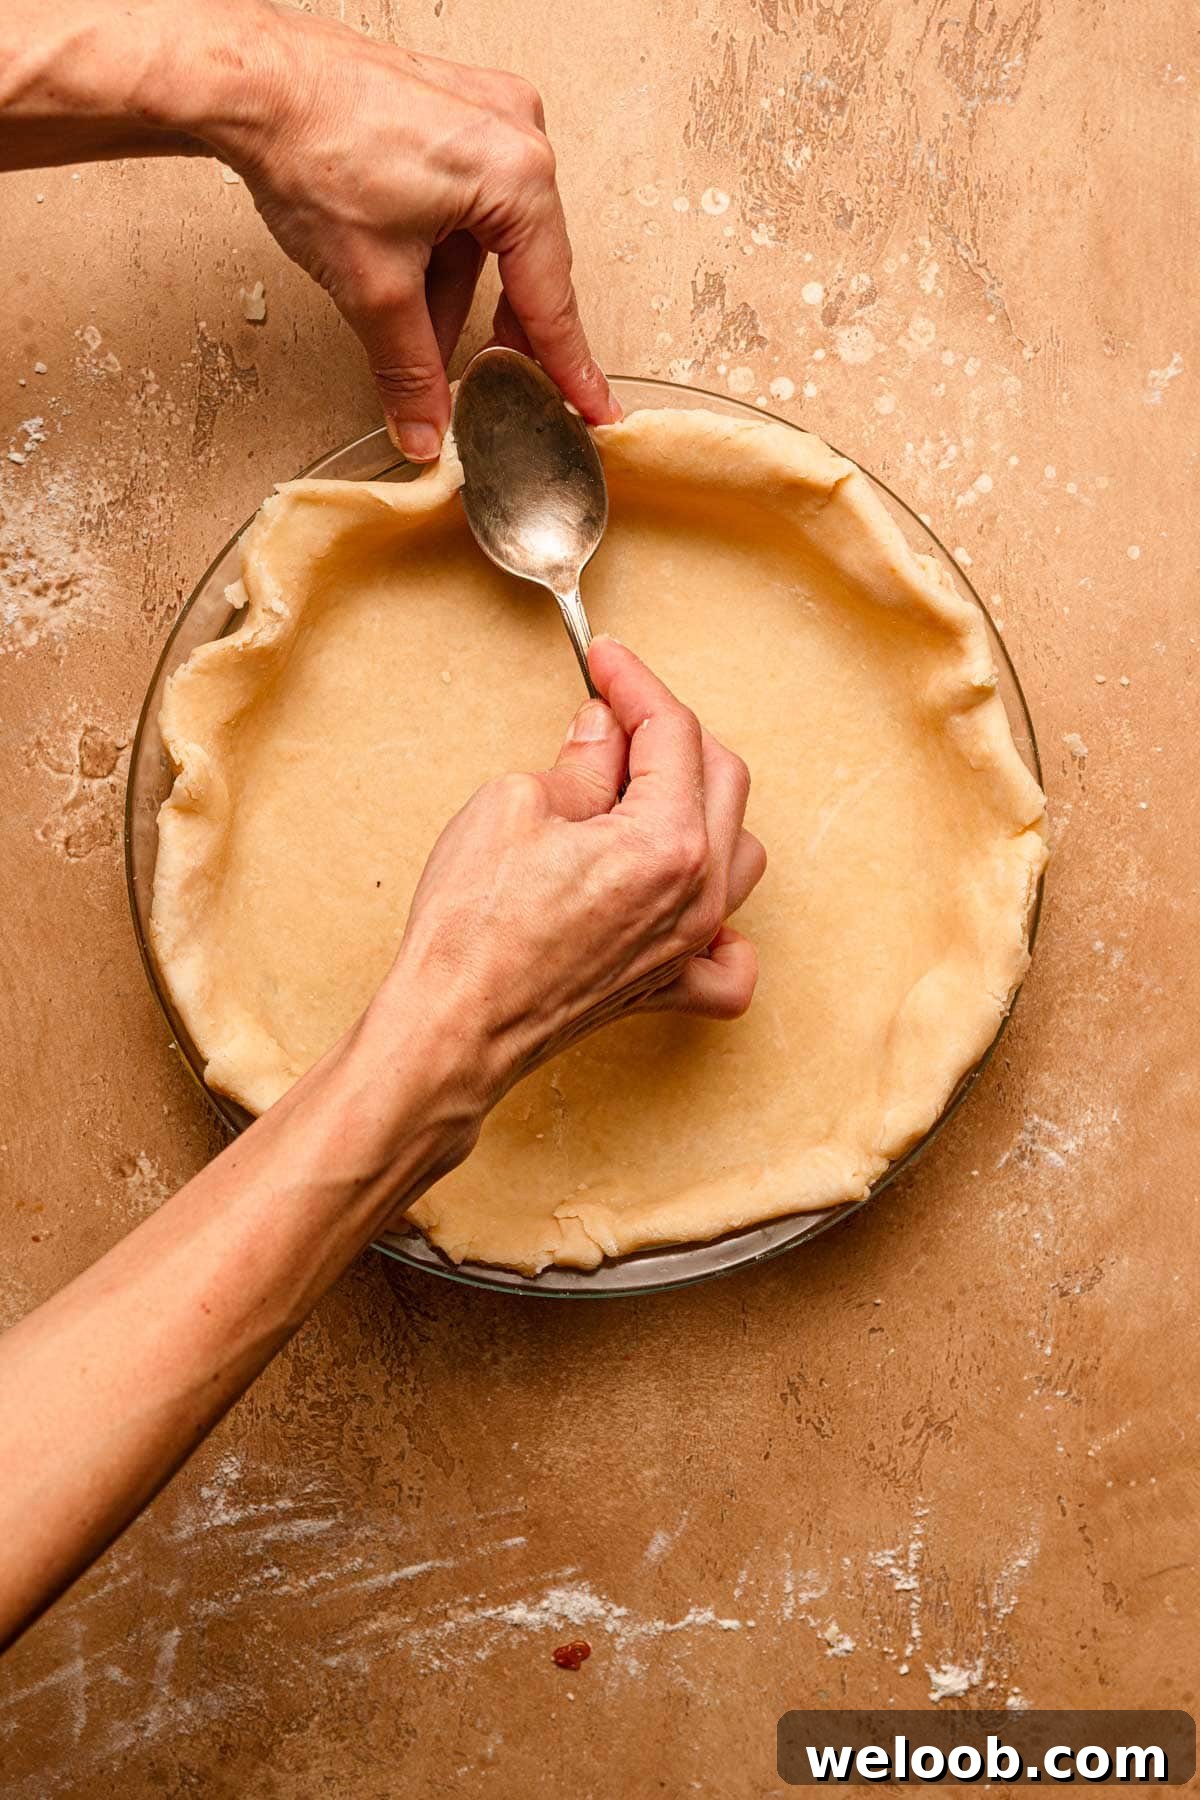
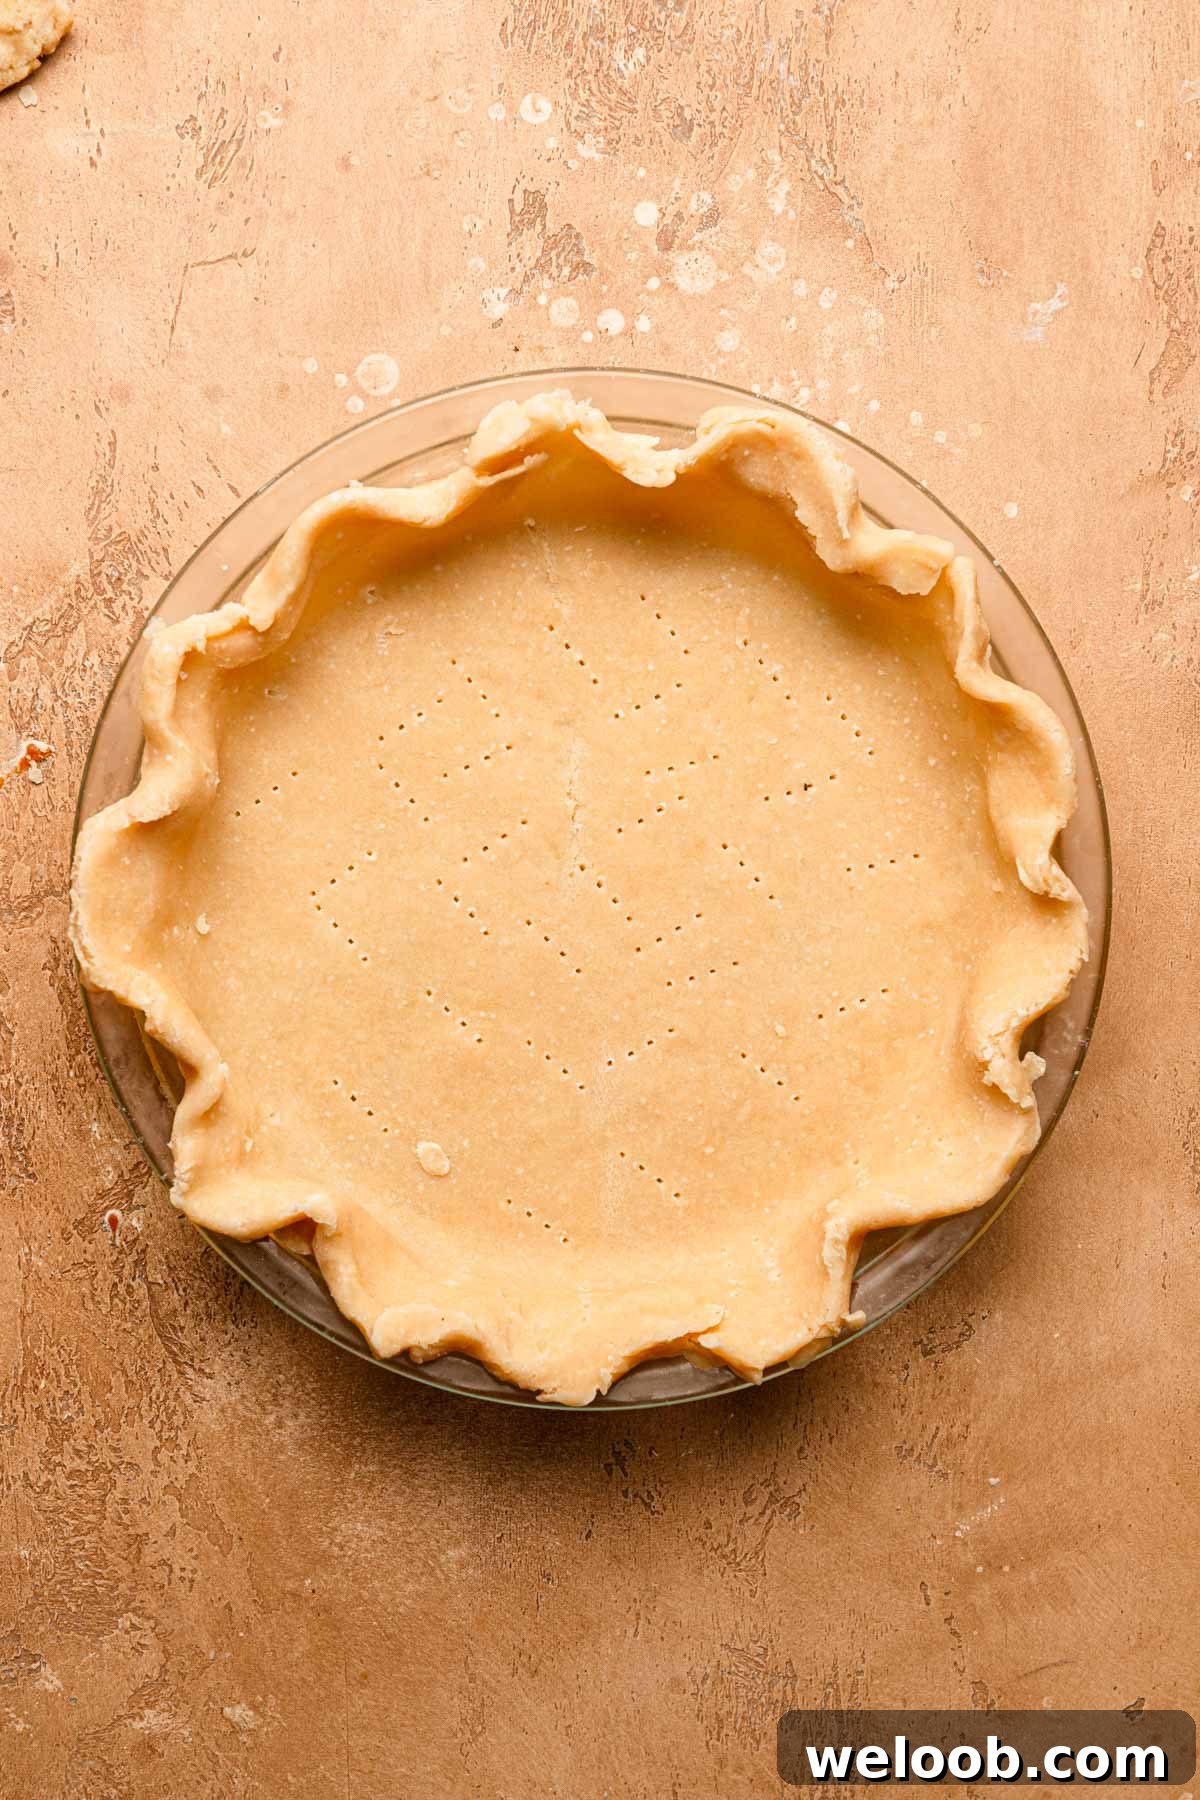
- Trim the edge, fold excess under, and crimp with your fingers or a spoon. Cover and chill the lined pan for 20–30 minutes before baking or filling.
Prebaking the Crust (Blind Baking)
- Preheat the oven to 425°F (220°C) and place a large cookie sheet on the bottom rack to warm.
- Remove plastic wrap, then prick the bottom and sides of the crust with a fork to prevent air pockets.
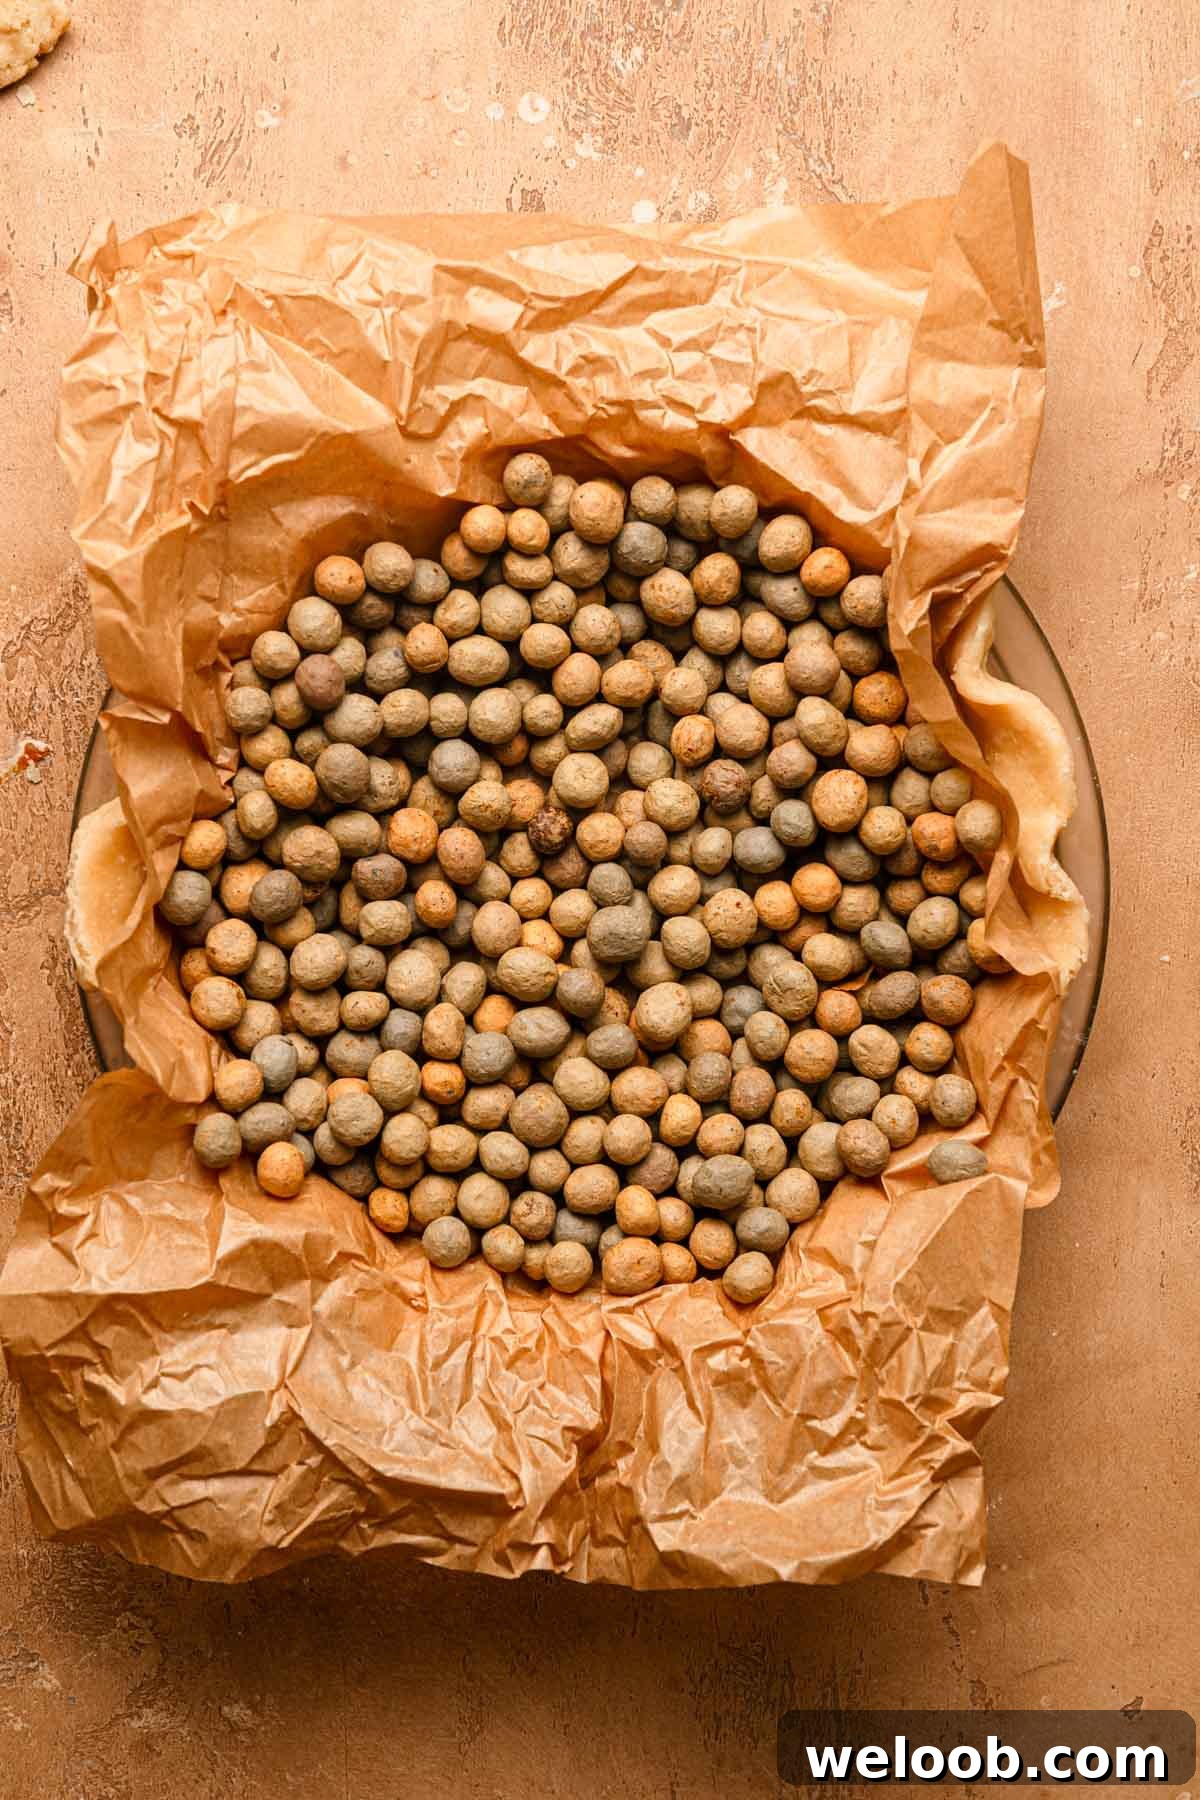
- Line the crust with parchment and fill with pie weights or dried beans.
- Set the pie pan on the warm cookie sheet and bake for 20 minutes.
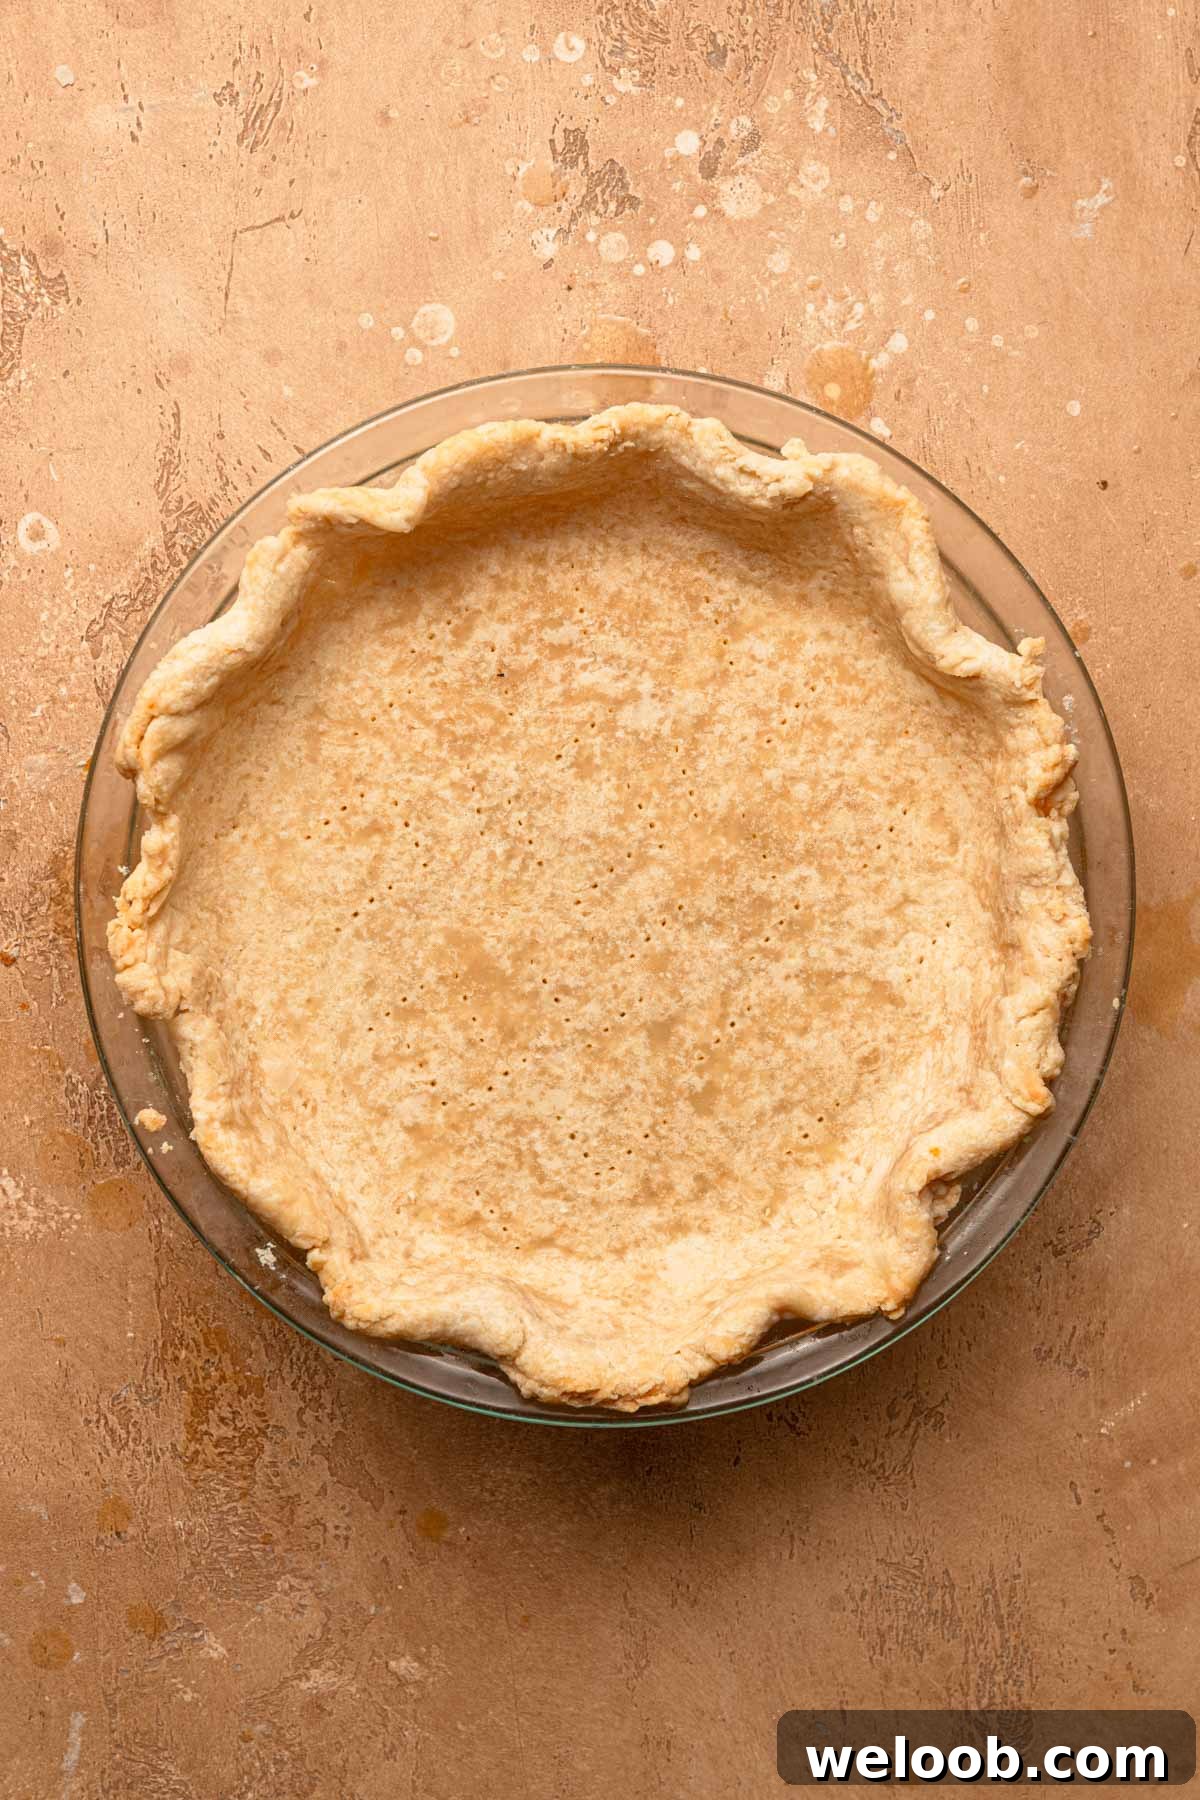
- Allow the crust to cool slightly with the weights in place for about 20 minutes so it sets; removing the weights too soon can cause the crust to shrink.
- To finish baking, remove the weights and bake an additional 10–15 minutes until the crust is golden and fully set.
- Store a fully baked crust at room temperature for up to three days. Unbaked dough can be refrigerated for up to three days before baking.