
Homemade Cherry Pie with Cream Cheese Crust
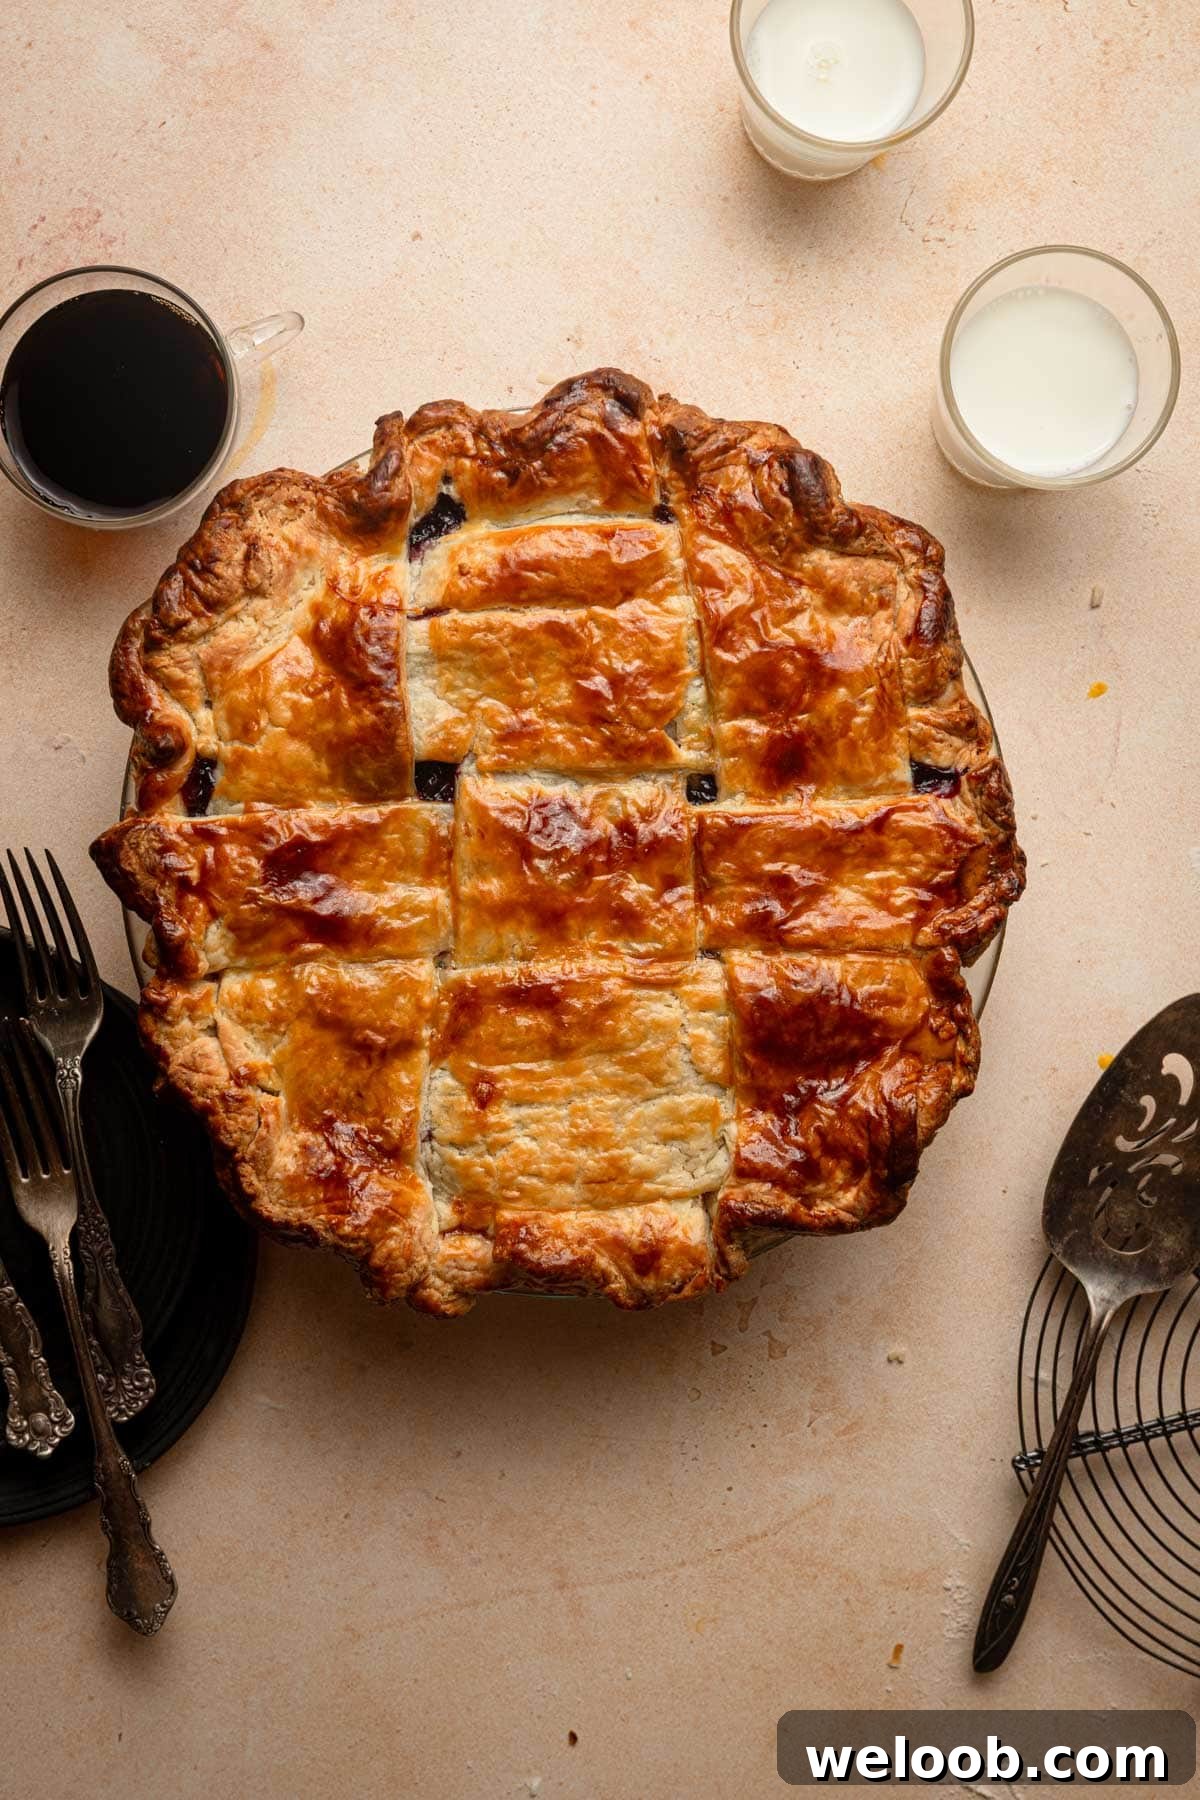
My Classic Cherry Pie features a tender, buttery cream cheese crust, a decorative lattice top, and nearly twice the cherries used in most recipes. Each bite combines a flaky, delicate crust with a sweet, juicy cherry filling. You can make it with fresh, frozen, or canned cherries — it’s a delicious homemade pie to enjoy year-round.
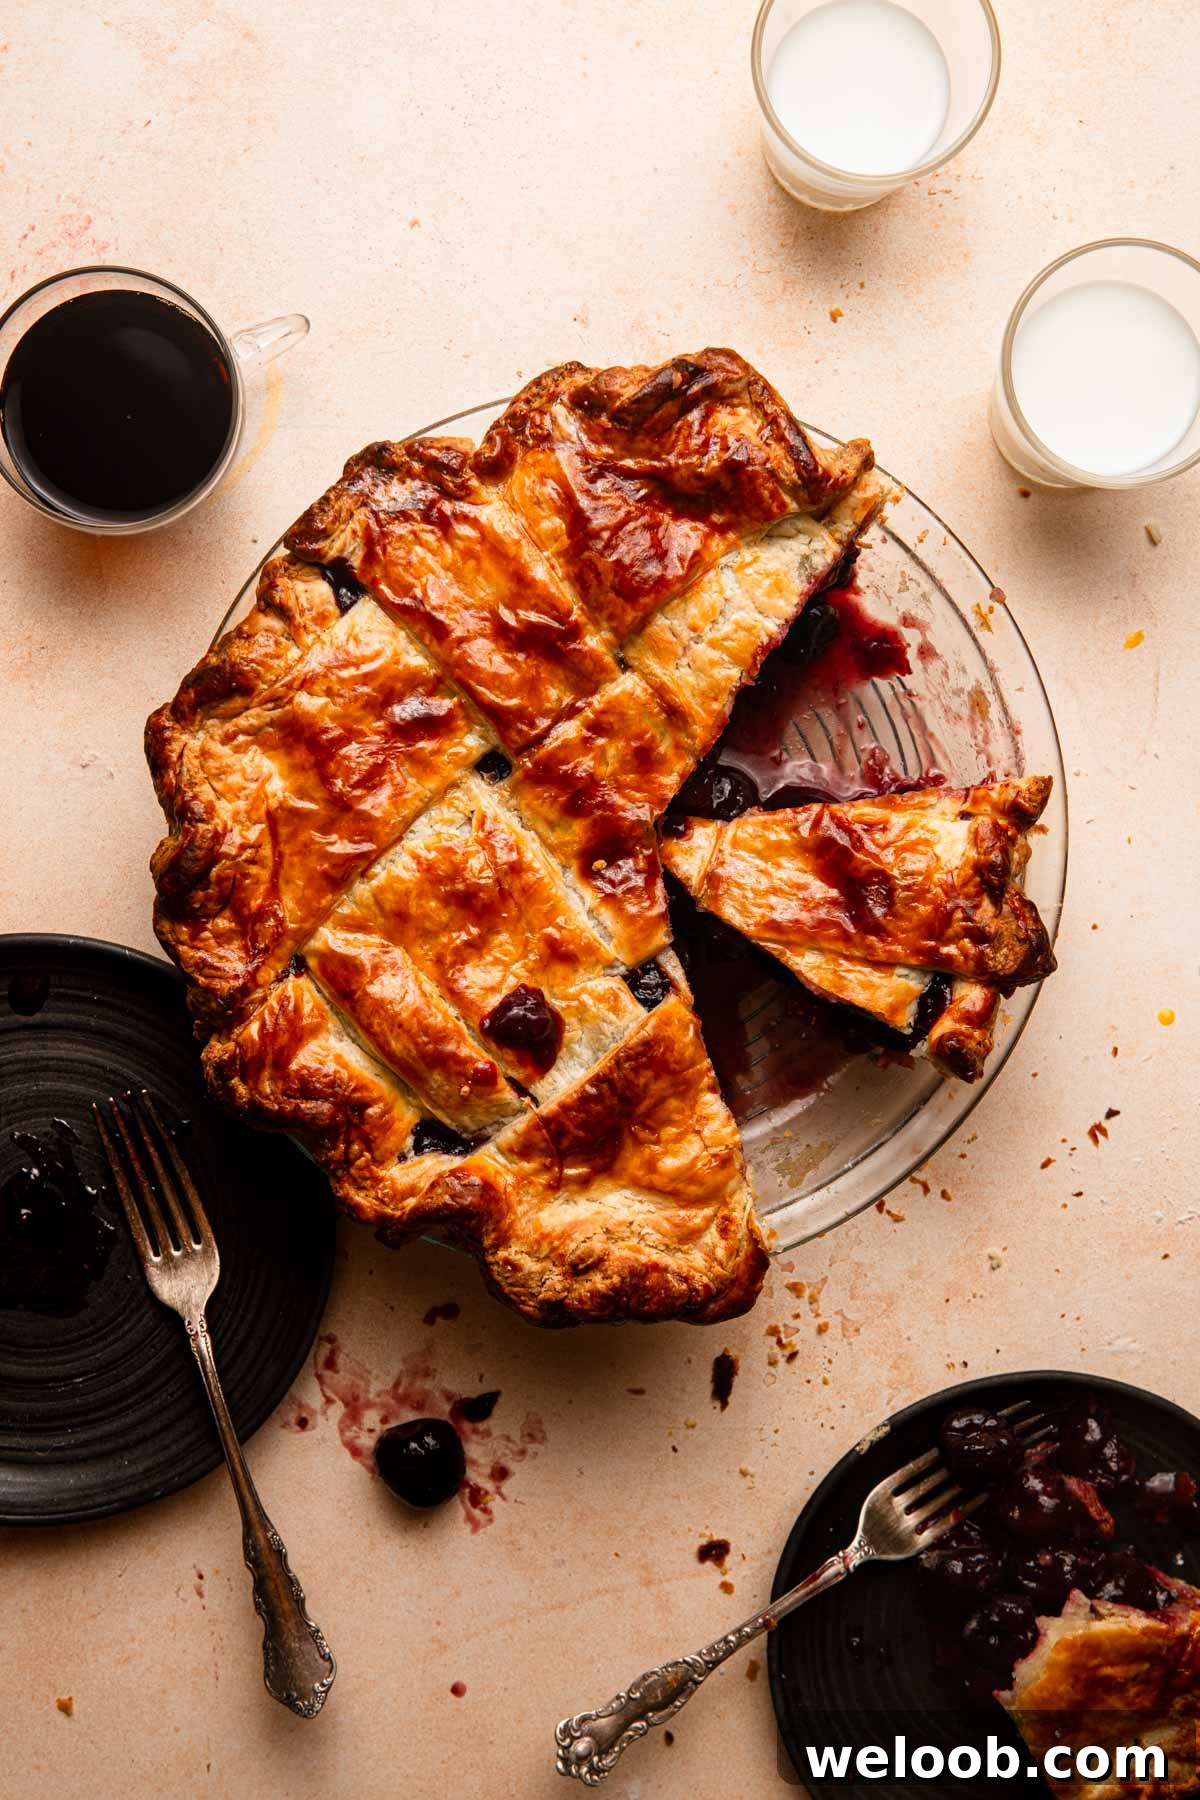
I took a short break from my Dutch Apple Pie and tested this cherry pie recipe over several weeks — I went through 25–30 pounds of cherries while dialing it in, and I loved every minute of it. The pie never failed: even when a slice was a little messy or the filling released extra juices, the flavor and texture were always satisfying. That’s the appeal of this American classic.
Finding the right crust-to-fruit ratio matters. I tried 1.5 pounds of cherries and the filling lacked juiciness, and I tried 4 pounds which made the pie take too long to bake. For me, about 3 pounds was the ideal balance for a buttery, flaky crust and a juicy, well-filled pie.
Perfect Pie Planning
Baking a great pie takes planning. Below are my workflow tips and the step-by-step method I use every time:
- Make and chill the dough the night before, or at least two hours ahead.
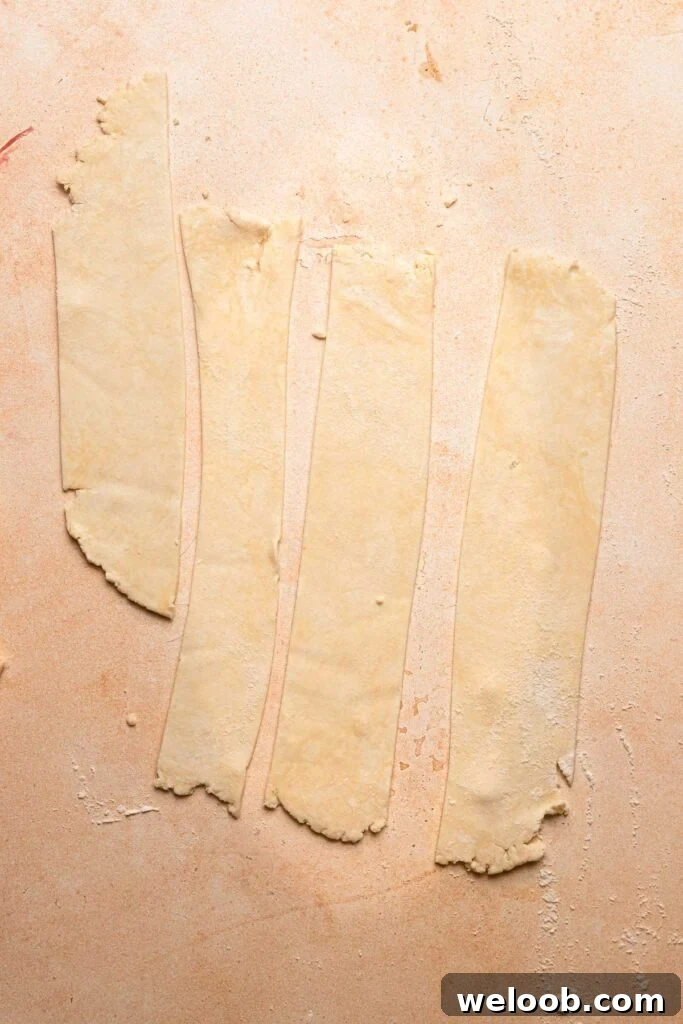
- While the filling macerates, roll one portion of dough into the pan and pre-cut the lattice strips from the other portion.
- Once the pie is assembled, freeze it while the oven preheats. Chilling the butter again just before baking helps the crust stay flaky and crisp.
I used a mix of tart and sweet cherries and tested with fresh, frozen, and canned fruit. Frozen cherries release the most liquid, while fresh cherries release the least — plan accordingly when measuring juices for thickening.
A note about dough: every kitchen is different. The most important thing is how the dough feels. If it becomes too soft or warm while you work, chill it in the refrigerator or the freezer for a few minutes before continuing.
For a dairy-free crust alternative, use an all-shortening pie crust recipe rather than the cream cheese crust.



Slicing and Serving the Pie
Use a serrated knife with a pointed tip — a steak knife works well — and cut each slice at a 45° angle. Use a thin cake spatula to lift slices cleanly from the pan.
If you can’t wait an hour to try a slice, I won’t judge — the pie may release a little juice early, but it’s perfectly delicious even when slightly warm and rustic. Big bites encouraged.
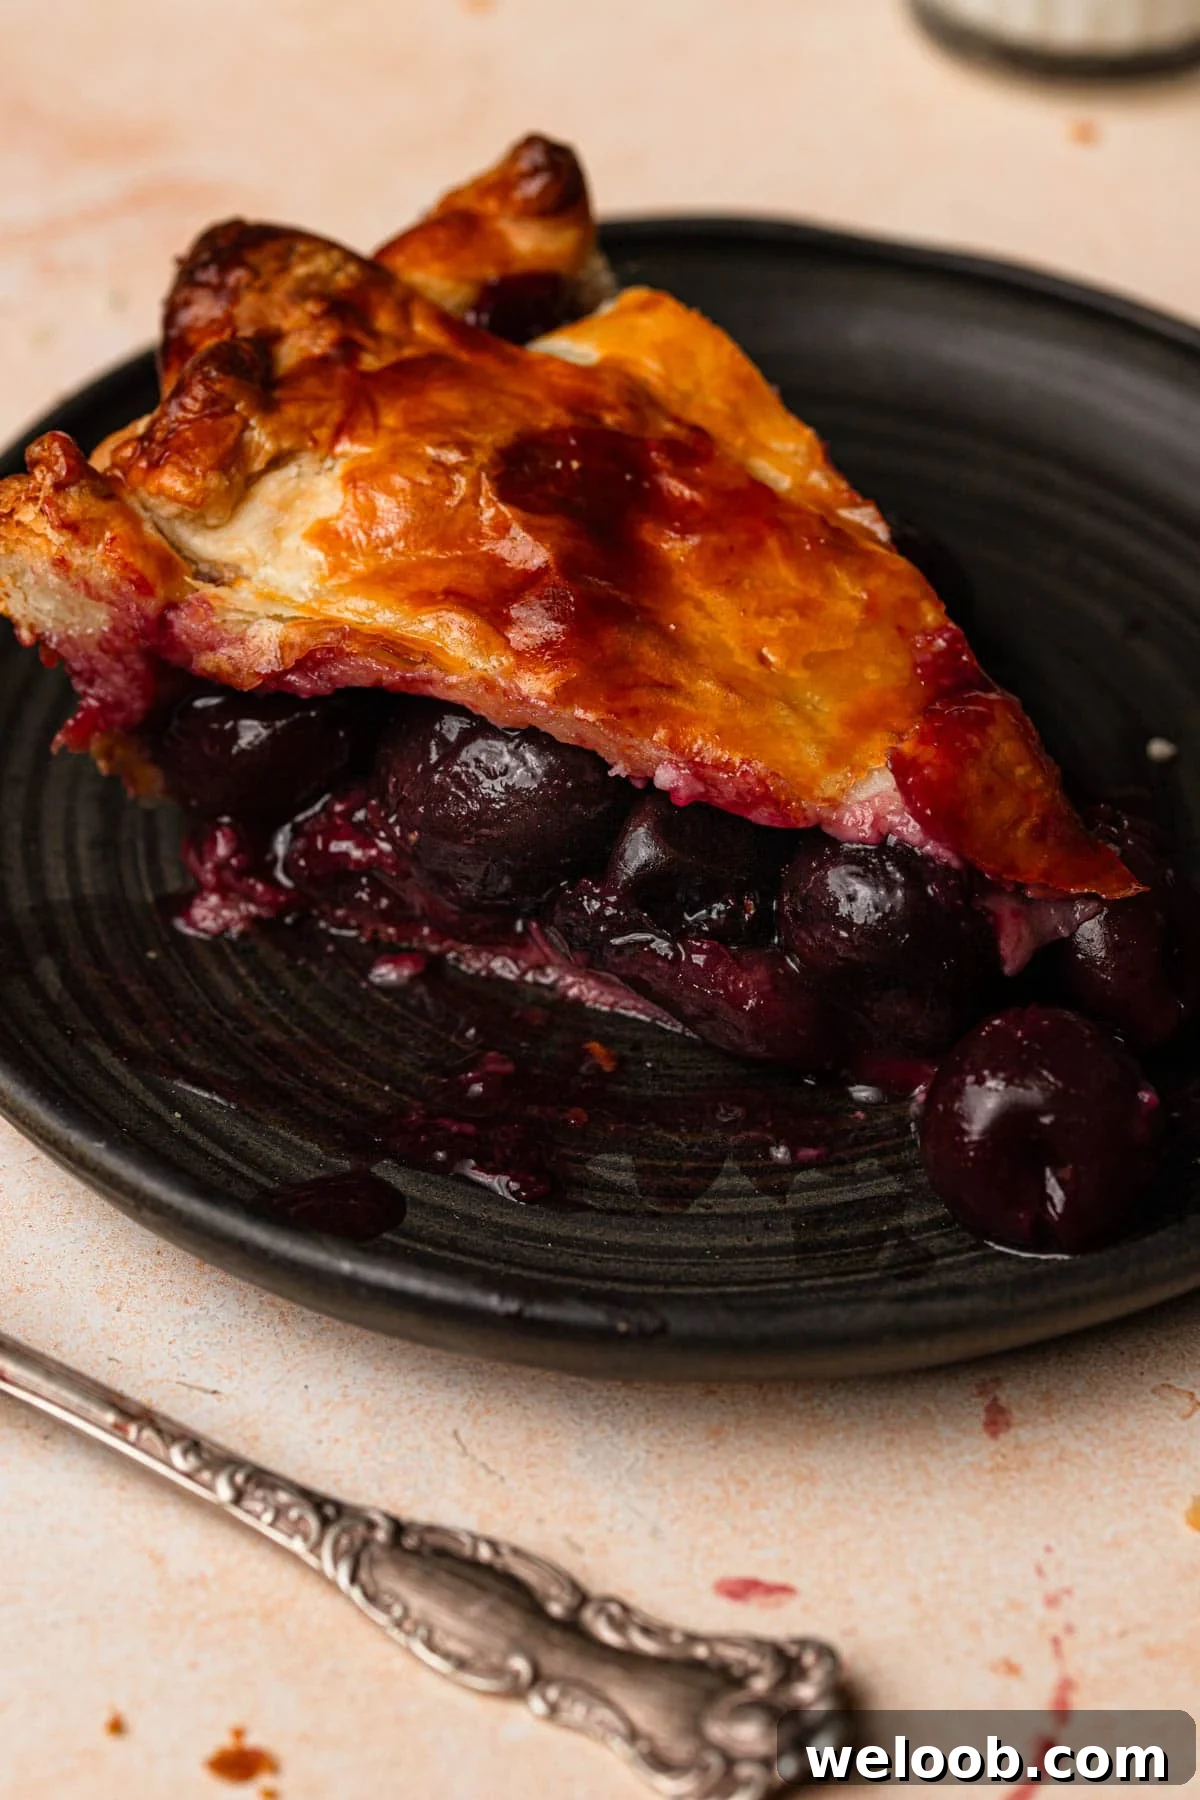

Classic Cherry Pie with Cream Cheese Crust
8 slices
Dikla Levy Frances
Ingredients
- 1 Recipe — Cream cheese pie crust, divided into two chilled portions
- 1 Large egg, separated
Cherry Filling
- 8 Cups (1200 g) pitted whole cherries
- 2 teaspoons almond extract
- 1 Tablespoon fresh lemon juice
- 3/4 Cup (150 g) sugar
- 6 Tablespoons (42 g) cornstarch
- 1/2 teaspoon salt
Instructions
Cherry Filling
- For frozen or canned cherries: if needed, defrost and run the cherries through a sieve to remove excess water. Place the pitted cherries (1200 g) in a large bowl.
- Add the almond extract and lemon juice to the cherries and stir to combine.
- In a separate bowl, whisk together the sugar, cornstarch, and salt until fully blended.
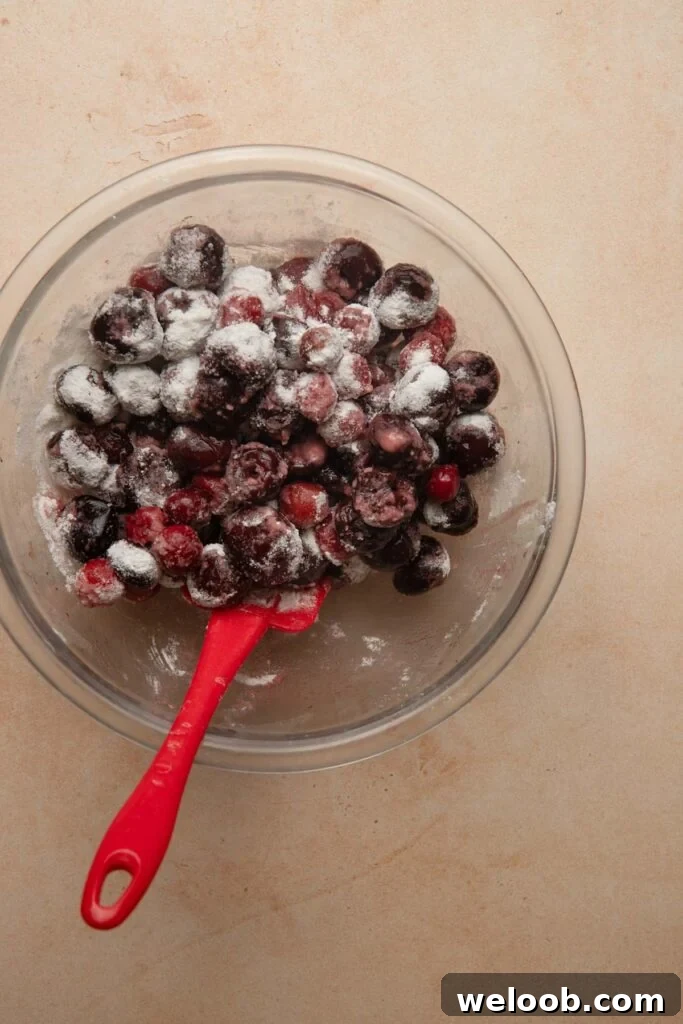
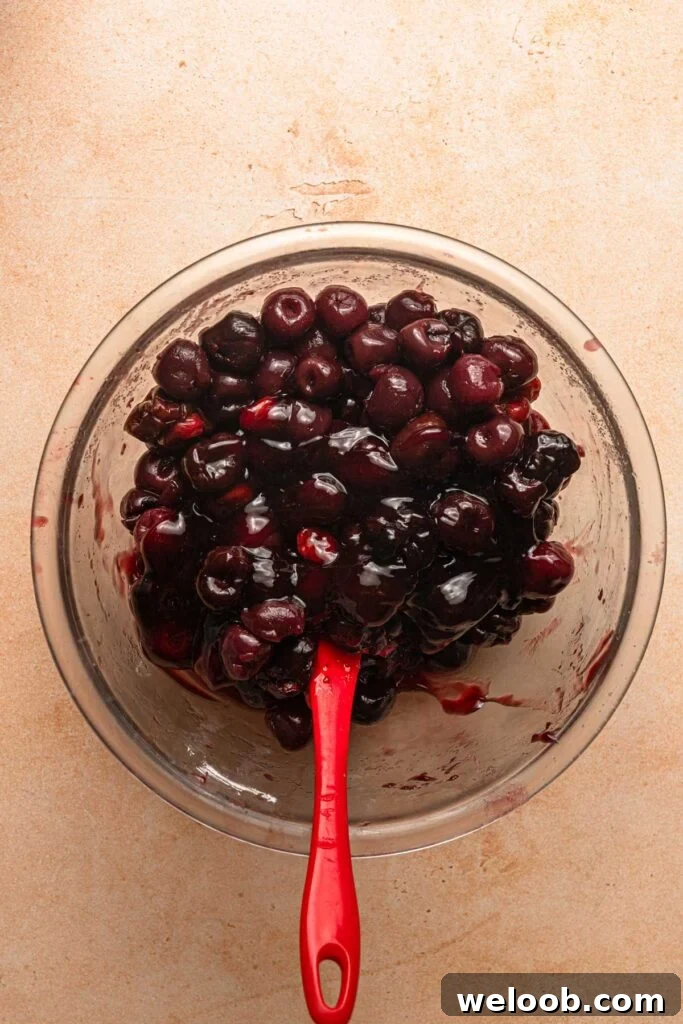
- Sprinkle the dry mixture over the cherries and fold gently with a rubber spatula to coat evenly.
- Let the cherries sit for 90–120 minutes to macerate, stirring every 20 minutes to redistribute liquid.
- After macerating, strain the cherries over a deep bowl through a sieve; you should have about 1–2 cups of liquid depending on the cherries used.
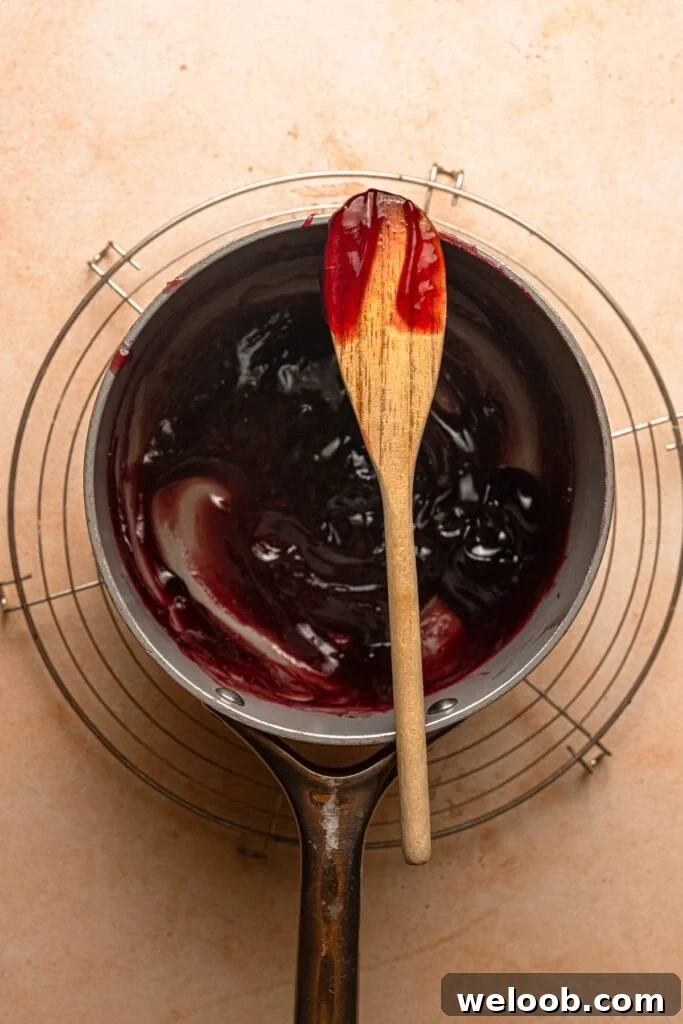
- Measure 1 cup of the collected liquid and cook it in a medium saucepan over medium heat, stirring, until it thickens into a smooth paste.
- Fold the thickened paste back into the cherries to stabilize the filling.
Prep the Dough
- While the cherries macerate, roll one chilled half of the cream cheese dough on a lightly floured surface to a 1/4-inch thickness. Trim to a 12-inch circle.
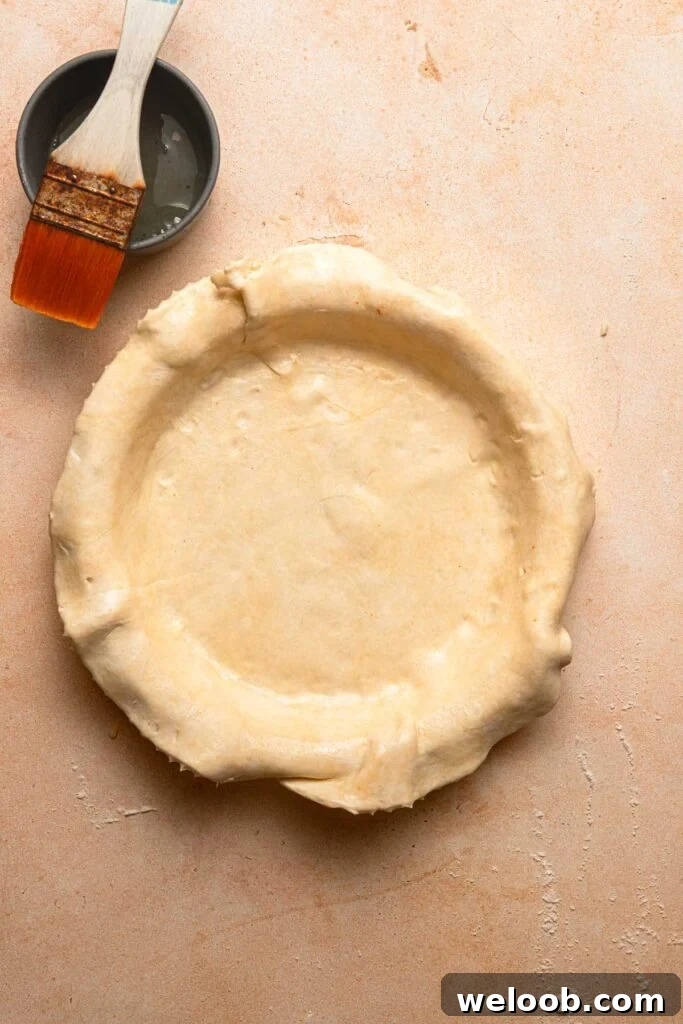
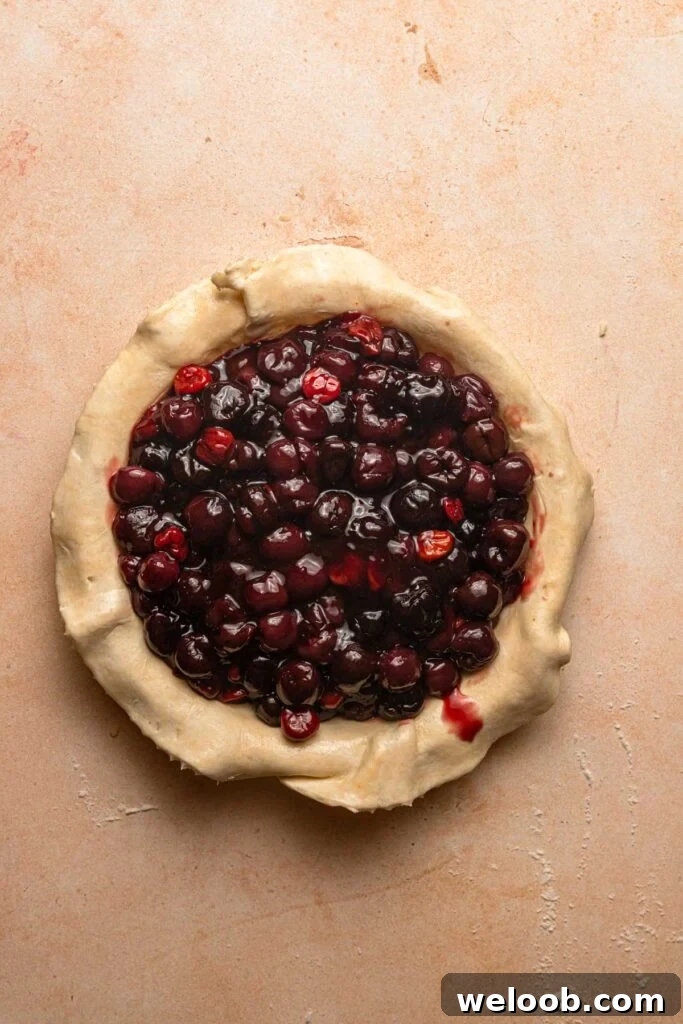
- Line a 9-inch pie dish with the dough, then cover and refrigerate.
- Roll the second portion of dough into a 1/4-inch thick rectangle (about 12 × 10 inches).
- Cut the rectangle into 1–2 inch wide strips. Place strips on a parchment-lined sheet and refrigerate until firm.
- Tip: Gather dough scraps on plastic wrap, overlap slightly, and press smooth with a rolling pin. Chill and use the reformed dough for extra lattice strips.
Assemble the Pie
- Remove the pie shell from the fridge and brush the bottom and sides with egg wash (use the egg white).
- Fill the crust evenly with the prepared cherry filling.
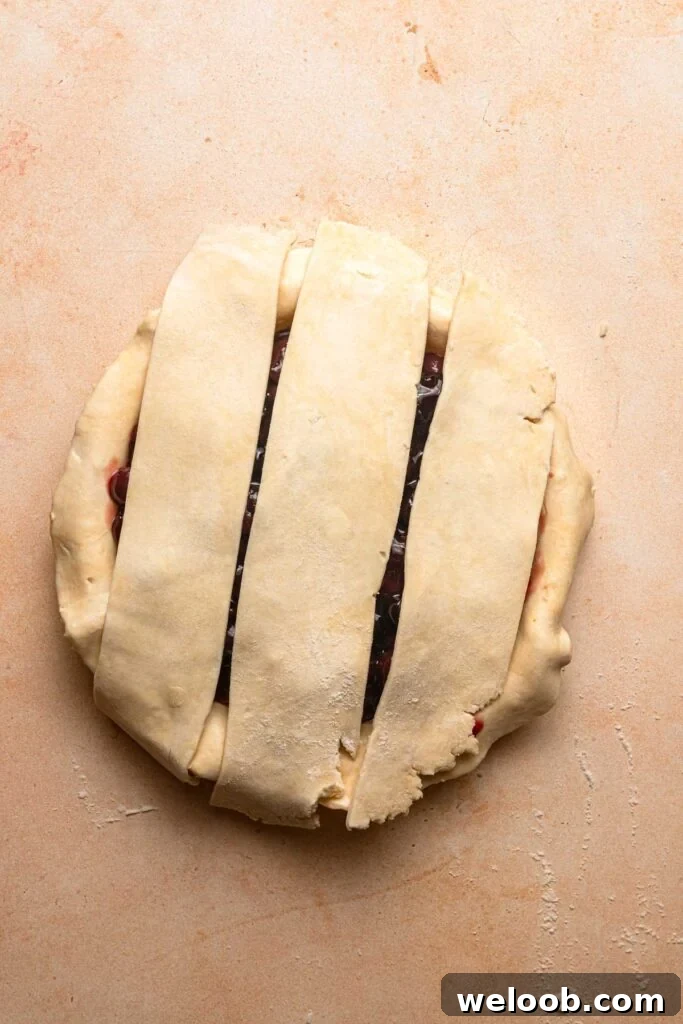
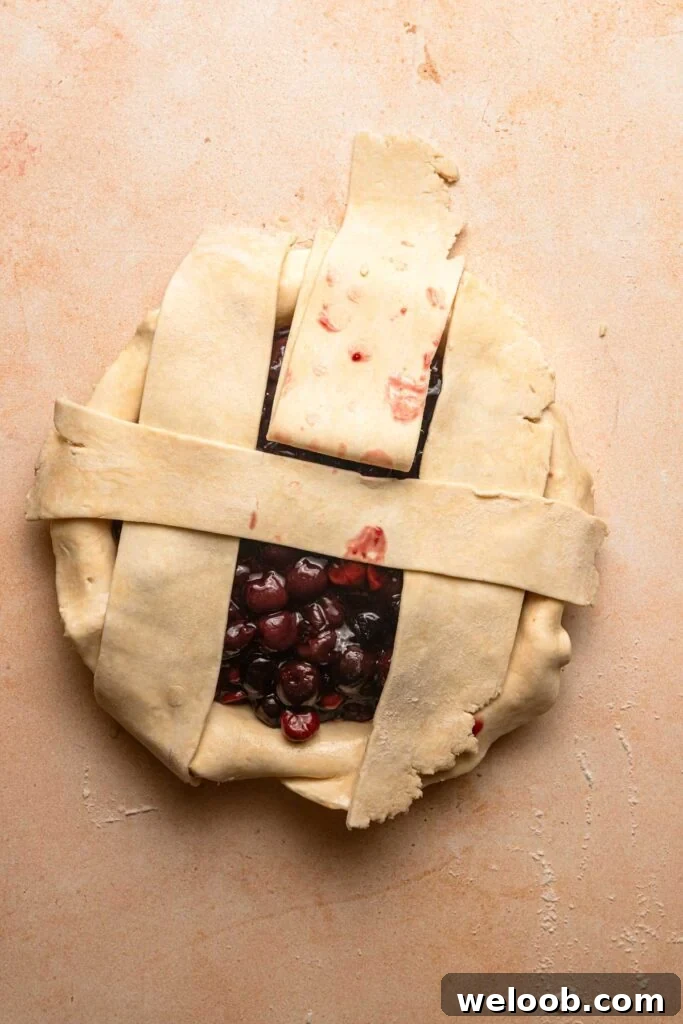
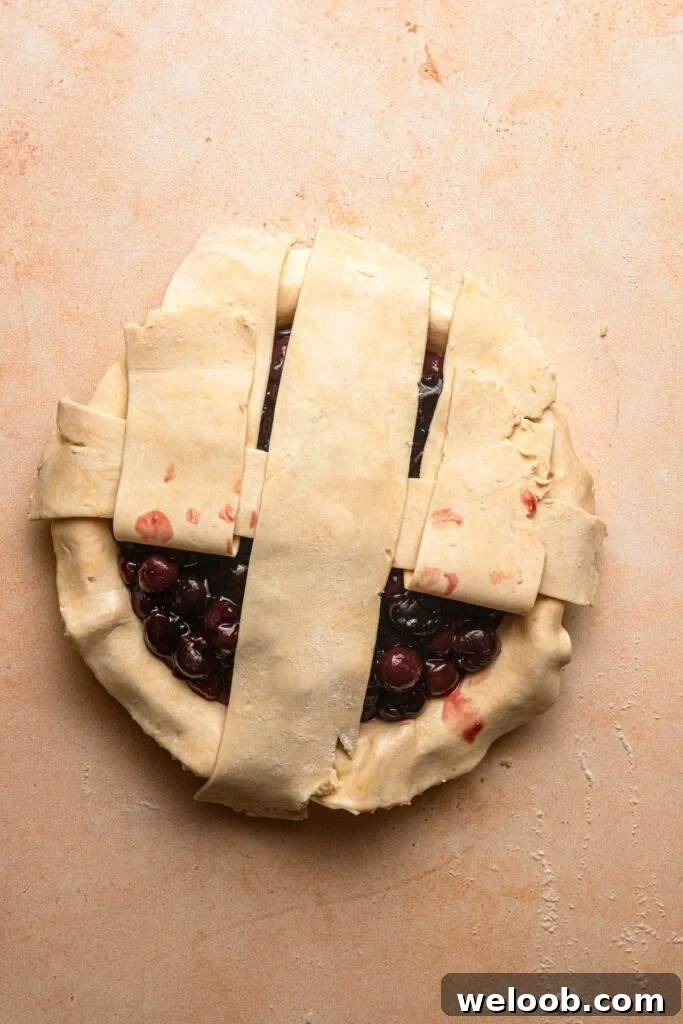
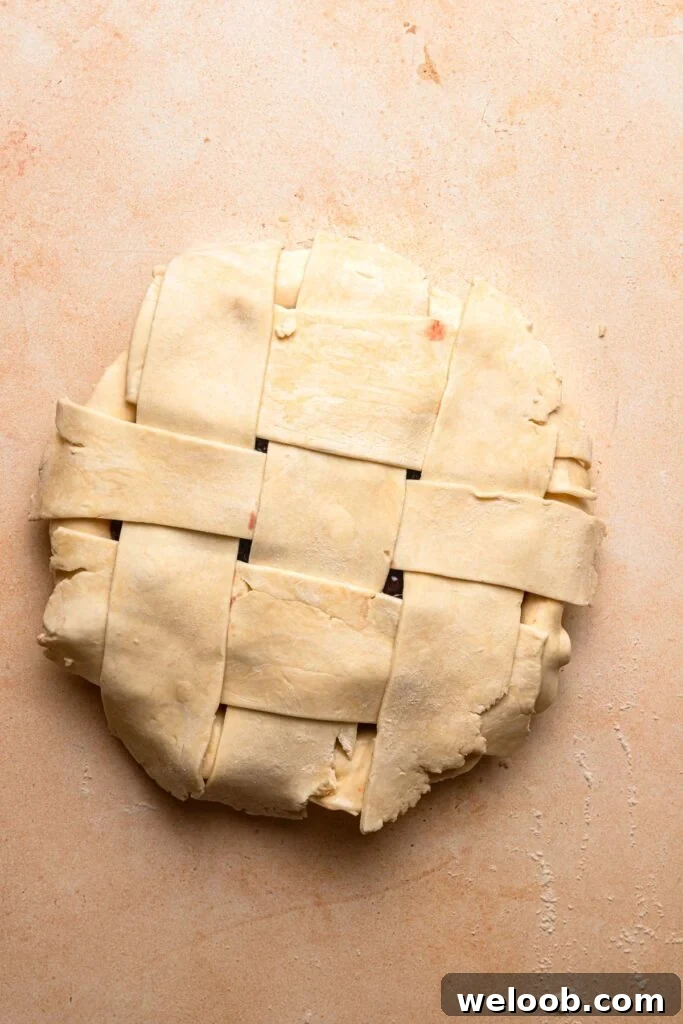
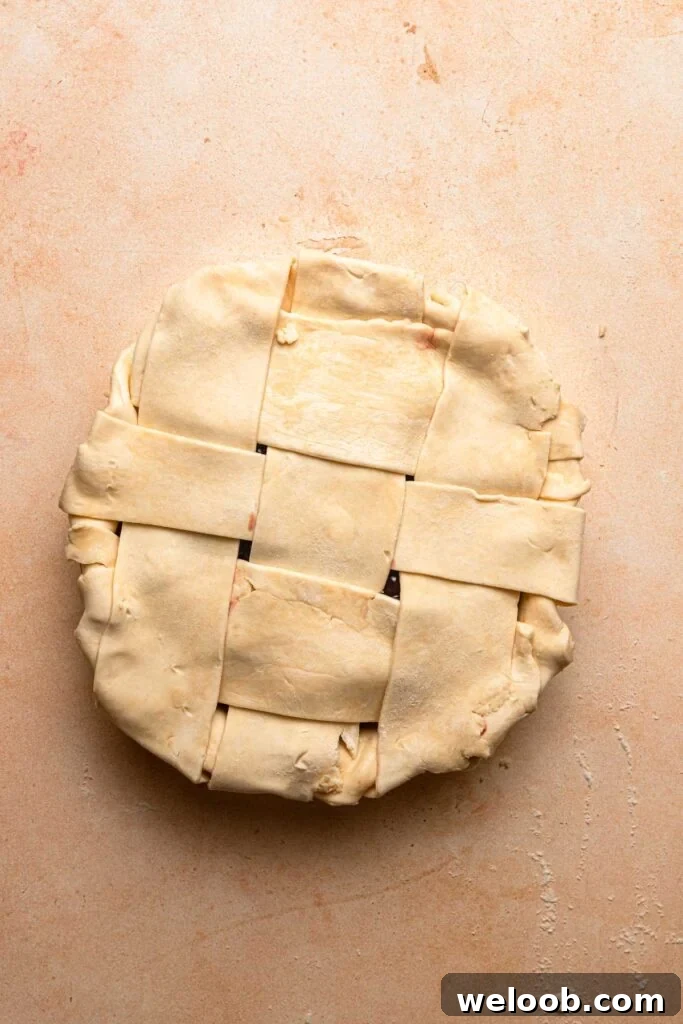
- Arrange half of the chilled strips across the filling, spaced evenly. Fold back every other strip, lay one strip perpendicularly, then unfold. Continue weaving to form a lattice.
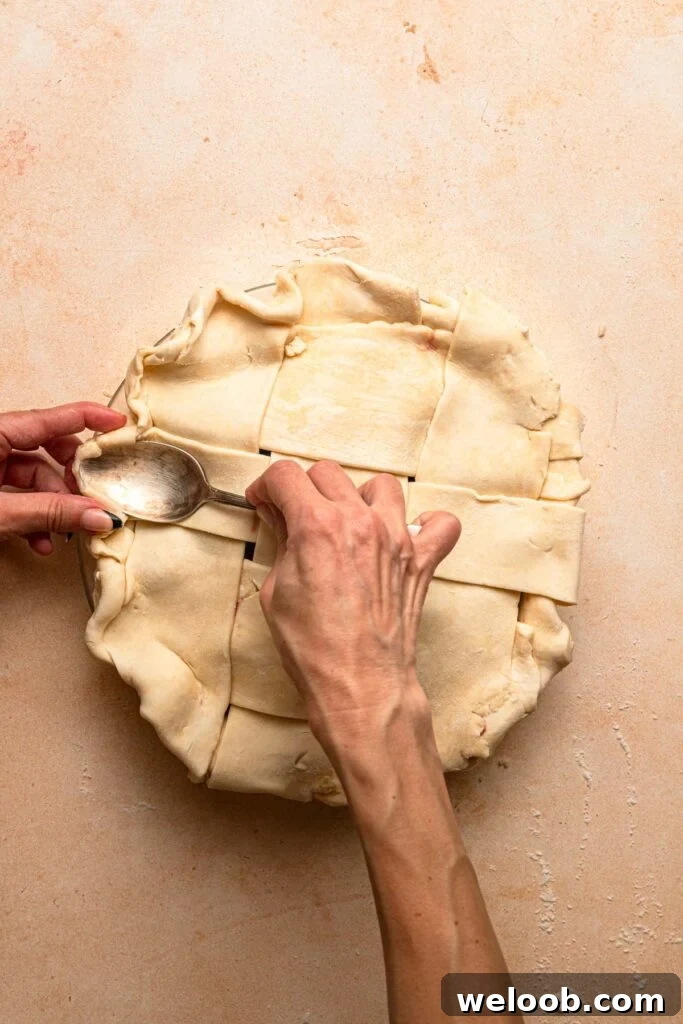
- Trim excess dough and press the strip ends into the bottom crust to seal. Fold the edges under and crimp as desired.
- Tip: When crimping, push the edges slightly toward the center so the crust does not flare over the pan edge while baking.
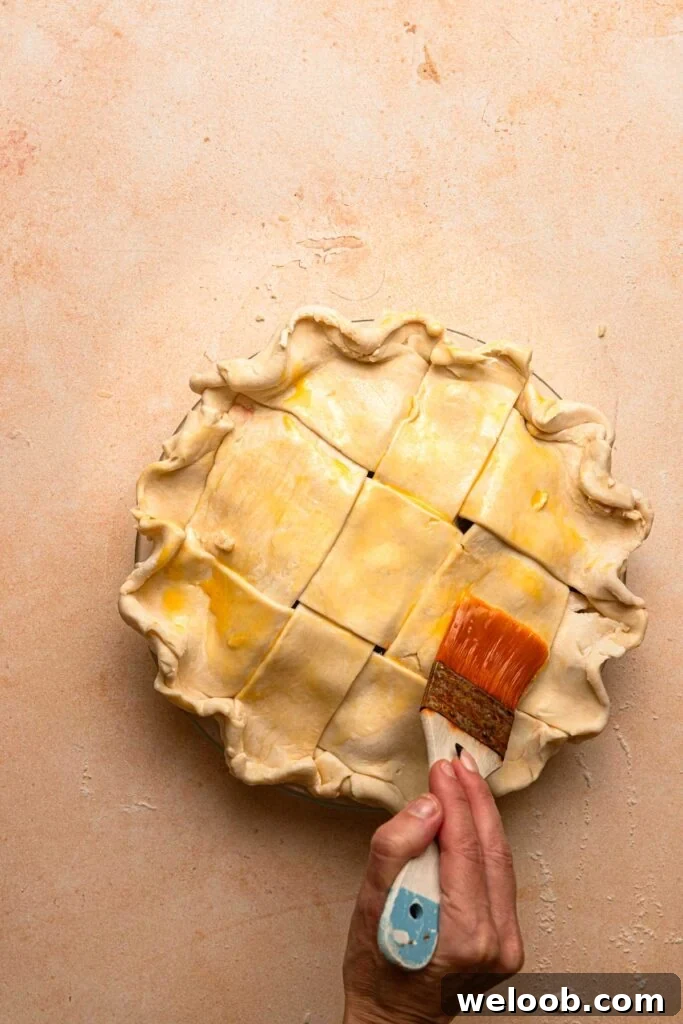
- Brush the top with the egg yolk and place the assembled pie in the freezer while the oven preheats.
Bake the Pie
- Place an oven shelf over the lowest rack and set a large cookie sheet lined with parchment on it to catch any drips.
- Preheat the oven to 425°F (218°C).
- Once the oven reaches temperature, remove the pie from the freezer and place it in the center of the cookie sheet.
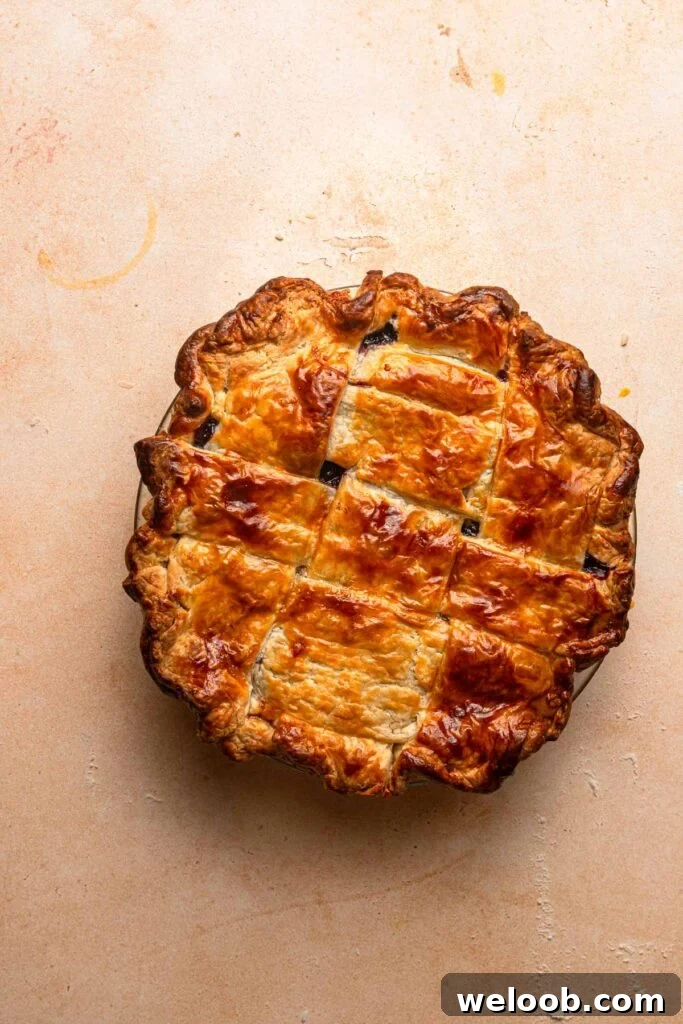
- Bake for 45–55 minutes, or until bubbling is visible through the lattice and the crust is golden brown.
- Tip: Check the pie after 20 minutes; if the top is browning too quickly, tent it loosely with aluminum foil for the remainder of baking.
- Remove the pie and allow it to cool completely before slicing so the filling sets.
- Store covered at room temperature for up to three days.