
Homemade Cherry-Rhubarb Pie Recipe with Flaky Crust
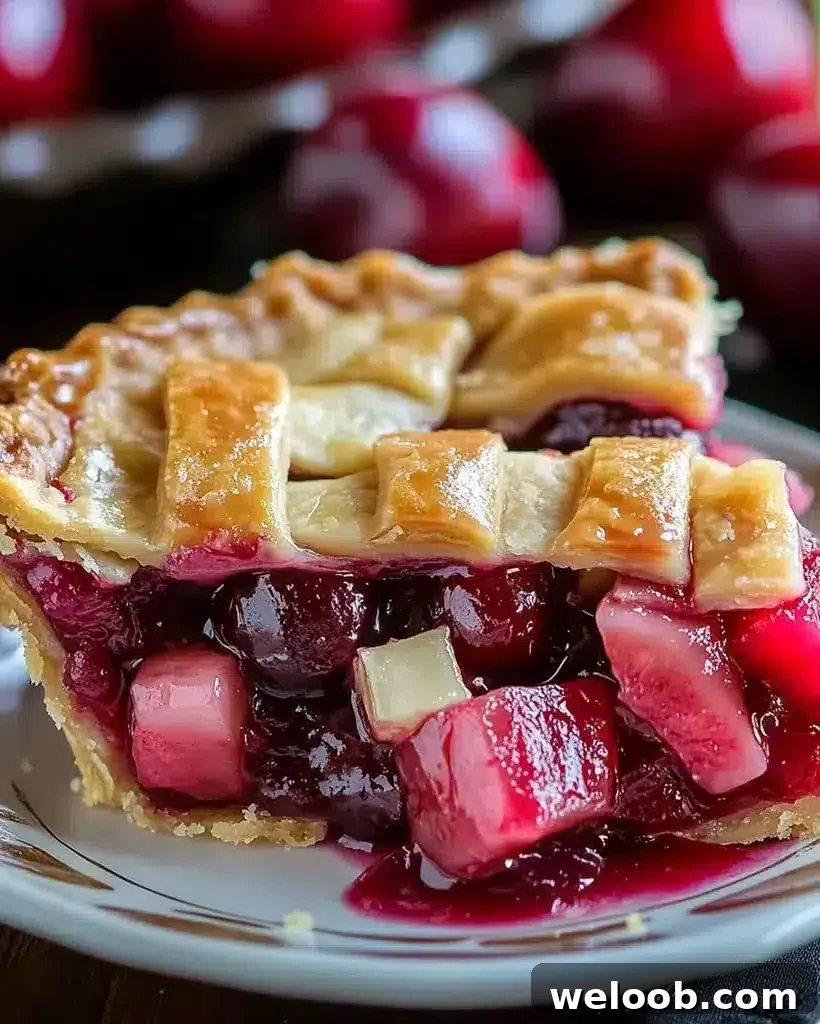
There’s nothing quite like the rustic charm of a homemade Cherry Rhubarb Pie. This from-scratch dessert balances the bright tartness of fresh rhubarb with the sweet, jammy flavor of cherries, all wrapped in a flaky, buttery pie crust. Perfect for family gatherings, summer picnics, or a cozy weekend treat, this pie offers impressive flavor with straightforward steps—even for a beginner baker. Read on for a clear, step-by-step guide, helpful tips, and convenient variations to make the best Cherry Rhubarb Pie every time.
Why You’ll Love This Recipe
- Sweet-and-tart harmony: Juicy cherries and tangy rhubarb create a lively, memorable filling.
- Flaky, buttery crust: A simple homemade crust yields a tender, crisp base and top.
- Seasonal favorite: Ideal for late spring and summer when rhubarb and cherries are at their best.
- Beginner-friendly: Clear instructions make this recipe accessible, even if you’re new to pie-making.
- Versatile serving: Serve warm with vanilla ice cream or enjoy chilled the next day.
Ingredients for Homemade Cherry Rhubarb Pie
For the Pie Crust:
- 2 ½ cups all-purpose flour
- 1 cup (2 sticks) unsalted butter, cold and cubed
- 1 tablespoon granulated sugar
- ½ teaspoon salt
- ½ cup ice water
Pro tip: Substitute gluten-free all-purpose flour for a gluten-free crust. Keep the butter cold to maintain flakiness.
For the Filling:
- 2 cups fresh cherries, pitted
- 2 cups diced rhubarb
- ¾ cup granulated sugar
- ¼ cup brown sugar
- ¼ cup cornstarch
- 1 tablespoon lemon juice
- 1 teaspoon vanilla extract
- ½ teaspoon ground cinnamon
- ¼ teaspoon ground nutmeg
- 1 tablespoon butter, cut into small pieces
- 1 egg, beaten (for egg wash)
- 1 tablespoon coarse sugar (optional, for sprinkling)
Alternative: Frozen cherries work well when fresh are unavailable—thaw and drain them thoroughly before using.
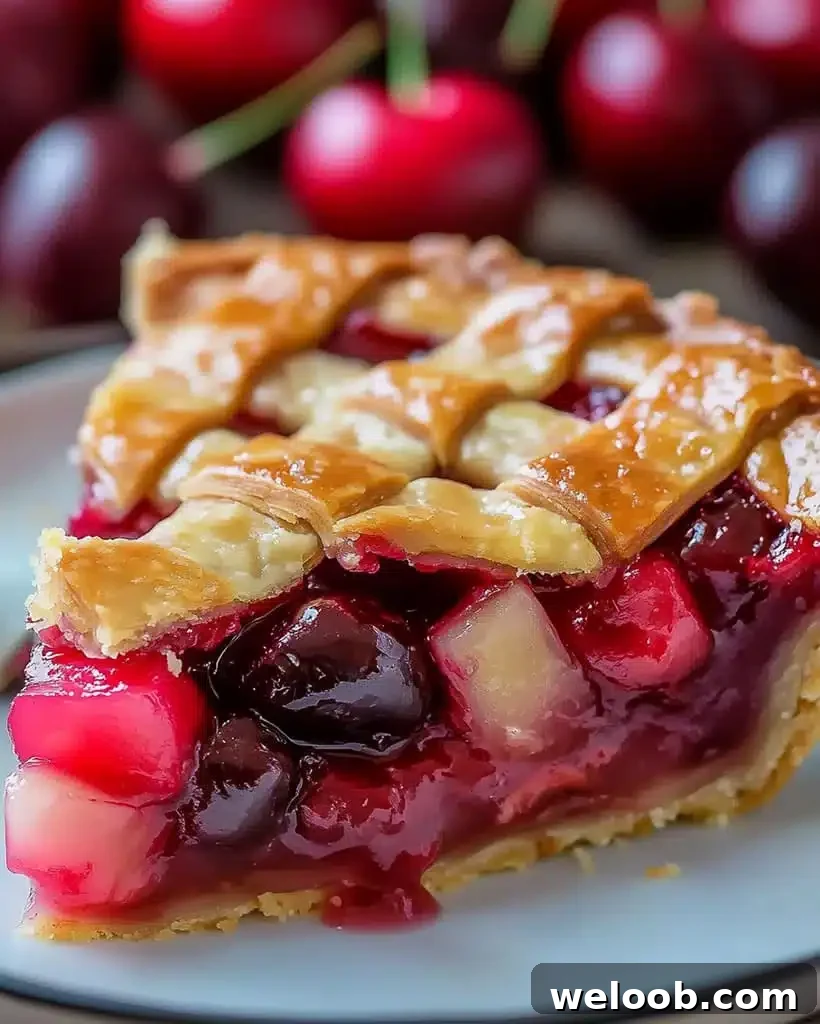
How to Make Cherry Rhubarb Pie – Step by Step
Step 1: Prepare the Pie Crust
- In a large bowl, whisk together the flour, sugar, and salt.
- Cut the cold cubed butter into the flour using a pastry cutter, two knives, or your fingertips until the mixture resembles coarse crumbs with pea-sized pieces of butter remaining.
- Sprinkle the ice water over the mixture a few tablespoons at a time and gently fold until the dough just comes together. Avoid overworking.
- Divide the dough into two equal portions, shape each into a disc, wrap in plastic, and refrigerate for at least 1 hour. Chilling firms the butter and prevents a tough crust.
Tip: Handle the dough as little as possible for a tender, flaky crust.
Step 2: Make the Filling
- Preheat the oven to 375°F (190°C).
- In a large bowl, combine the pitted cherries, diced rhubarb, granulated sugar, brown sugar, cornstarch, lemon juice, vanilla extract, cinnamon, and nutmeg. Toss gently to coat
- Let the mixture sit for 10–15 minutes so the sugar begins to break down the fruit and the cornstarch starts to absorb juices.
Tip: For a slightly thicker filling, replace or supplement cornstarch with 1 tablespoon of tapioca starch.
Step 3: Assemble the Pie
- On a lightly floured surface, roll one chilled dough disc to fit a 9-inch pie dish. Transfer it to the dish and gently press it into the bottom and up the sides.
- Pour the cherry-rhubarb filling into the crust, spreading it evenly. Dot the top with the small pieces of butter.
Step 4: Create the Lattice Top
- Roll out the second dough disc and cut into ½-inch strips. Weave the strips into a lattice over the filling, or cover the pie with a full top crust with vents cut into it.
- Brush the lattice or top crust with the beaten egg for a golden finish and sprinkle coarse sugar over the top if desired.
Tip: If the crust edges brown too quickly, shield them with foil during the last 20–25 minutes of baking.
Step 5: Bake the Pie
- Place the pie on a rimmed baking sheet to catch any drips and bake for 50–60 minutes, until the crust is golden and the filling is bubbling.
- Allow the pie to cool on a rack for at least 2 hours so the filling sets before slicing.
Pro Tips for Success
- Keep ingredients cold and work quickly when making the dough to preserve flaky layers.
- Bake until the filling is actively bubbling to ensure the thickener has fully activated.
- For extra warmth, add a pinch of ground ginger or a splash of almond extract to the filling.
- Slice the pie with a sharp knife and serve slightly warm with vanilla ice cream or whipped cream for contrast.
Variations & Substitutions
- Replace some cherries with strawberries for a different sweet-tart profile.
- Use a single crust and a crumble topping for a quicker finish.
- Swap butter for a combination of butter and cold lard or shortening for an even flakier crust (note: this changes flavor).
Storage & Leftovers
- Room temperature: Store covered for up to 2 days.
- Refrigerator: Keep in an airtight container for up to 5 days.
- Freezer: Wrap slices or the whole pie tightly and freeze up to 3 months. Thaw overnight in the refrigerator before reheating.
- Reheating: Warm slices in a 350°F (175°C) oven for about 15 minutes to refresh the crust.
Nutritional Information (Per Serving)
- Calories: 380 kcal
- Carbohydrates: 55 g
- Protein: 4 g
- Fat: 17 g
- Fiber: 4 g
- Sugar: 28 g
Frequently Asked Questions
Can I make this pie ahead of time?
Yes. Prepare the crust and filling a day ahead, keep them refrigerated, and assemble just before baking for the best texture.
Can I use frozen fruit?
Yes. Thaw and drain frozen cherries (and rhubarb, if using frozen) well to prevent excess moisture in the filling.
How can I prevent a soggy bottom crust?
Blind-bake the bottom crust for 8–10 minutes before adding the filling, or ensure your filling is not overly liquid by properly draining thawed fruit and using the recommended thickener.
Conclusion
With a flaky crust and a perfectly balanced cherry-rhubarb filling, this pie delivers classic flavor and a gorgeous presentation. Follow the steps and tips above, experiment with small variations to match your taste, and enjoy a homemade pie that will be requested again and again.
If you try this recipe, take a photo and share it with friends and family—there’s nothing better than a slice of warm pie with good company.