How to Temper Chocolate for a Smooth, Shiny Finish
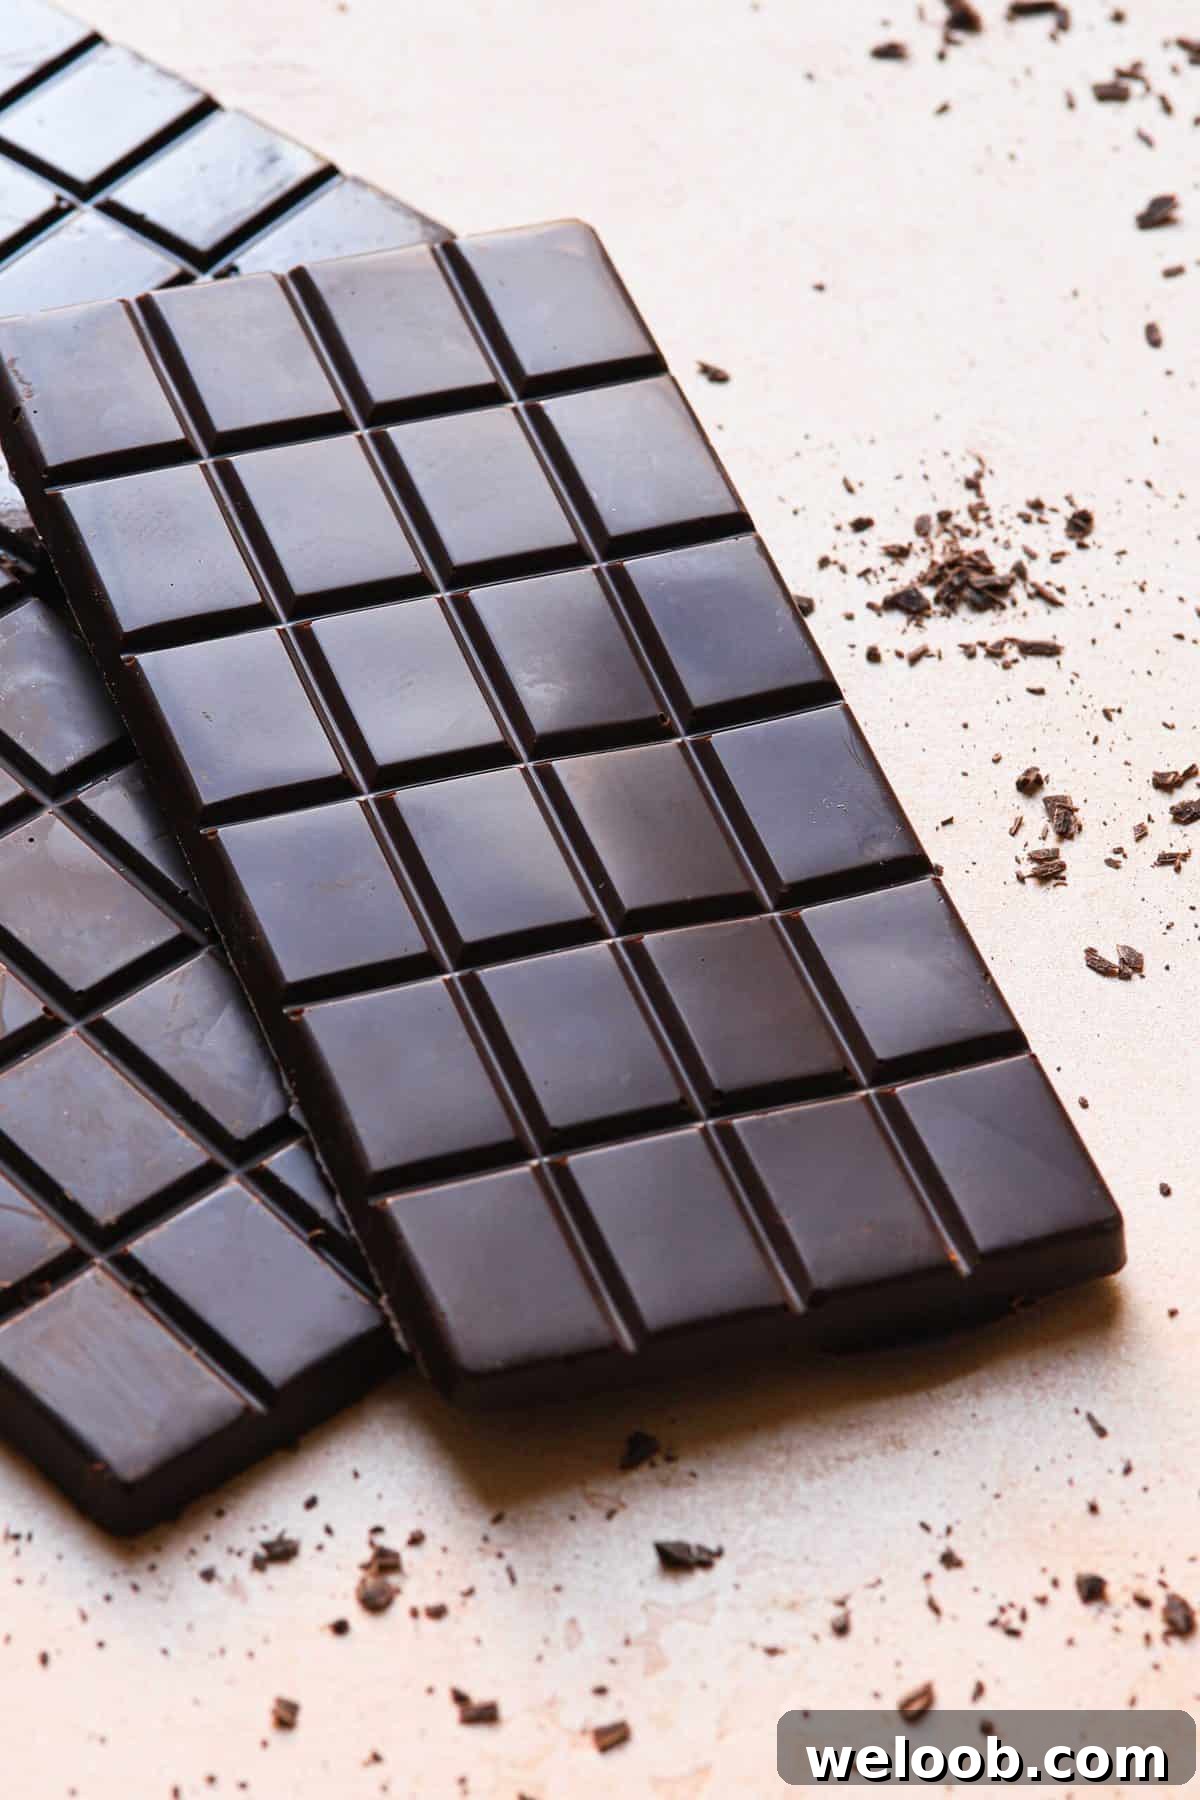
Tempering chocolate may seem intimidating at first, but it’s a straightforward, satisfying technique that works for dark, milk, and white chocolate. Tempered chocolate gives you a glossy finish, a pleasant snap, and a smooth melt-in-your-mouth texture.
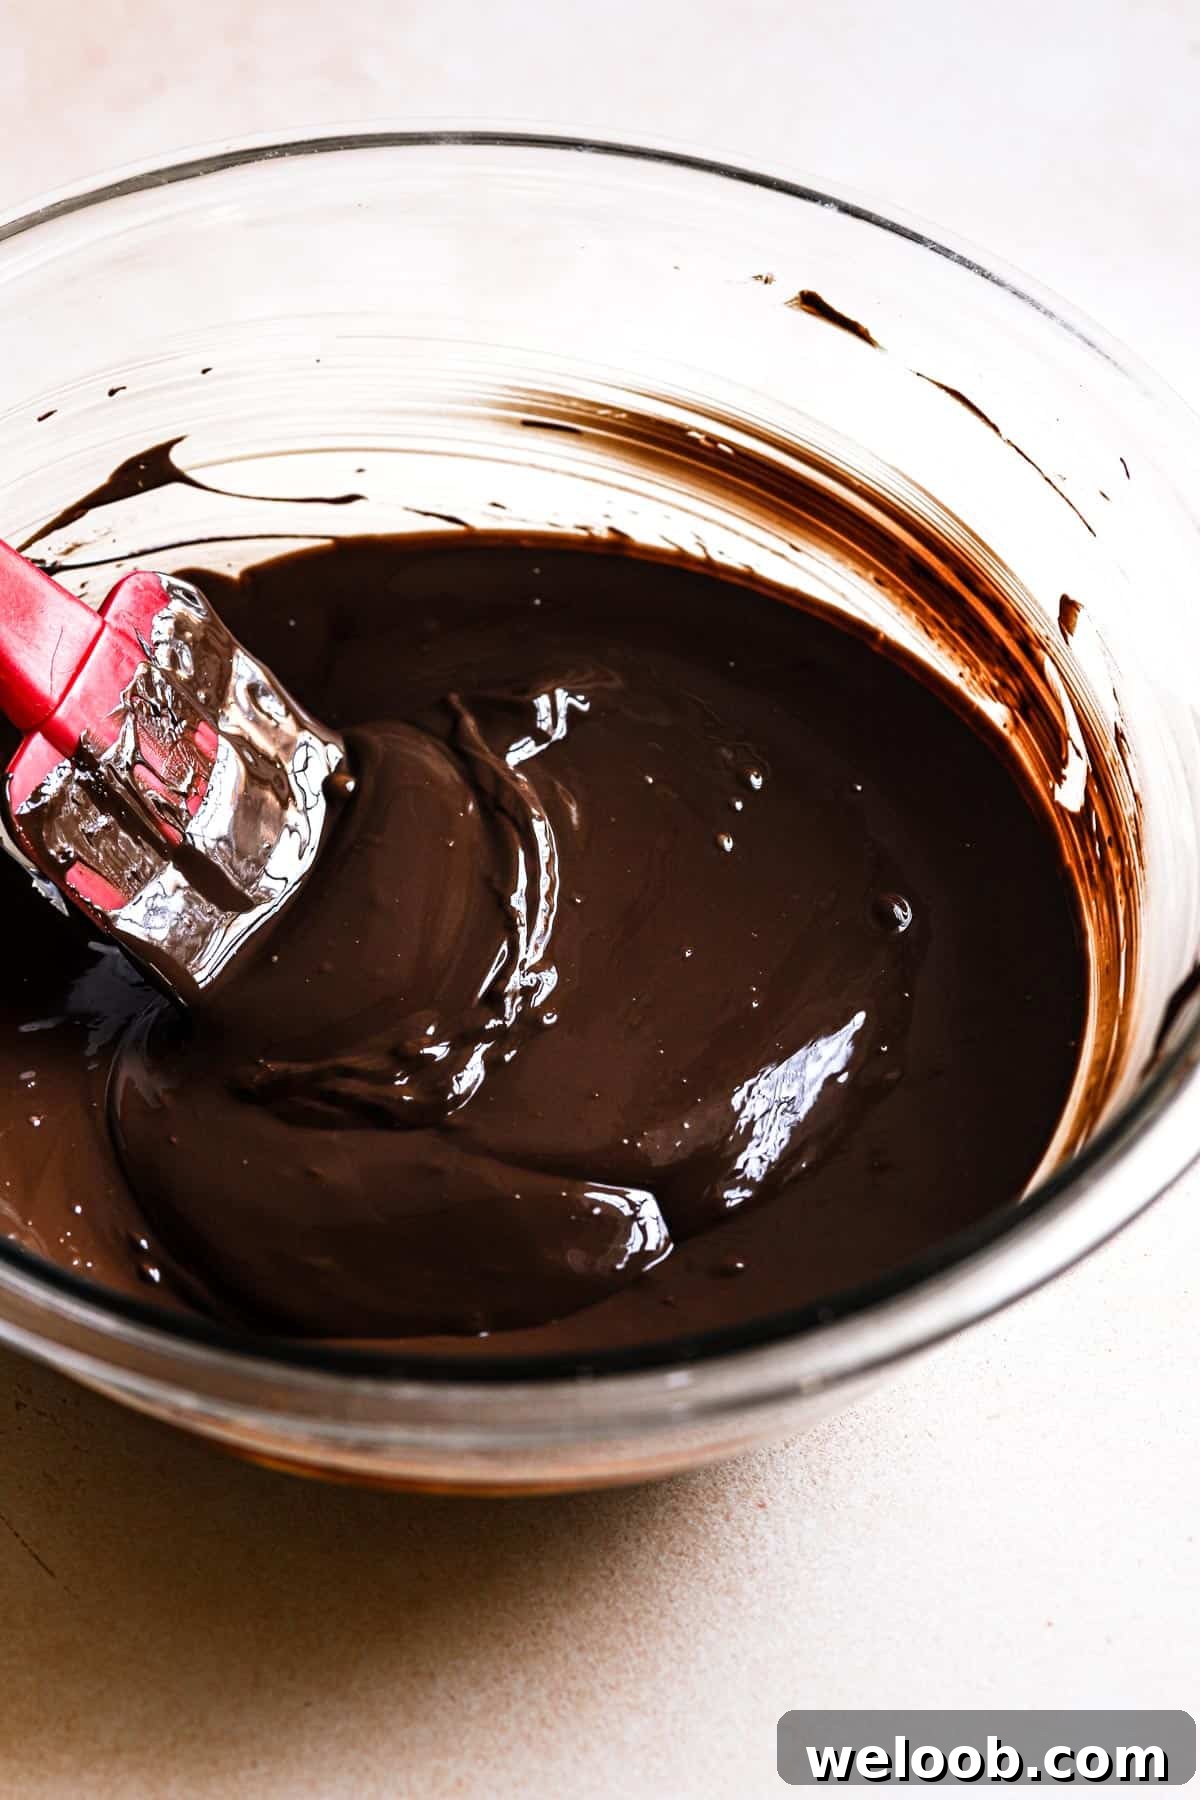
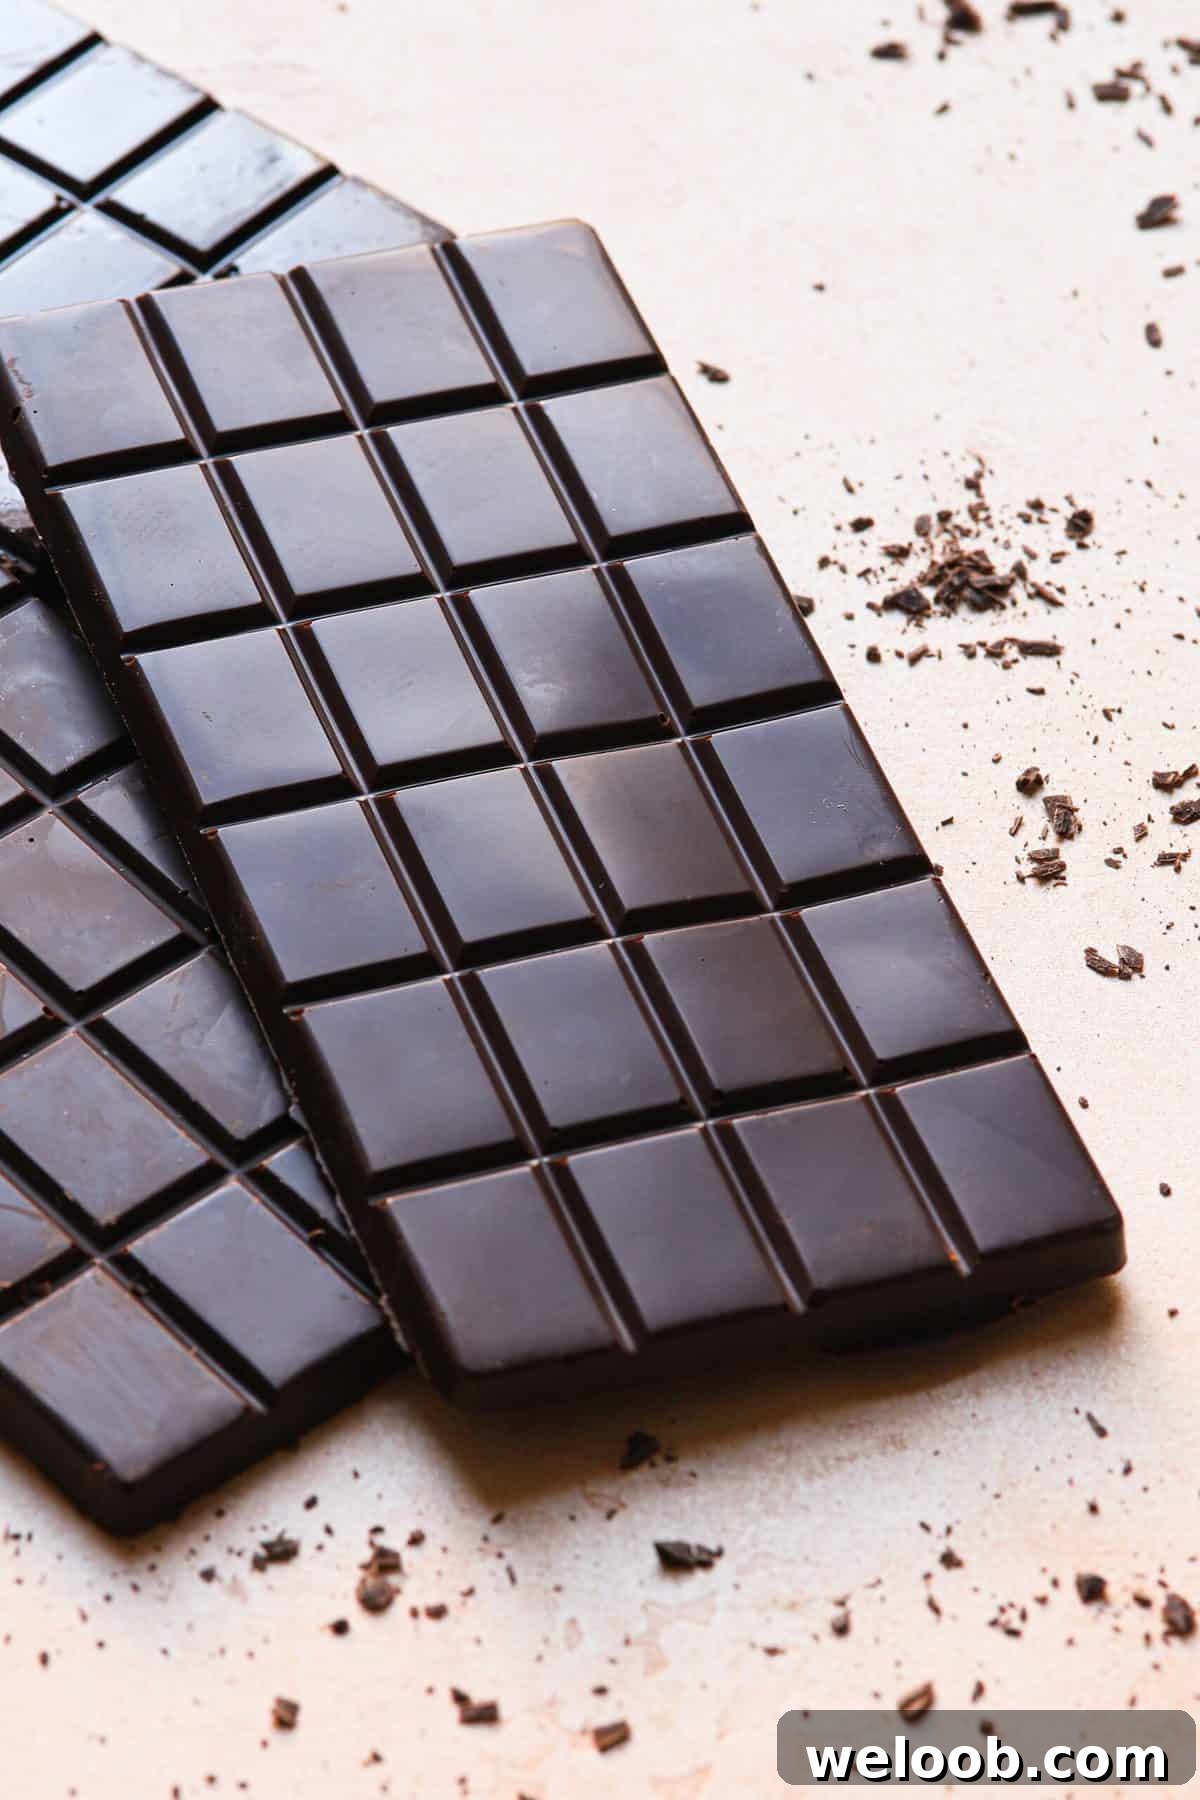
Properly tempered chocolate looks glossy, breaks with a clean snap, and melts evenly on the tongue. Tempering is essential for making chocolate shells, candy bars, dipped cookies, and other coated treats such as Chocolate Covered Graham Crackers, Chocolate Covered Cashews, and Chocolate Covered Pecans.
If you enjoy the science behind baking, you may also be interested in related topics like what tempered chocolate is, unsweetened chocolate, types of dark chocolate, and how to make ganache.
What is tempered chocolate?
Why does tempering matter and why can it feel tricky?
Cocoa butter, the fat in chocolate, forms several different crystal types as it cools. Each crystal form affects texture, stability, and appearance. The best crystal structure for glossy, stable chocolate is the beta crystal. Tempering means heating and cooling chocolate to encourage the formation of these beta crystals so your finished chocolate is shiny, stable, and crisp.
Why temper chocolate?
Tempering improves both appearance and performance. The main benefits are:
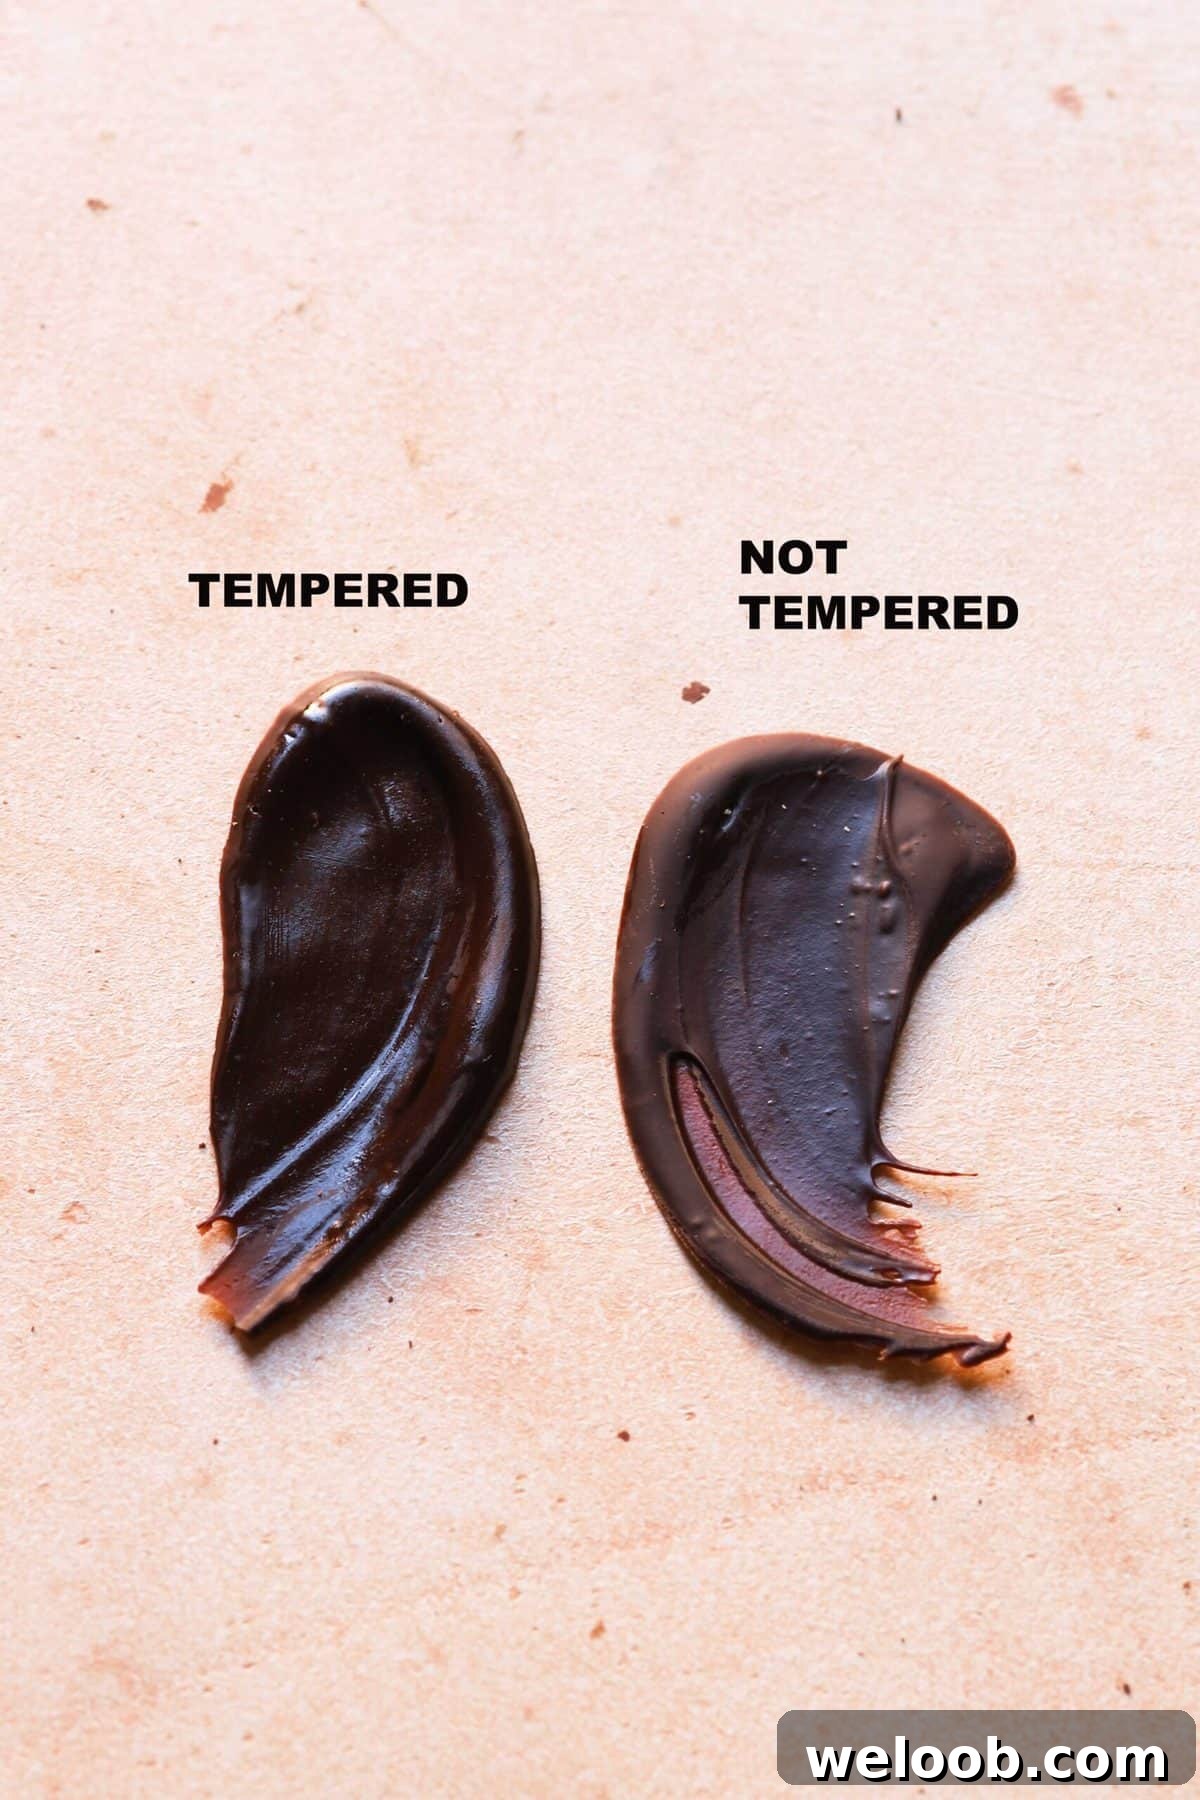
- Texture – Tempered chocolate snaps cleanly and melts smoothly. Untempered chocolate tends to bend and can feel grainy.
- Appearance – The glossy shine of a well-tempered chocolate bar comes from the correct crystal formation and temperature control.
- Easy release – Properly tempered chocolate releases cleanly from molds; untempered chocolate often sticks.
- Faster setting – Tempered chocolate cools and sets quickly, which is helpful when making candies or coatings.
Best chocolate for tempering
Choose chocolate with cocoa butter listed among the top ingredients. Avoid most chocolate chips designed for baking, as they often include stabilizers that prevent smooth melting. Good options include quality couverture or large chocolate bars and wafers sold for melting.
- Do not use standard chocolate chips—they are formulated to hold shape and may not temper smoothly.
- Look for chocolate sold as melting wafers, callets, or couverture with cocoa butter in the ingredients list.
- Higher-end brands like Valrhona or Guittard are excellent choices when budget allows.
How do you temper chocolate?
Below are two simple, reliable microwave-and-seed methods for tempering chocolate. Both rely on seeding—adding small amounts of solid, tempered chocolate to melted chocolate to introduce beta crystals.
A good digital thermometer or an instant-read thermometer that measures to one-degree increments is essential for consistent results. Candy thermometers that only read high temperatures are not suitable for the low-temperature control required for tempering.
Method 1 (Great for larger quantities)
This method, inspired by professional chocolatiers, works well for 1 lb (450 g) and up. It’s efficient and keeps the chocolate stable while you work.
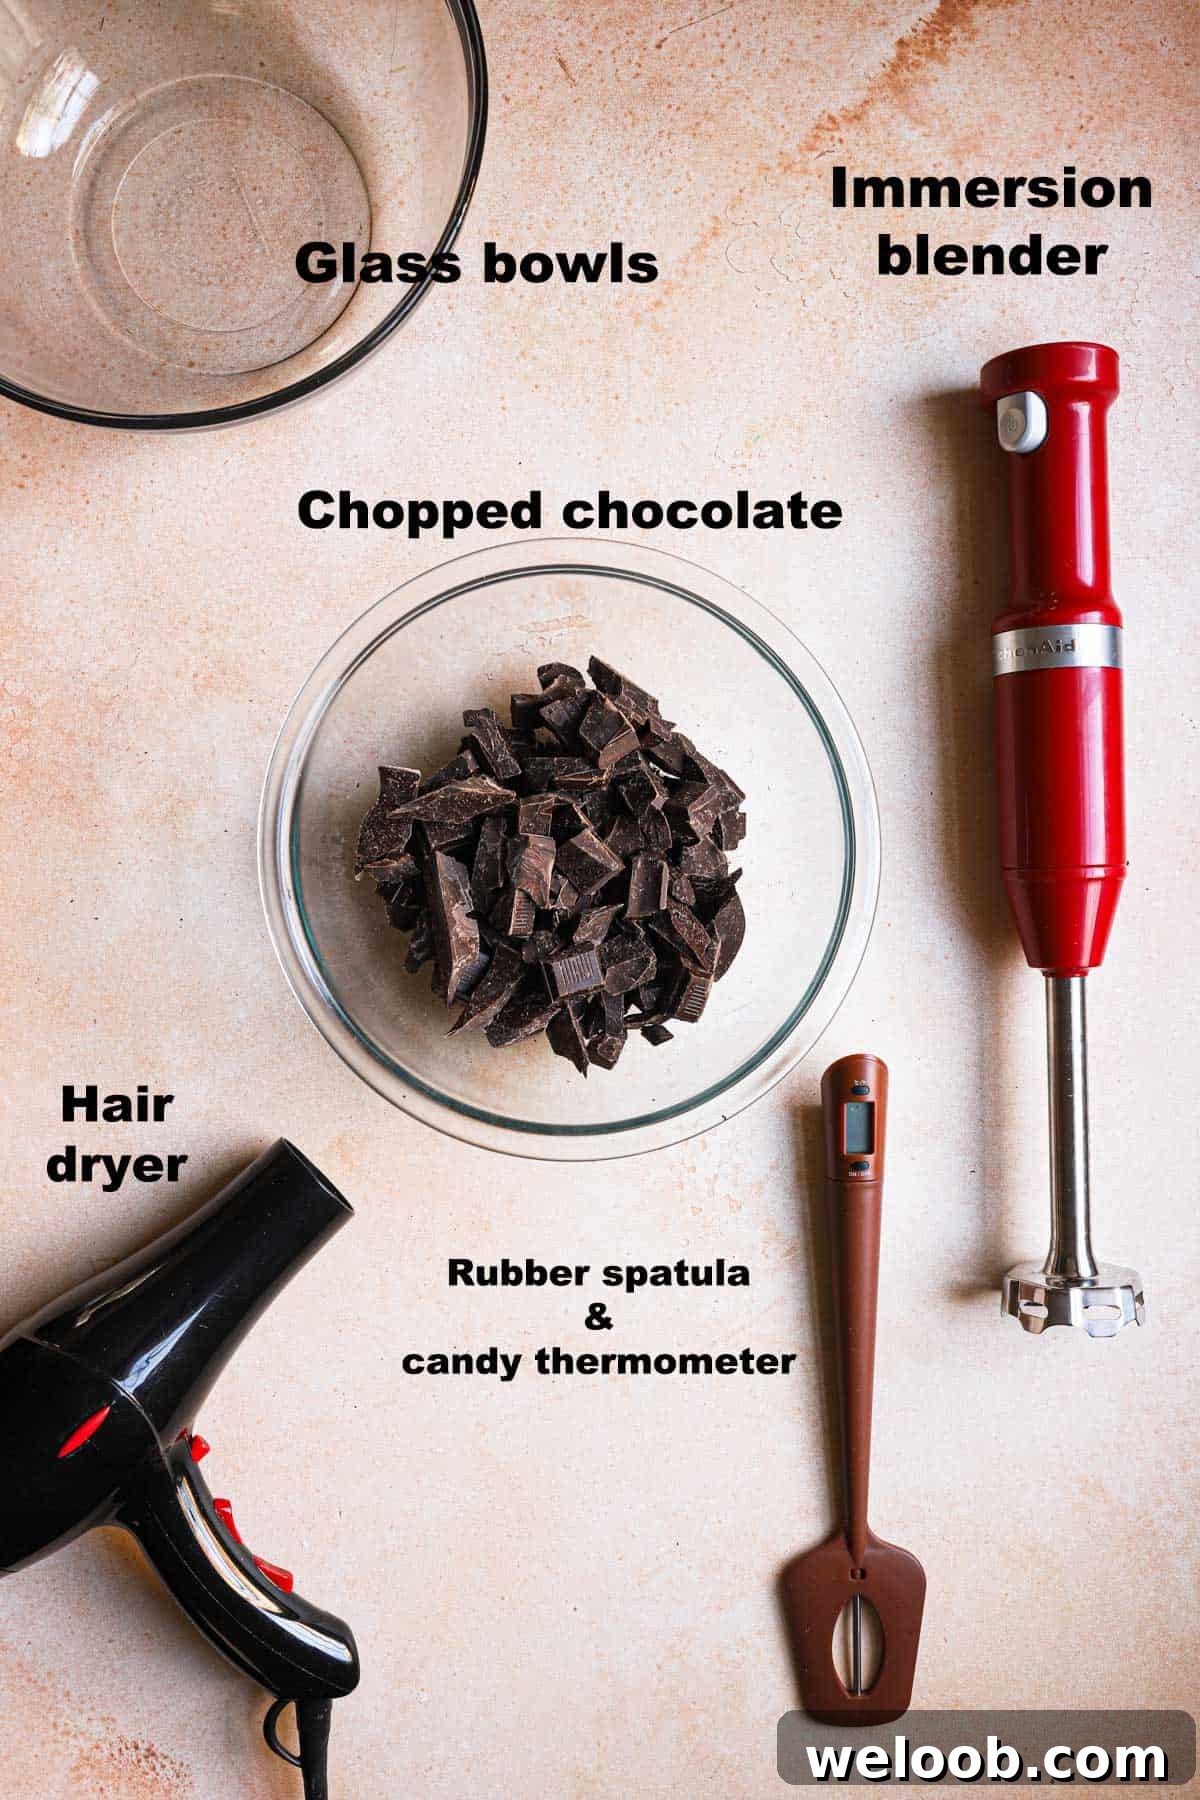
You will need:
- Chopped chocolate (small uniform pieces, about 1/2″)
- Two large glass bowls
- Thermometer
- Rubber spatula
- Immersion blender (optional but useful for smoothing)
- Hair dryer or other gentle heat source for quick warm-ups
- Melt the chocolate. Place chopped chocolate in a microwave-safe bowl. Heat in 30-second bursts, stirring between intervals to distribute heat evenly.
- Watch temperature and texture. Stop microwaving when most of the chocolate has melted and the remaining pieces are soft (dark chocolate melting range roughly 115–130°F / 50–55°C).
- Blend if needed. If small unmelted pieces remain, use an immersion blender or stir thoroughly to bring the chocolate to a smooth, completely melted state.
- Cool to tempering range. Transfer to a second bowl and stir gently while monitoring with your thermometer. For dark chocolate, cool to 90–92°F (32–33°C). This is the working temper.
- Maintain temperature. Tempered chocolate cools as you work. If it cools too far, use a short burst of warm air from a hair dryer to bring it back to the working range—but be careful not to overheat.
Method 2 (Seeding method for smaller batches)
This seeded method works well for under about 1 lb (450 g) and does not require an immersion blender.
- Glass bowl
- Chopped chocolate (uniform pieces)
- Thermometer
- Rubber spatula
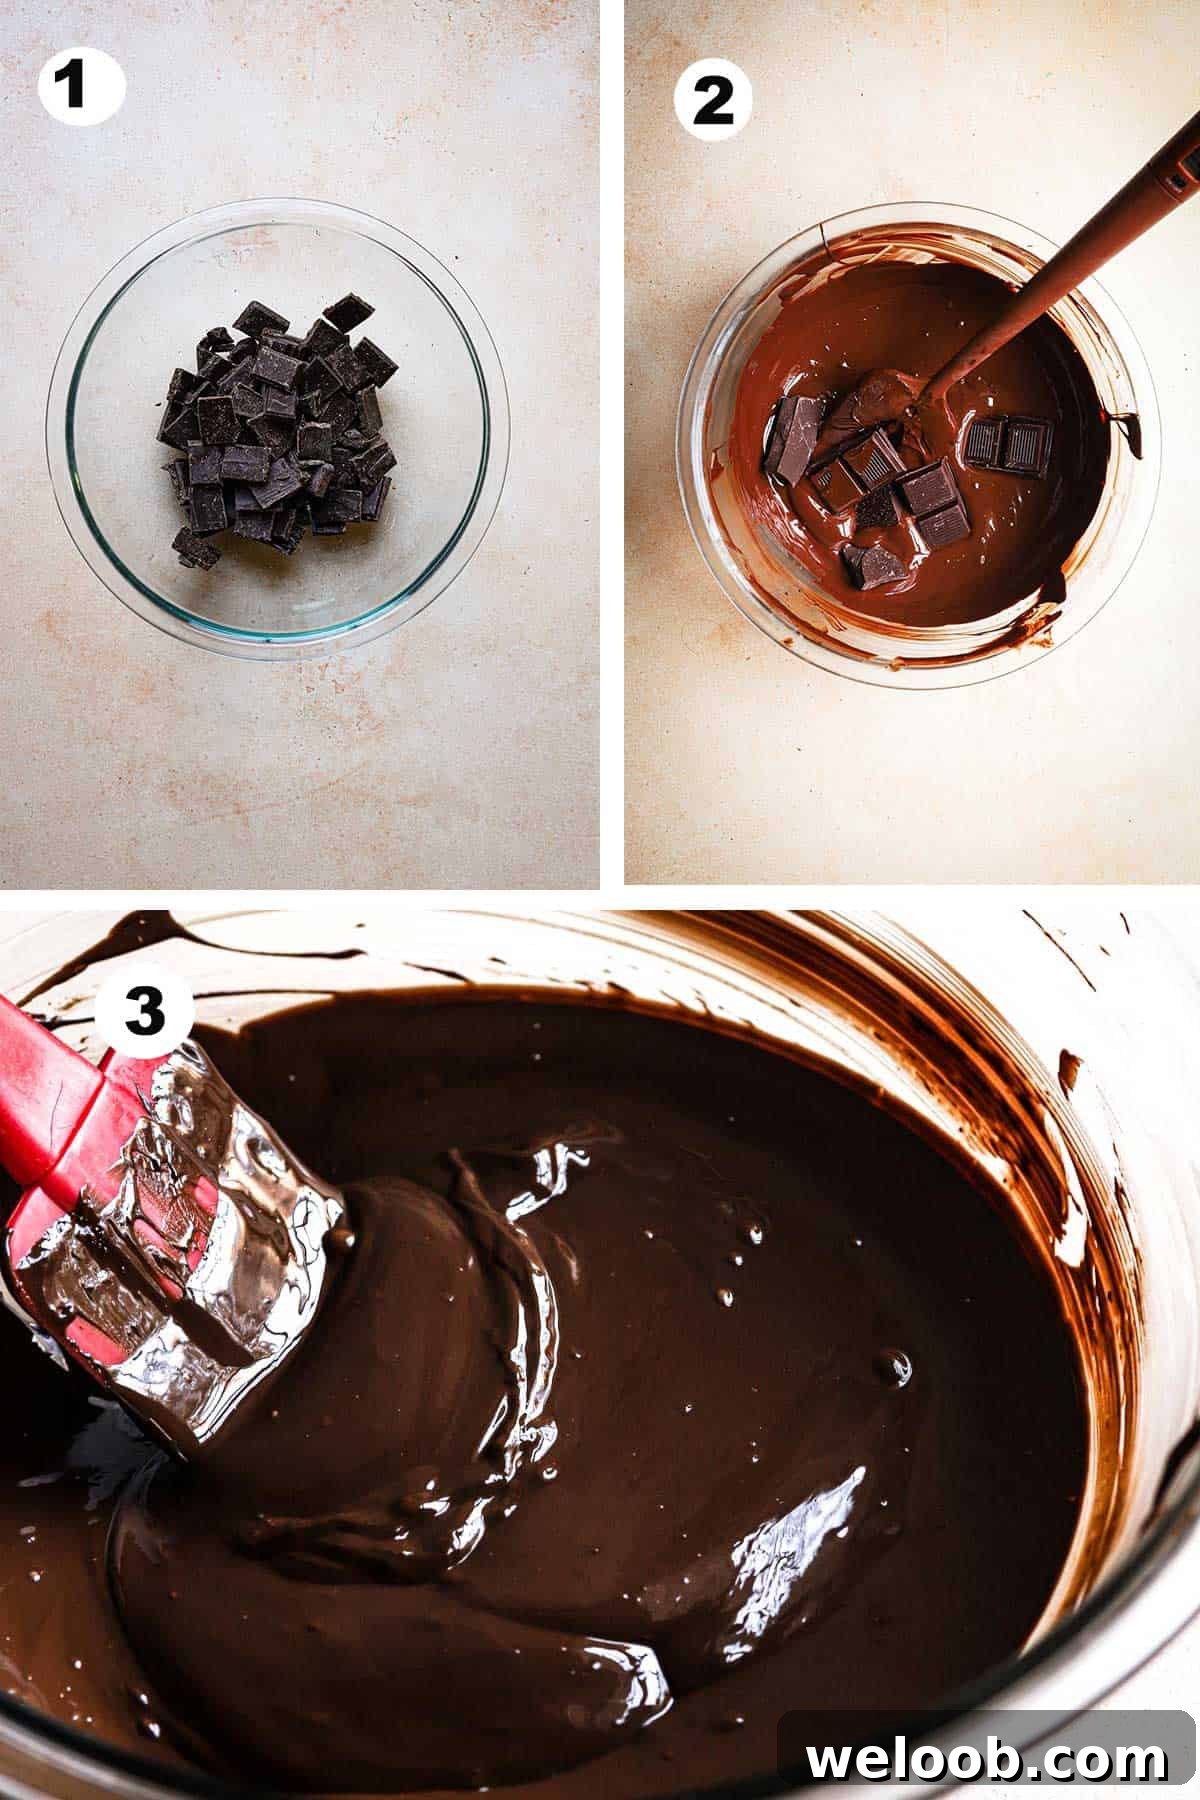
- Place three-quarters of the chopped chocolate in the bowl and melt in 30-second microwave intervals, stirring each time.
- When the chocolate is fully melted and reaches the high melting range (for dark chocolate, about 115–130°F / 50–55°C), remove it from the microwave.
- Add the remaining unmelted chocolate (the seed) and stir until the temperature cools to the working temper (for dark chocolate, 90–92°F / 32–33°C). Remove any remaining unmelted lumps before using.
- Use the tempered chocolate immediately for molding, dipping, or coating.
Tempering very small amounts
For up to one cup, melt halfway using method 1, then stir in the unmelted pieces as seeds to finish tempering.
Tempering temperature chart
Use the following temperature ranges as your guide. The melting range is where you fully liquefy the chocolate; the tempered (working) temperature is where beta crystals form and the chocolate is ready to use.
| Melting temperature | Tempered (working) temperature | |
| Dark | 115–130°F (50–55°C) | 90–92°F (32–33°C) |
| Milk | 113–120°F (45–50°C) | 84–86°F (29–30°C) |
| White | 113–120°F (45–50°C) | 82–84°F (28–29°C) |
Tips for success
Follow these practical tips to get consistent results:
- Use high-quality chocolate with cocoa butter listed in the ingredients; avoid standard chocolate chips.
- If tempered chocolate cools too much while you work, a quick warm-up with a hair dryer can bring it back to the correct range. If it becomes fully solid, you will need to retemper.
- Undertempering produces dull, soft chocolate that won’t snap—monitor temperatures closely.
- If you lack an immersion blender, a food processor can help smooth chocolate, but watch the temperature carefully.
- A double boiler works, but be vigilant: any contact with water will seize the chocolate and ruin it.
- When using the seeded method, add larger pieces of chocolate as seeds so you can easily remove any that don’t fully melt.
Storage
Store tempered chocolate at a stable room temperature, ideally around 70–75°F (21–24°C). Avoid refrigeration and freezing when possible, as temperature fluctuations can change the crystal structure over time and affect appearance and texture.
How to temper chocolate
Equipment
- 2 large glass bowls
- Digital thermometer
- Immersion blender (optional)
- Rubber spatula
- Hair dryer (for quick warm-ups)
Ingredients
- 5 cups chopped chocolate (for Method 1) — ~896 g / 32 oz
- 4 cups chopped chocolate (for Method 2) — ~672 g / 24 oz
- 1 cup chopped chocolate (small batches or Method 3) — ~170 g / 6 oz
Instructions
Method 1
- Place the chopped chocolate in a large glass bowl and microwave in 30-second bursts, stirring between each interval.
- Continue until most of the chocolate is melted but a few pieces remain. The melted chocolate should reach the high melting range for dark chocolate (about 115–130°F / 50–55°C).
- Use an immersion blender or stir thoroughly to smooth any remaining pieces.
- Transfer the chocolate to a second bowl and stir gently until it cools to the working temperature for dark chocolate: 90–92°F (32–33°C).
- Use the tempered chocolate immediately. If it thickens too much while working, warm briefly and carefully to return to temper.
Method 2 (Seeding)
- Place three-quarters of the chopped chocolate in a bowl and microwave in 30-second bursts, stirring between intervals.
- When the chocolate is fully melted and at the high melting temperature (115–130°F for dark chocolate), remove it from the microwave and add the remaining chocolate pieces.
- Stir until the temperature cools to the working range (90–92°F for dark chocolate) and the chocolate is smooth. Remove any large unmelted bits before using.
Method 3 (Very small amounts)
- Warm a small amount of chocolate in a microwave-safe bowl in 30-second increments until partially melted.
- Remove from the microwave while some pieces remain and stir to melt those pieces. When the mixture reaches the working temperature for the chocolate type, it is ready to use.
Notes
- Refer to the temperature chart for milk and white chocolate working ranges.
- Chop chocolate to even sizes (about 1/2–3/4″) for consistent melting.
- If using a double boiler, avoid any contact with water—just a single drop will seize the chocolate.
- Do not use chocolate products that contain little or no cocoa butter for tempering.