
Karpatka: Polish Cream Puff Cake Recipe
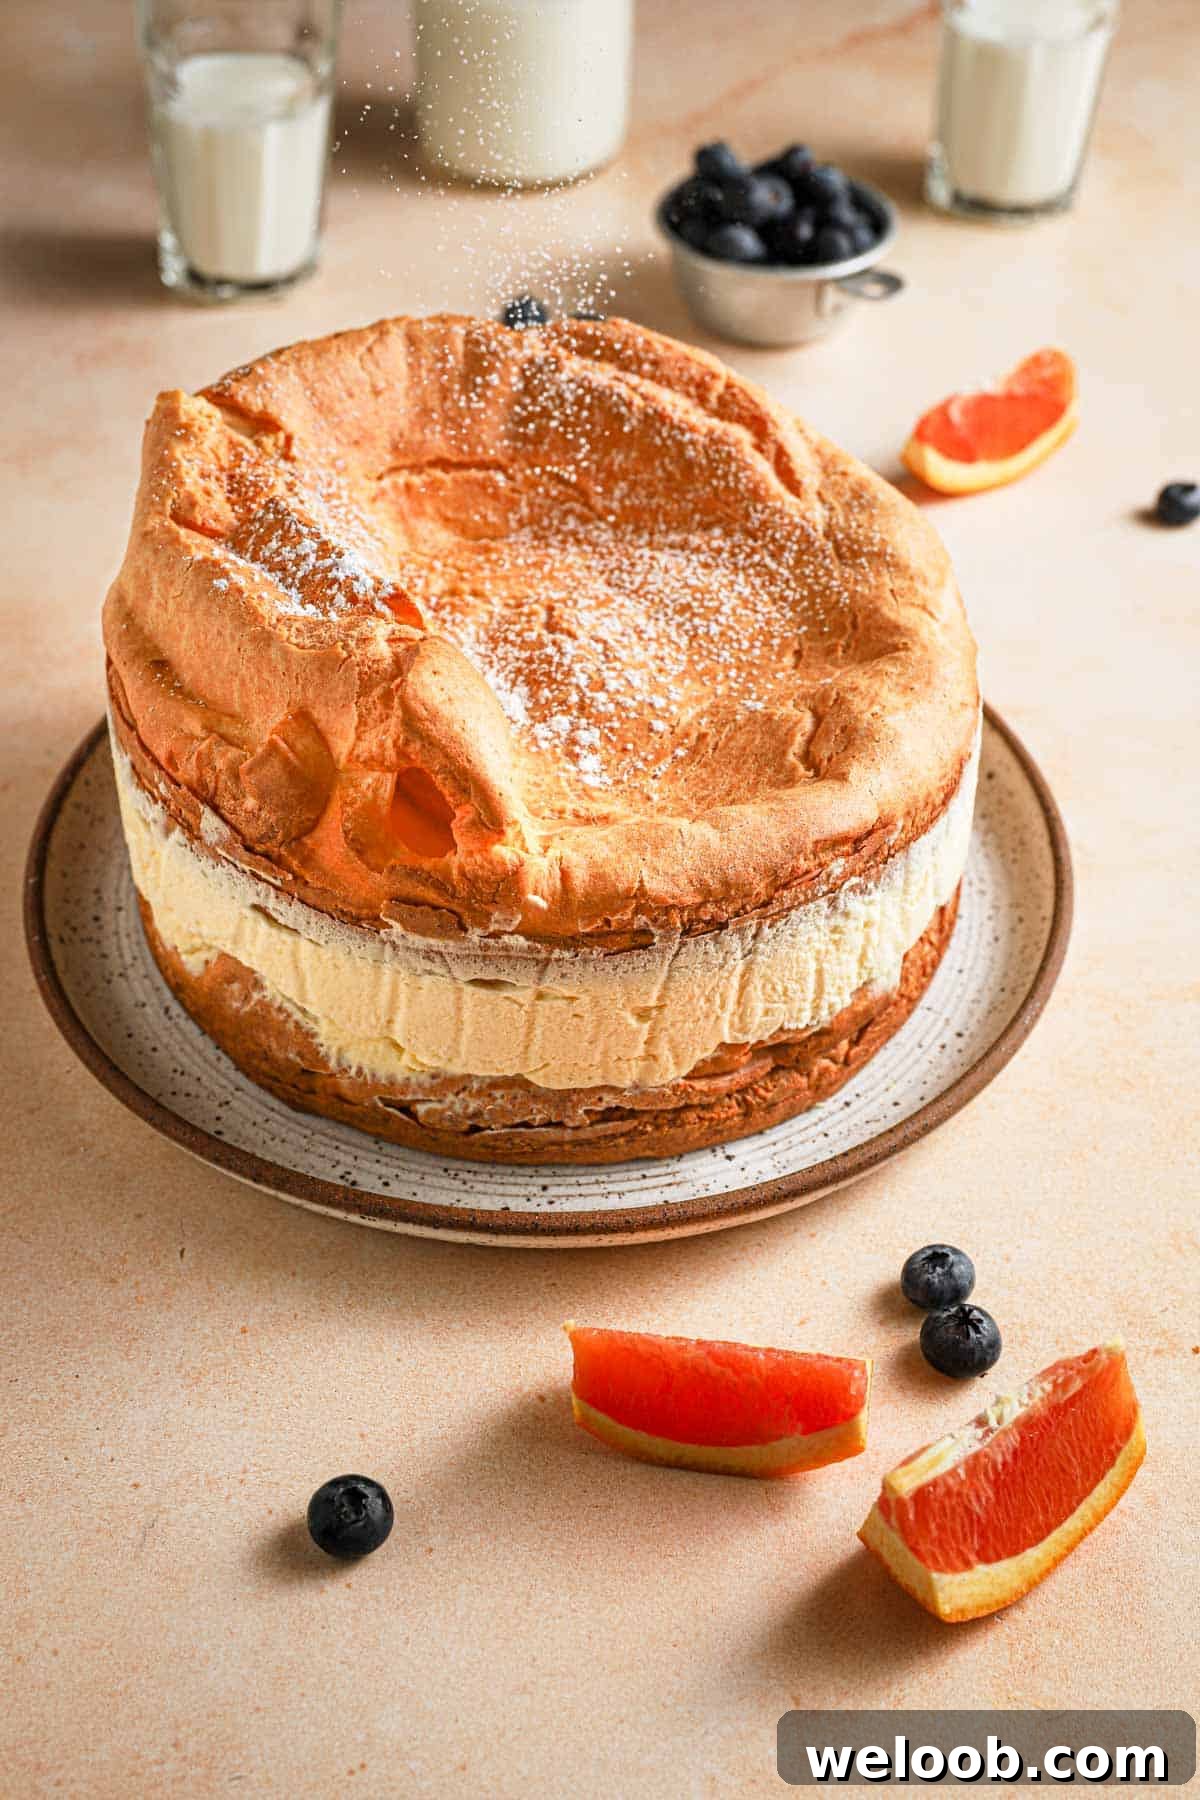
Karpatka is a beloved Polish dessert featuring two rugged layers of choux pastry filled with a silky crème mousseline. Inspired by the peaks of the Carpathian Mountains, this cake combines light, airy pastry with a rich, stable pastry cream for an elegant yet approachable centerpiece.
This post contains affiliated links.
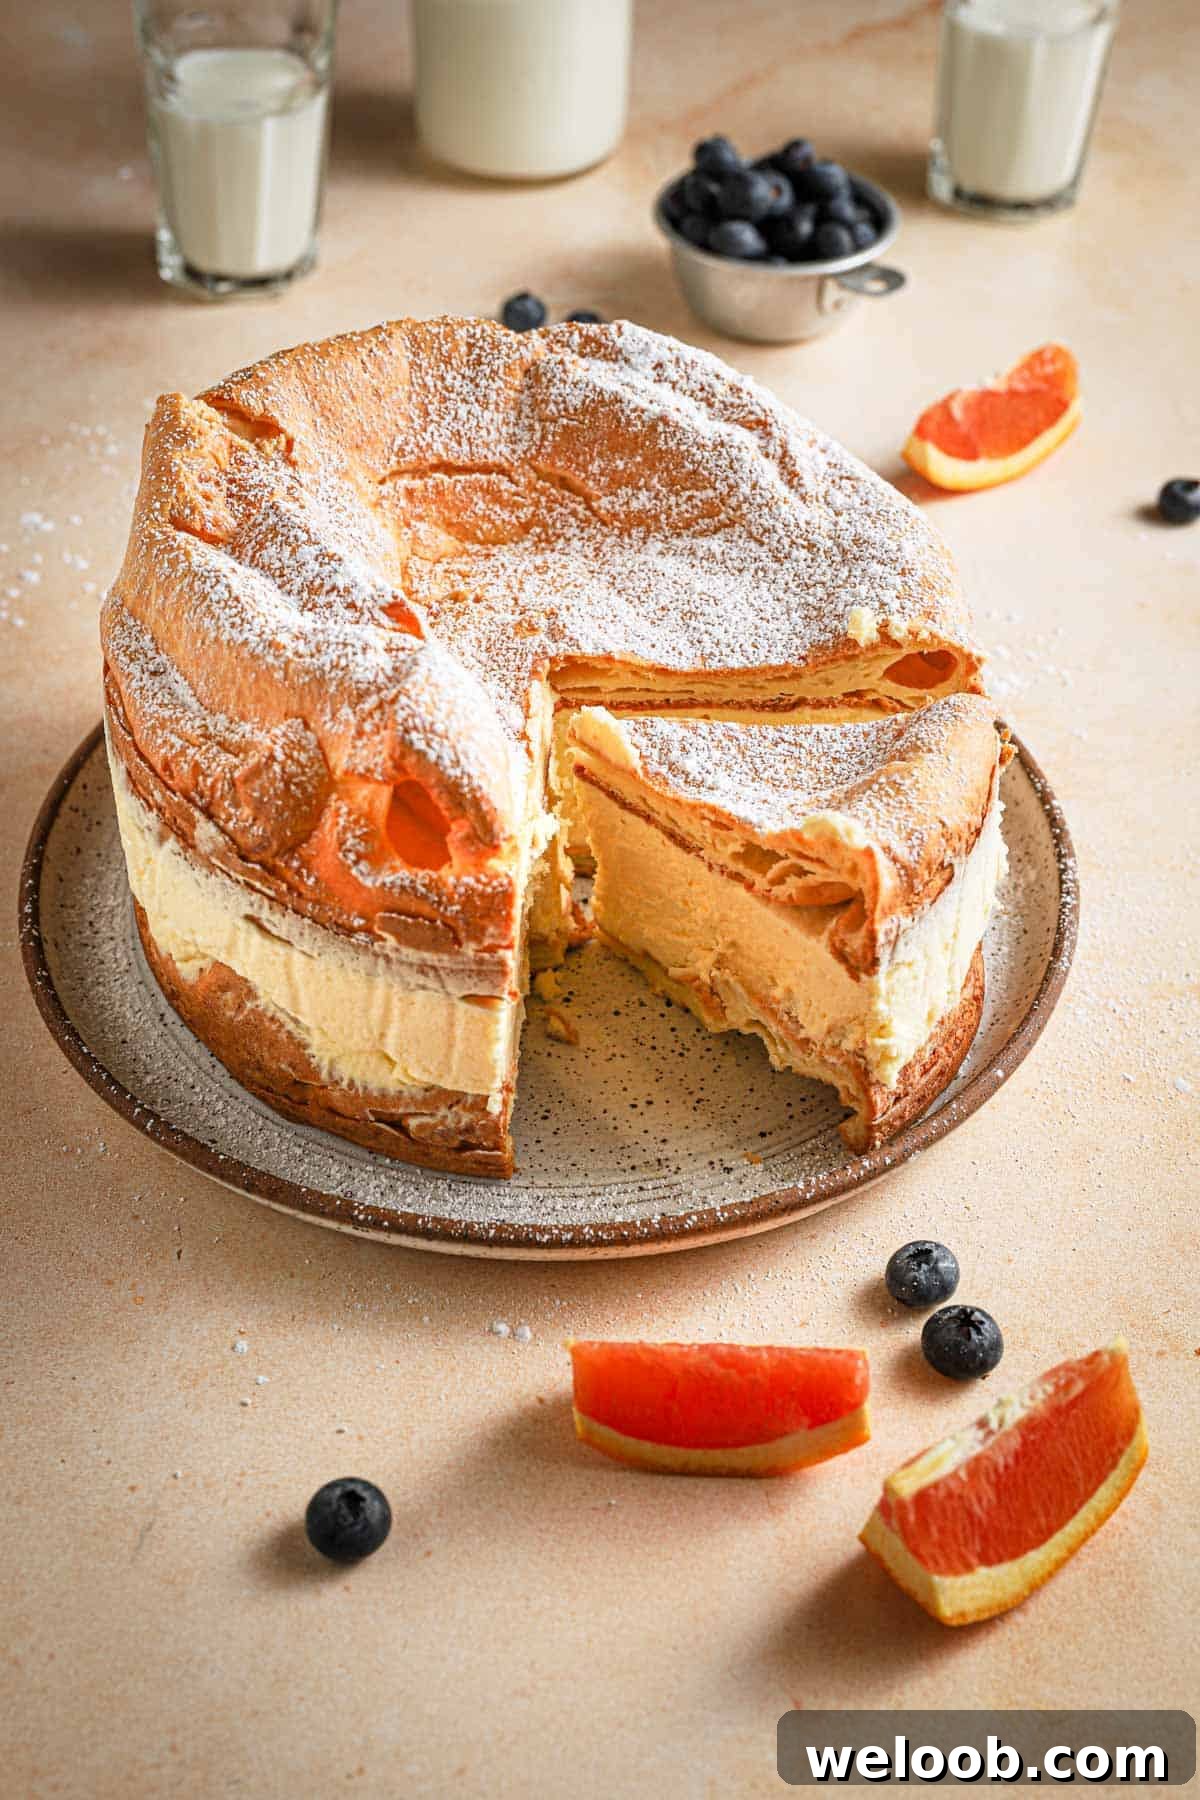
Karpatka is essentially a large choux à la crème assembled as a layered cake. Two thick sheets of choux pastry are baked until puffed and craggy, then sandwich a generous layer of crème mousseline — a chilled vanilla pastry cream lightened and stabilized by creamed butter. The result is a dessert that is delicate in texture, deeply flavorful, and visually striking with its uneven, mountain-like surface.
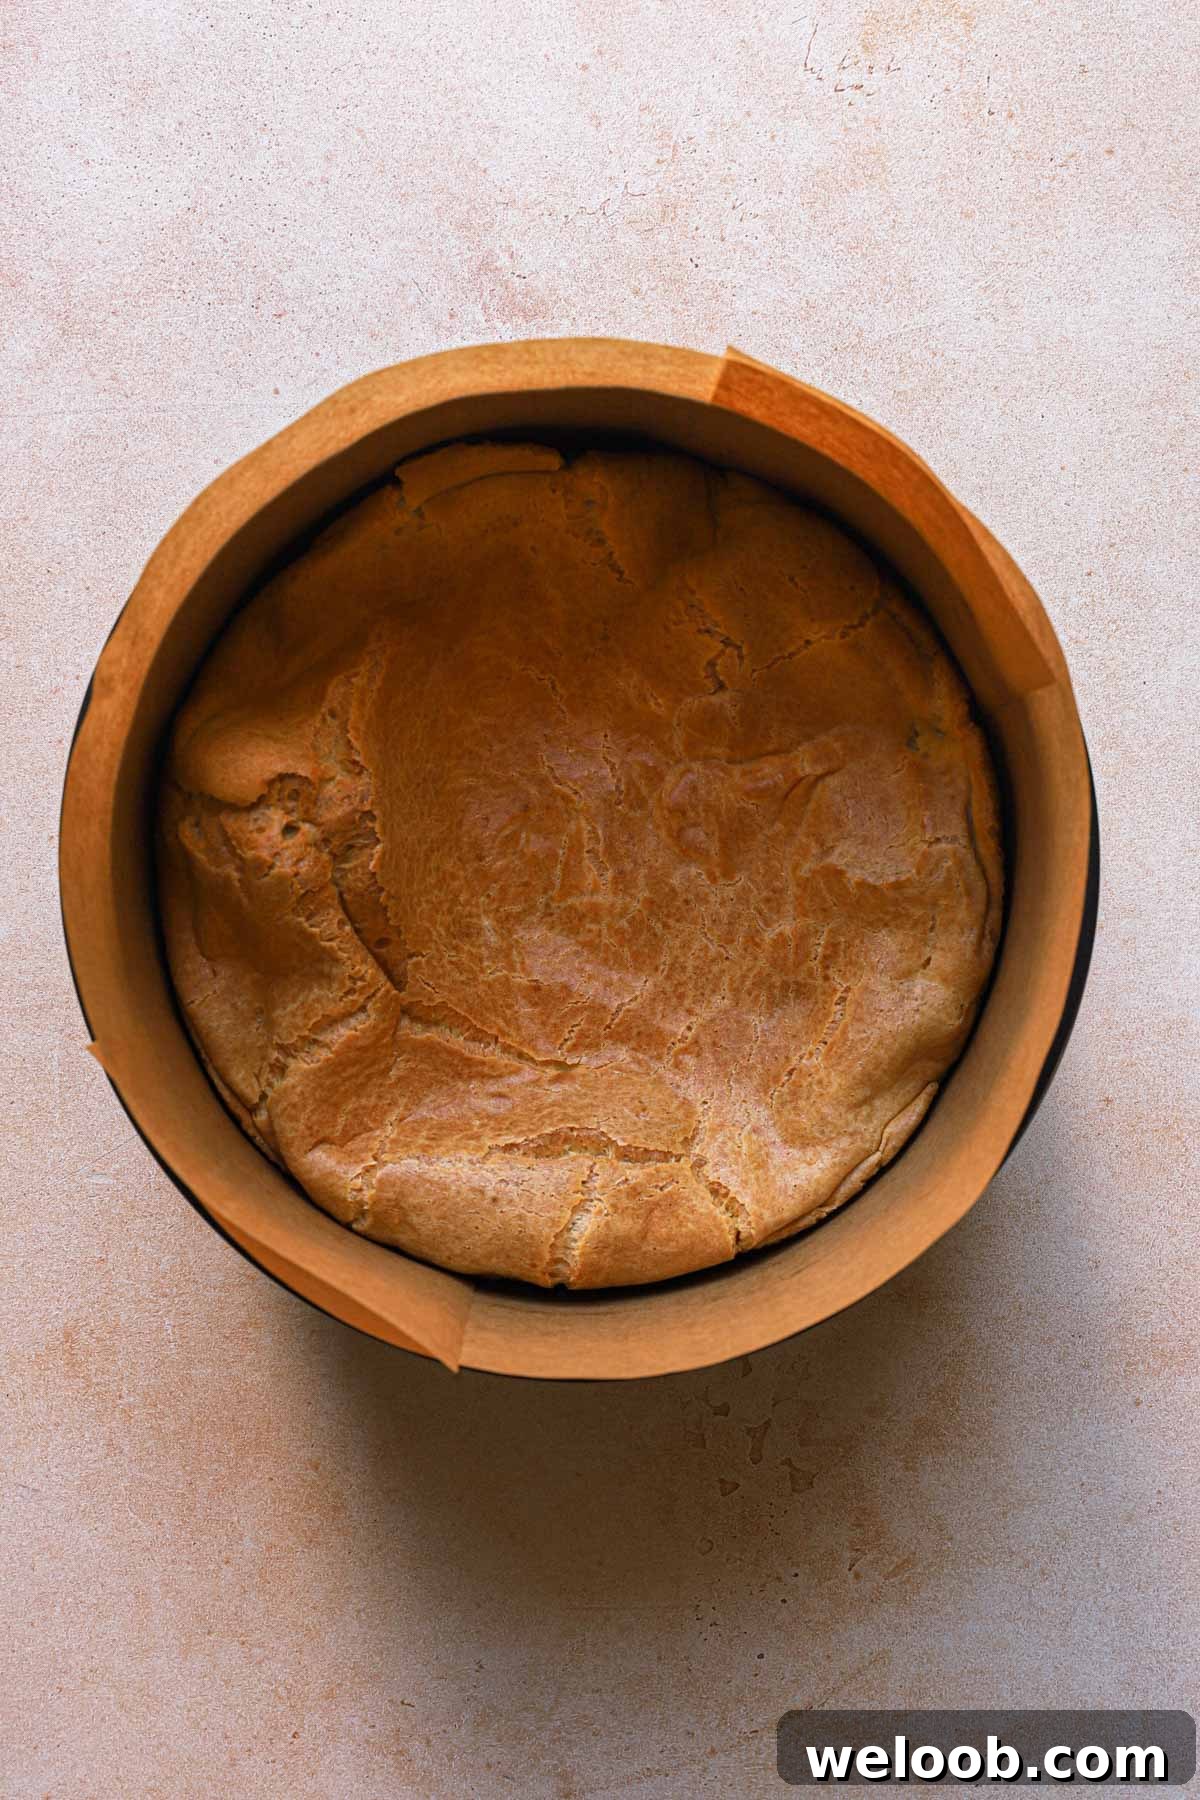
The uneven peaks in the baked choux are intentional: they mimic the Carpathian mountain range and give Karpatka its characteristic rustic look. The cake is economical to make, ideal for gatherings, and well suited to preparing in advance.
Making This Recipe
Karpatka has two main components: the choux pastry layers and the crème mousseline filling. This is not a last-minute dessert — plan ahead so the pastry cream can cool and the layers can chill fully before assembly. Read the tips below to help ensure success.
Timeline: Make the pastry cream first and allow it to reach room temperature before adding the butter. Bake the choux layers the same day and chill them for 2–3 hours before assembling so the filling won’t make the pastry soggy.
Make the Crème Mousseline
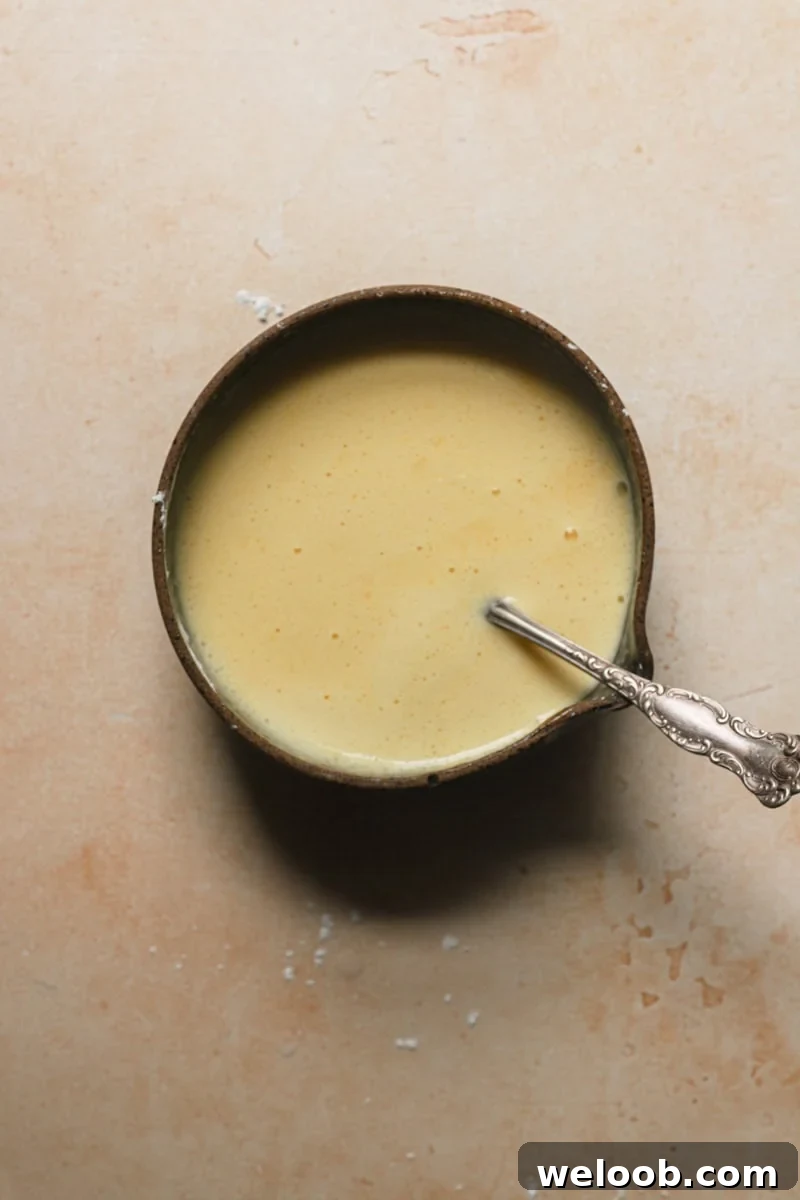
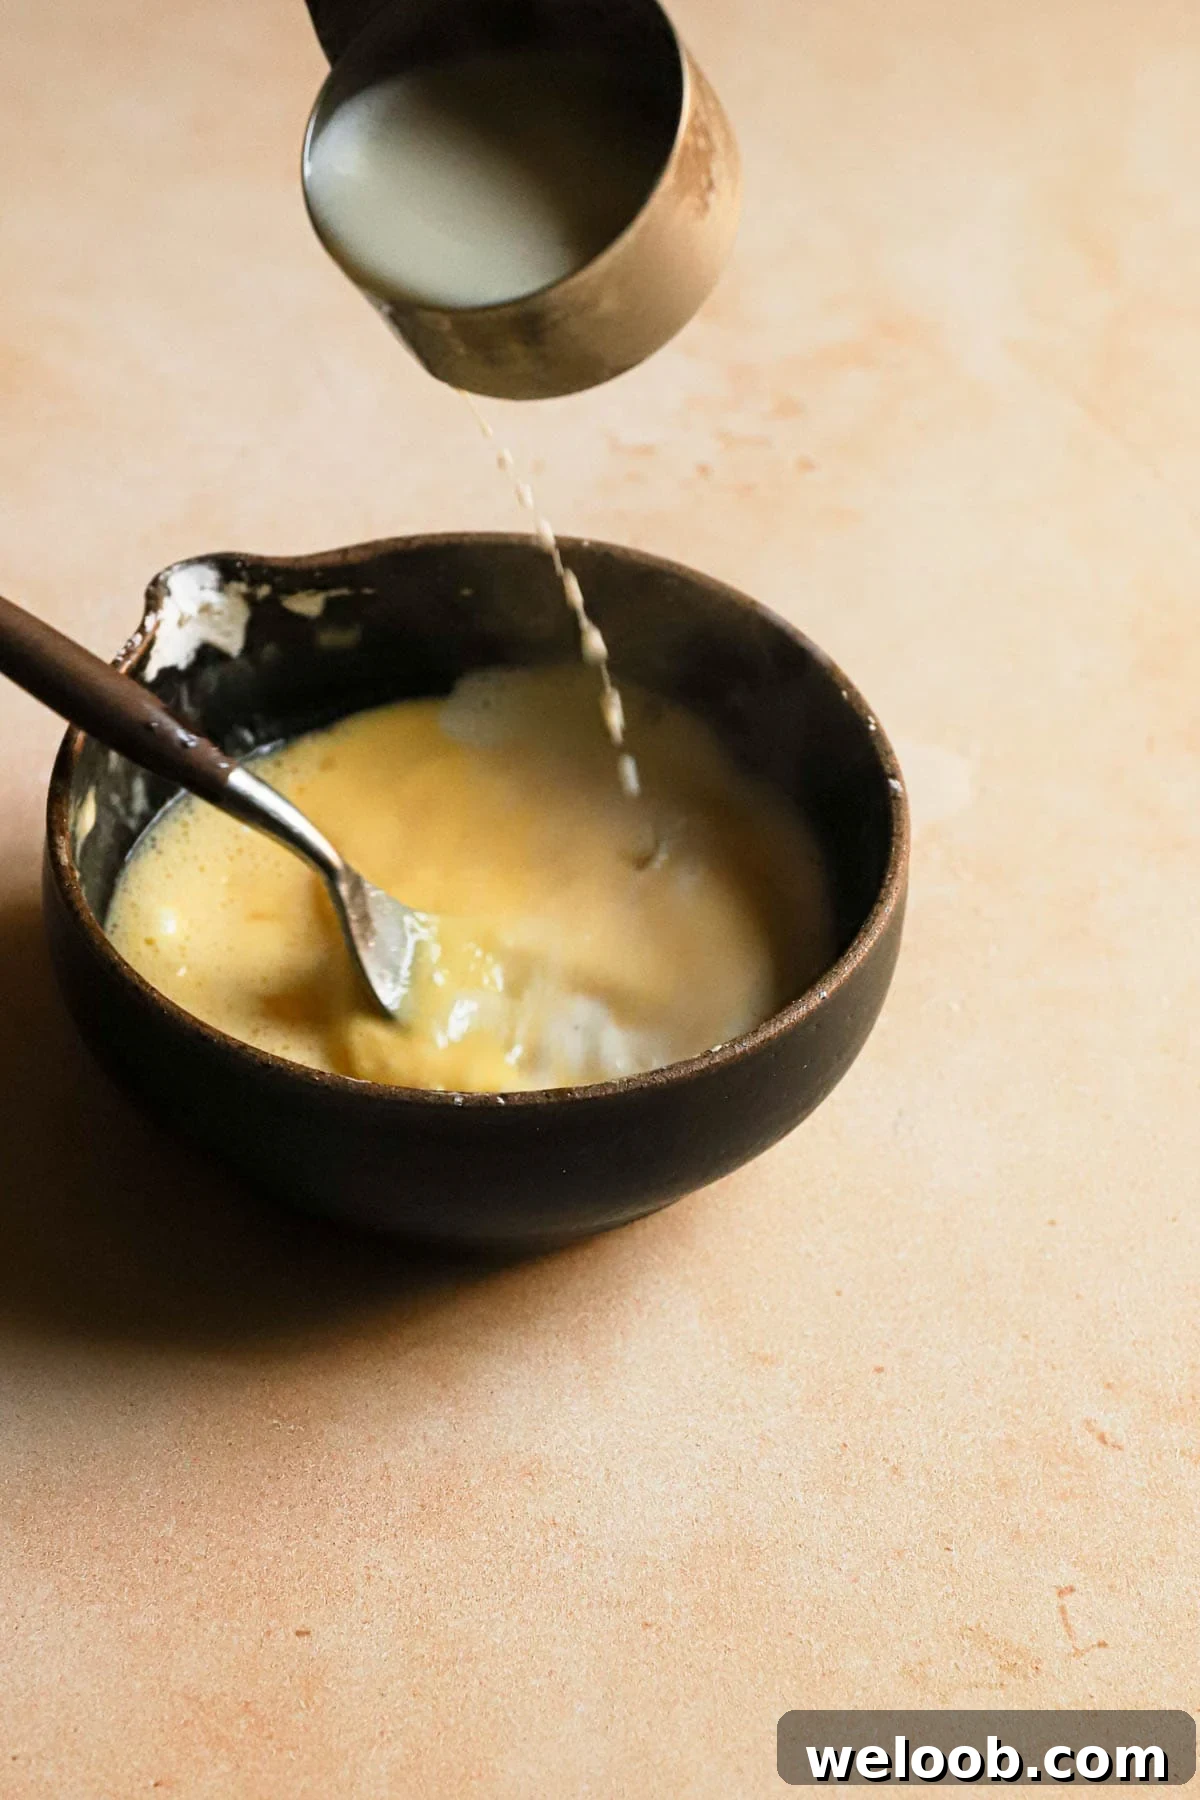
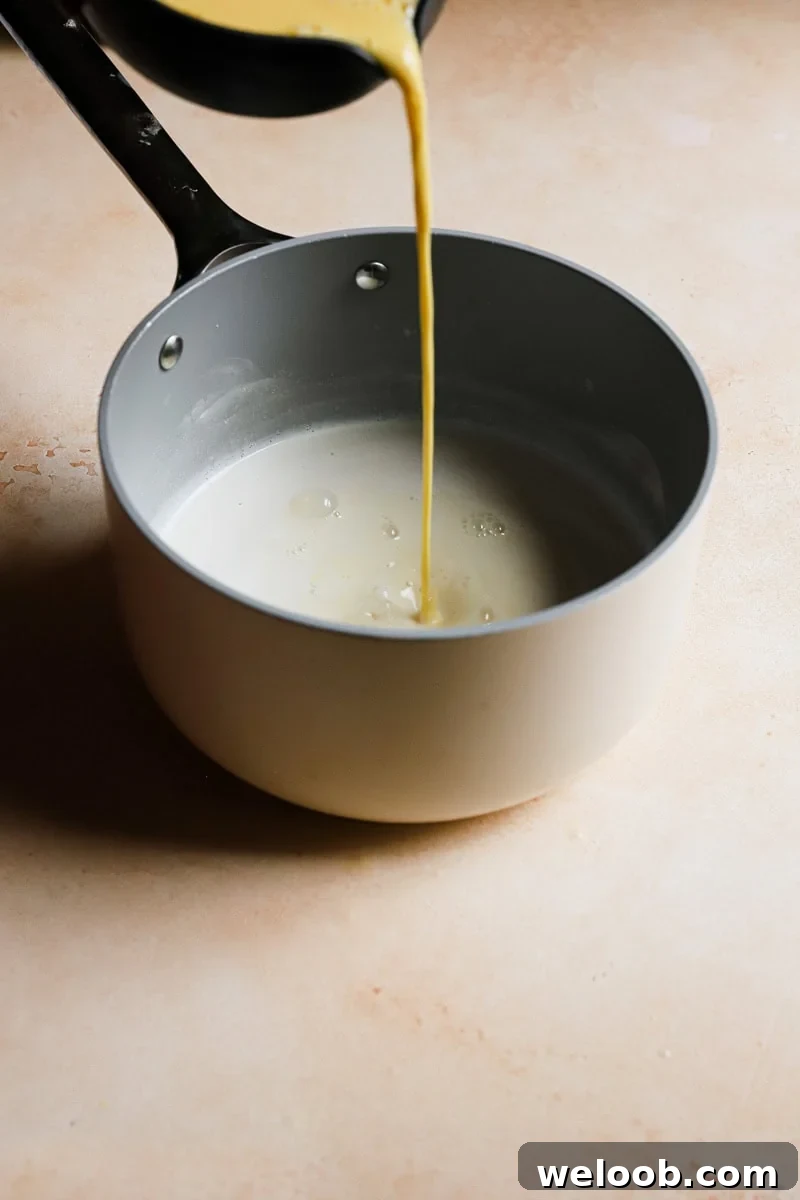
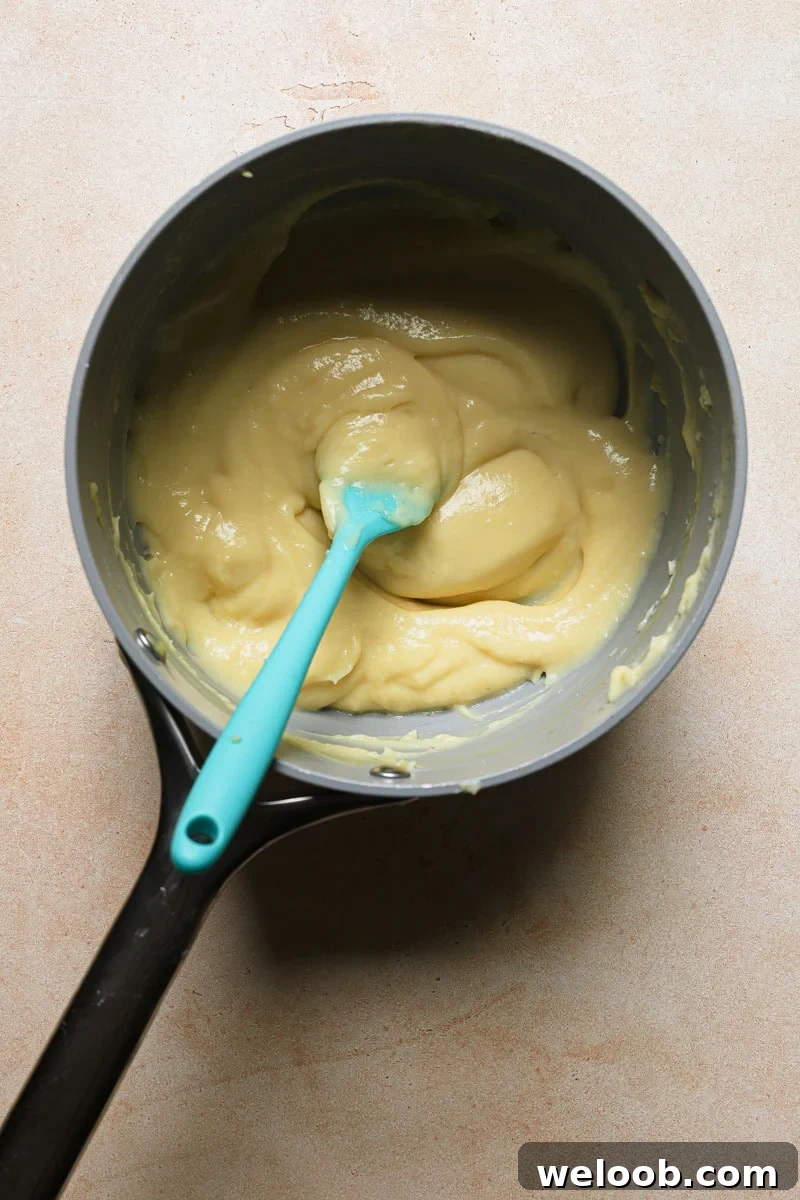
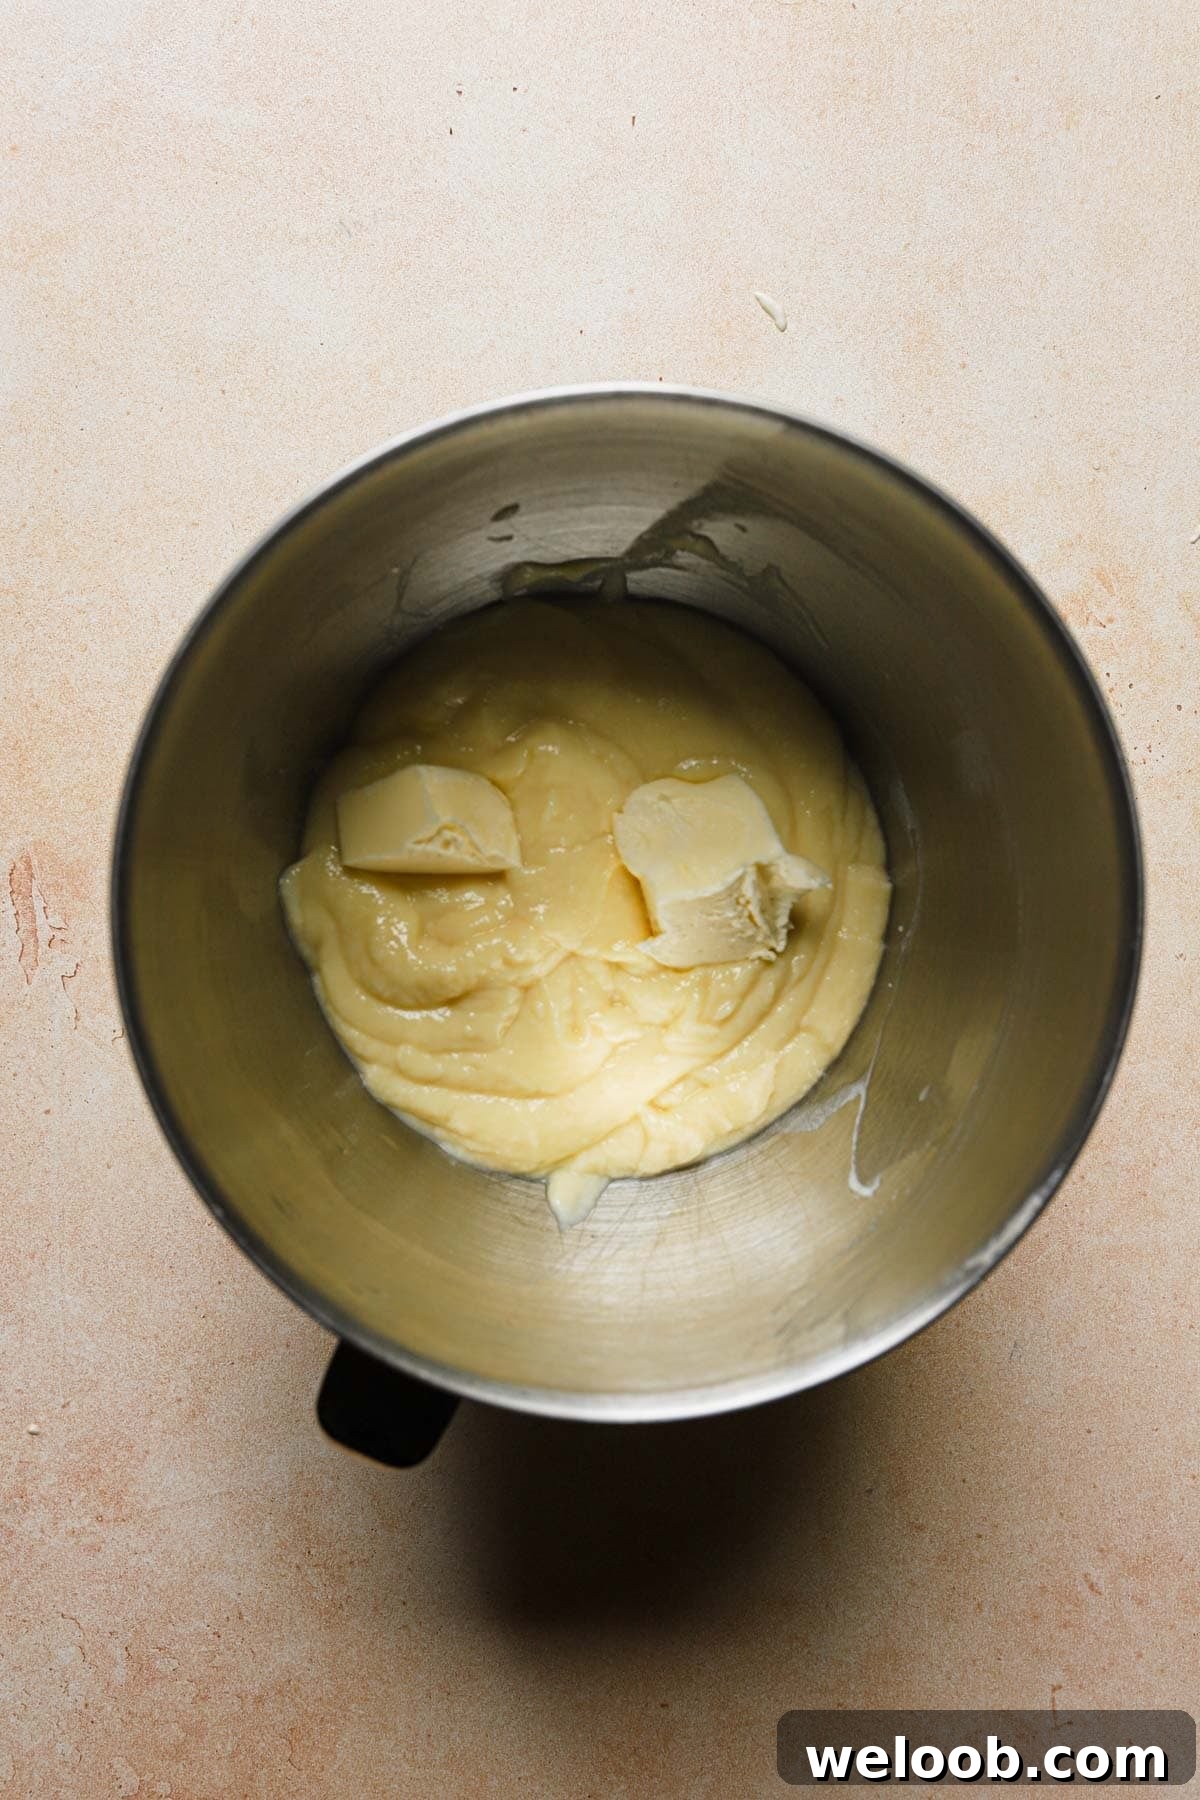
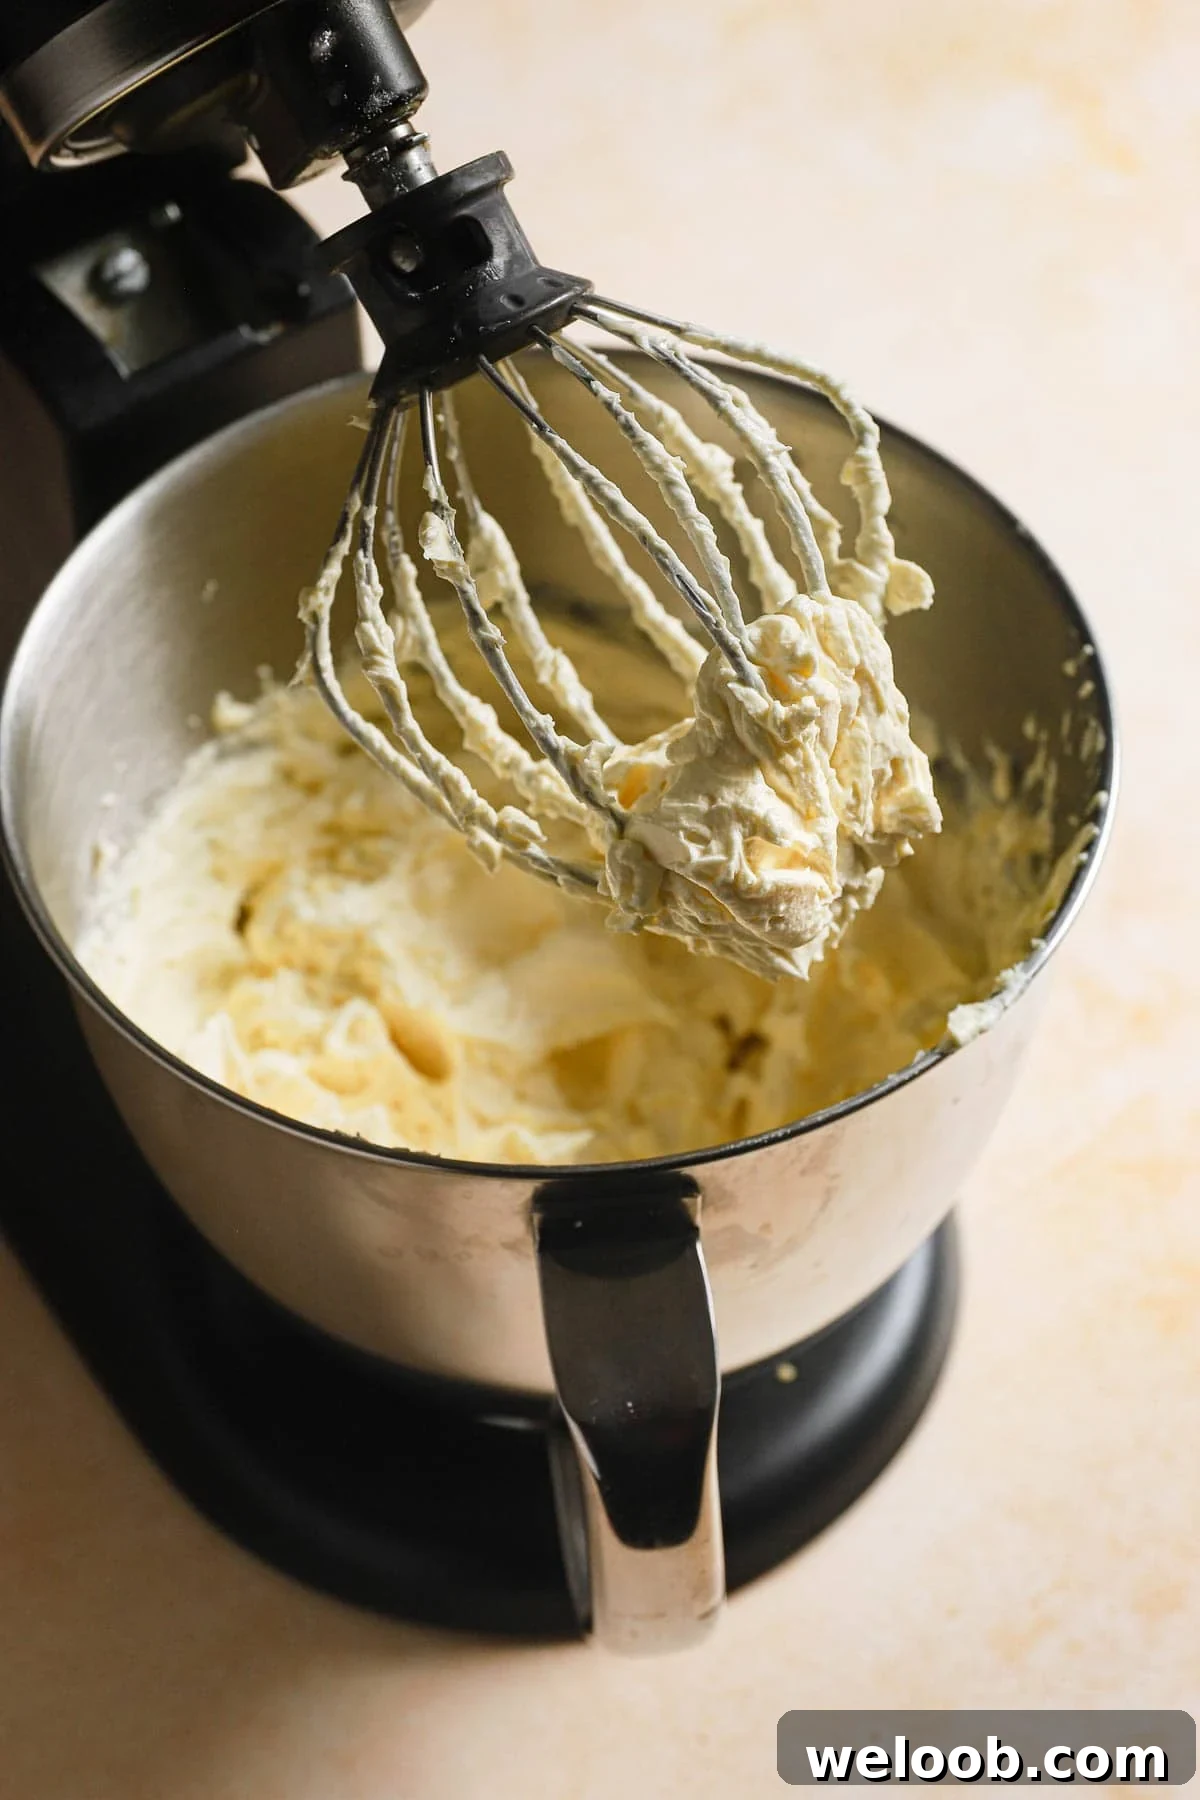
Crème mousseline is pastry cream that has been chilled and then lightened by creaming in butter. It’s ideal for Karpatka because it’s rich, smooth, and stable enough to hold clean slices. The following visual sequence demonstrates the key steps: tempering the eggs, cooking to thicken, chilling, and finally whipping in the butter until smooth.
If you prefer a different filling, choose one that is thick and stable enough to hold its shape when sliced. Lighter creams may require several hours to set in the refrigerator.
Keep these tips in mind when preparing the crème:
- Use room-temperature ingredients for the best texture and smooth incorporation.
- Stir constantly while cooking to prevent the eggs from curdling and to achieve an even thickness.
- Use non-reactive tools (wood or silicone) while cooking pastry cream; some metals can affect the color or flavor.
- Bring both the cooled pastry cream and softened butter to the same temperature before combining to avoid splitting or thinning.
Make the Choux Layers
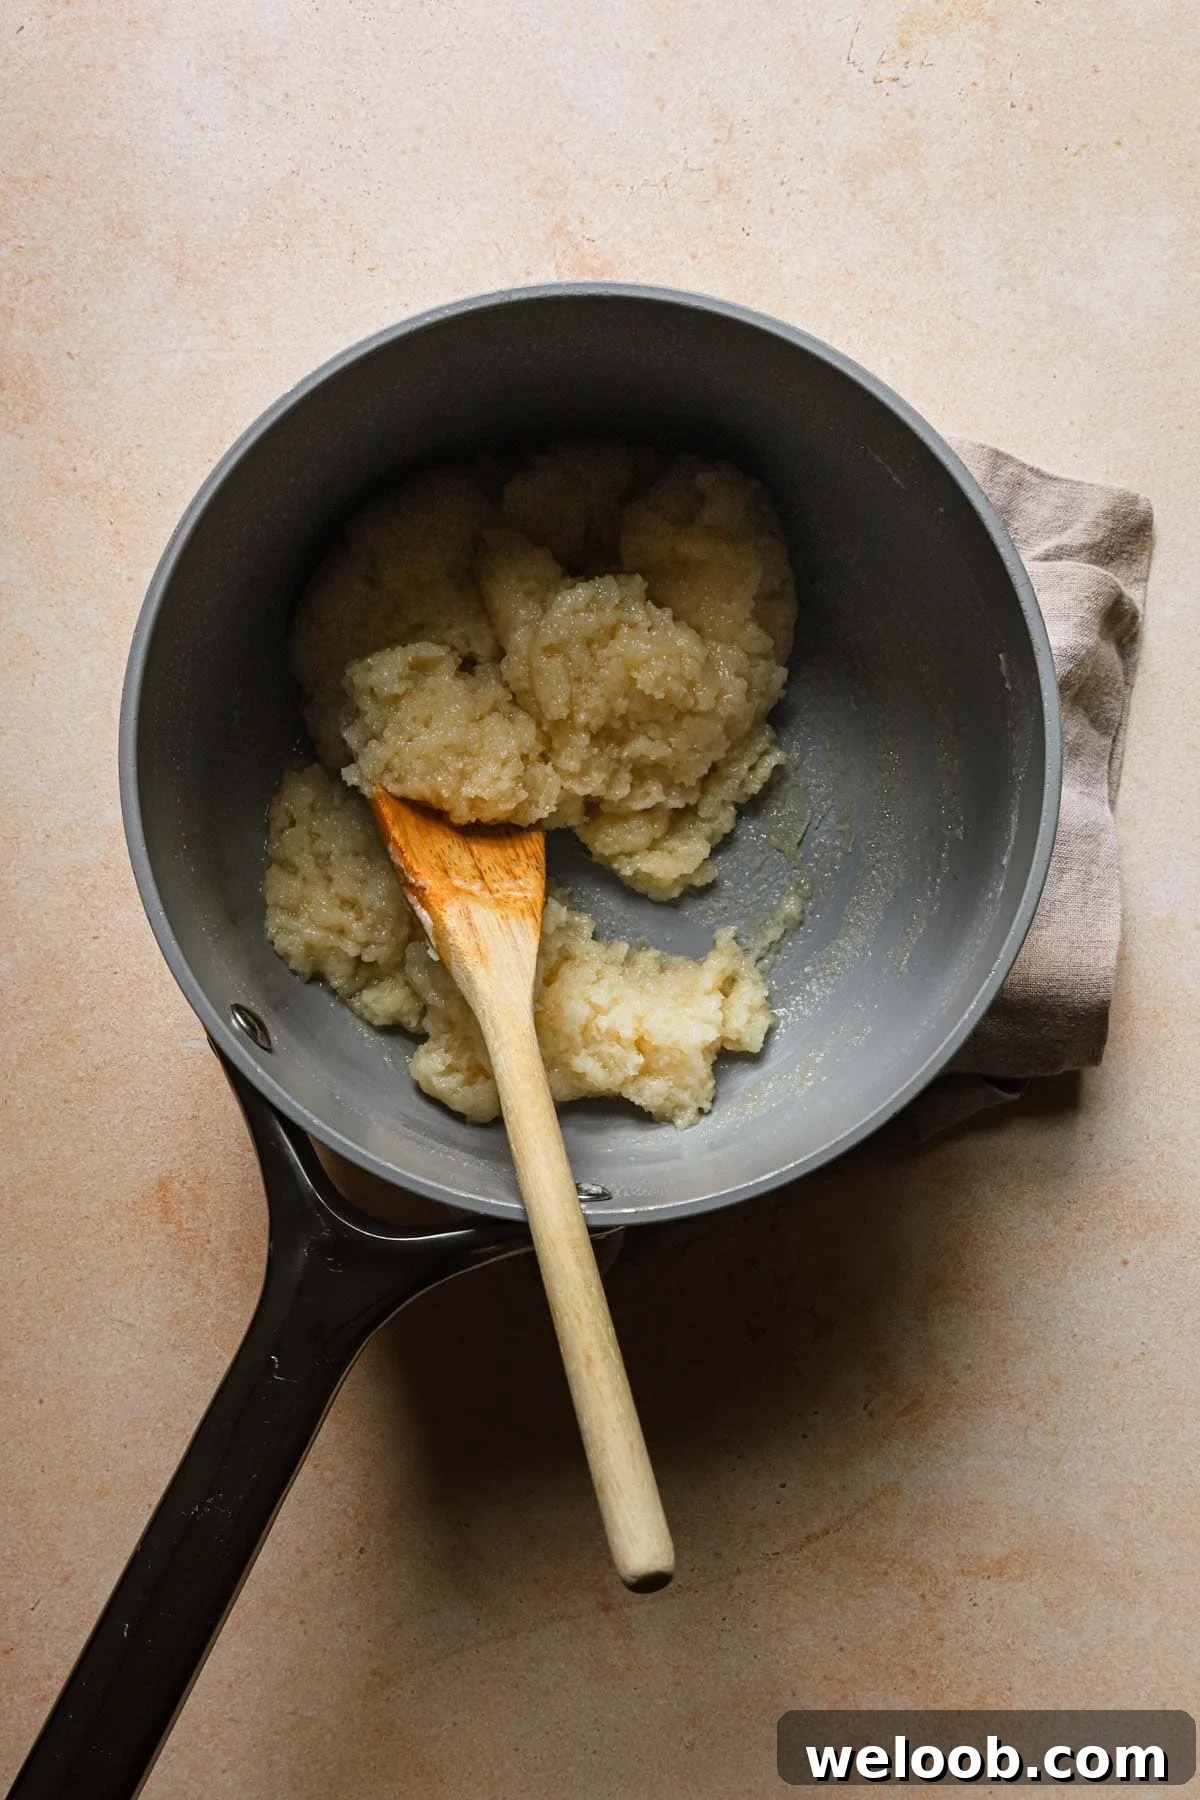
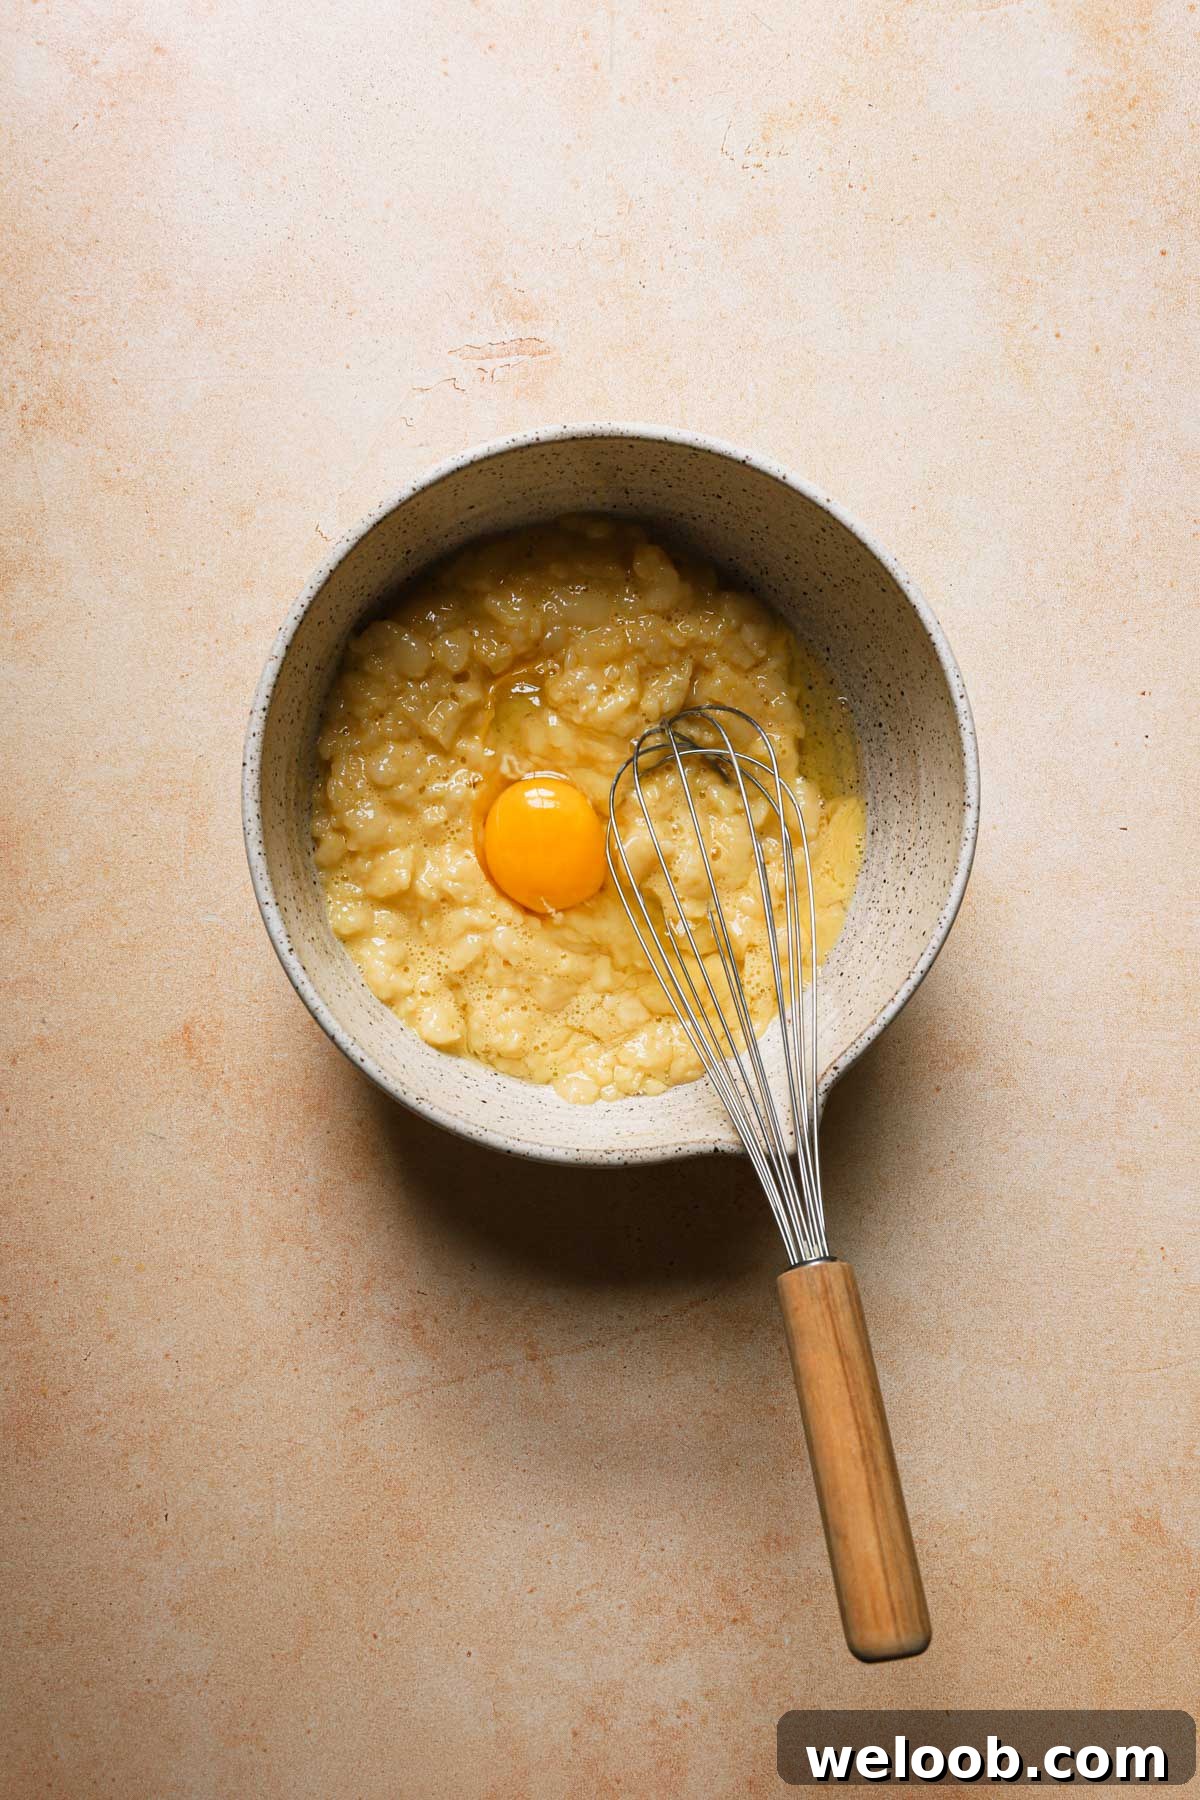
- Allow the cooked flour mixture to cool slightly before adding the eggs so they don’t scramble. Stir or rest the dough to let steam escape.
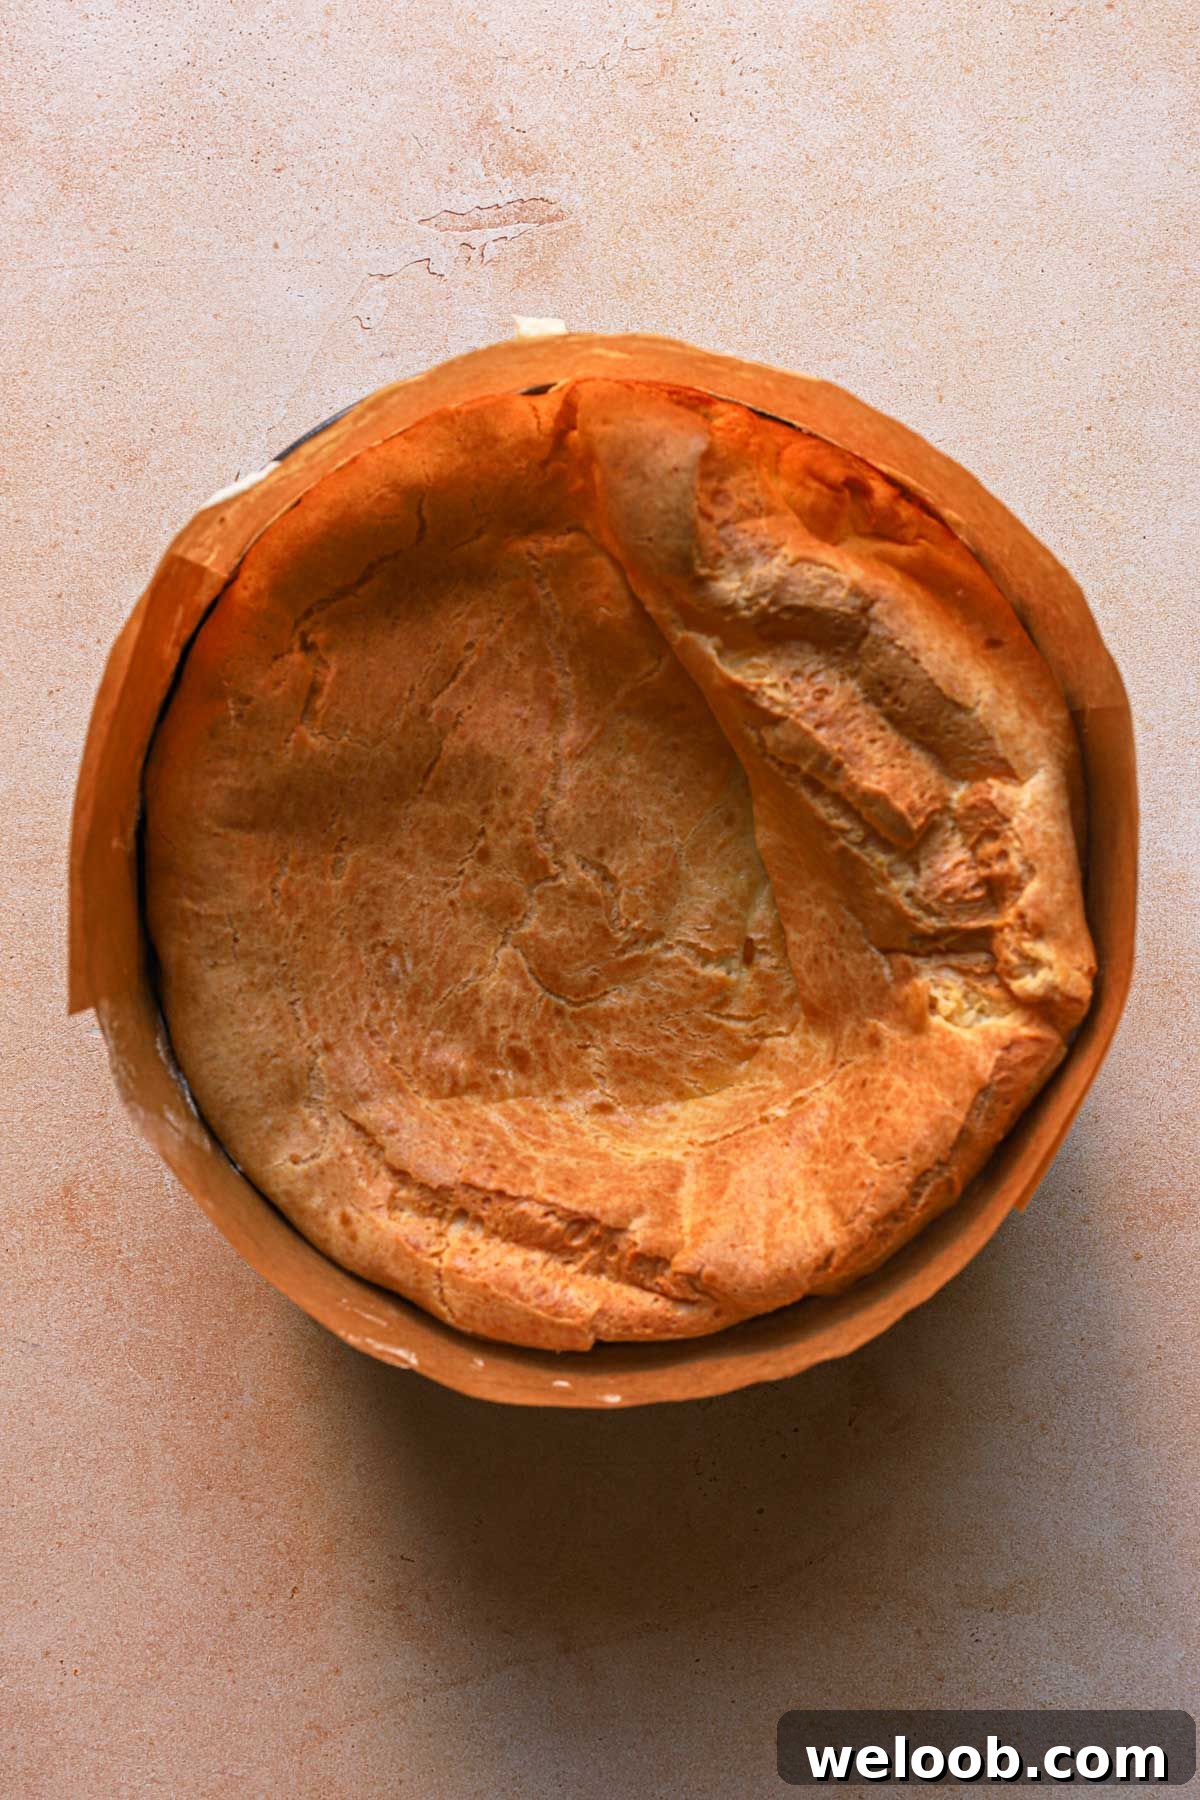
- Keep the choux in the oven after turning it off for an extra 10–15 minutes with the door closed so the layers dry out and stabilize; do not open the oven during baking.
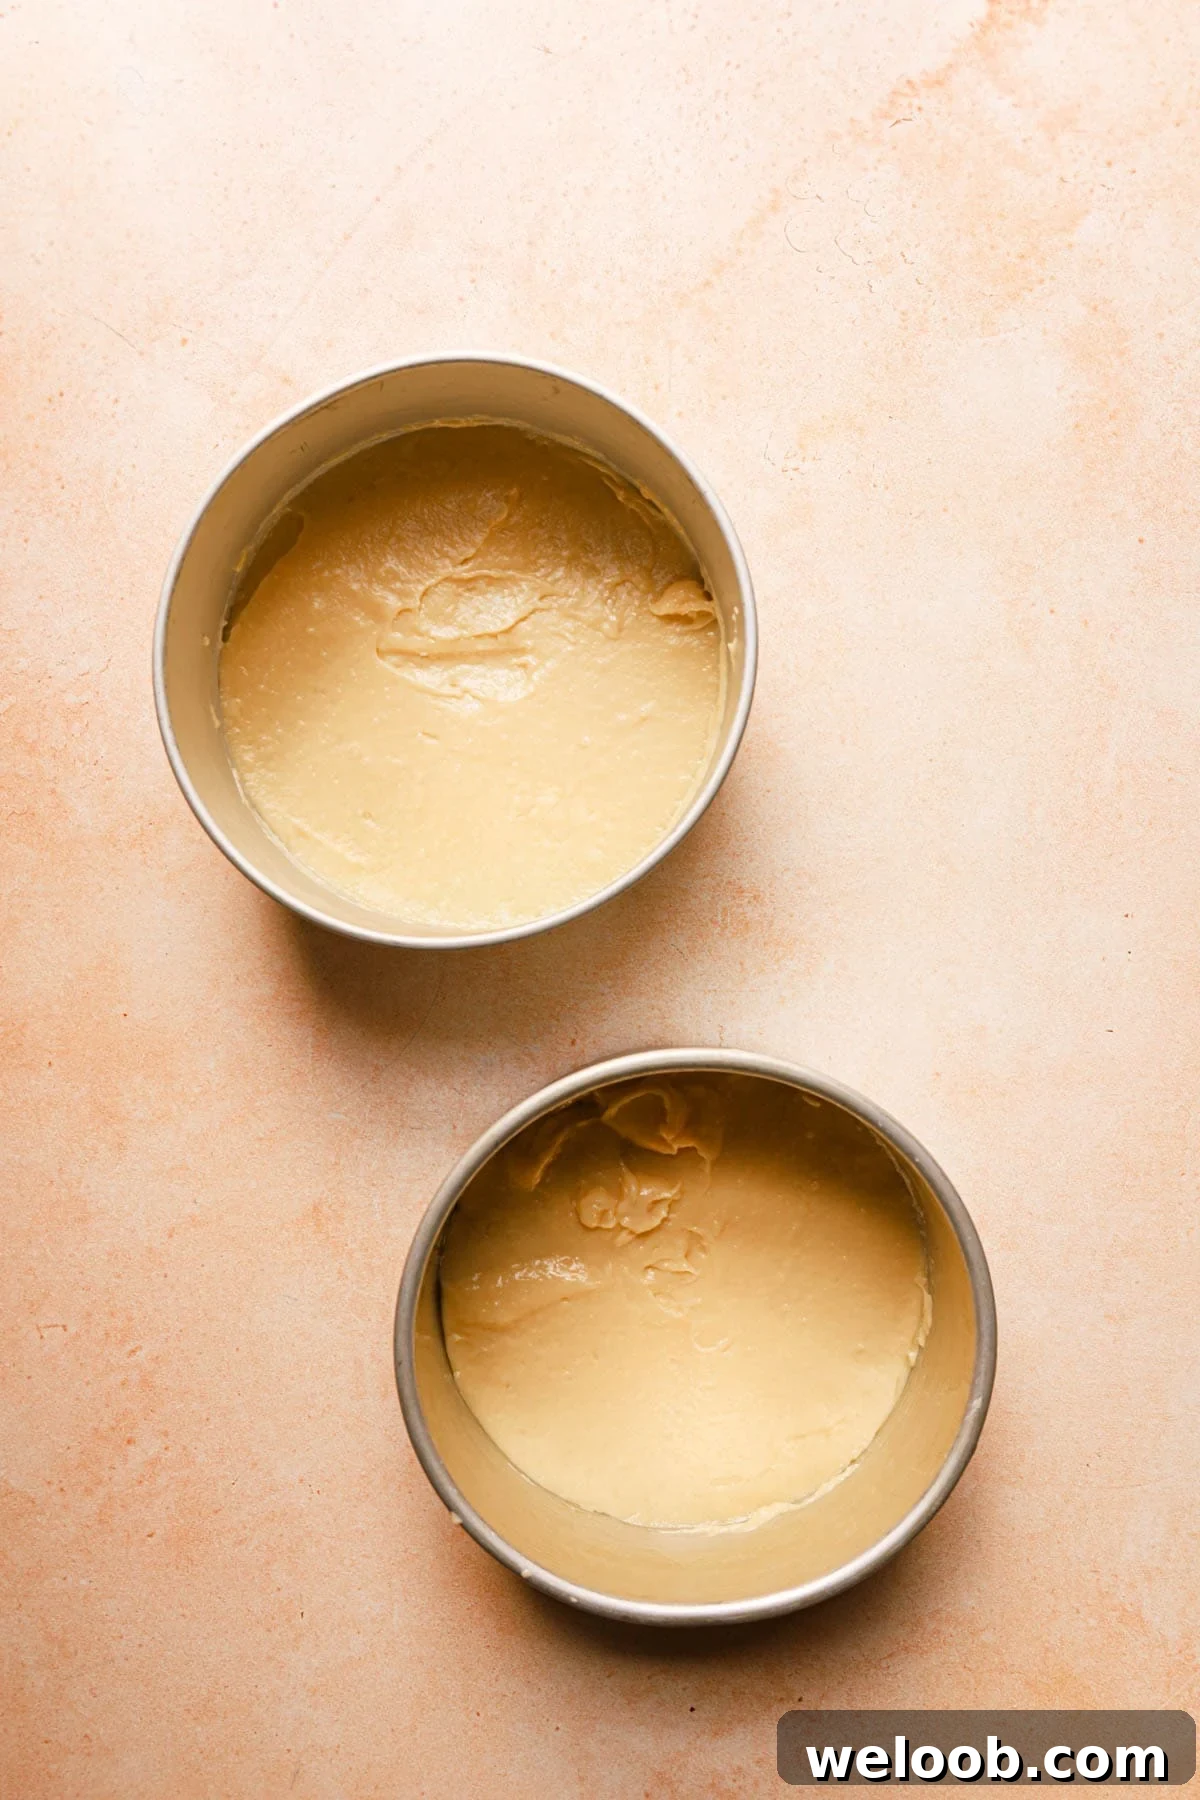
- Divide the dough into two pans and bake each half separately to create two sturdy, thick layers rather than one thin layer that would be sliced in half. Thicker choux layers help prevent a soggy cake.
Assemble
- Do not assemble the cake until the choux layers are completely cooled and the filling has had time to set.
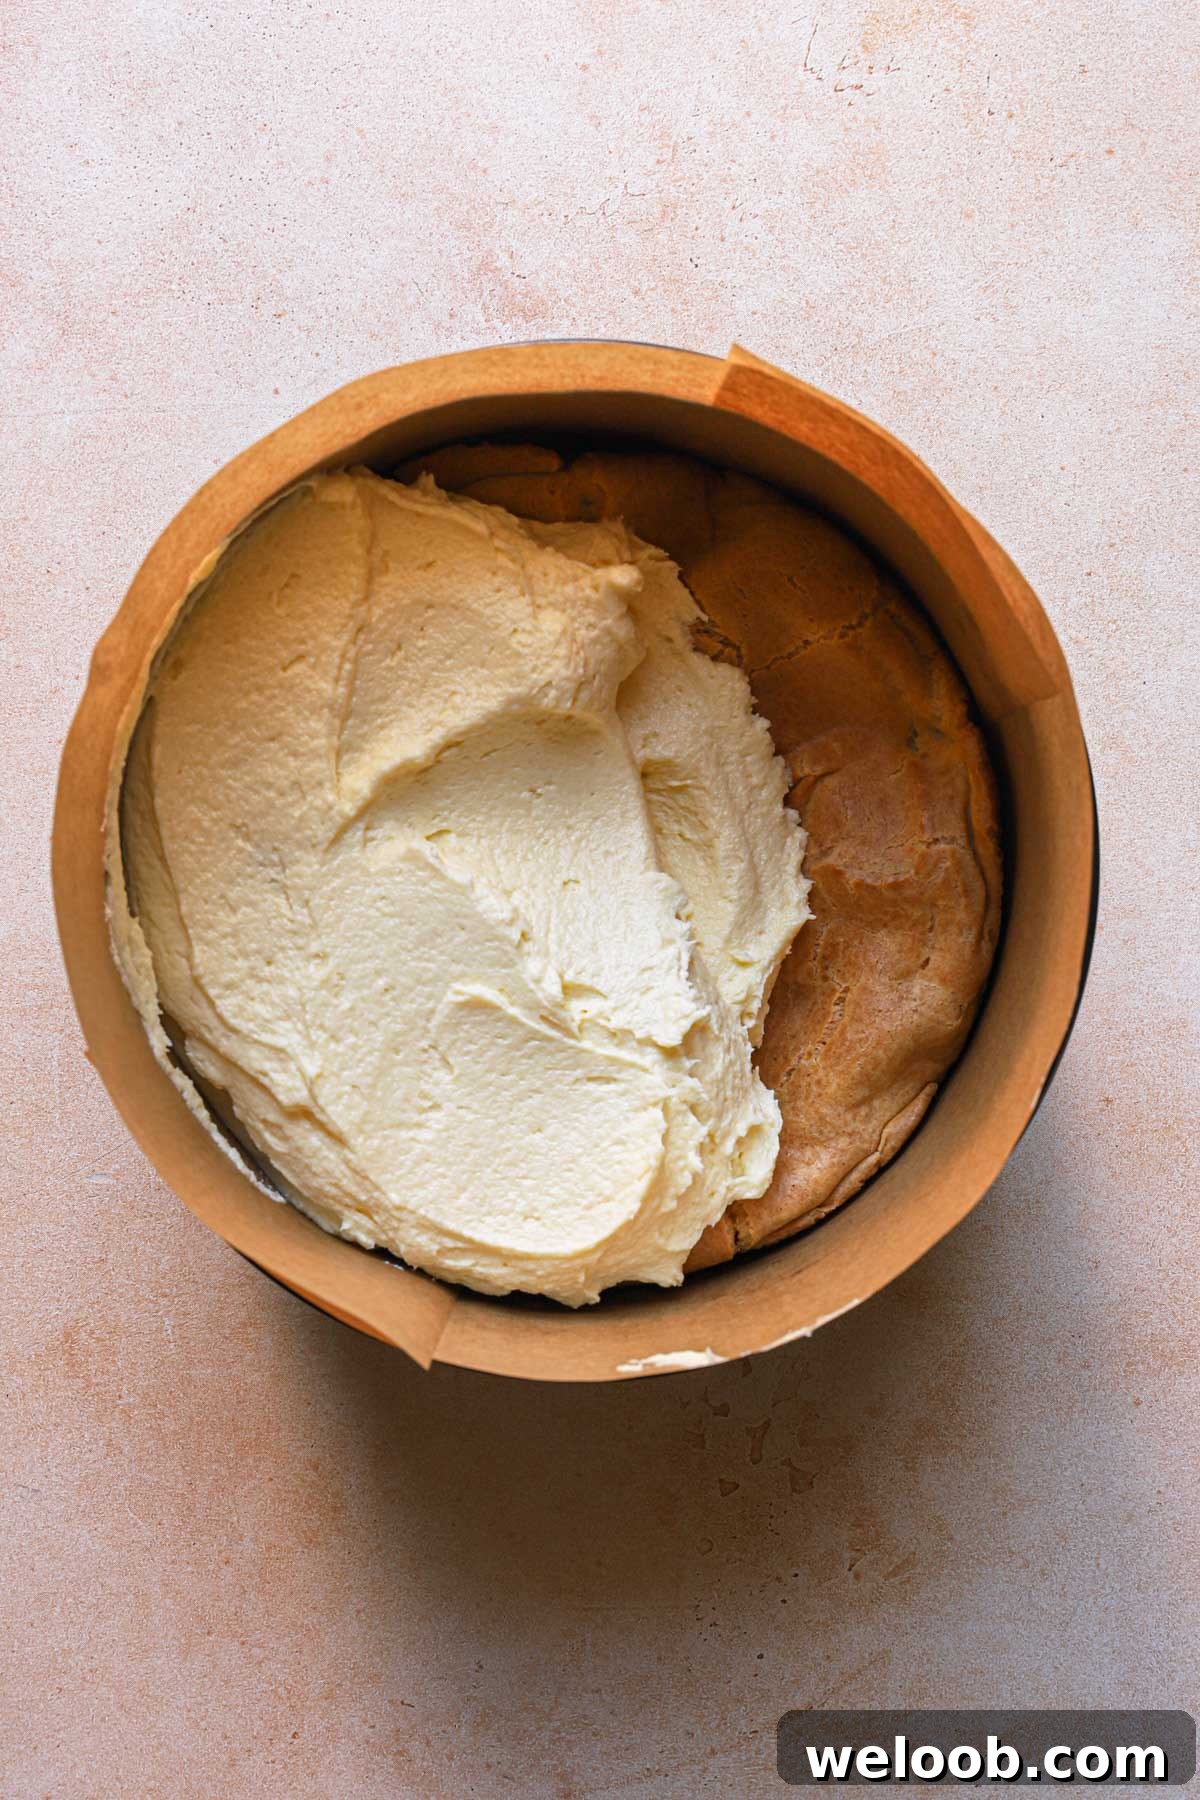
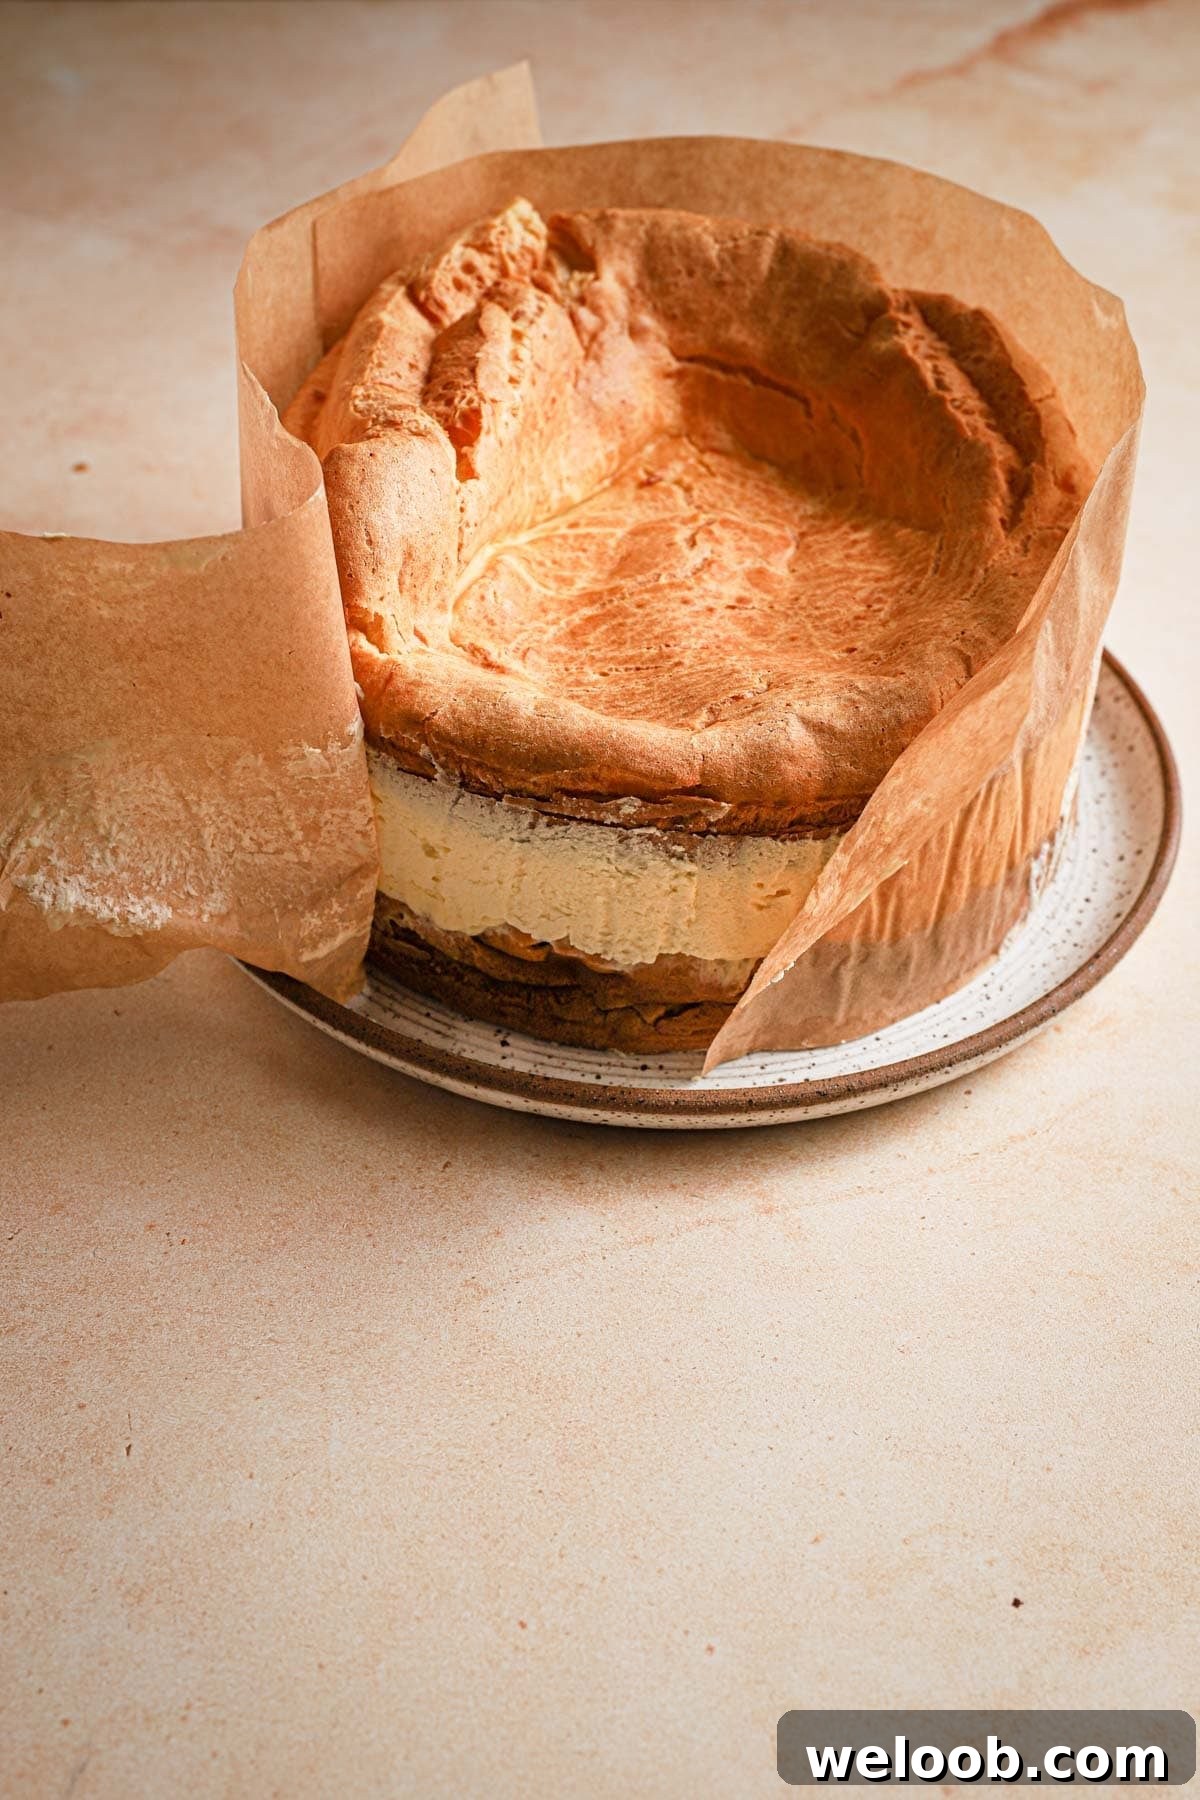
- If the assembled cake will be taller than the pan sides, use a pan with a removable bottom or springform pan lined with a 4–5 inch strip of parchment around the sides to support the height while chilling.
- If using crème mousseline, chill at least one hour before serving. Lighter fillings may need 4–6 hours to fully set.
- Finish with a dusting of powdered sugar and, if desired, fresh fruit or berries for color and contrast.
Storing
Refrigerator: Karpatka keeps well for up to five days when covered with plastic wrap to retain moisture and protect the cream.
Freezing: Freeze the cake wrapped tightly in an airtight container for up to one month. Thaw in the refrigerator before serving — freezing will soften the texture slightly and may change the mouthfeel of the choux and crème.
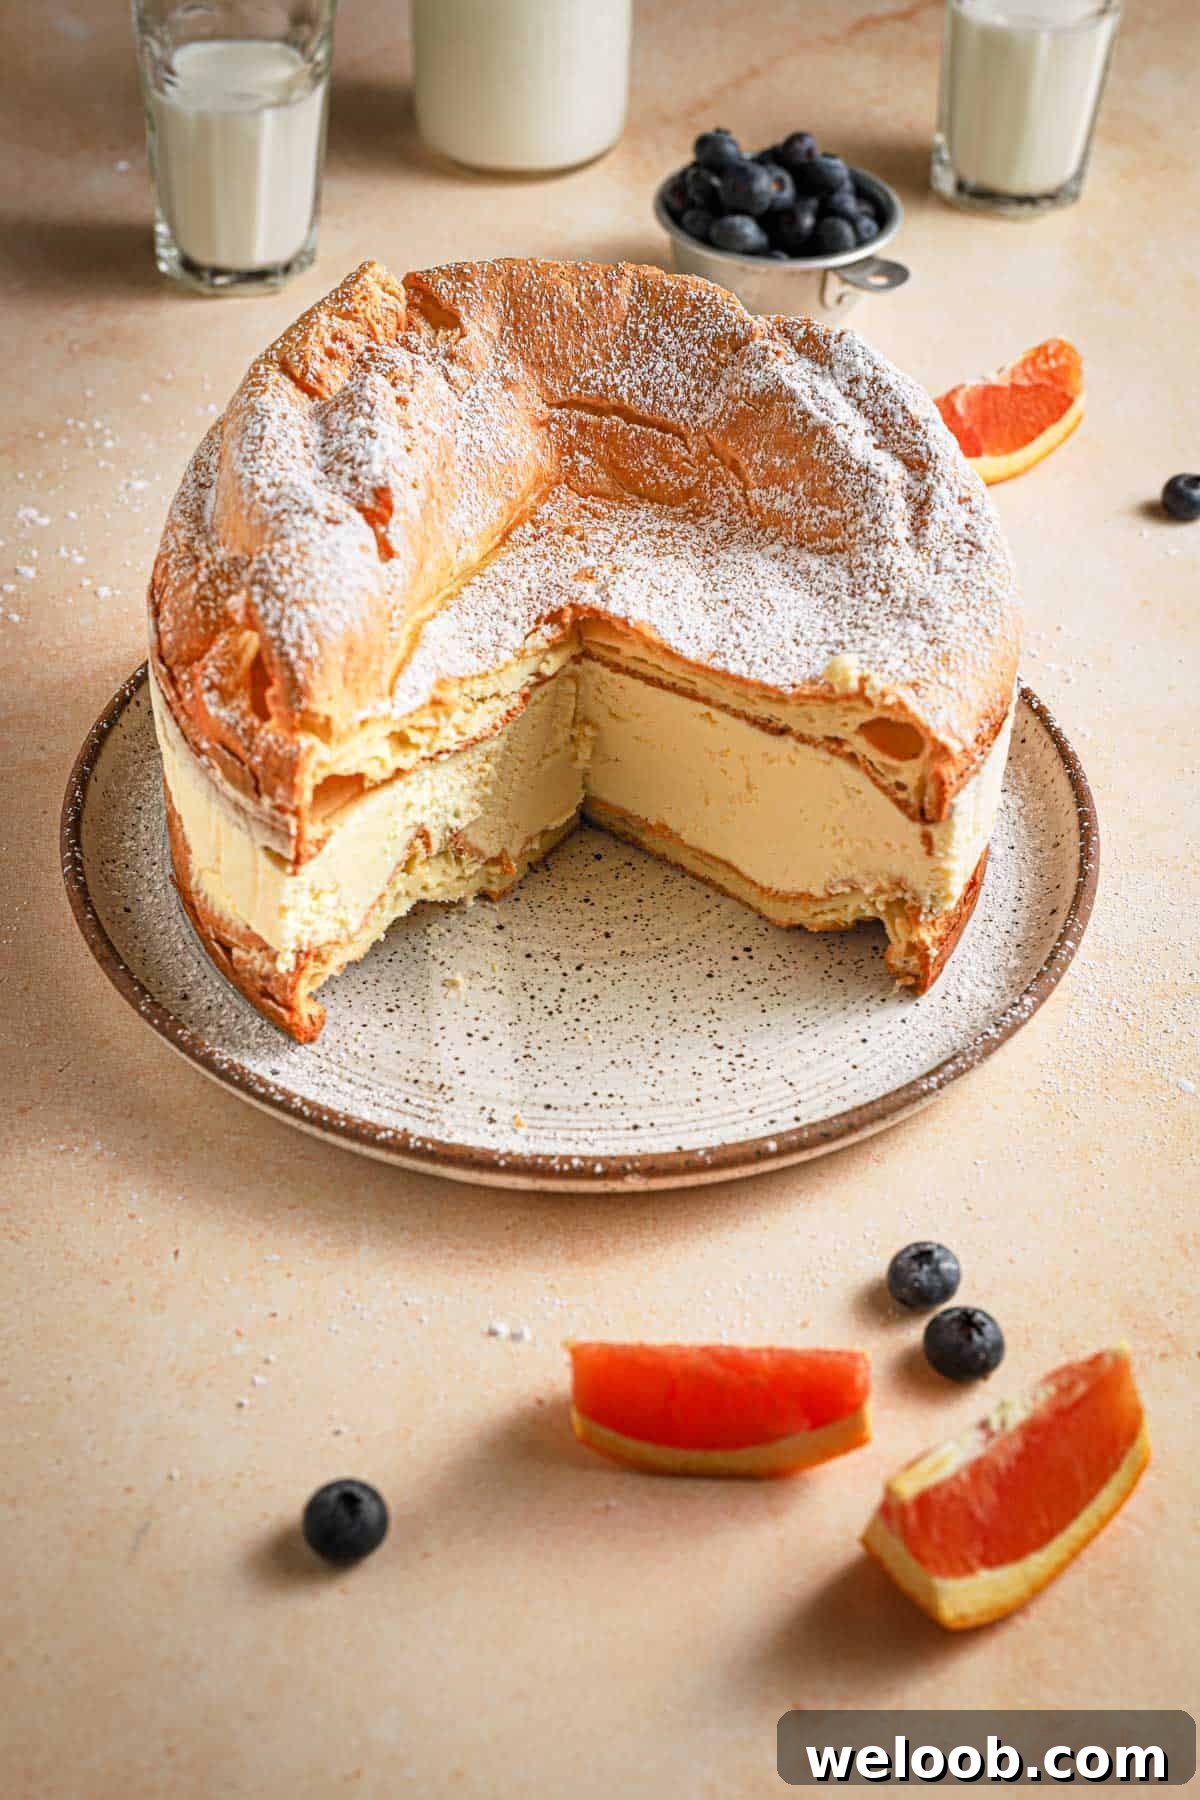
Karpatka — Polish Cream Puff Cake
A traditional Polish cake made from two thick sheets of choux pastry filled with crème mousseline. Light, airy, and finished with powdered sugar, Karpatka is elegant, make-ahead friendly, and perfect for special occasions.
Prep Time: 40 mins
Cook Time: 30 mins
Servings: 10 people
Author: Dikla Levy Frances
Ingredients
- 1 cup water or milk (240 ml)
- 1/2 cup unsalted butter, cut into pieces (113 g)
- 1 tablespoon sugar
- Pinch of salt
- 1 cup bread flour (113 g)
- 4 large eggs, room temperature
Filling
- 1 recipe crème mousseline (prepared and chilled)
- 2 tablespoons powdered sugar for dusting
Instructions
Make the Cake
- Preheat the oven to 400°F (200°C). Line two 8-inch (20-cm) pans with parchment paper.
- In a medium saucepan, combine the water (or milk), butter, salt, and sugar. Cook over medium heat until the butter melts and the liquid comes to a boil.
- Add the flour all at once and stir vigorously with a wooden spoon until a smooth dough ball forms, about 2–3 minutes.
- Remove from heat and transfer the dough to a mixer bowl or a large bowl. Mix or whisk to cool the dough slightly (about 5 minutes), then add the eggs one at a time on high speed, allowing each egg to incorporate fully before adding the next. The mixture will go from grainy to smooth and glossy.
- Divide the dough evenly between the two prepared pans (about 315 g each). Bake at 400°F for 15 minutes, then reduce the oven to 350°F (175°C) and bake for another 15 minutes until golden and puffed.
- Turn off the oven and let the choux layers rest inside with the door closed for 10–15 minutes to dry and stabilize. Remove and cool completely.
Assembling
- Line the sides of one 8-inch springform or removable-bottom pan with a 5-inch wide strip of parchment.
- Place one choux layer in the bottom of the pan.
- Spread the chilled crème mousseline evenly over the layer, then top with the second choux layer.
- Chill for at least one hour to allow the filling to set. For lighter fillings, chill 4–6 hours.
- When ready to serve, invert the cake onto a serving plate, dust with powdered sugar, and slice.
Notes
- Store in the refrigerator for up to five days; consider the freshness of the filling when planning storage.
- Do not open the oven door during baking — sudden temperature changes can cause the choux to collapse.
- Use two 9-inch pans for a larger, shallower cake with thinner filling.
- Choose a filling that is thick enough to hold its shape when sliced to avoid collapse or soggy layers.
- Top with fresh fruit or berries for color and a bright contrast to the rich cream.