
No-Bake Reese’s Chocolate Peanut Butter Truffle Cups Recipe
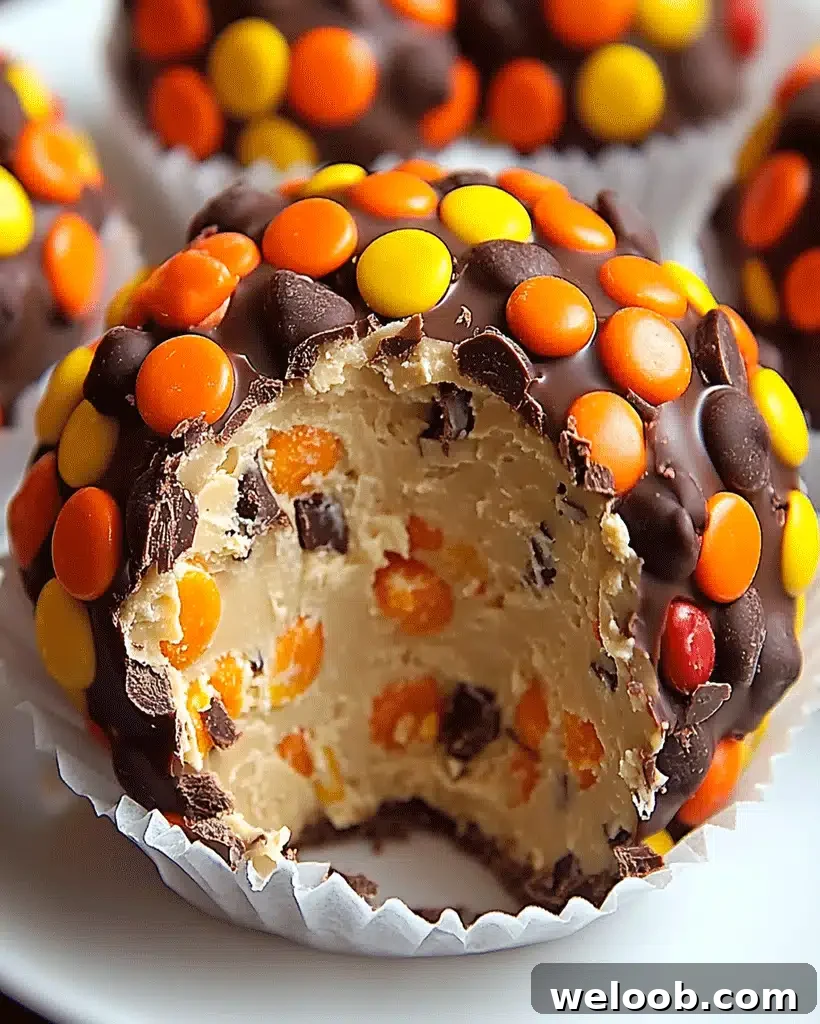
Welcome, dessert lovers! If you love rich, sweet treats, you’re in for a real delight. Reese’s Chocolate Peanut Butter Truffle Cups combine creamy peanut butter, smooth chocolate, and the familiar Reese’s crunch for a decadent, no-bake dessert that’s simple to prepare and impressive to serve.
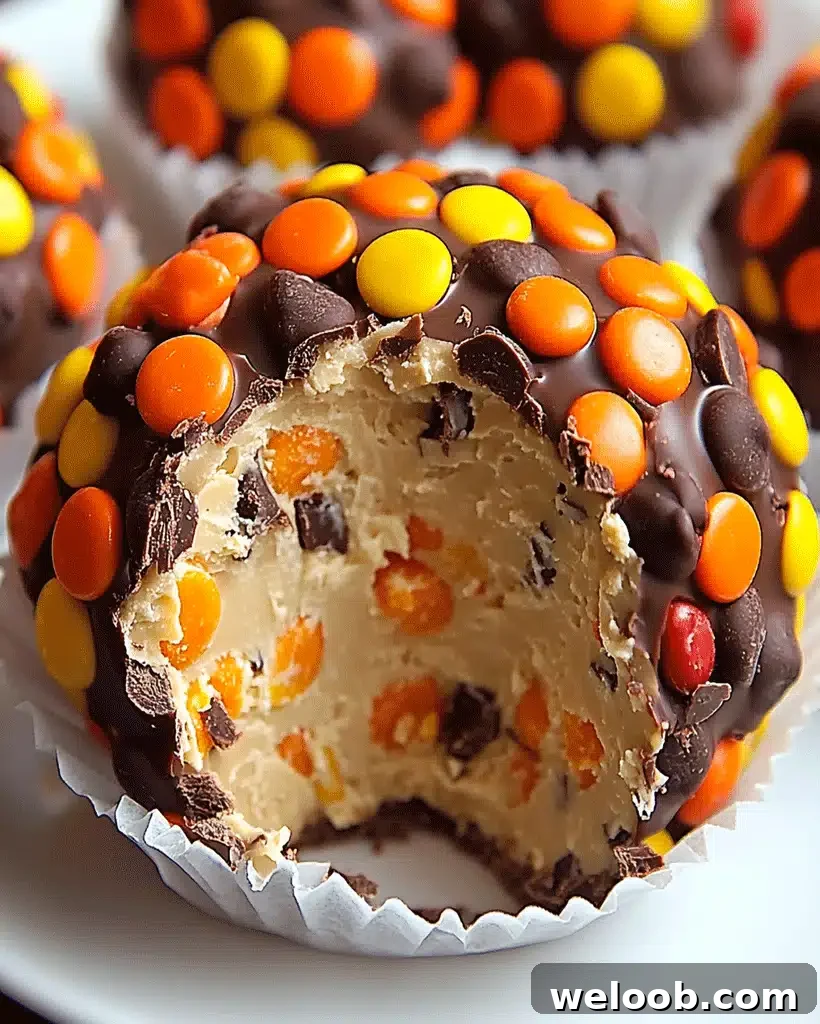
Reese’s Chocolate Peanut Butter Truffle Cups – No-Bake Dessert
Author: Patricia
Introduction
Reese’s Chocolate Peanut Butter Truffle Cups are a crowd-pleasing no-bake dessert for anyone who adores the classic chocolate-and-peanut-butter pairing. This recipe builds on the familiar Reese’s flavor by folding in dark chocolate chunks and mini Reese’s Pieces for extra texture and color. These truffle cups are attractive on a dessert table, quick to assemble, and ideal for gifts, parties, or an indulgent treat at home.
Ingredients for Reese’s Chocolate Peanut Butter Truffle Cups
Everything you’ll need to make a batch of these irresistible cups:
- 2 cups semi-sweet chocolate chips, melted
- 1 cup creamy peanut butter
- 1/2 cup powdered sugar
- 1/2 teaspoon vanilla extract
- 1 cup mini Reese’s Pieces (divided)
- 1/2 cup dark chocolate chunks (divided)
Optional substitutions
- Swap semi-sweet chips for milk or white chocolate for a sweeter finish.
- Use almond butter or sunflower seed butter to make a peanut-free version.
- Replace Reese’s Pieces with mini M&M’s for a different color or flavor profile.
How to Make Reese’s Chocolate Peanut Butter Truffle Cups – Step by Step
Step 1: Melt the chocolate
Place the semi-sweet chocolate chips in a microwave-safe bowl. Heat in 30-second bursts, stirring between each interval, until the chocolate is fully melted and glossy. You can add a teaspoon of coconut oil if you prefer a silkier texture.
Step 2: Prepare the chocolate base
Line a cupcake tin with paper liners. Spoon a thin, even layer of melted chocolate into the bottom of each liner and gently tap the tin to level the chocolate. Chill in the refrigerator for about 10 minutes or until the layer is set.
Step 3: Make the peanut butter filling
In a mixing bowl, combine the creamy peanut butter, powdered sugar, and vanilla extract. Stir until smooth and spreadable. Fold in half of the mini Reese’s Pieces and half of the dark chocolate chunks to add small pockets of texture throughout the filling.
Step 4: Assemble the truffle cups
Roll or scoop the peanut butter mixture into small balls (about a tablespoon each) and place one ball into the center of each chilled chocolate base. Press gently to flatten slightly. Pour or spoon another layer of melted chocolate over each filling to fully enclose it, and smooth the tops with the back of a spoon.
Step 5: Decorate
Sprinkle the remaining mini Reese’s Pieces and dark chocolate chunks on top while the chocolate is still wet to secure them in place. This adds a colorful, crunchy finish.
Step 6: Chill and serve
Refrigerate the truffle cups for 20–30 minutes or until completely set. Once firm, peel off the liners and serve chilled or at room temperature for 10 minutes for a softer bite.
Helpful tips for success
- Use good-quality ingredients: Premium chocolate and fresh peanut butter make a noticeable difference in flavor and texture.
- Adjust sweetness: If you prefer a less sweet filling, reduce the powdered sugar slightly and taste as you go.
- Create even layers: Use a piping bag (or a zip-top bag with the corner snipped) to pipe melted chocolate into liners for neat, even shells.
- Chill between layers: Allow each chocolate layer to set before adding the next to prevent colors and textures from blending.
- Perfect shape: Silicone molds work especially well for evenly shaped cups and easy removal.
Serving suggestions
These truffle cups pair beautifully with warm beverages and creamy desserts. Try serving them with:
- Espresso or hot chocolate — the warmth balances the rich chocolate and peanut butter.
- Vanilla ice cream — add a scoop for a contrasting cold-and-creamy dessert plate.
Nutritional Information (per serving)
Estimated values for one truffle cup:
- Calories: 320
- Total Fat: 22 g (Saturated Fat: 10 g)
- Cholesterol: 0 mg
- Sodium: 120 mg
- Total Carbohydrates: 28 g
- — Dietary Fiber: 3 g
- — Sugars: 20 g
- Protein: 5 g
Storage and leftovers
- Refrigerator: Store truffle cups in an airtight container for up to two weeks.
- Freezer: Freeze up to three months. Separate layers with parchment paper and use a freezer-safe container or bag.
- Serving from frozen: Allow frozen cups to sit at room temperature for about 10 minutes before serving for a softer texture.
Frequently asked questions (FAQs)
1. Can I make these truffle cups vegan?
Yes. Use dairy-free chocolate chips and a plant-based spread such as almond butter or a vegan peanut butter alternative. Make sure any candy additions are also vegan-friendly.
2. Can I double the recipe?
Absolutely. Simply increase the ingredient quantities and use additional cupcake tins or silicone molds to accommodate a larger batch.
3. How do I prevent the candy from sticking to the liners?
Lightly coat the liners with a non-stick cooking spray before adding the melted chocolate. For easier release, use silicone molds instead of paper liners.
4. Are there nut-free alternatives?
Yes. Swap peanut butter for sunflower seed butter, and replace Reese’s Pieces with nut-free candies to keep these safe for those with nut allergies.
Related recipe ideas
If you love peanut butter and chocolate, you might also enjoy:
- Caramel Butterfinger Snow Cookies — an easy, crunchy cookie treat
- Mushroom Swiss Cheese Meatloaf — a savory dinner option for variety
- Baklava Bundt Cake — a honey-soaked, nutty bundt for special occasions
- Gooey Pecan Pie Brownie Bombs — rich, indulgent dessert bites
Conclusion
Reese’s Chocolate Peanut Butter Truffle Cups are easy to make, visually appealing, and irresistibly tasty. They’re a perfect no-bake option for parties, gifts, or a homemade treat. Try the recipe as written first, then experiment with different chocolates, nut butters, and toppings to make them your own.
Did you make these truffle cups? Share your experience, tips, or variations in the comments — we’d love to hear how yours turned out!