
Pineapple-Strawberry Swirled Slushies Recipe
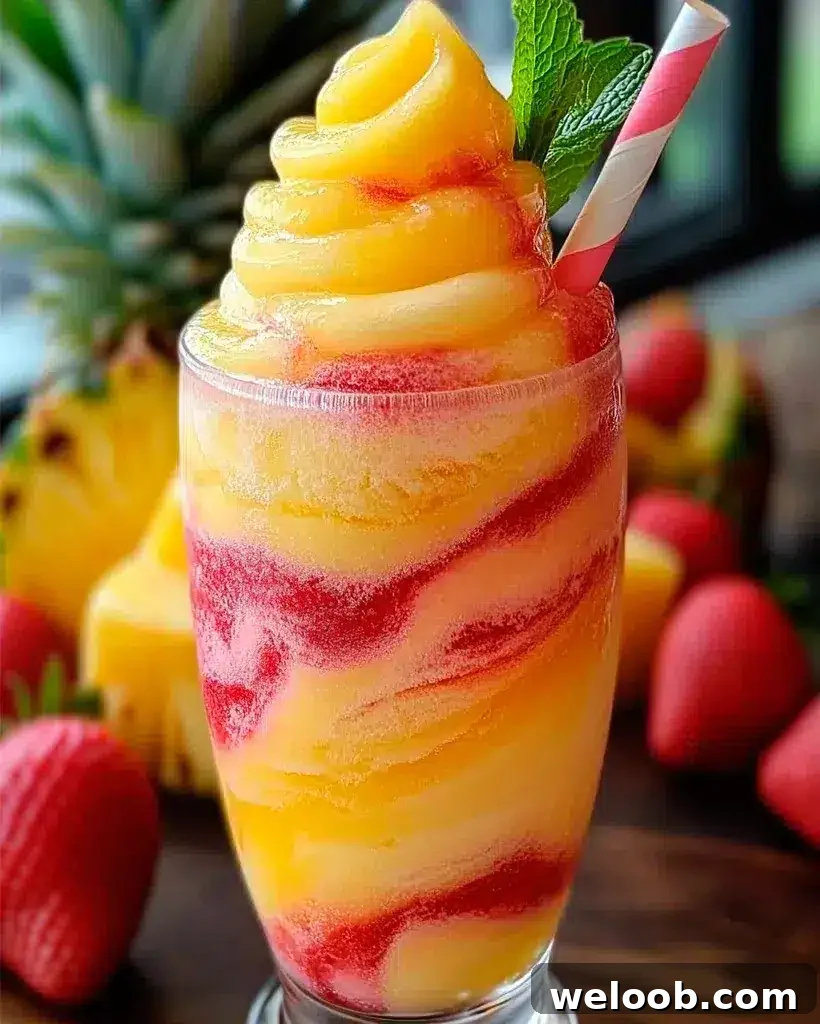
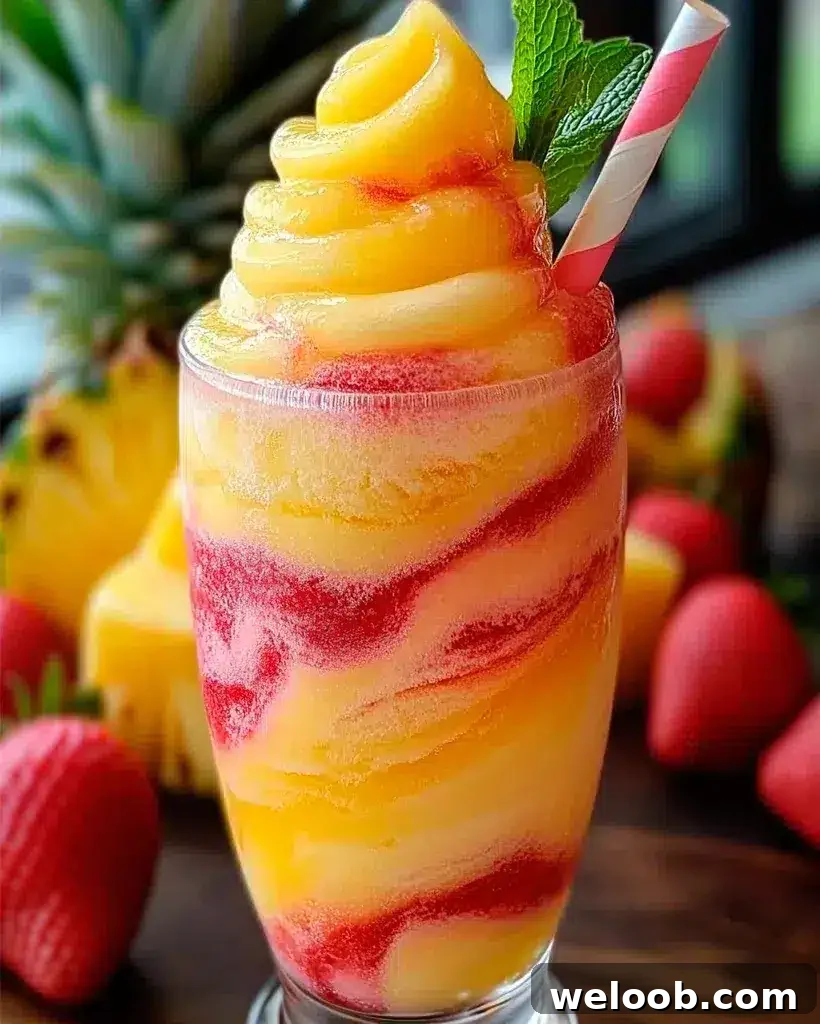
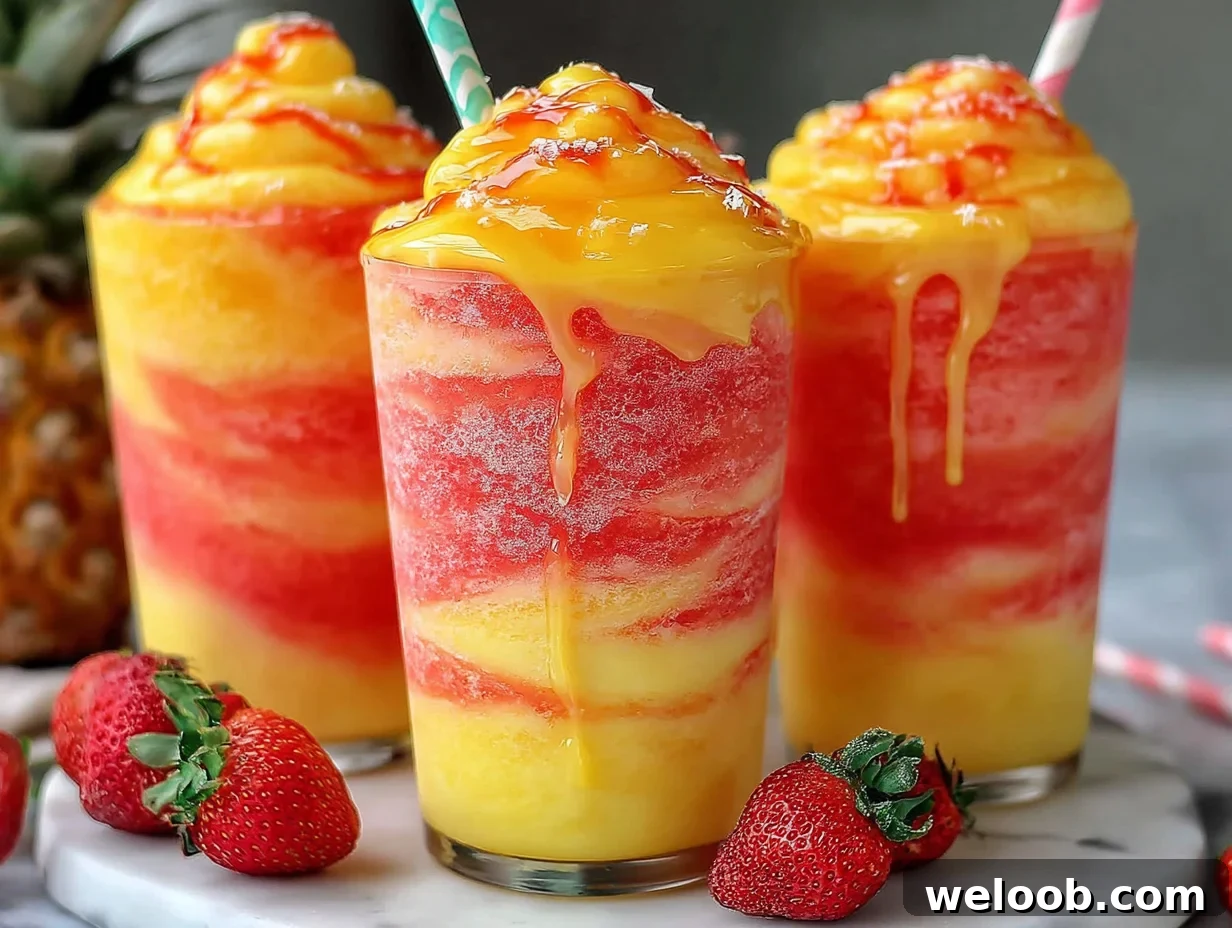
Pineapple Strawberry Swirled Slushies — Refreshing Drink is a vibrant two-layer frozen fruit beverage that takes about 10 minutes to prepare and makes 4 tall servings. With only six simple ingredients — frozen pineapple, frozen strawberries, juice or water, and optional honey — these slushies deliver a show-stopping marbled look and intense fruit flavor without any cooking. They’re ideal for summer gatherings, brunch mocktails, or a refreshing appetizer course. Prep and blend each layer separately, then alternate spoonfuls into tall glasses for a dramatic golden-to-crimson swirl.
Quick Steps at a Glance
- Blend 2 cups frozen pineapple with 1 cup pineapple juice (or water) and 1 tbsp honey if desired until thick and scoopable (~2 minutes).
- Transfer pineapple slush to a bowl and chill briefly in the freezer to keep it firm.
- Rinse the blender, then blend 2 cups frozen strawberries with 1 cup strawberry juice (or water) and optional honey until velvety (~2 minutes).
- Layer spoonfuls of each slush in tall glasses, alternating colors.
- Lightly drag a skewer or straw through the layers in a single spiral to create a marbled effect; serve immediately.
What Is Pineapple Strawberry Swirled Slushies — Refreshing Drink?
A two-layer frozen fruit drink made from frozen pineapple and strawberries blended with juice or water and optionally sweetened with honey. Ready in about 10 minutes and yields 4 tall glasses.
TL;DR
- Uses frozen fruit as both flavor and ice for a dense, scoopable slush.
- Quick to make — two short blender rounds and simple layering produce a professional-looking drink.
- Freezer-friendly: blend layers in advance and freeze separately for up to one month.
Cook’s Note: Chill glasses for 10–15 minutes before serving to help the layers hold their shape longer.
Key Takeaways
- Ready in roughly 10 minutes with minimal hands-on time.
- Only six main ingredients — simple, naturally fruit-forward, and dairy-free.
- Stunning layered presentation that elevates any appetizer table.
- Prep-friendly: each slush layer freezes well for make-ahead convenience.
Why You’ll Love These Slushies
- No cooking required — everything is made in the blender, so the kitchen stays cool.
- Natural sweetness and bright fruit flavor — optional honey lets you tailor sweetness.
- Highly adaptable — swap fruits, use coconut water or sparkling water, or add coconut milk for a creamier version.
- Kid-friendly and visually fun; great as a party activity for layering and swirling.
Ingredient Deep Dive
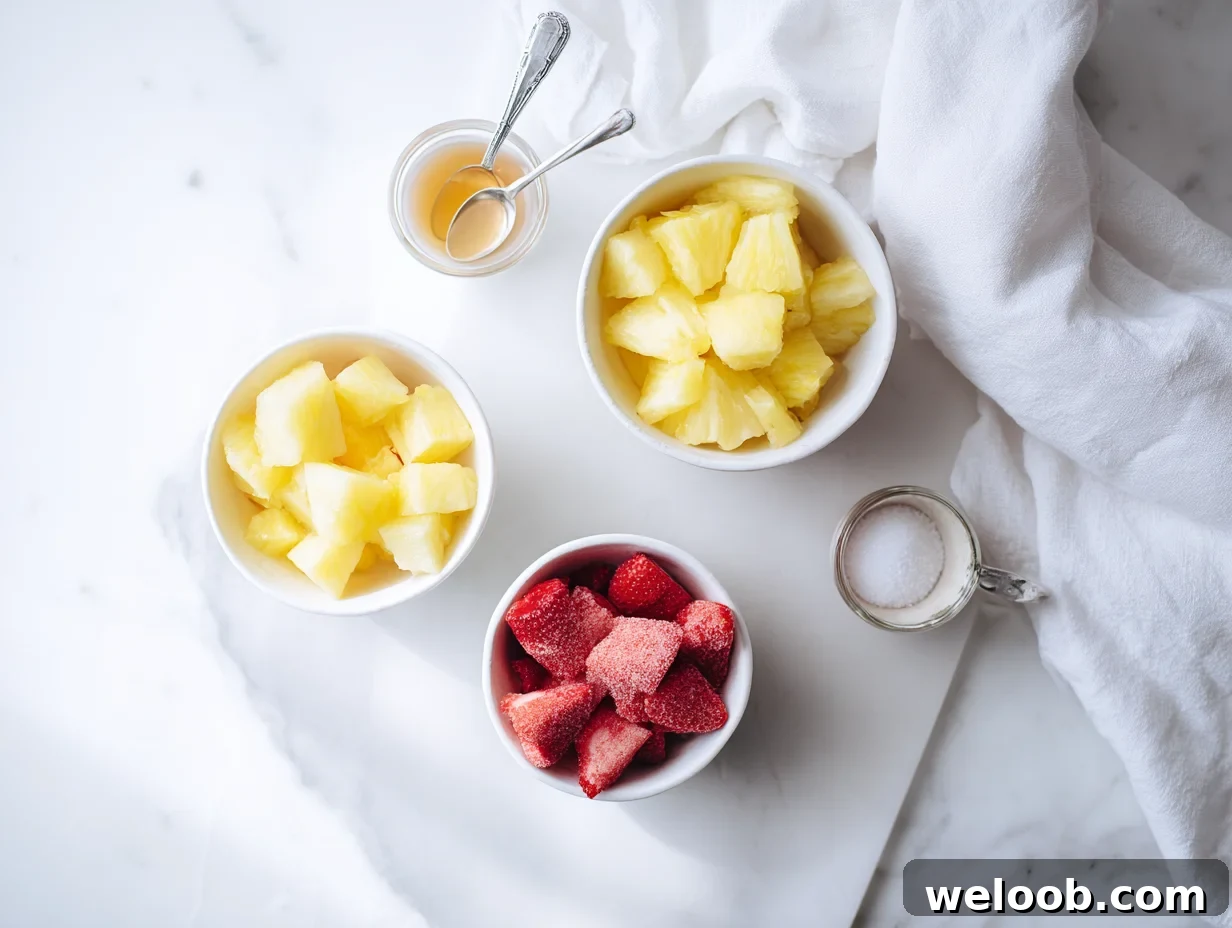
Ingredients at a Glance
Equipment You Need
- High-powered blender (700 watts or higher recommended) — gives the smoothest texture with minimal liquid.
- Medium mixing bowl — to hold the first blended layer while you make the second.
- Large spoon or ice-cream scoop — for clean layering.
- Tall clear glasses (12–16 oz) — show off the swirl.
- Wooden skewer or straw — to create the marbled swirl with a single gentle pass.
- Measuring cup — keep liquid ratios consistent for balanced texture.
Step-by-Step Guide
These slushies are beginner-friendly: blend two fruit bases separately, then layer for a marbled, two-tone drink.
Prep & Organize
- Measure frozen fruit into separate bowls and keep them chilled. Don’t let fruit sit at room temperature more than a few minutes to avoid watery slush.
- Measure liquids and have honey ready if using. Warm honey briefly if it’s very thick so it blends easily.
Blend Each Layer
- Pineapple layer: In the blender, pulse frozen pineapple and pineapple juice (plus honey if using) until thick and scoopable — aim for soft-serve consistency. Use short pulses to avoid over-liquefying.
- Transfer pineapple slush to a bowl and chill briefly in the freezer while you clean the blender.
- Strawberry layer: Blend frozen strawberries with strawberry juice (and honey if desired) until glossy and thick. Blend a few extra seconds if you see unblended seeds.
- Taste both layers and adjust sweetness in small increments. Cold dulls sweetness, so err slightly sweeter than you think you need.
Layer, Swirl & Serve
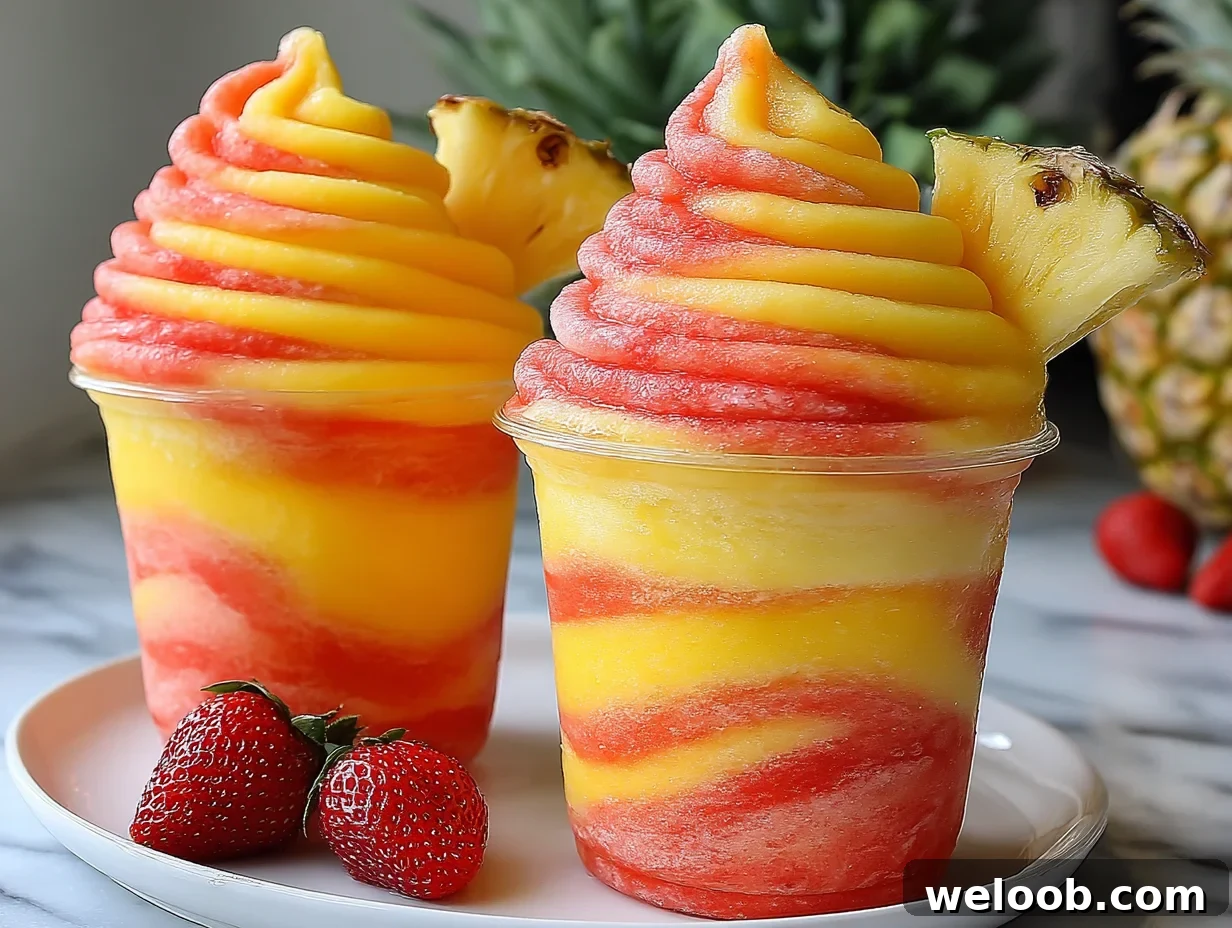
- Alternate generous spoonfuls of pineapple and strawberry slush into tall glasses to create 3–4 visible bands.
- Insert a skewer or straw and drag it once through the layers in an S-shaped motion to produce a marbled swirl. Avoid over-stirring.
- Garnish with a strawberry slice or small pineapple wedge and serve immediately; layers hold best for 5–10 minutes.
Recipe Card — At a Glance
Yields: 4 tall glasses • Total time: ~10 minutes
Ingredients
- 2 cups frozen pineapple chunks
- 1 cup pineapple juice or water
- 1 tbsp honey (optional)
- 2 cups frozen strawberries
- 1 cup strawberry juice or water
- 1 tbsp honey (optional)
Instructions
- Blend pineapple, juice, and honey until thick; transfer to a bowl and chill.
- Rinse blender, then blend strawberries with juice and honey until thick.
- Layer pineapple and strawberry slush in tall glasses, alternating spoonfuls and creating 3–4 bands.
- Drag a skewer through the layers once for a marbled swirl and serve immediately.
Variations & Substitutions
See substitution ideas
| Category | Option | Result |
|---|---|---|
| Tropical Twist | Use frozen mango and coconut water | Richer, creamier tropical slush |
| Berry Boost | Swap strawberries for raspberries + blackberries | Deeper, tangier berry flavor |
| Sugar-Free | Replace honey with pitted dates or omit | Natural sweetness without refined sugar |
| Creamy Version | Add 1/4 cup coconut cream to each layer | Milkshake-like texture and pastel swirls |
| Veggie Boost | Add baby spinach to pineapple layer | Green-gold layer with added nutrients |
Cost & Value
| Ingredient | Approx. Cost |
|---|---|
| Frozen pineapple (2 cups) | $2.00 |
| Pineapple juice or water (1 cup) | $0.60 |
| Frozen strawberries (2 cups) | $2.10 |
| Strawberry juice or water (1 cup) | $0.50 |
| Honey (optional, total) | $0.60 |
| Total | ~$5.80 |
Making these at home is more economical than many juice bars and lets you control sweetness and ingredients. Buying frozen fruit in bulk reduces the per-batch cost further.
Meal Prep & Make-Ahead Guide
- Portion frozen fruit into labeled freezer bags for quick single-serve kits. Each kit is ready to blend in under 5 minutes.
- Freeze honey in small silicone molds (1 tbsp per cavity) for easy, mess-free measuring.
- Blend layers in advance and freeze in airtight containers for up to one month; thaw 8–10 minutes before assembling.
What to Serve With
These slushies pair well with savory appetizers and brunch dishes. Try them with grilled skewers, cheese plates, croissants, light salads, or finger foods. They also work as a palate cleanser between courses or as a refreshing non-alcoholic mocktail option.
Storage & Reheating
- Assembled, layered slushies keep in the refrigerator for up to 1 day but will lose their defined bands as they melt. Stir and serve as a chilled fruit drink or re-freeze briefly and fork-scrape to refresh texture.
- For longer storage, freeze each blended layer separately in airtight containers for up to 1 month. Thaw for 8–10 minutes before spooning into glasses.
- To revive melted portions, pulse briefly in a blender with a couple of fresh ice cubes, or scrape into a shallow pan and refreeze into granita, scraping every 20–30 minutes until flaky.
Expert Pro Tips
- Chill glasses for 10–15 minutes before serving to slow melting and maintain crisp layers.
- Keep both layers the same thickness by using a 2:1 fruit-to-liquid ratio for a stable swirl.
- Pour new layers over the back of a spoon to avoid breaking through the previous layer.
- Use a high-powered blender to avoid adding excess liquid; if your blender is weaker, let fruit rest at room temperature for a few minutes before blending.
- One gentle skewer pass creates the best marbling — over-swizzling blends the colors together.
Frequently Asked Questions
Can I make these ahead?
Yes. You can refrigerate assembled drinks for up to 1 day or freeze each layer separately for up to 1 month. Thaw slightly before serving and remix if needed.
Can I use fresh fruit?
Yes, but add about 1 cup of ice per blender batch to reach a slushy consistency. Frozen fruit is preferred because it serves as both flavor and ice without diluting the drink.
How do I get a clean swirl pattern?
Keep both layers thick and spoon them in small alternating amounts. Drag a skewer through once in a slow S-shape — one pass preserves separate colors without muddying them.
Are these slushies kid-friendly?
Yes. For children under one year, omit honey. Older kids enjoy the colors and the layering activity.
More Easy Appetizer Ideas
Pair these slushies with quick savory bites like grilled chicken skewers, mini sandwiches, cheese boards, or fruit kabobs for a balanced spread that’s both colorful and crowd-pleasing.
My Final Take
Pineapple Strawberry Swirled Slushies are an easy, impressive, and naturally fruity way to refresh guests or treat your family. With a short ingredient list, minimal equipment, and straightforward technique, they’re an ideal summer recipe that photographs beautifully and tastes even better. Prep layers ahead for quick entertaining, and experiment with alternate fruits and liquids to make the recipe your own.

Patricia Jannet — recipe developer and photographer. Patricia tests each recipe multiple times to ensure reliable results in the home kitchen.
Sources & References
- USDA FoodData Central — nutritional references for fruit nutrients.
- FDA and FoodSafety.gov — general food safety and cold storage recommendations.
- Academy of Nutrition and Dietetics — guidance on feeding infants and general nutrition recommendations.
— Patricia Jannet, March 2026