S-Shaped Butter Cookies Recipe
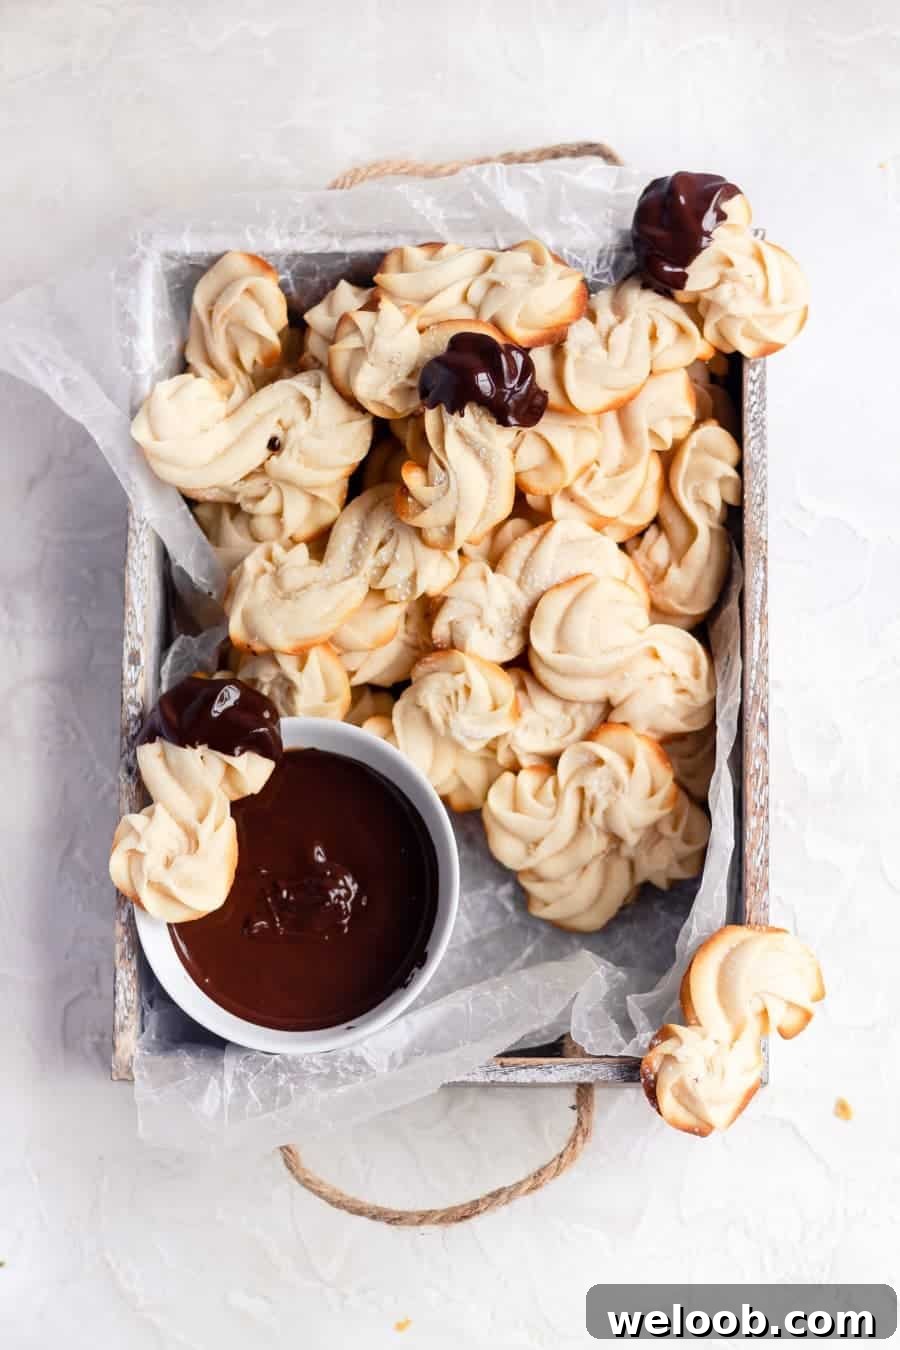
These butter “S” cookies are simple, timeless, and irresistibly buttery.
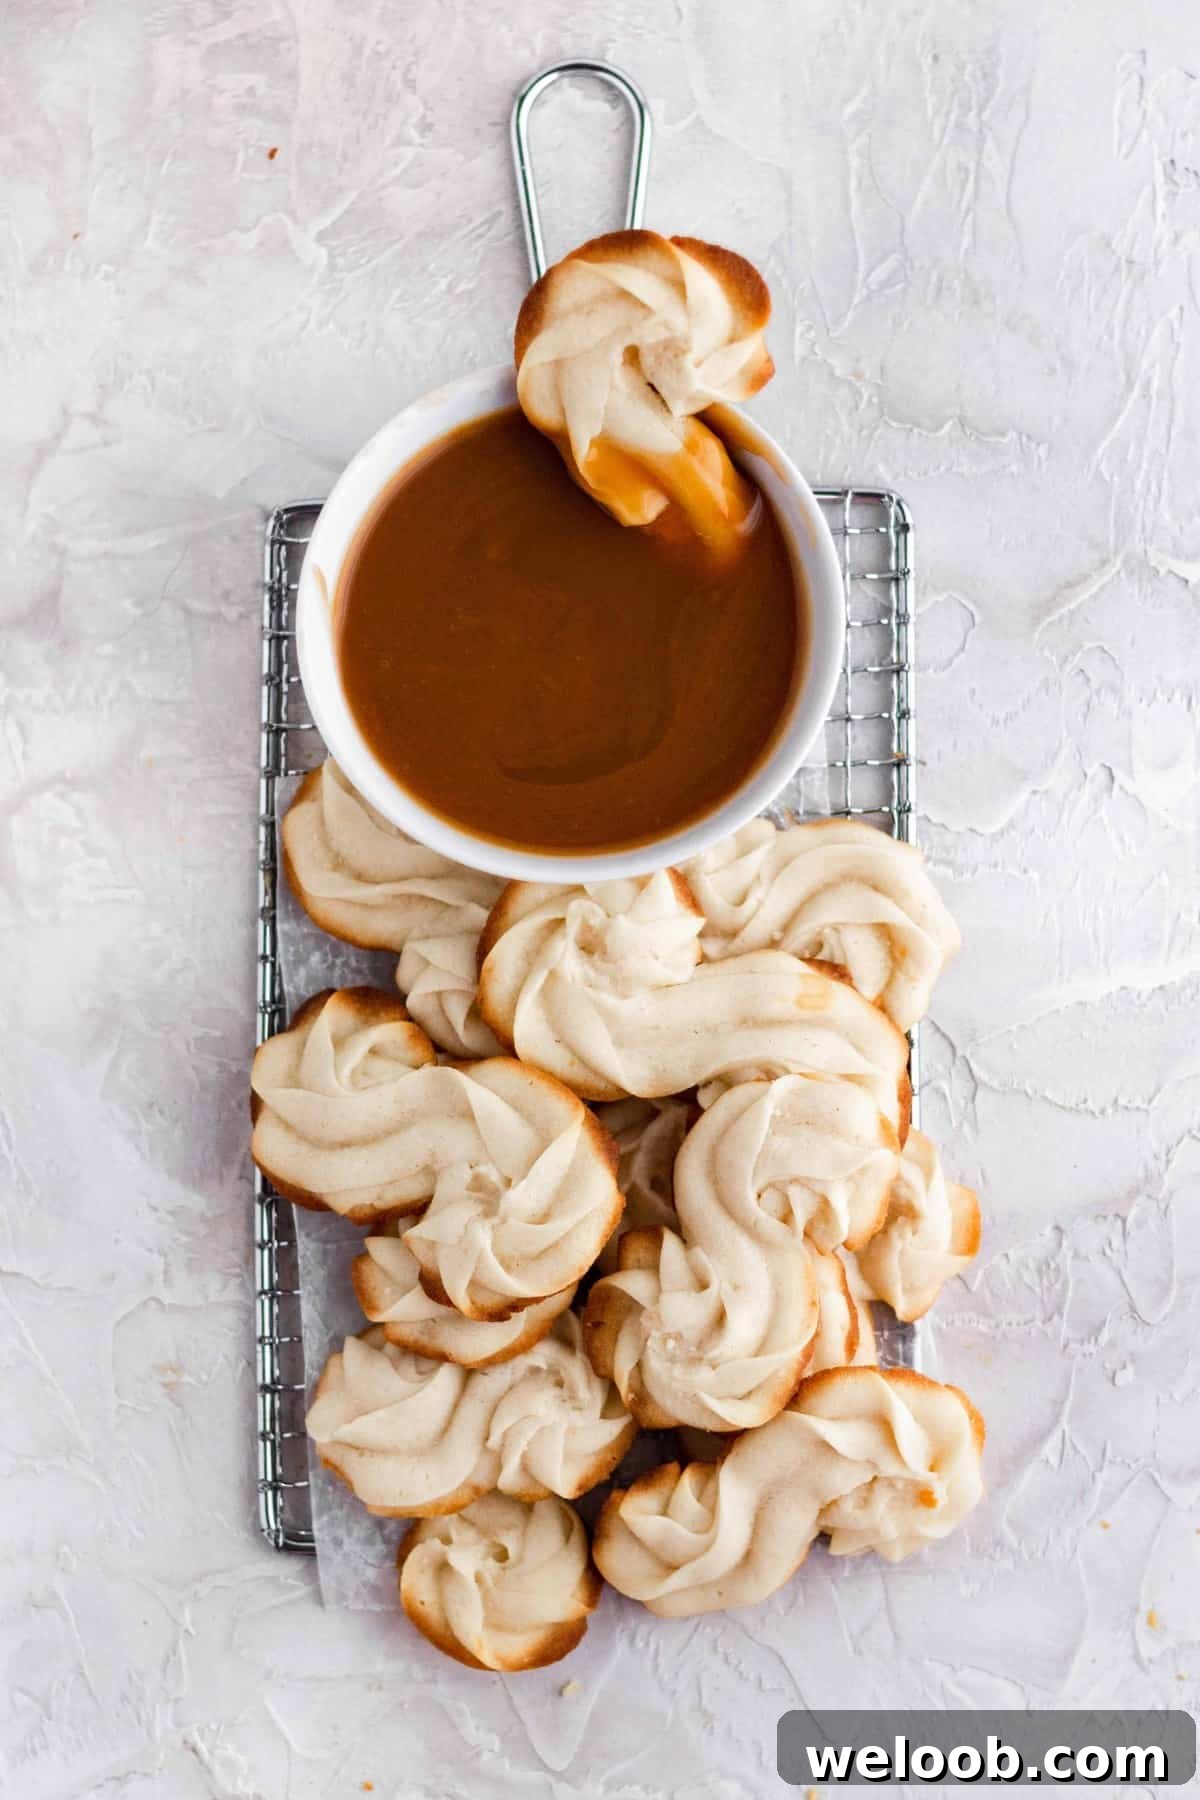
I think every home baker should have a classic butter cookie recipe in their collection—the kind that brings back memories of grandma’s kitchen, when you needed both hands to hold your cup of warm milk. These “S” shaped butter cookies are exactly that: unfussy, elegant, and full of rich, buttery flavor.
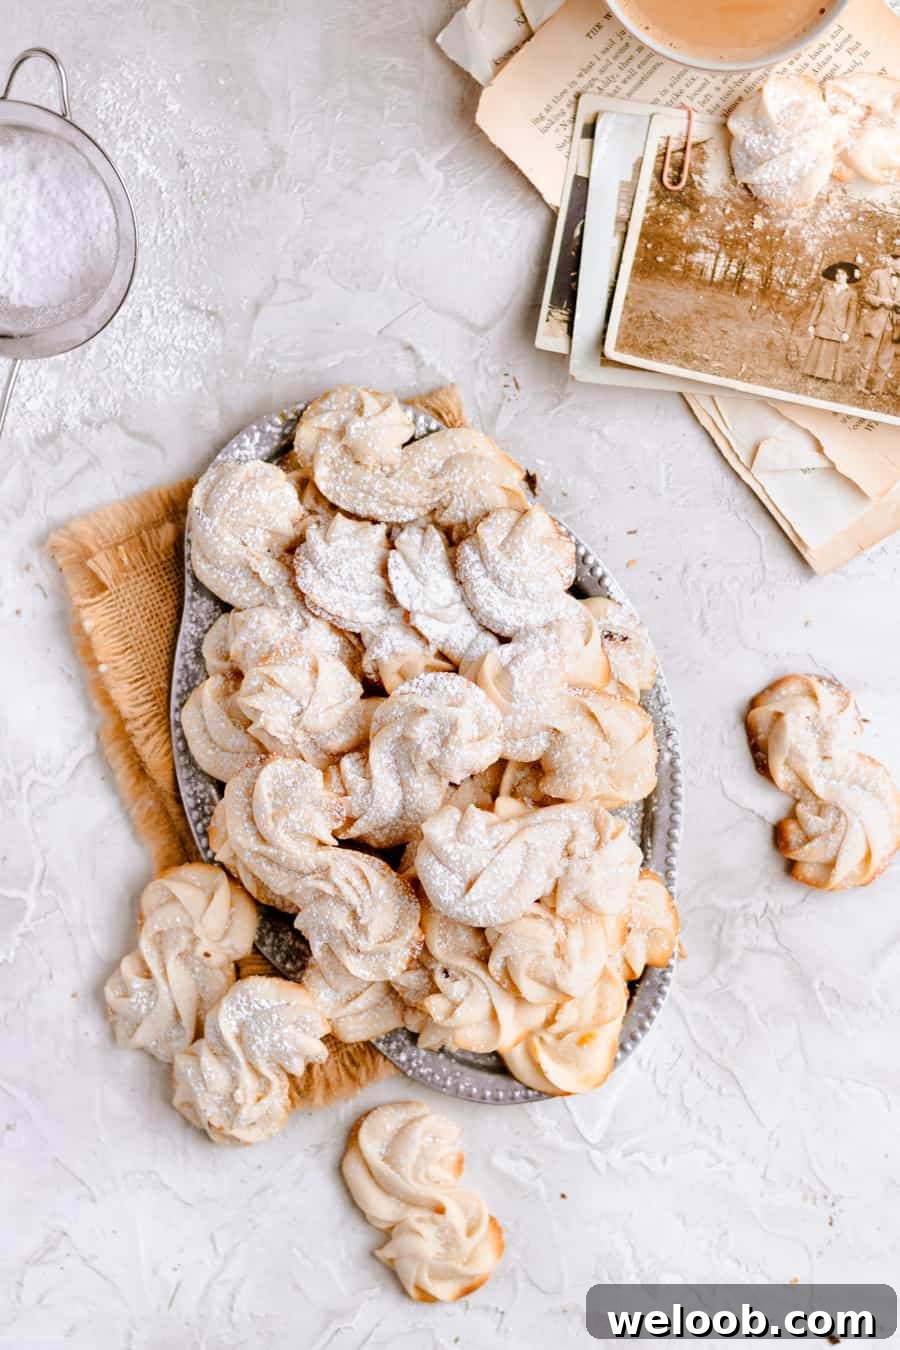
This recipe is adapted from a well-loved cookie collection and captures the spirit of old-fashioned butter cookies while remaining easy to make. The result is tender, slightly crisp-edged cookies with delicate swirls when piped into the traditional “S” shape.
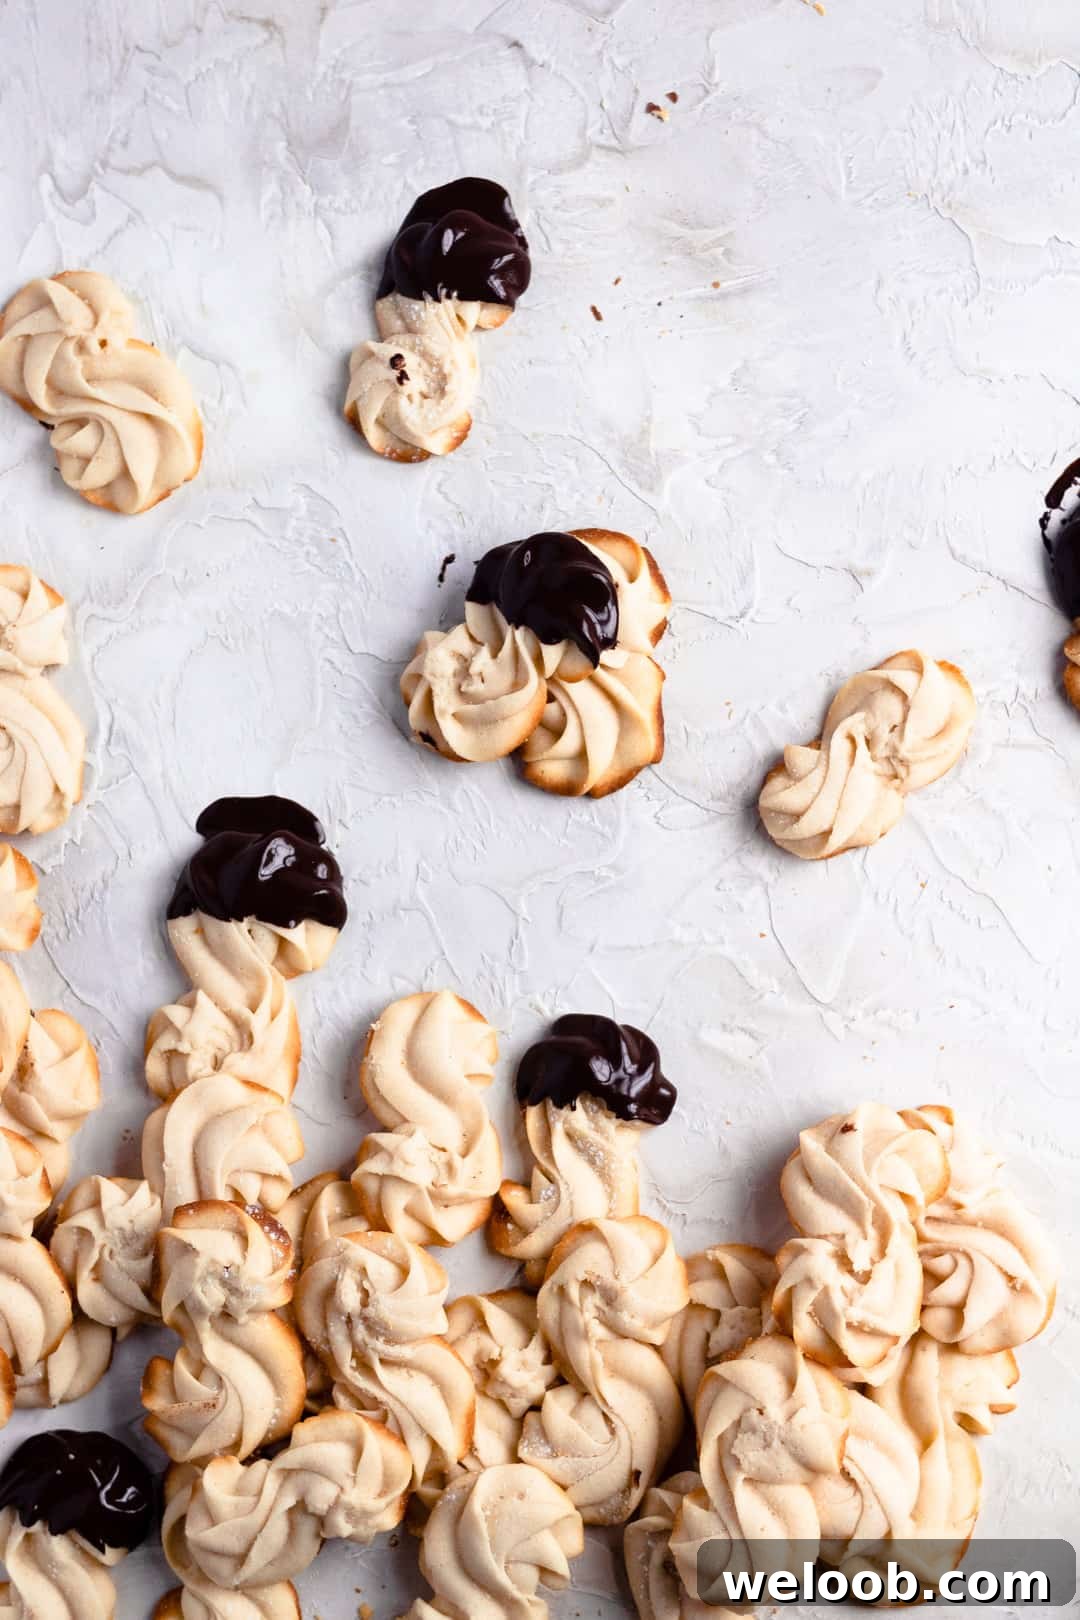
Butter “S” Cookies
Buttery, tender cookies piped into a classic “S” shape—simple to make and perfect for sharing.
About this recipe
This recipe produces about 40 medium-sized cookies and highlights a few simple techniques that make a big difference: using room-temperature ingredients for proper blending, chilling the piped dough so the cookies hold their shape, and piping with a large star tip to create the classic ridged swirls. The dough is soft and easy to pipe; refrigerating the shaped cookies before baking preserves their elegant appearance and improves texture.
Ingredients
- 1 Cup Unsalted Butter, softened (226 g / 8 oz)
- 1 1/4 Cup Powdered Sugar (155 g / 5.5 oz)
- 1/2 Stick Vanilla Bean, seeds only
- 1/2 Cup + 2 Tbsp Whole Milk, room temperature
- 1 Tbsp Vanilla Extract
- 2 2/3 Cups All-Purpose Flour (320 g / 12 oz)
- 1 1/2 tsp Kosher Salt
Instructions
- Line three baking sheets with parchment paper and set them aside.
- In a medium bowl, sift the flour with the salt and set aside.
- In the bowl of a stand mixer fitted with the paddle attachment, beat the softened butter for about 20 seconds to loosen it.
- Add the powdered sugar and vanilla bean seeds. Beat on medium for 4–5 minutes, scraping the bowl as needed, until the mixture is light and airy.
- With the mixer running, add the milk and vanilla extract. Start on low, then increase to medium-high and mix until the milk and butter form a cottage cheese–like mixture and are mostly combined. Scrape the sides and bottom of the bowl.
- Reduce the mixer speed to low and gradually add the flour mixture. Mix only until the dough comes together—do not overmix.
- Scrape the bottom and sides of the bowl with a rubber spatula and bring the dough together into a smooth mass.
- Fit a large star piping tip into a pastry bag. Fill the bag with dough and pipe 2-inch long “S” shapes onto the prepared sheets, spacing cookies about 1½ inches apart.
- Place the baking sheets in the refrigerator and chill the piped cookies for at least 1 hour, or overnight for best results. Chilling helps the cookies keep their shape and develop clean ridges.
- When ready to bake, preheat the oven to 375°F (190°C). Position the rack on the second level from the bottom (between lower and middle). Bake the chilled cookies for 7–10 minutes, or until the edges just begin to turn golden.
- Remove the sheets from the oven and allow the cookies to cool on the pans for a few minutes, then transfer to a wire rack to cool completely.
Tips and notes
- Room-temperature ingredients: Make sure the butter and milk are at room temperature. This ensures the butter incorporates smoothly with the sugar and prevents a greasy texture.
- If you forgot to bring the milk to room temperature, warm half the amount in the microwave for about 20 seconds and then add the remaining cold milk to bring the overall temperature up gently.
- If the milk doesn’t incorporate easily into the butter and sugar, briefly increase the mixer speed and cover the mixer bowl with a kitchen towel to prevent splatters.
- Chilling is important: Refrigerating the piped cookies before baking helps them keep their shape and maintains the defined swirls created by the star tip.
- Shape variations: While the classic “S” looks lovely, you can pipe any shape you prefer—straight sticks, circles, or short rosettes work equally well.
- Storage: Store cooled cookies in an airtight container at room temperature for up to 4–5 days for best flavor and texture.
HAPPY BAKING!!!
Author: Dikla Levy Frances
Please tag @OneSarcasticBaker on Instagram if you bake these cookies—I’d love to see your creations!