
Spooky Unicorn Donuts for Halloween Parties
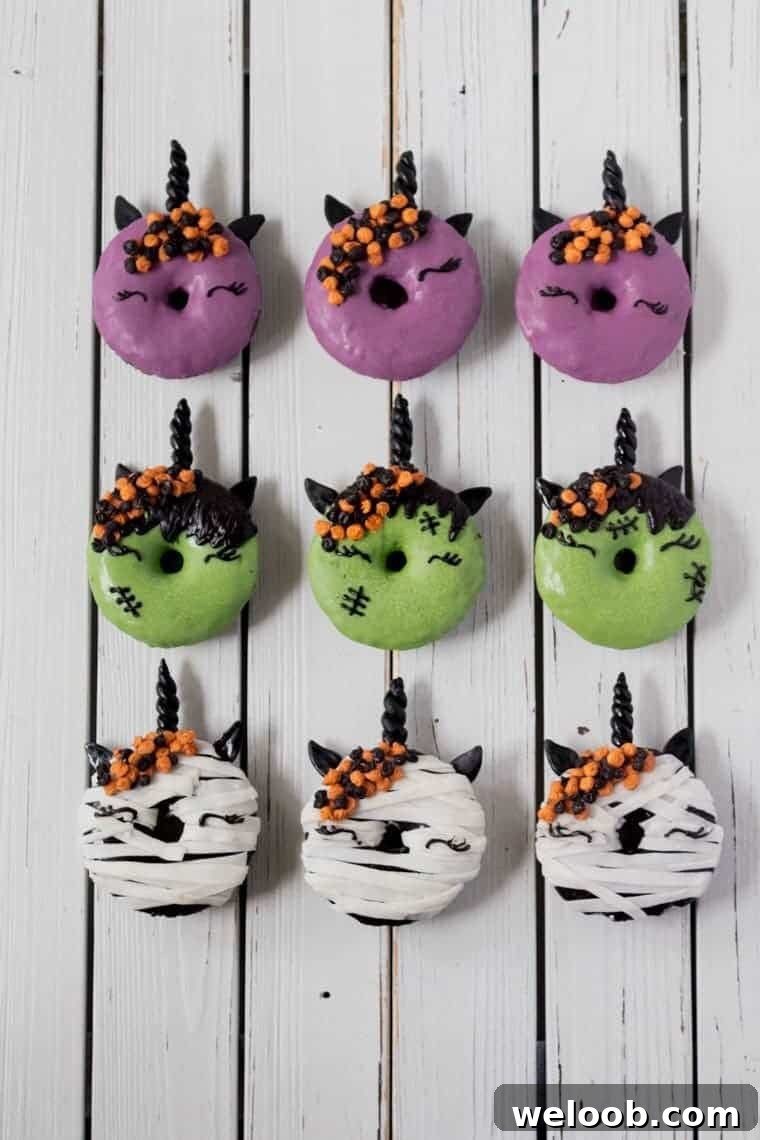
I’ve been bitten by a red mosquito and now I have the unicorn virus.
A strong sweet tooth and the firm belief that Halloween is the best day of the year led me straight to these Halloween Unicorn Donuts. They’re colorful, playful, and perfect for kids and adults who want a whimsical twist on spooky-season treats.
(At the end of this post you’ll find a short tutorial and some unicorn-eye designs for inspiration.)
Tips for best results when making Halloween Unicorn Donuts
- Preparation matters: you’ll need a good amount of candy melts, some fondant for horns and ears, and patience — there are several steps that require drying time.
- Temperature control is key. Candy melts must reach a certain temperature to be fluid enough for dipping and piping. An electric candy-melt pot makes this easy and prevents burning; it lets you maintain a steady, workable consistency.
- If you don’t own a candy-melt pot, you can use the microwave in 30-second bursts, stirring well between intervals, or a double boiler to melt evenly.
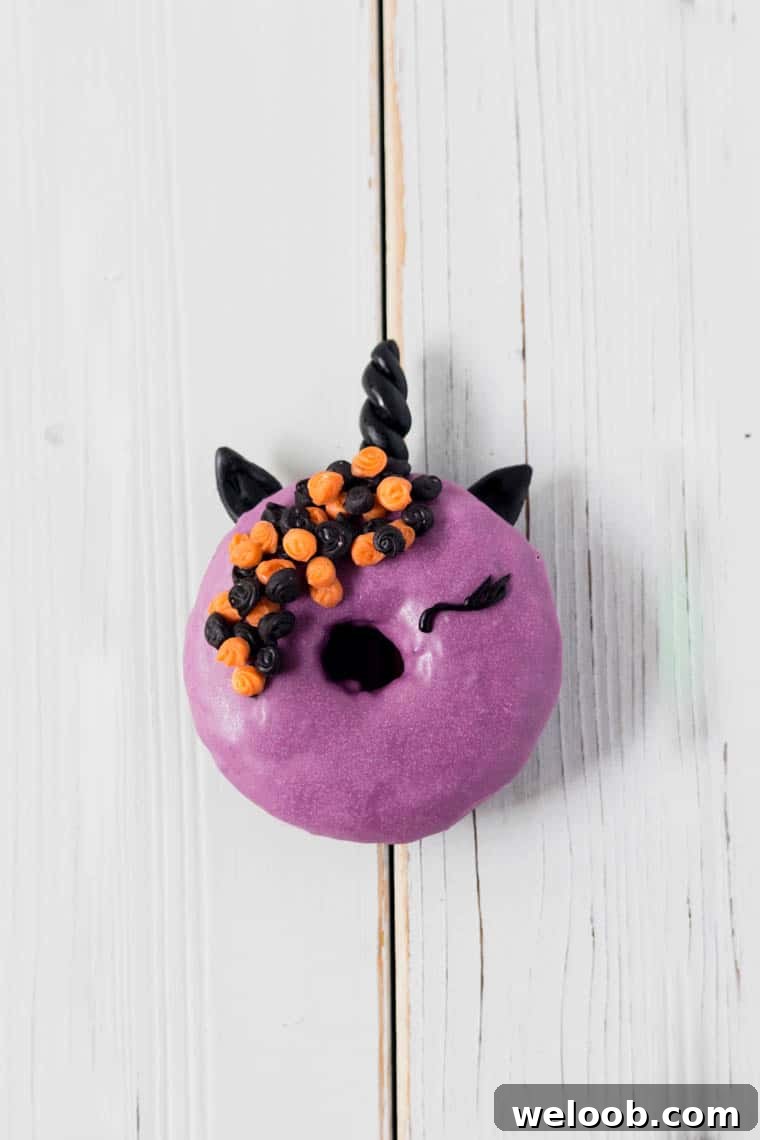
- For piping small flowers or rosettes, a slightly thicker consistency is best. Warm candy melts for 45–60 seconds, then rub the piping bag gently with your fingers to smooth the chocolate inside the bag.
- You can also pipe flowers with royal icing or buttercream if you prefer, but adjust drying time accordingly.
- Use a small amount of melted candy or chocolate as edible glue when attaching horns, ears and flowers to the donuts.
- For a darker, shinier horn and ears, once the fondant is dry, apply a thin layer of black food color with a small brush or a food-safe paint spray.
- Modeling the unicorn horn and ears is simple and scalable — you can make them any size to suit your donuts.
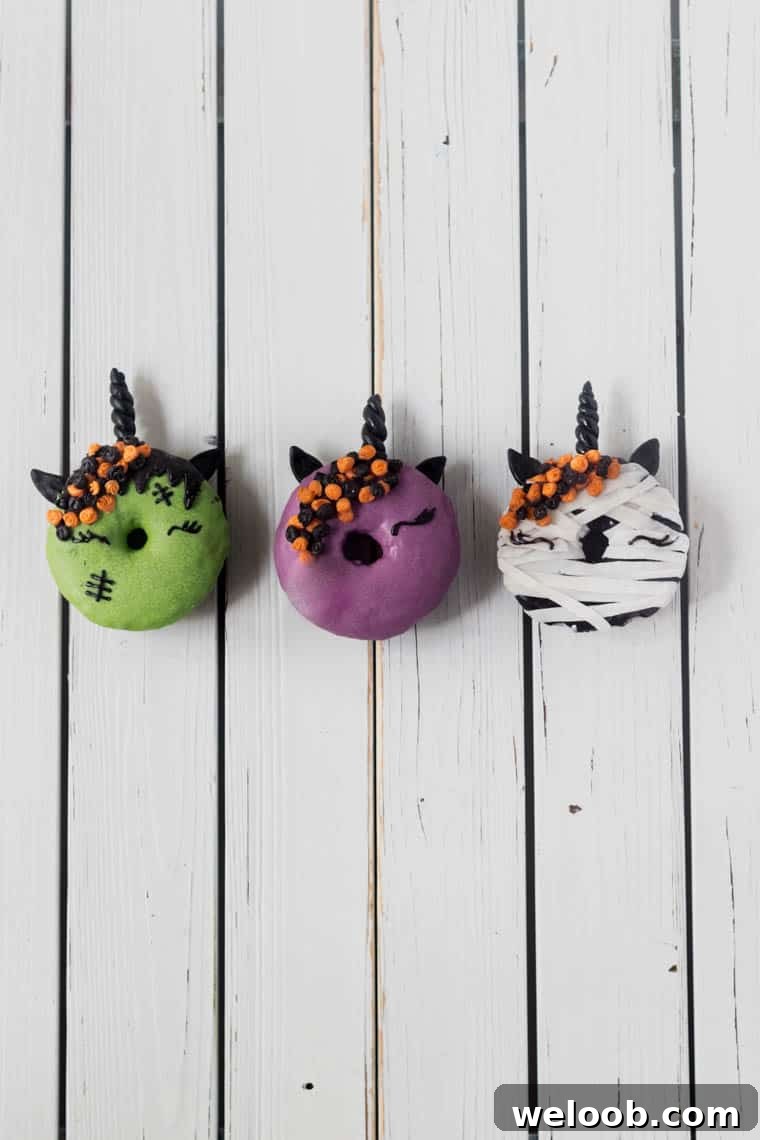
- Halloween offers endless themes, colors and characters. The three examples here are just starting points; feel free to experiment with your own designs and palettes.
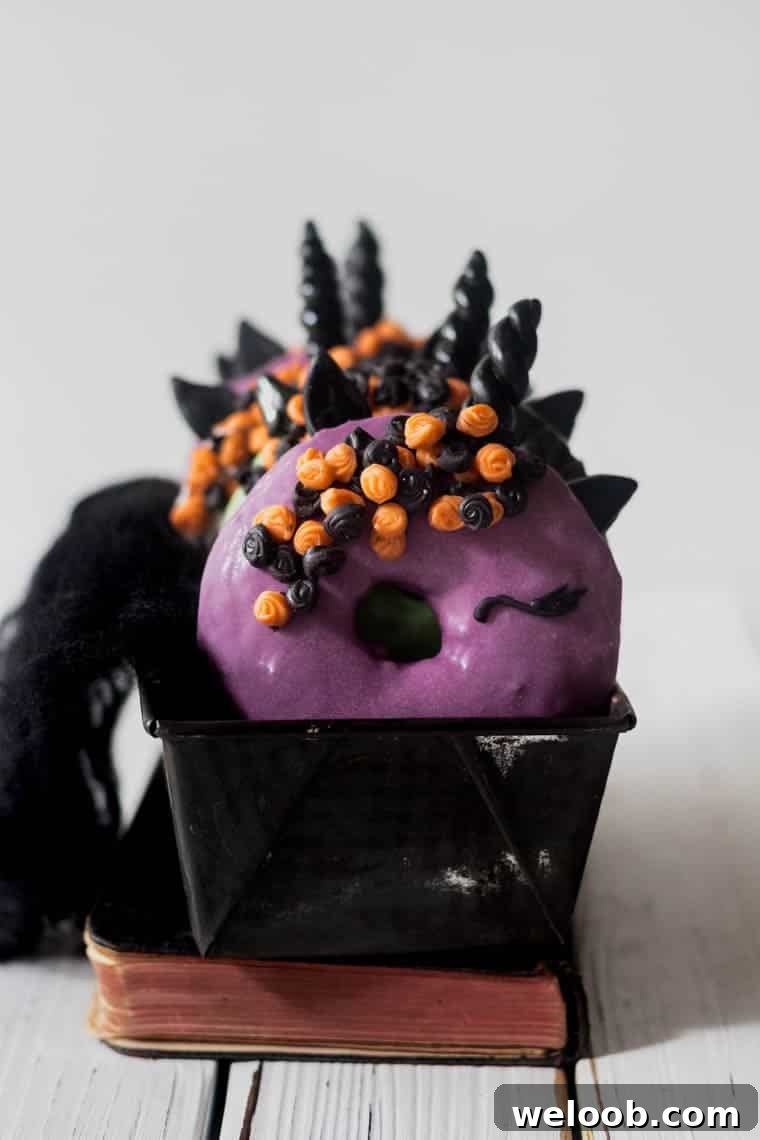
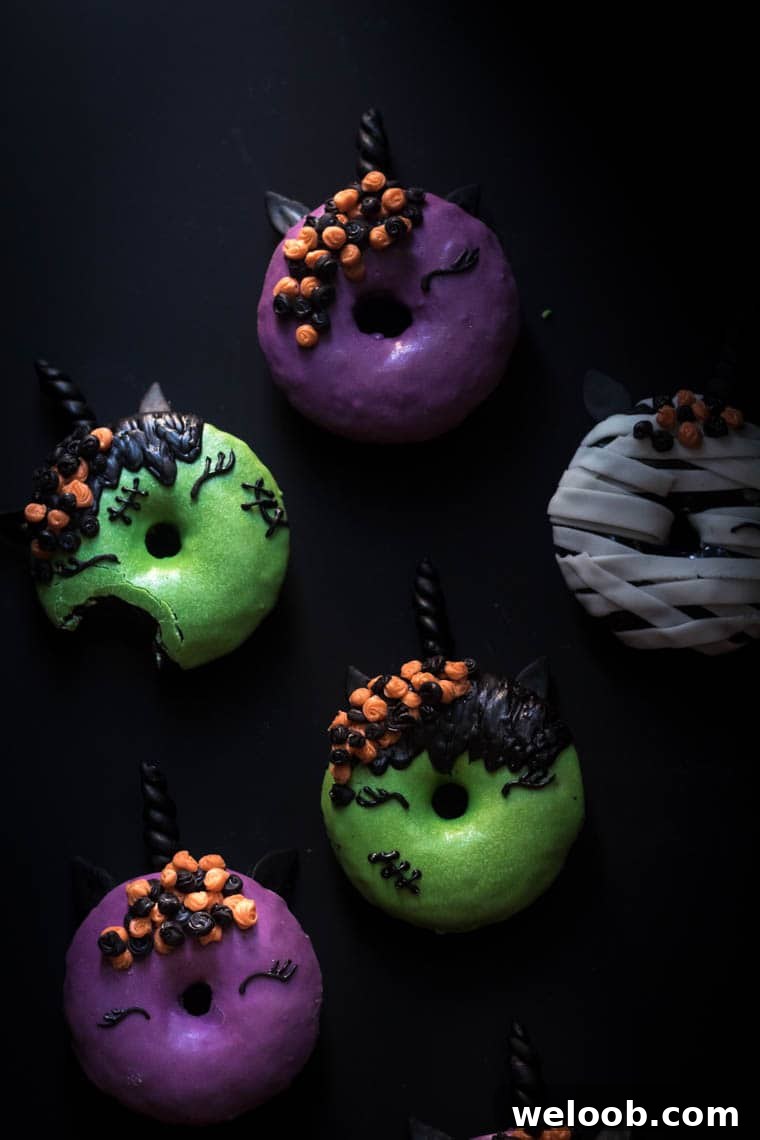
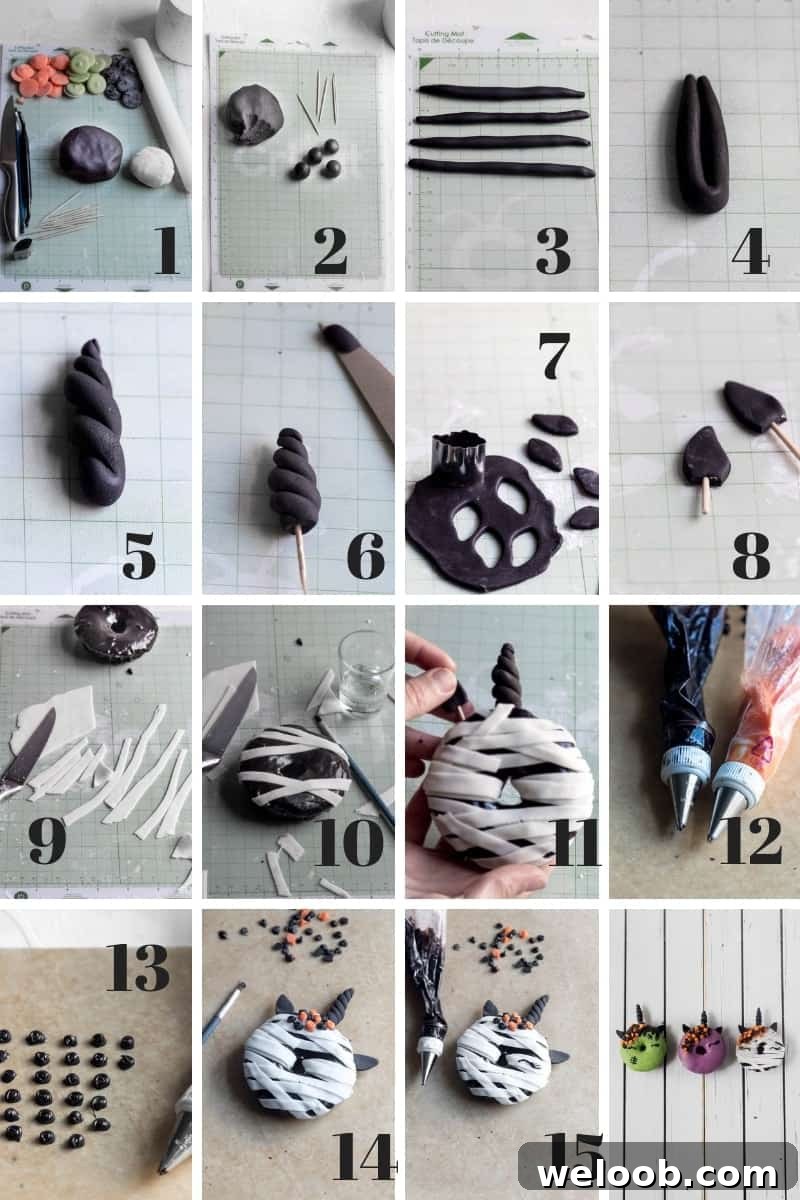
To Decorate the Halloween Unicorn Donuts
Step 1 — Gather your materials:
You will need:
- Various colors of candy melts (about 1/2 cup per 4 donuts, depending on coverage).
- Black fondant (75–100 g) for horns and ears.
- Toothpicks.
- Small rolling pin and a small rolling tool or knife.
- 1″ leaf cookie cutter (for ears) or a small knife to shape them.
- Small paint brush for edible glue and color details.
- Small dummy cake or foam base to hold pieces while drying.
- Piping bags fitted with a small rosette tip (Wilton #16) and a small round tip (Wilton #1) for eyes.
Step 2 — Shape the horns:
Roll the black fondant into small grape-size balls (about 4 g each). Then roll each ball into a thin log roughly 4″ long, tapering the ends so one end is pointy.
Step 3 — Form the horn spiral:
Fold each log into a tight U shape with no gap in the middle. Starting at the bottom, gently twist the fondant upward to create a spiral horn. Pinch the top to refine the point.
Step 4 — Add a support and dry:
Trim the base flat and insert a toothpick about halfway into the horn. Insert the exposed toothpick end into your dummy cake or foam base so the horn stands upright while drying.
Step 5 — Make ears:
Roll black fondant thin (about 1/4″ thick) and cut small leaf shapes for ears. Insert half a toothpick into each ear piece for stability and let dry in the dummy base.
Step 6 — Create accent stripes:
Roll white fondant into thin ropes and cut 4″ long by 1/4″ wide strips. Lightly dampen each strip with water on the back before pressing randomly onto the glazed donuts as decorative accents.
Step 7 — Insert horn and ears on the donuts:
Once dry, gently press the dried horn and ears into the top of each donut. Use a tiny dab of melted candy as glue if needed for extra hold.
Step 8 — Make candy flowers:
Place your chosen candy melts in a piping bag and warm them just enough to soften (about 45–60 seconds in the microwave). Using a rosette tip, pipe small flowers onto parchment paper and let them set completely.
Step 9 — Attach flowers:
Have a small bowl of melted candy ready. Brush a little melted candy on the back of each rosette and glue them around the horn to form a floral mane.
Step 10 — Pipe the eyes and final details:
Using a small round tip (Wilton #1) and black candy melt, pipe simple closed eyes or lashes on each donut. If desired, add edible color for highlights or extra shine to the horn and ears once everything is set.
Happy Decorating!
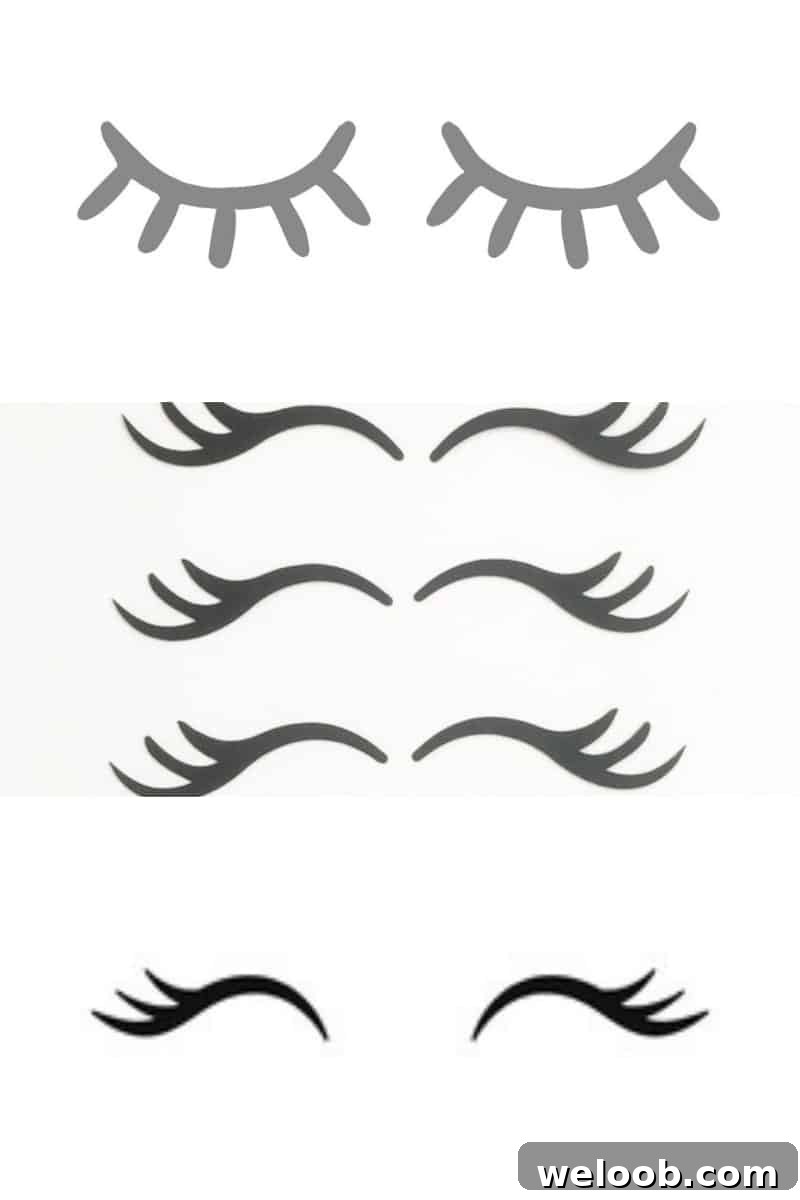
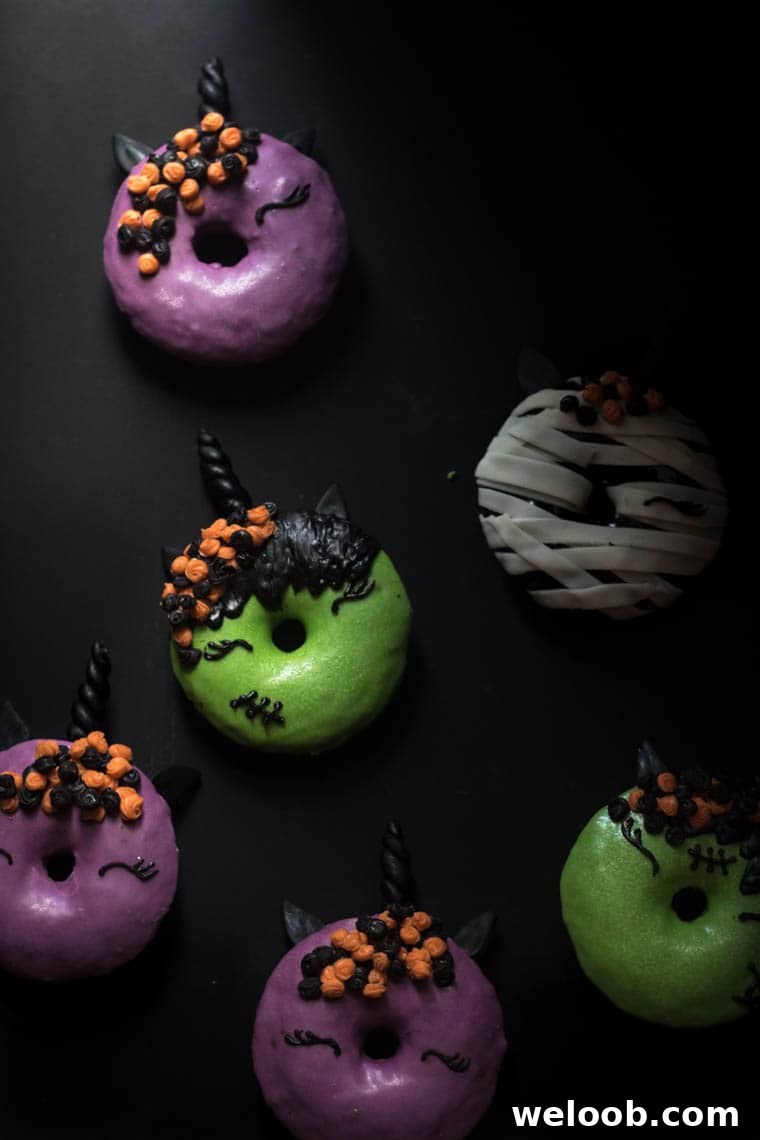
For the donuts themselves you can use any preferred recipe—classic baked or fried donut recipes both work well. Choose a flavor that complements the sweet candy coating, such as plain vanilla, chocolate, or pumpkin for seasonal flair.