
How to Make Foolproof Choux Pastry (Pâte à Choux)
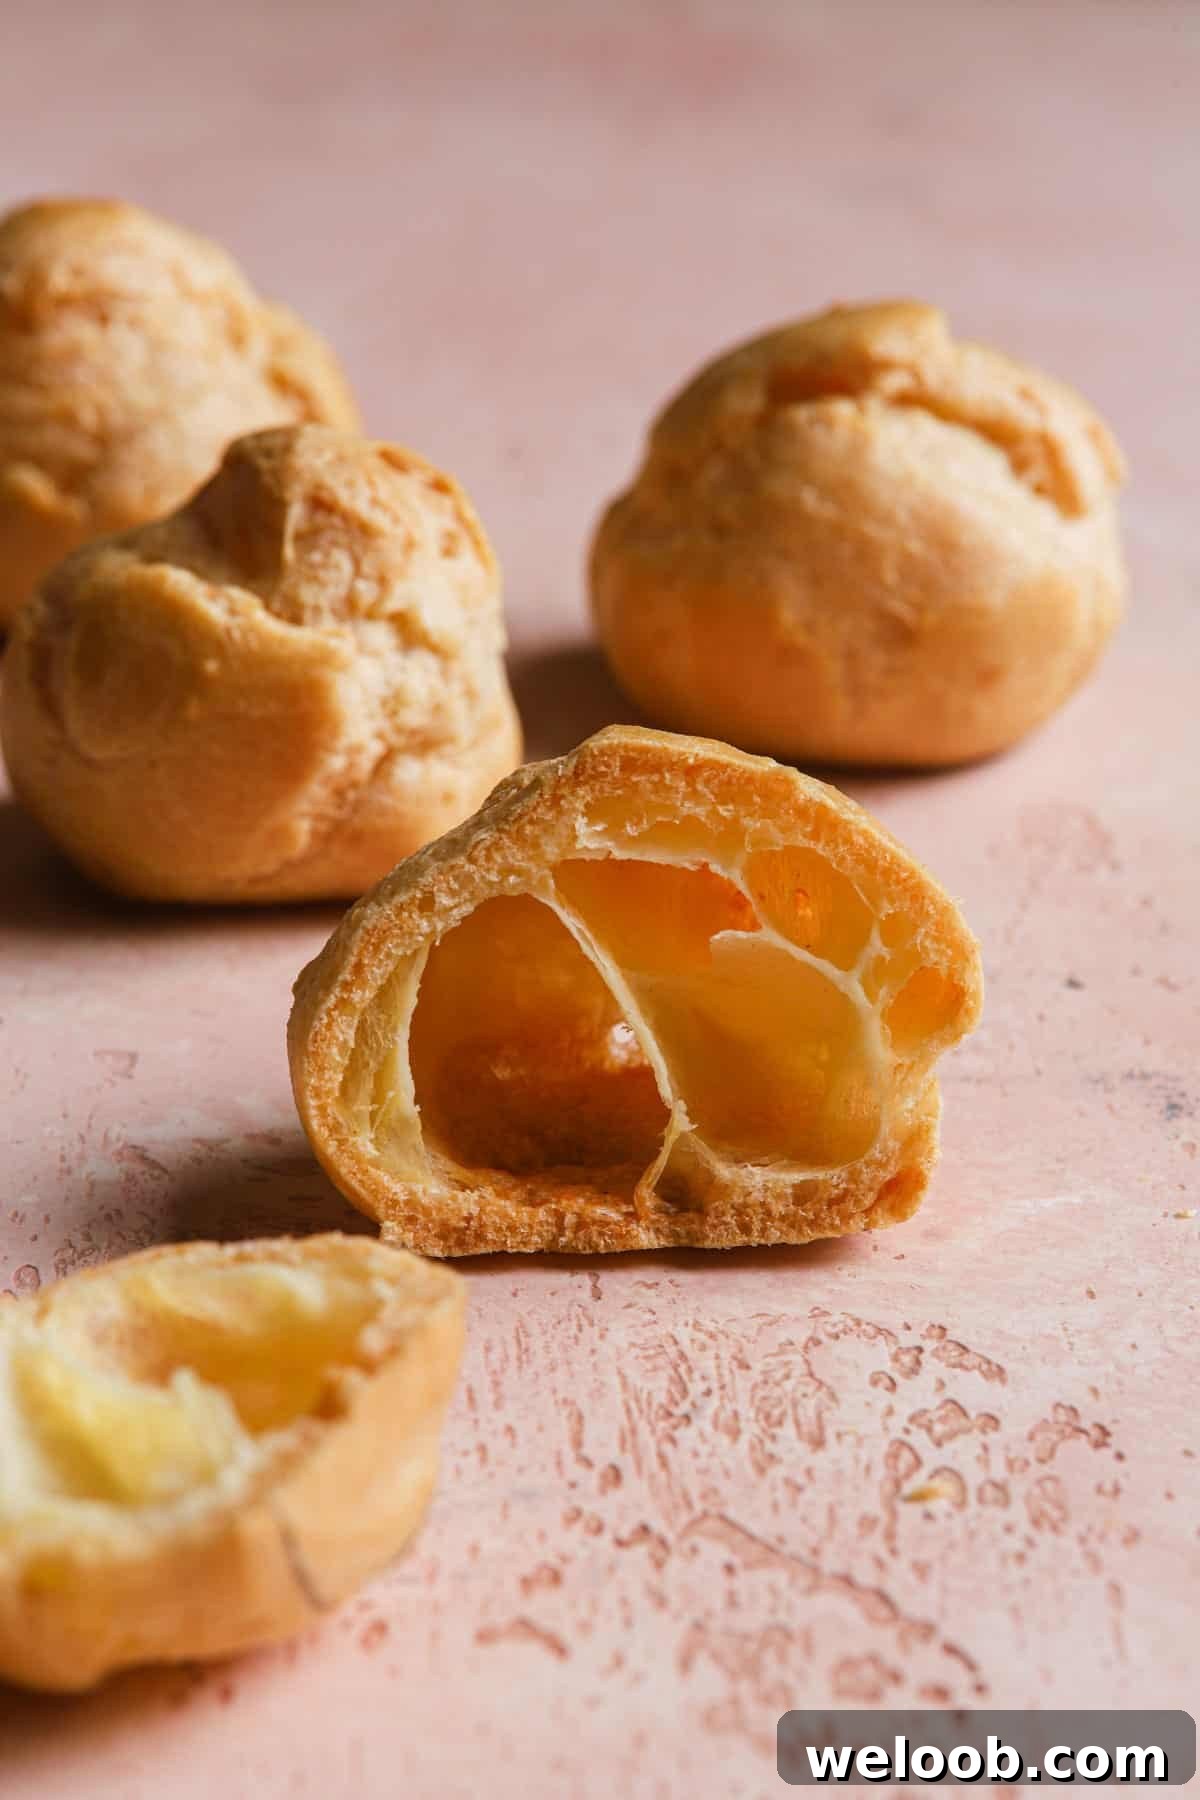
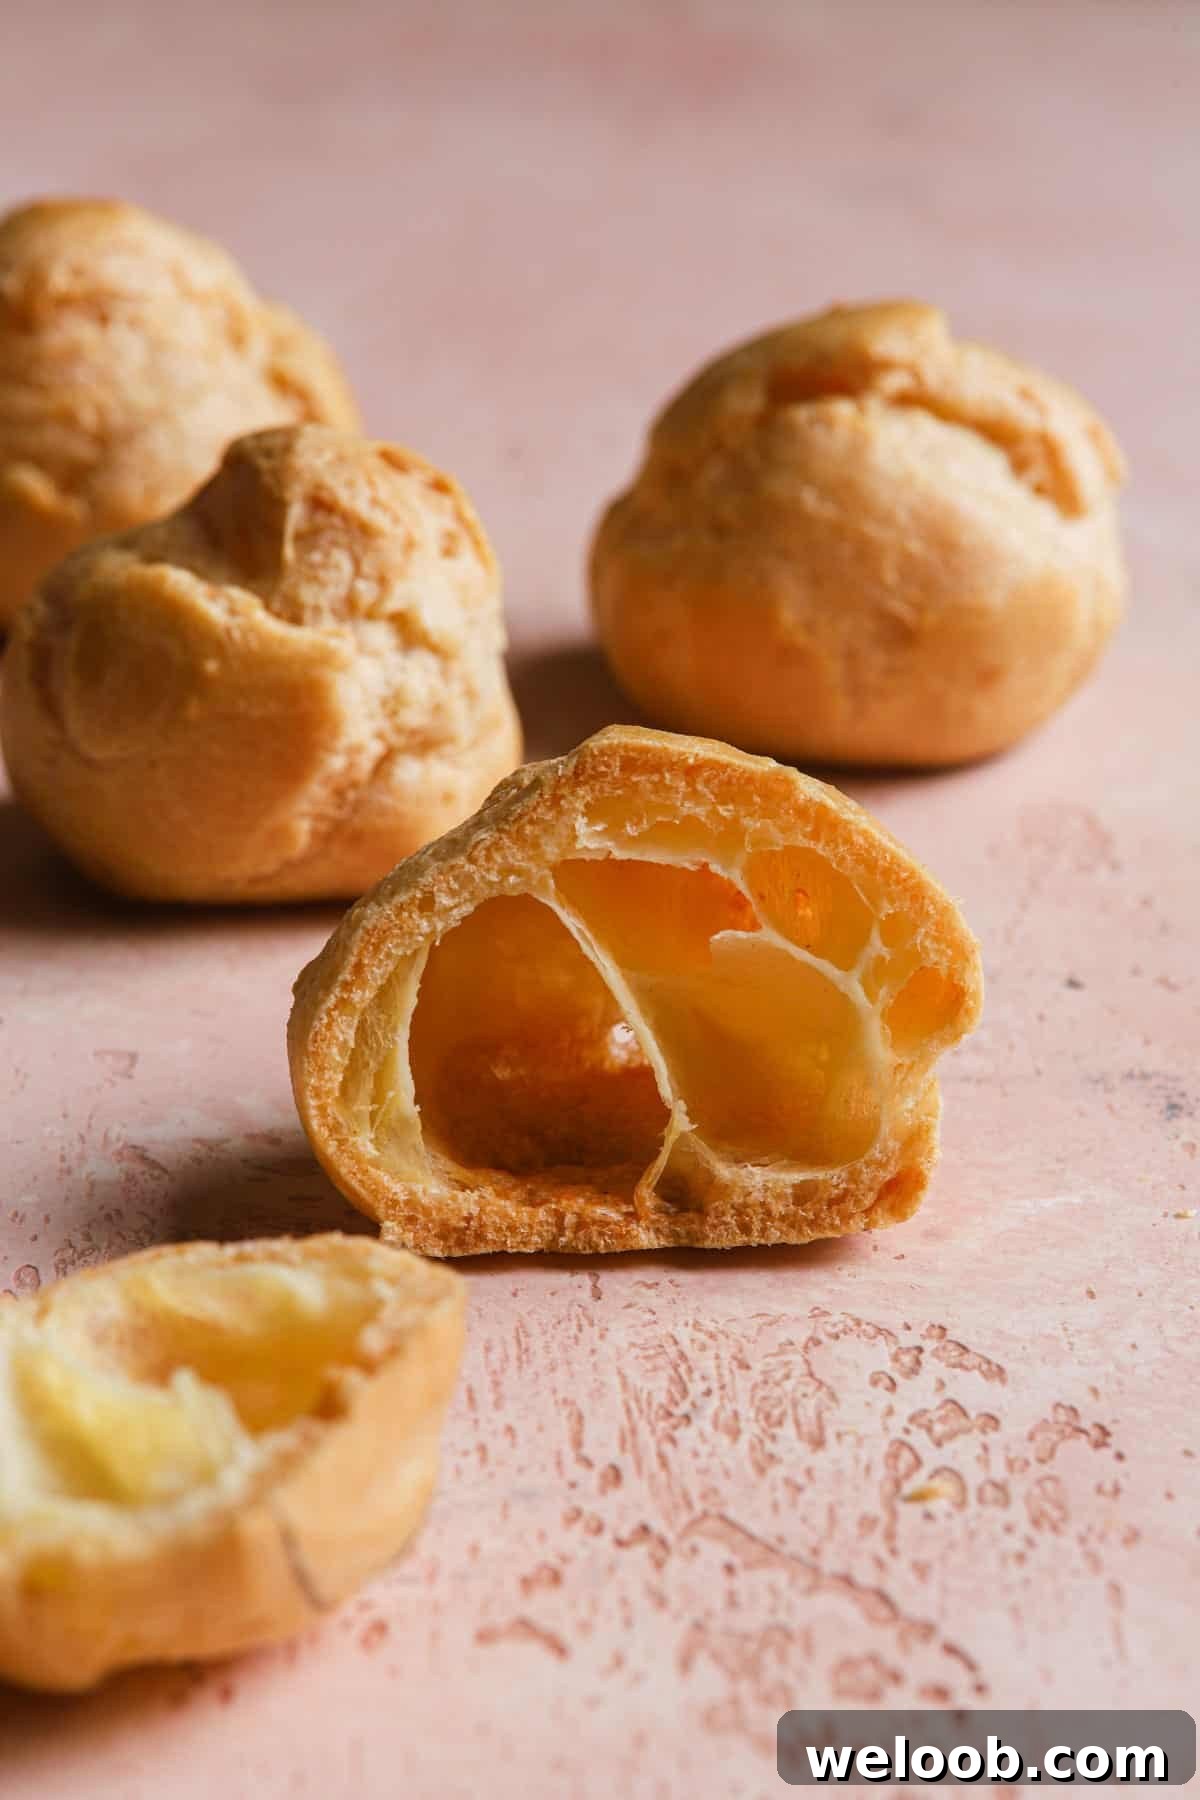
Choux pastry is a cornerstone of classic baking: light, crisp outside and hollow inside, it serves as the ideal shell for creams, custards, and savory fillings. Despite its elegant name, “choux” simply means “cabbage” in French — an affectionate, unpretentious name for a pastry that feels much fancier than it is.
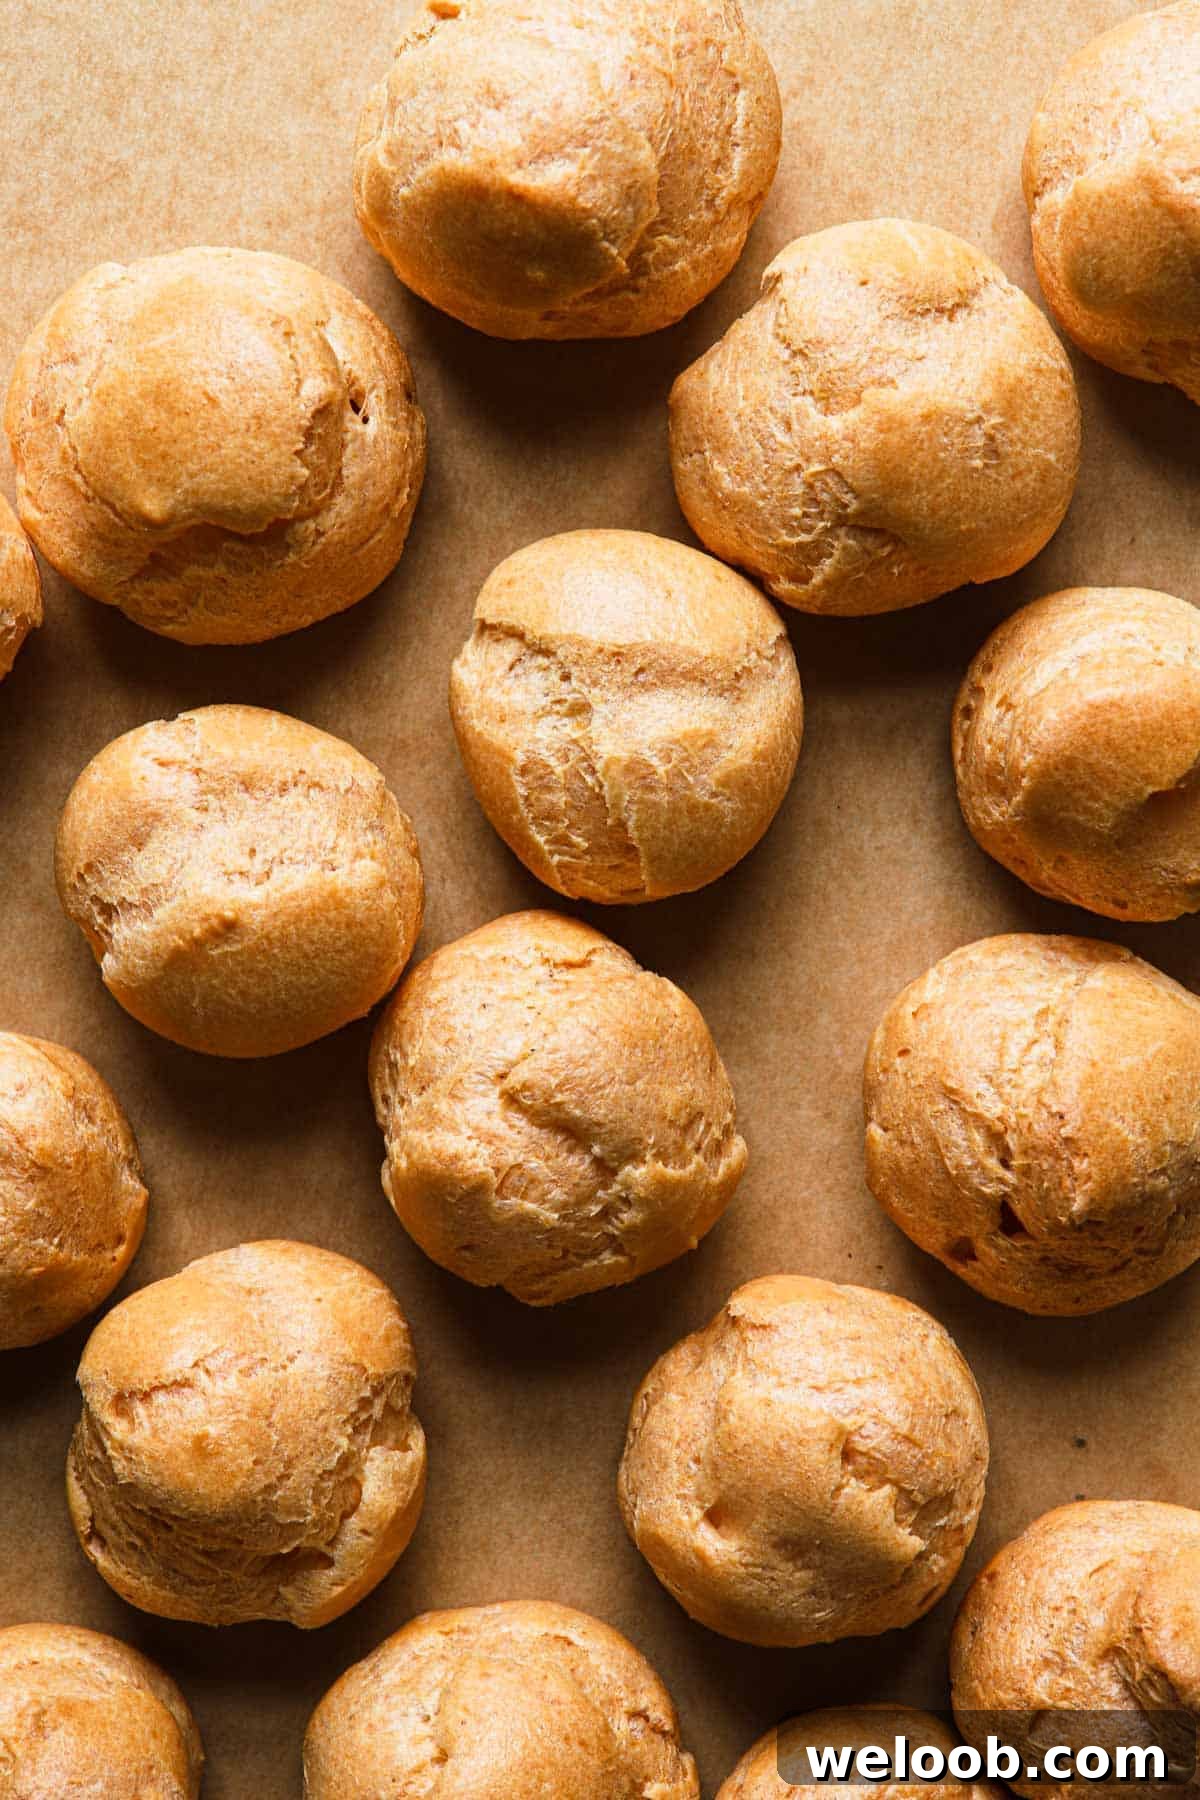
Classic pâte à choux (pronounced “pah-tah shoo”) is a simple, steam-leavened French dough made only from water (or milk), butter, flour, and eggs. When baked at the right temperature the mixture puffs dramatically, forming a crisp shell and a spacious hollow interior ready to be filled. Once you master the technique — making the panade, incorporating eggs to the right texture, and baking with steady heat — pâte à choux becomes one of the most dependable and versatile doughs you can make at home. It’s the base for cream puffs, éclairs, chouquettes, choux craquelin, and many other signature desserts.
Key Ingredients and Their Roles
A full recipe is included below. Here’s a concise breakdown of the ingredients and useful substitutions or considerations that will help you produce consistent results.
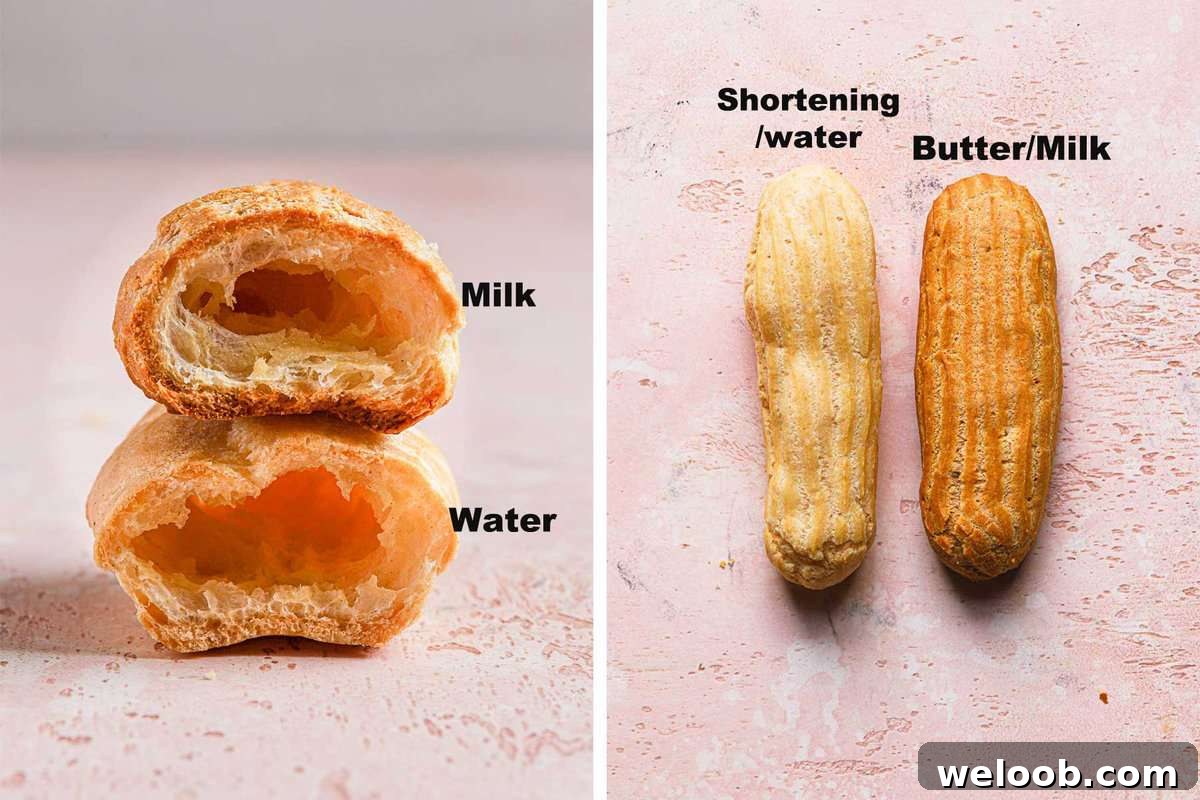
- Liquid. Use water, milk, or a mix. Milk promotes deeper browning and yields a slightly more tender shell but can reduce the size of the hollow because it evaporates more slowly than water.
- Butter. Butter gives the best flavor and contributes milk solids that help browning. Neutral oils or vegan butters can work, but the flavor and color will differ.
- Flour. Use bread flour or unbleached all-purpose flour for sufficient gluten strength so the shells hold their shape. Avoid cake or pastry flour and self-rising flour.
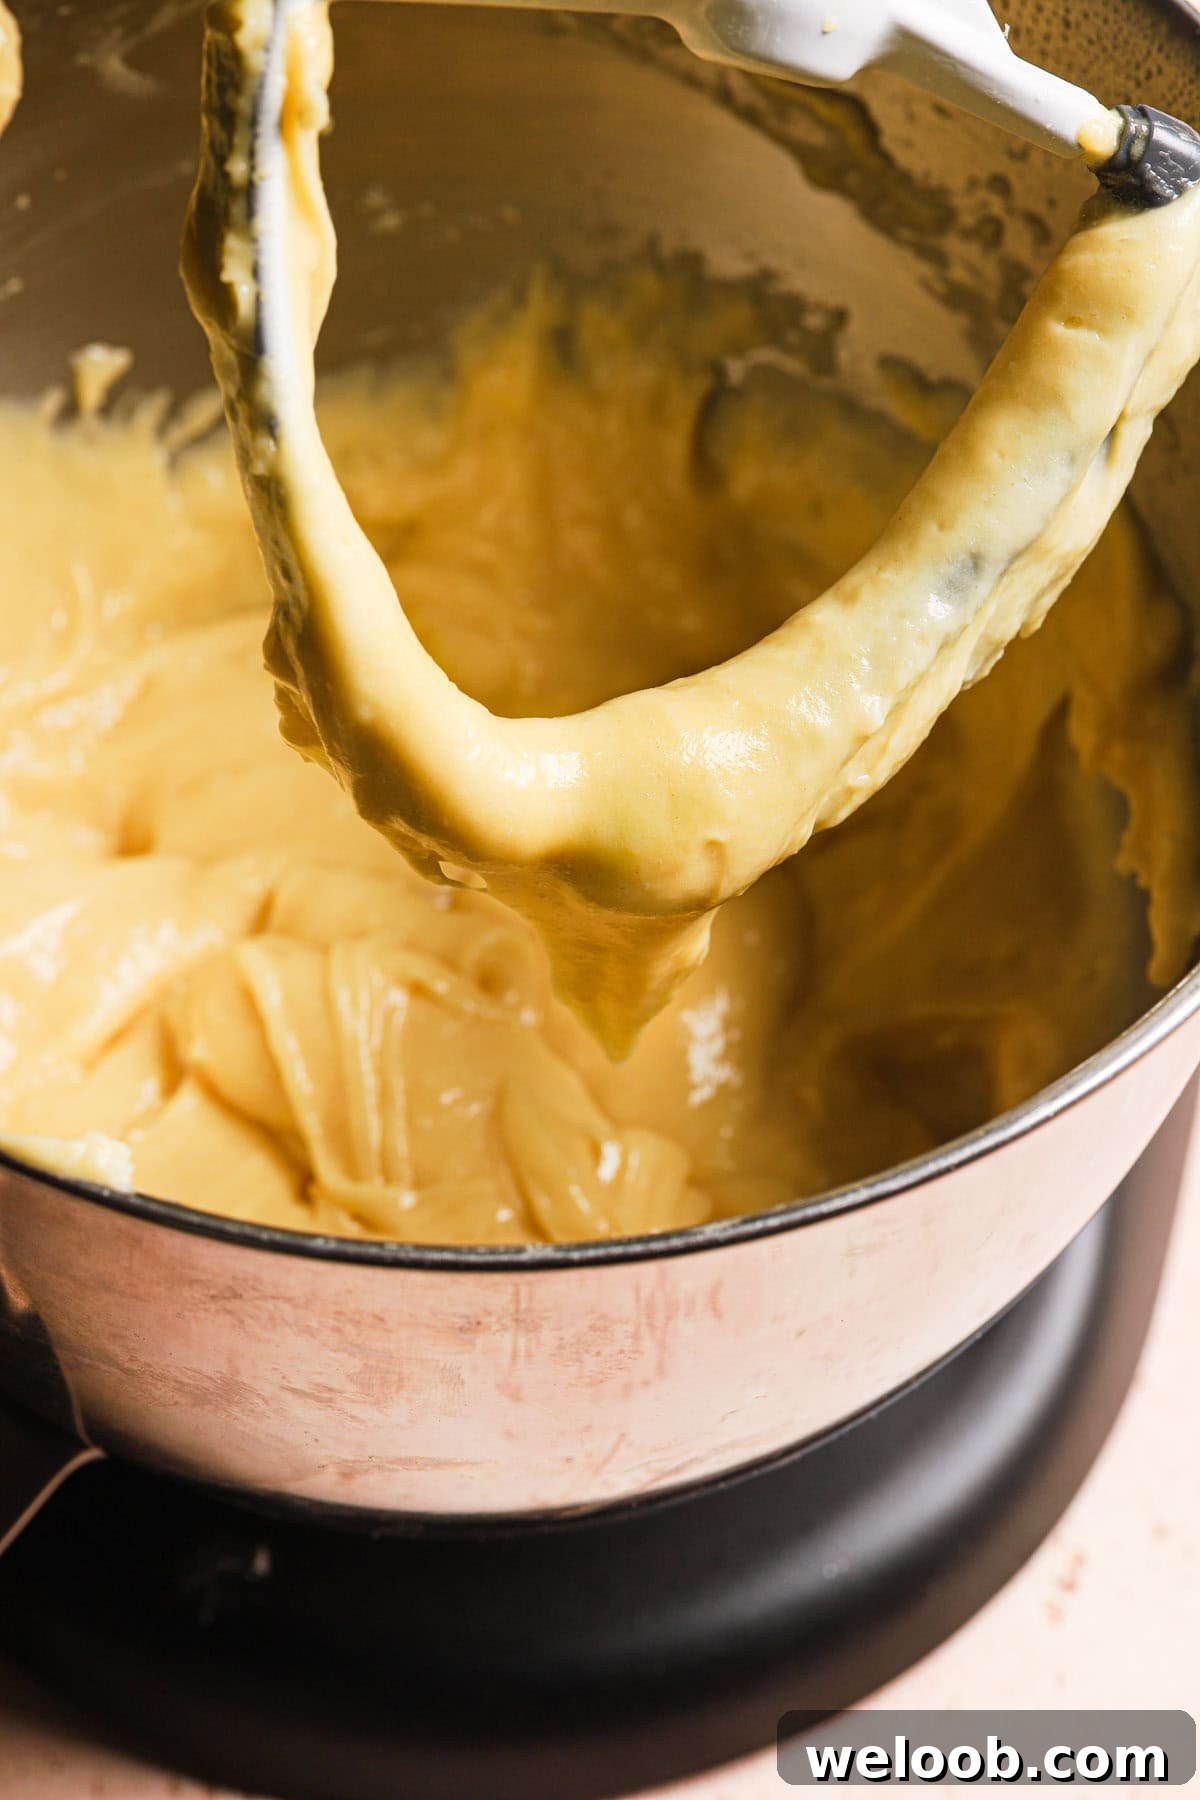
- Eggs. Whole eggs provide both structure and elasticity. Use large eggs at room temperature and weigh if precision is necessary. Add eggs gradually until the batter reaches a smooth, pipeable consistency that falls in a V-shape when lifted.
- Salt (optional). If using unsalted butter, add a small amount of salt to enhance flavor — keep it minimal so the dough doesn’t become overly firm and resist rising.
How to Make Perfect Choux
A perfect choux bun is tall, light, and hollow inside with a crisp exterior that gives way to a tender bite. The process can be divided into three main stages: preparing the dough (panade), piping or portioning, and baking. Below are clear steps, practical tips, and troubleshooting advice.
Part 1 — Make the Dough (Panade)
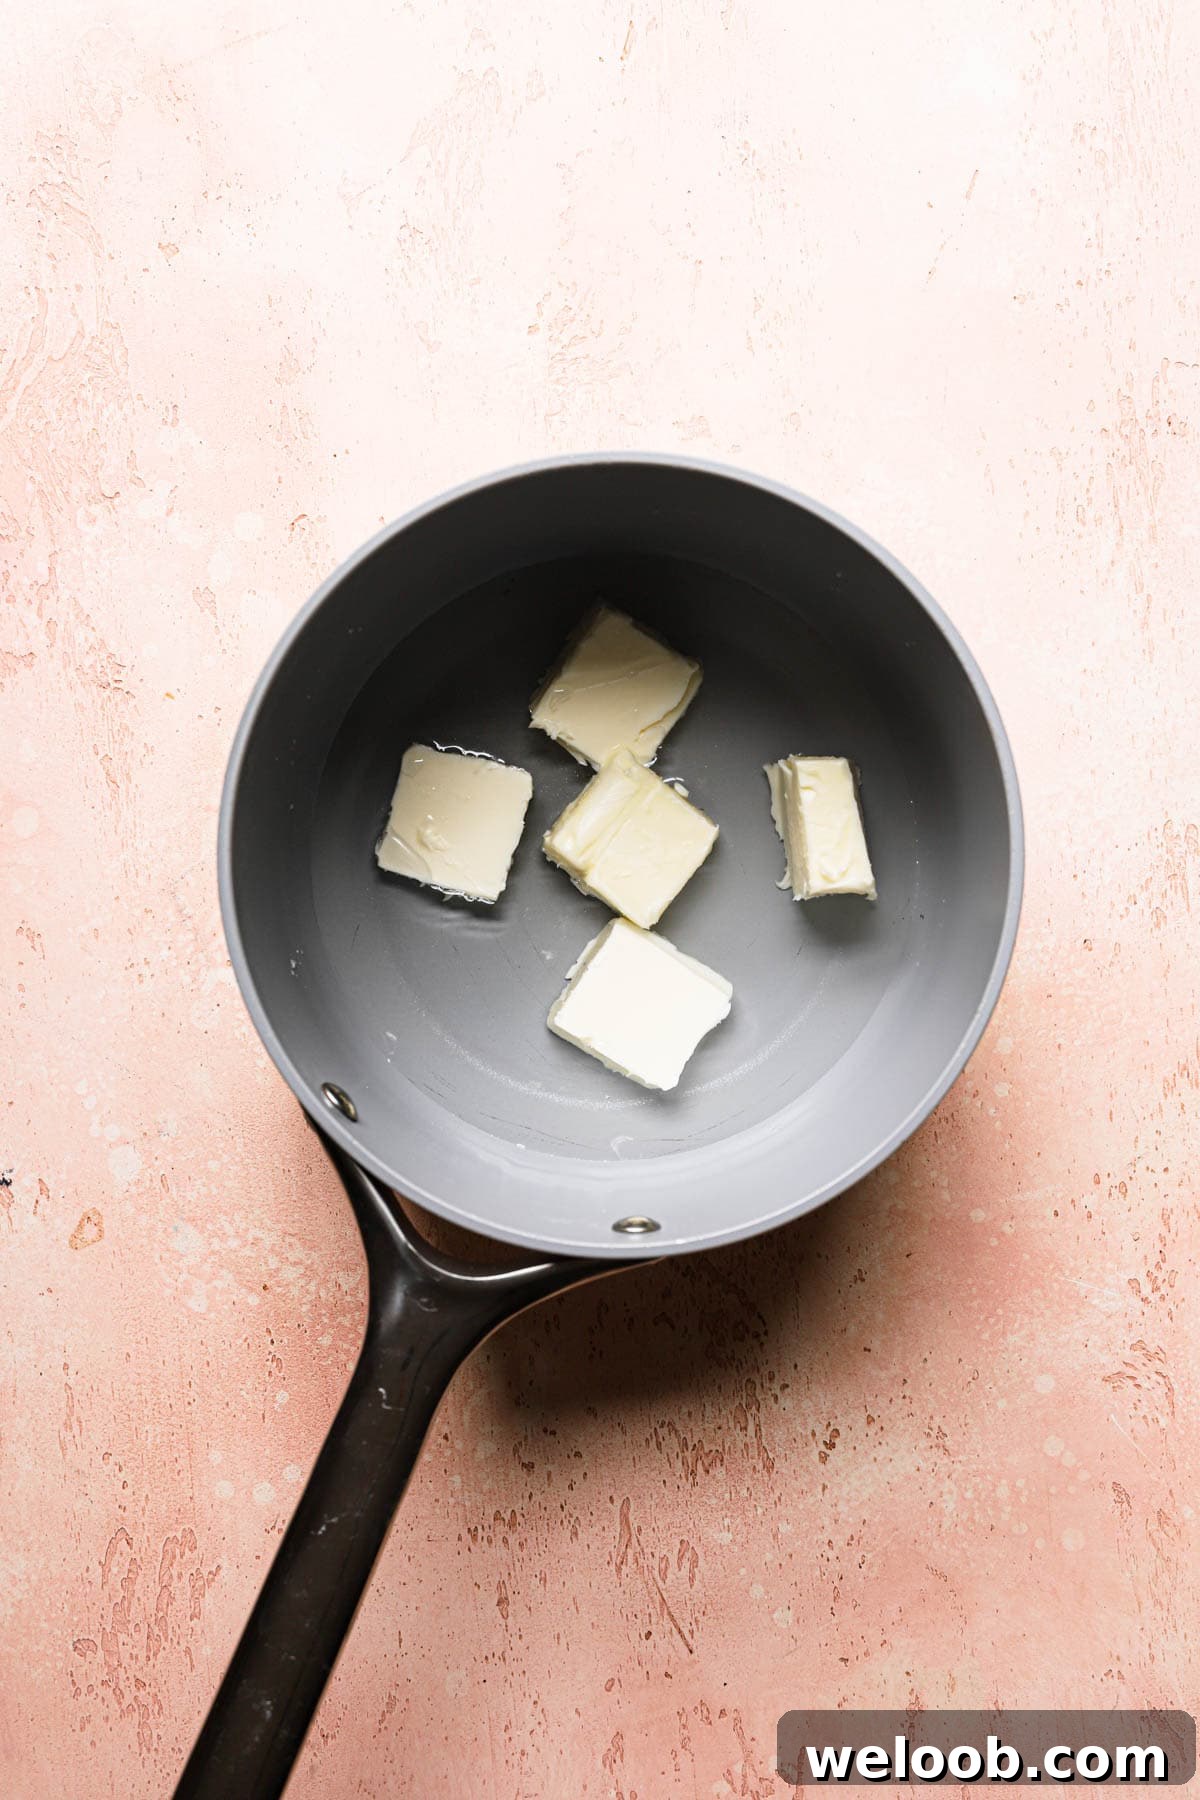
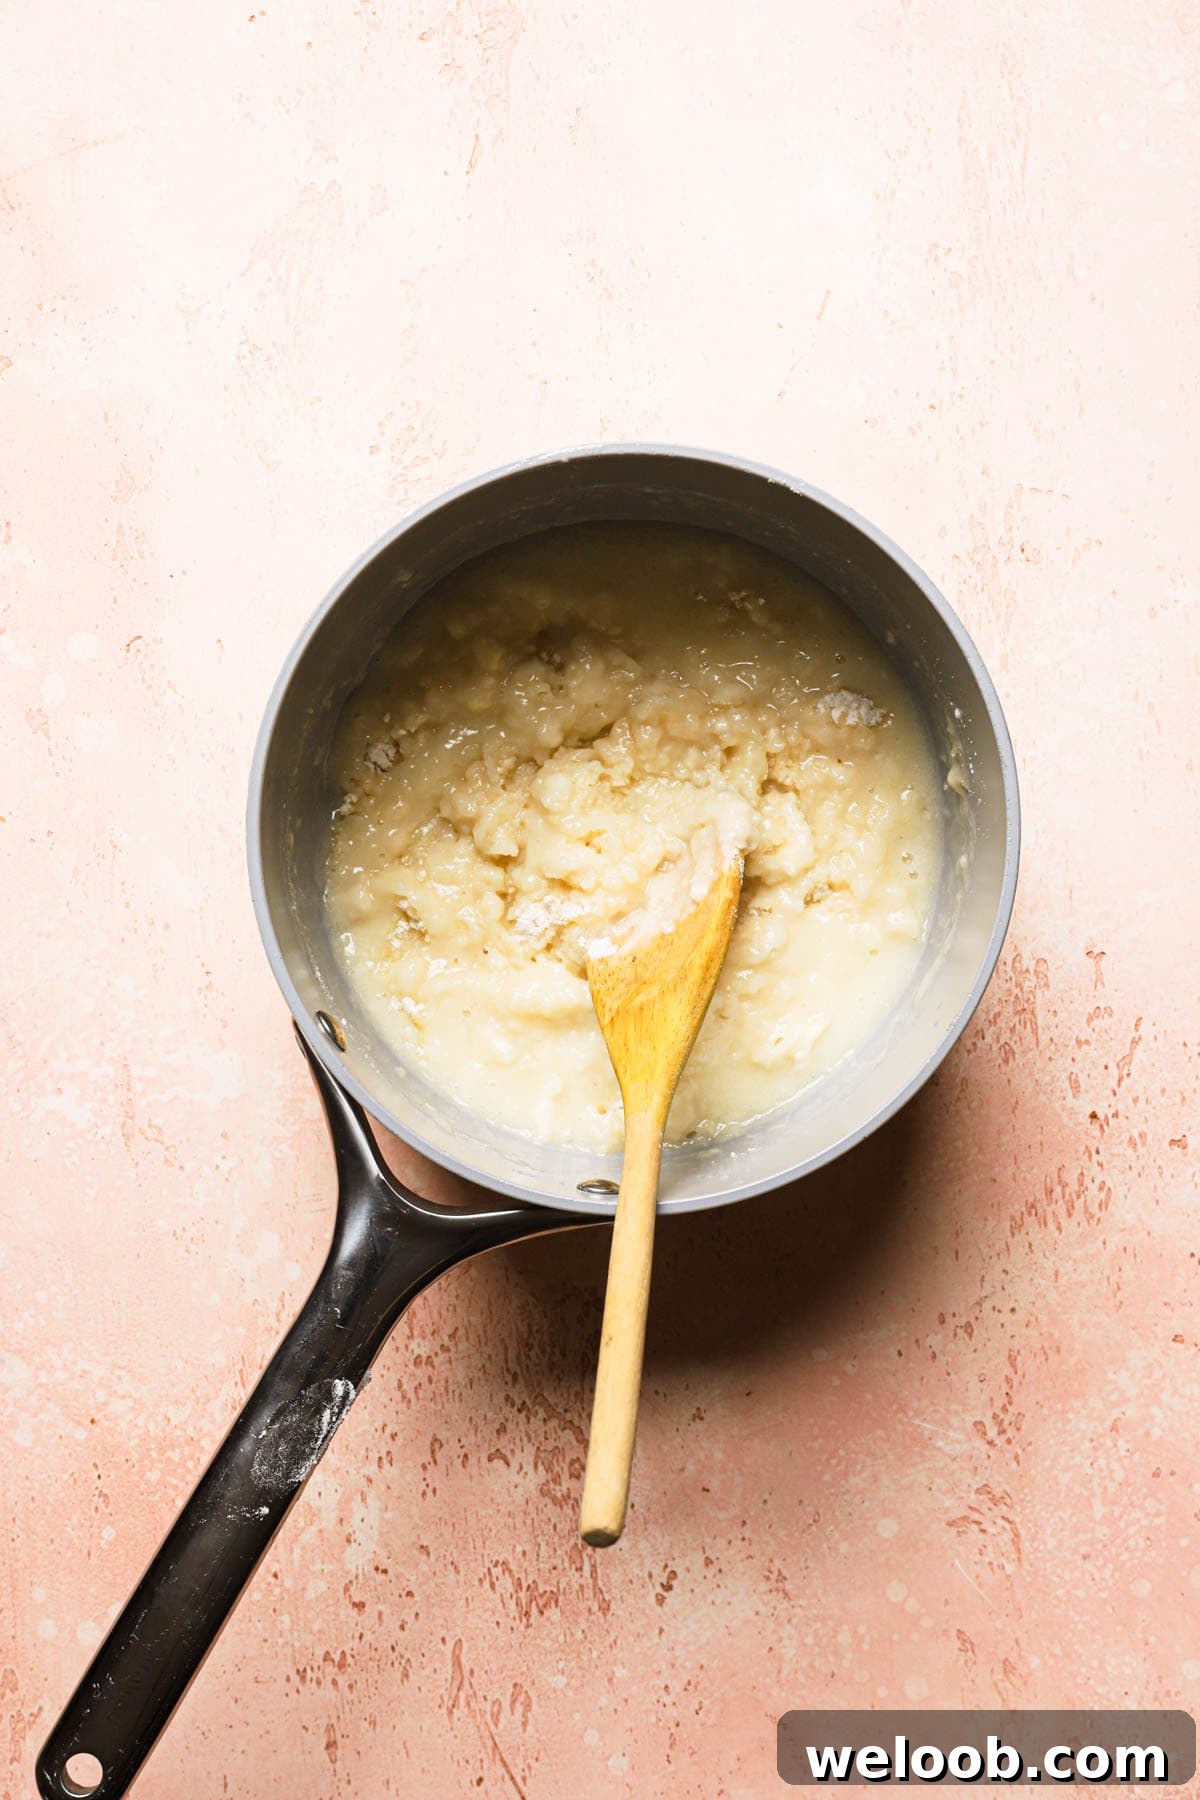
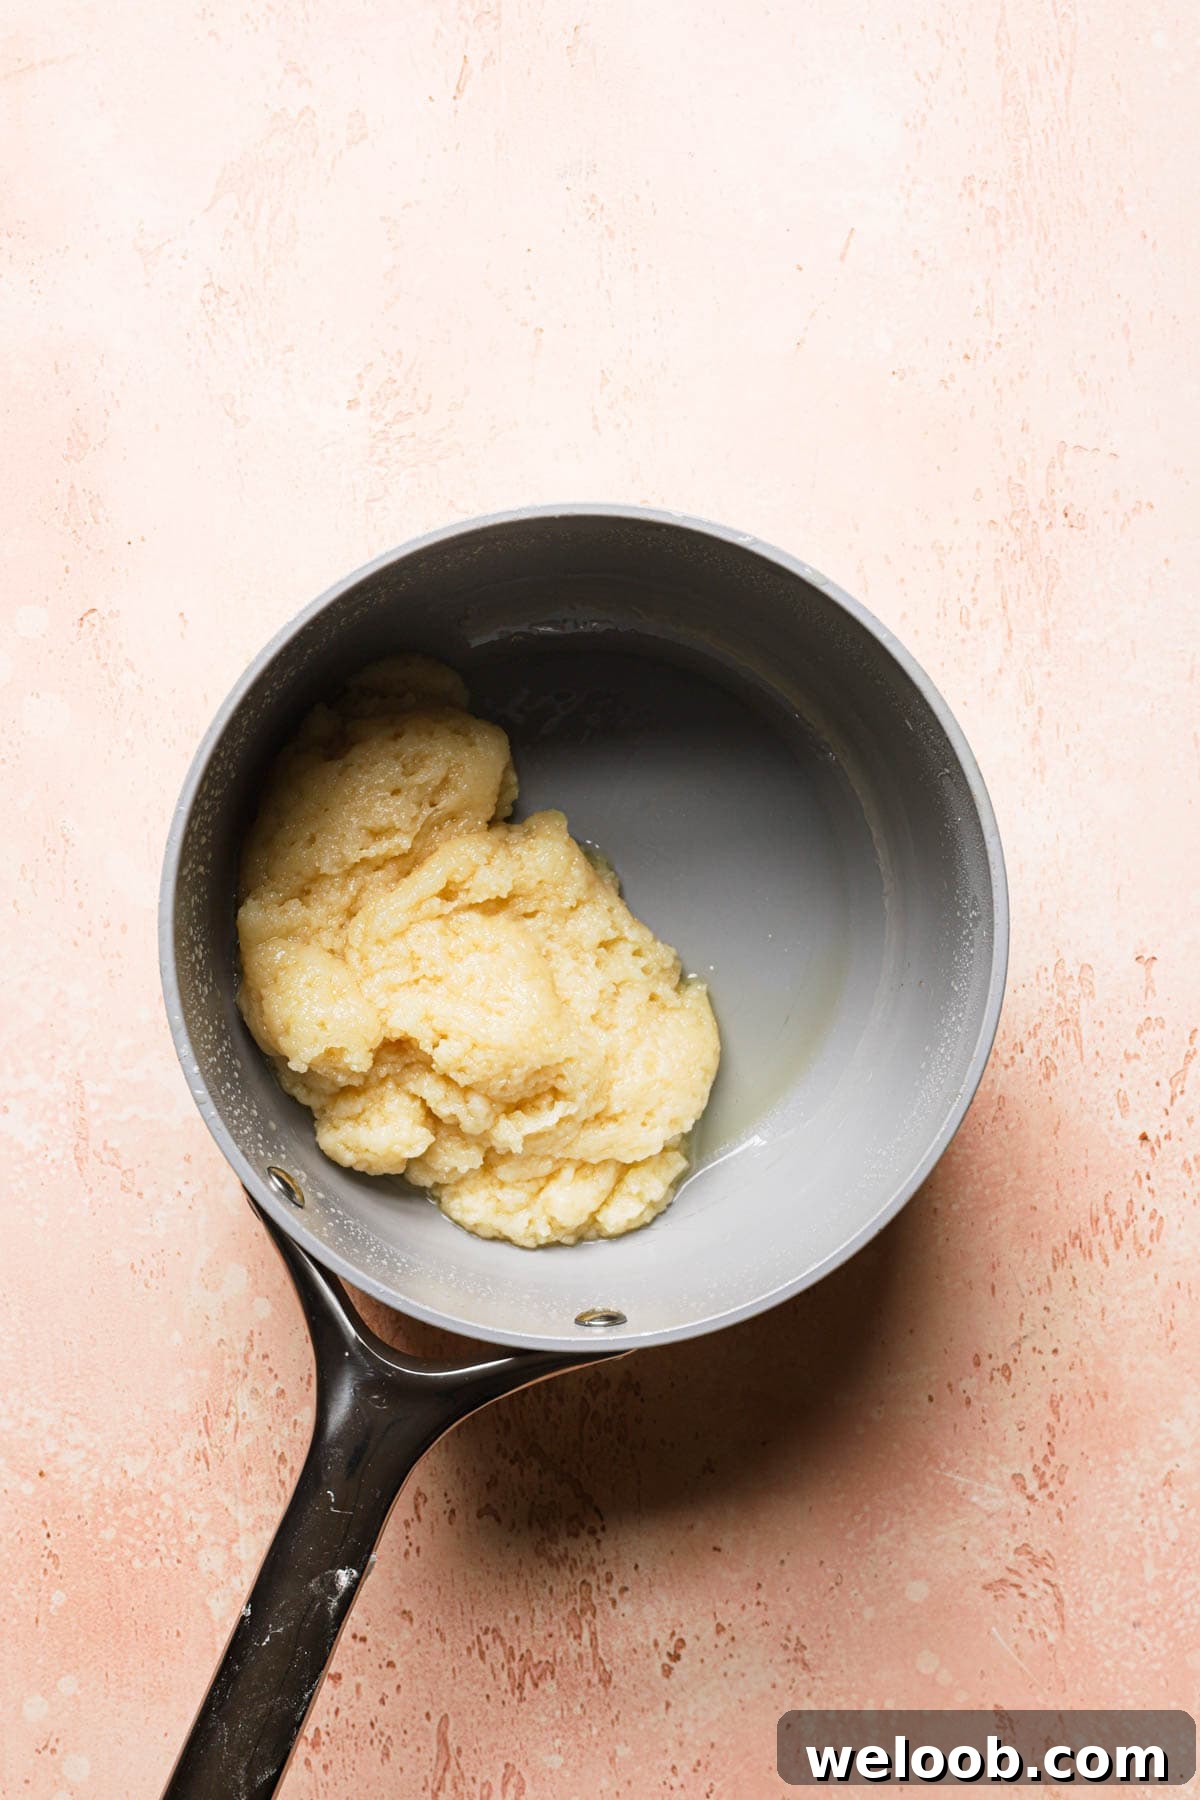
- Bring the liquid and butter to a full boil, then remove from heat and stir in the flour to form a wet dough. Return to low heat and stir constantly until the dough pulls away from the pan and forms a smooth mass. Cooking the flour sufficiently ensures the dough will set properly in the oven; undercooked panade can lead to spreading.
Step 2 — Piping or Portioning
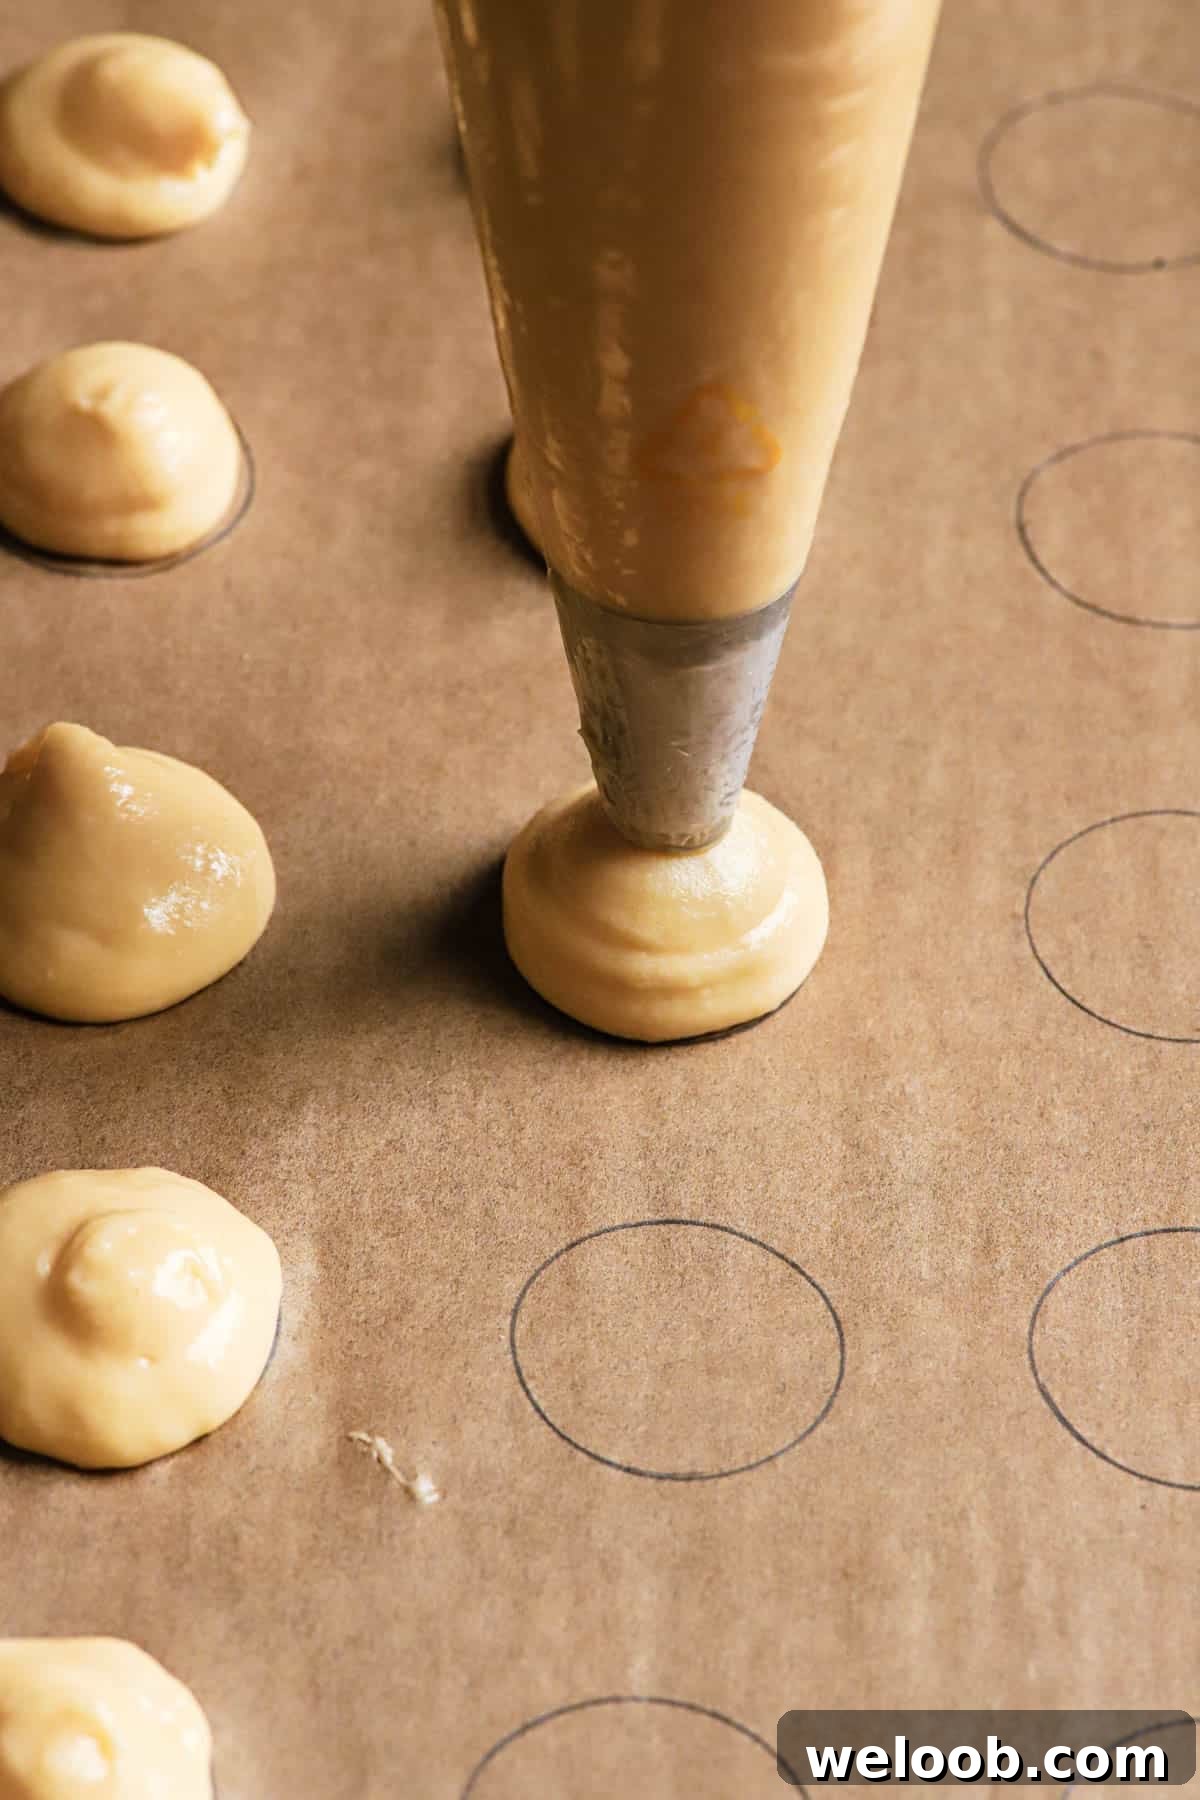
Use a piping bag with a round tip to pipe 2-inch rounds, holding the bag about 1 inch above the baking sheet at a 90° angle. Apply even pressure and avoid twisting or dragging the tip during piping, which causes uneven shapes. Alternatively, use a cookie scoop, leaving at least 2 inches of space between rounds — they will expand to roughly three times their original size.
Step 3 — Baking
A consistent oven temperature is essential. If the oven is too cool, the pastry won’t develop enough steam to rise properly; if it’s too hot the shells can crack or set before they fully expand. A reliable method is to start at a high temperature to jump-start the rise, then lower the heat to finish baking and dry the interior.
- Start at a high temperature (for example 425°F / 220°C) for about 10 minutes to create steam and lift.
- Lower the oven to around 375°F / 190°C and continue baking until shells are golden and dry.
- Do not open the oven door while the pastries are baking; sudden temperature loss will deflate them. After turning the oven off, leave the pastries inside to cool slightly before cracking the door to let moisture escape.
Creative Uses
- Karpatka (cream puff cake) — layers of choux and pastry cream form this Eastern European favorite.
- Choux à la crème — classic cream-filled puffs for dessert or tea.
- Crullers and choux-based fried pastries.
- Chocolate-coated profiteroles or stacked cream-puff towers for special occasions.
Homemade Choux Pastry — Super Easy
10 mins
22 mins
36 cream puffs
Dikla Levy Frances
Equipment
- 1 medium or large saucepan
- 1 wooden spoon
- 1 large mixing bowl or stand mixer bowl
- 2 baking sheets
- Parchment paper
- Large piping bag with round tip
Ingredients
- 1 cup (240 ml) lukewarm water
- 1/8 teaspoon salt
- 1/2 cup (113 g) unsalted butter, cut into pieces
- 1 cup (113 g) sifted bread flour or unbleached all-purpose flour
- 4–5 large eggs (about 225 g total), at room temperature
Instructions
- Preheat the oven to 400°F (204°C). Line two large baking sheets with parchment paper.
- In a medium saucepan over medium heat, bring the water, salt, and butter to a full boil. Ensure the butter is completely melted.
- Remove from heat and add the flour all at once. Stir vigorously with a wooden spoon to hydrate the flour, then return to the stove.
- Cook over low heat, stirring constantly, until the mixture forms a smooth dough that cleans the pan and reaches about 175°F (79°C). If the fat separates and the dough looks slightly oily, that’s acceptable.
- Transfer the dough to a large bowl or the bowl of a stand mixer and cool briefly. Using a mixer with a paddle attachment or a strong wooden spoon, beat to release steam.
- With the mixer on medium-low, add the eggs one at a time, waiting for each to incorporate fully before adding the next. Stop after four additions and evaluate the texture; add the fifth egg only if necessary. The batter is ready when it falls in a V-shape from the paddle.
- Fill a piping bag fitted with a round tip and pipe 2-inch rounds, leaving at least 2 inches between each. Alternatively, use a cookie scoop.
- Bake on a low oven shelf for 10 minutes at 400°F, then reduce the oven to 375°F (190°C) and bake for an additional 12 minutes or until golden and dry.
- Turn off the oven without opening the door and let the pastries sit in the oven for 15 minutes. Then crack the door open and allow them to cool inside for another 20 minutes to finish drying without collapsing.
- Remove from the oven, cool completely, and fill as desired.
Notes
- Bring ingredients to room temperature for best results.
- Use a kitchen scale for accuracy, especially for flour and eggs.
- To pipe evenly, trace 2-inch circles on parchment then flip it so the pencil marks are underneath.
- Check your oven temperature with an oven thermometer; many ovens run hot or cold.
- Do not open the oven door while choux are baking.
- Store empty shells at room temperature, covered, up to five days, or freeze airtight up to six weeks. Fillings reduce shelf life; filled choux keep in the refrigerator for up to three days.