
No-Bake Butterfinger Balls: 15-Minute Dessert Recipe
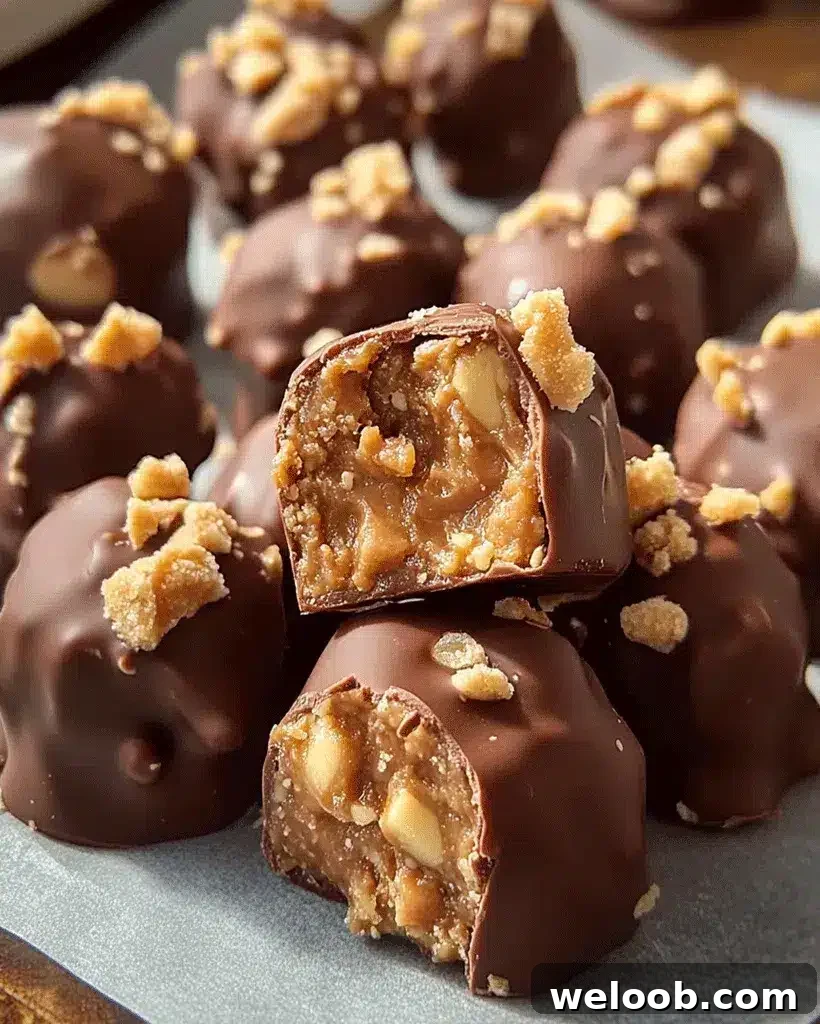

No-Bake Butterfinger Balls Recipe | Easy Dessert
Quick, no-bake Butterfinger candy balls — a simple, crunchy, peanut-buttery treat coated in chocolate. Perfect for holidays, parties, or anytime sweet cravings strike.
Introduction
No-Bake Butterfinger Balls are an easy, crowd-pleasing dessert that captures the crunchy, malted flavor of Butterfinger candy combined with creamy peanut butter and a smooth chocolate shell. This recipe requires no oven, just basic ingredients and minimal hands-on time. They make great party bites, holiday treats, or a quick weeknight dessert.
Ingredients for No-Bake Butterfinger Candy Balls
Gather these ingredients for about 24 bite-sized balls (yield depends on ball size):
- 2 cups crushed Butterfinger candy bars (about 6–8 standard bars, crushed)
- 1 cup crushed graham crackers
- 1 cup creamy peanut butter
- 1 cup powdered sugar
- 1 cup semi-sweet chocolate chips
- 1 teaspoon coconut oil (or a neutral oil to thin the chocolate)
Optional substitutions and variations
- Swap creamy peanut butter for almond or sunflower butter for a different flavor or a nut-free alternative.
- Use gluten-free graham crackers if you need the recipe to be gluten-free.
- Substitute milk or dark chocolate for semi-sweet chips to adjust sweetness and intensity.
- Add finely chopped peanuts to the mixture for extra crunch.
How to Make No-Bake Butterfinger Candy Balls — Step by Step
Step 1: Combine ingredients
In a large bowl, mix the crushed Butterfinger candy pieces, crushed graham crackers, creamy peanut butter, and powdered sugar. Stir until the mixture is evenly combined and holds together when pressed. If the mixture is too sticky, add a little more crushed graham crackers.
Step 2: Form the balls
Use a small scoop or a teaspoon to portion the mixture. Roll each portion between your palms into a bite-sized ball. Place the shaped balls on a parchment-lined baking sheet or tray.
Step 3: Chill
Freeze or refrigerate the tray for about 30 minutes. Chilling firms the centers so they hold their shape during dipping.
Step 4: Melt the chocolate
In a microwave-safe bowl, combine the chocolate chips and coconut oil. Microwave in 20-second intervals, stirring between intervals, until the chocolate is fully melted and smooth. Alternatively, use a double boiler to melt the chocolate gently.
Step 5: Coat the balls
Using a fork or skewer, dip each chilled ball into the melted chocolate, tapping off excess and ensuring a full coating. Place the coated balls back onto the parchment-lined tray.
Step 6: Set the chocolate
Let the chocolate set at room temperature or refrigerate the tray for about 15 minutes until the coating is firm. Once set, transfer to an airtight container for storage.
Helpful tips for success
- Texture control: If the mixture feels too wet or sticky, add more crushed graham crackers one tablespoon at a time until it’s workable.
- Cool before dipping: Make sure the centers are thoroughly chilled; this prevents them from falling apart or melting when dipped.
- Neat coating: Use a fork or dipping tool and tap gently to remove excess chocolate for a smooth finish.
- Crunch boost: Fold in a few tablespoons of finely chopped peanuts or extra crushed Butterfinger for extra texture.
Serving suggestions
- Serve with hot chocolate or strong coffee for a cozy pairing.
- Arrange on a dessert platter with fresh berries for an attractive presentation.
- Package in small boxes or cellophane bags for homemade gifts or party favors.
Nutritional information
Estimated nutrition per serving (one ball):
- Calories: 120 kcal
- Fat: 7 g
- Carbohydrates: 14 g
- Protein: 2 g
Storage and leftovers
- Store the finished balls in an airtight container in the refrigerator for up to one week.
- For longer storage, freeze in a freezer-safe container for up to three months. Thaw for a few minutes at room temperature before serving.
- These are best served chilled but not rock-hard—allow a few minutes at room temperature for optimal texture.
Frequently Asked Questions (FAQs)
Can I use a different candy bar?
Yes. Swap in other crunchy candy bars like Snickers, Reese’s, or Milky Way for different flavors and textures. Adjust the additional mix-ins (peanut butter, sugar) if the candy used has a very different texture.
How can I make this nut-free?
Replace peanut butter with sunflower seed butter and choose candy bars that are nut-free. Always verify labels if preparing for someone with severe allergies.
Can I freeze these?
Yes. Freeze in a single layer on a tray until firm, then transfer to a sealed container or bag. They will keep well for up to three months.
What’s the best way to crush Butterfinger bars?
Use a food processor for the quickest, most even results. If you don’t have one, place bars in a heavy-duty zip-top bag, seal, and crush with a rolling pin.
Related recipe ideas
- Caramel apple cheesecake — a rich fall dessert idea
- No-bake cranberry cheese balls — a tart and creamy appetizer option
Conclusion
These no-bake Butterfinger balls are a fast, delicious way to enjoy candy-bar flavors without turning on the oven. They’re versatile, easy to customize, and ideal for gifting or entertaining. Try different coatings and mix-ins to make the recipe your own — and enjoy the simple indulgence of a crunchy, chocolate-dipped bite.