
Creamy Coconut Cake Recipe from Scratch
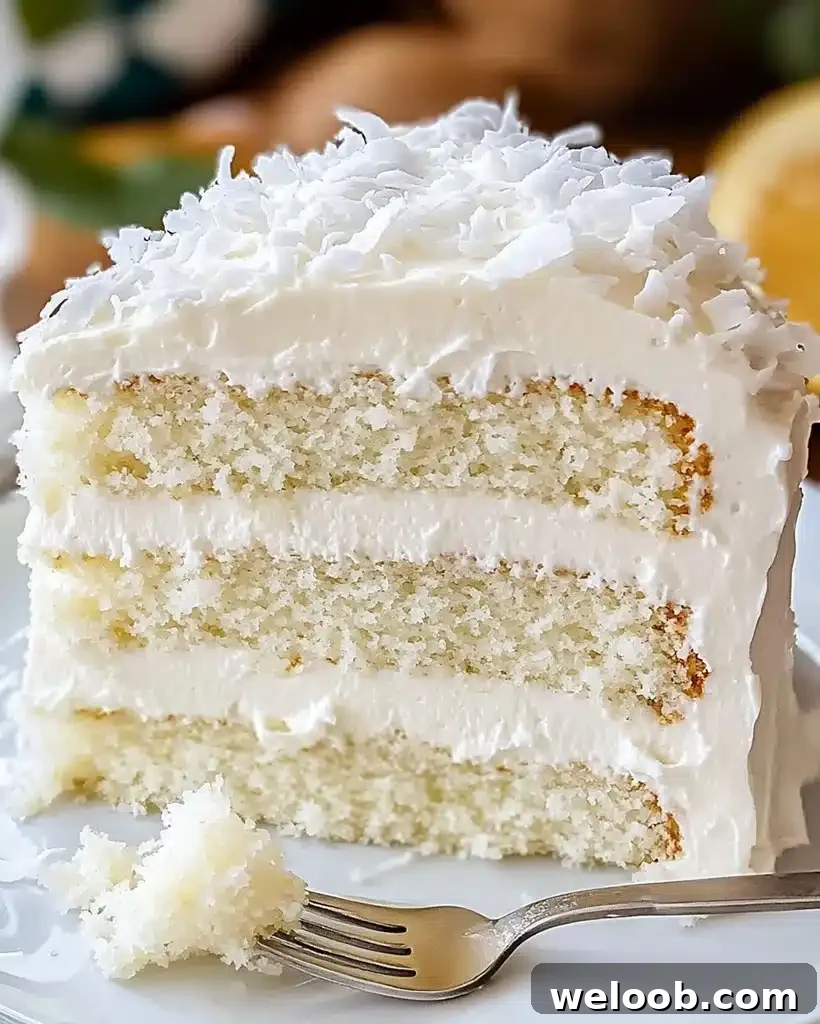
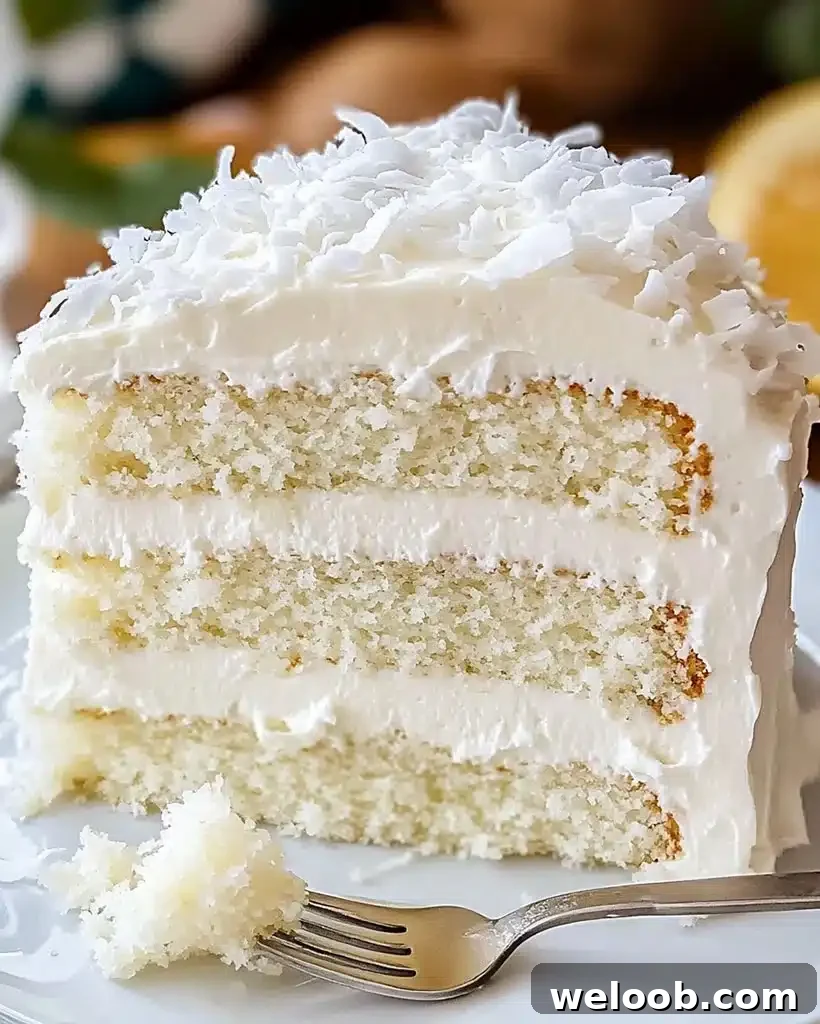
Homemade Creamy Coconut Cake – Easy Recipe
Nothing compares to a homemade creamy coconut cake that is light, tender, and packed with coconut flavor. This easy coconut cake recipe produces moist layers and a silky frosting, making it ideal for birthdays, gatherings, or a special dessert any day of the week. The combination of coconut milk, butter, and sour cream keeps the crumb soft while shredded coconut adds pleasant texture.
This guide walks you through every step, from mixing the batter to finishing touches, so you can make a showstopping coconut cake from scratch. The instructions are beginner-friendly but also include tips for bakers who want an extra-flavor boost or dairy-free variations.
Why You’ll Love This Homemade Coconut Cake
- Moist & Fluffy Texture – The recipe avoids dryness by balancing fat and dairy for a tender crumb.
- Simple to Make – Straightforward steps that work for beginners and experienced bakers alike.
- Rich Coconut Flavor – Made with real coconut milk and shredded coconut for authentic taste.
- Great for Celebrations – Elegant enough for parties, yet easy enough for a weeknight bake.
- Pairs Well with Hot Drinks – Delicious alongside coffee or a fragrant tea.
Ingredients for the Best Coconut Cake
For the Cake
- 2 ½ cups all-purpose flour (or cake flour for extra lightness)
- 2 ½ tsp baking powder
- ½ tsp salt
- 1 cup unsalted butter, softened
- 2 cups granulated sugar
- 4 large eggs
- 1 tbsp pure vanilla extract
- 1 cup coconut milk (full-fat for best results)
- ½ cup sour cream (adds moisture)
- 1 cup shredded coconut
For the Coconut Frosting
- 1 cup unsalted butter, softened
- 4 cups powdered sugar, sifted if lumpy
- ½ cup coconut milk
- 1 tsp vanilla extract
- 1 ½ cups shredded coconut (for topping)
Substitutions & Variations: For a dairy-free version, use vegan butter and coconut yogurt instead of sour cream. To make this gluten-free, substitute a reliable 1:1 gluten-free baking mix. Add a touch of almond extract or a splash of rum for an extra layer of flavor if you like.
How to Make Homemade Coconut Cake – Step-by-Step
Step 1: Prepare the Cake Batter
Preheat your oven to 350°F (175°C). Grease and lightly flour three 9-inch cake pans. In a medium bowl, whisk together the flour, baking powder, and salt. Set the dry mix aside while you prepare the wet ingredients.
Step 2: Cream the Butter & Sugar
In a large mixing bowl, beat the softened butter and granulated sugar until light and fluffy, about 3–4 minutes. This aeration helps create a tender, even crumb. Add the eggs one at a time, beating well after each addition, then stir in the vanilla extract.
Step 3: Combine Wet & Dry Ingredients
Gradually add the dry ingredients to the butter mixture, alternating with the coconut milk and sour cream. Start and finish with the dry ingredients, and mix only until combined to avoid overworking the batter. Gently fold in the shredded coconut for extra texture.
Step 4: Bake the Cake
Divide the batter evenly among the prepared pans and smooth the tops. Bake for 22–25 minutes, or until a toothpick inserted into the center comes out clean or with a few moist crumbs. Allow the cakes to rest in the pans for about 10 minutes, then transfer them to a wire rack to cool completely before frosting.
Step 5: Make the Coconut Frosting
In a large bowl, beat the butter until creamy. Gradually add the powdered sugar, mixing until combined. Stir in the coconut milk and vanilla extract, adjusting the consistency with a little more powdered sugar if you prefer a stiffer frosting, or a splash more coconut milk for a softer spread.
Step 6: Assemble the Cake
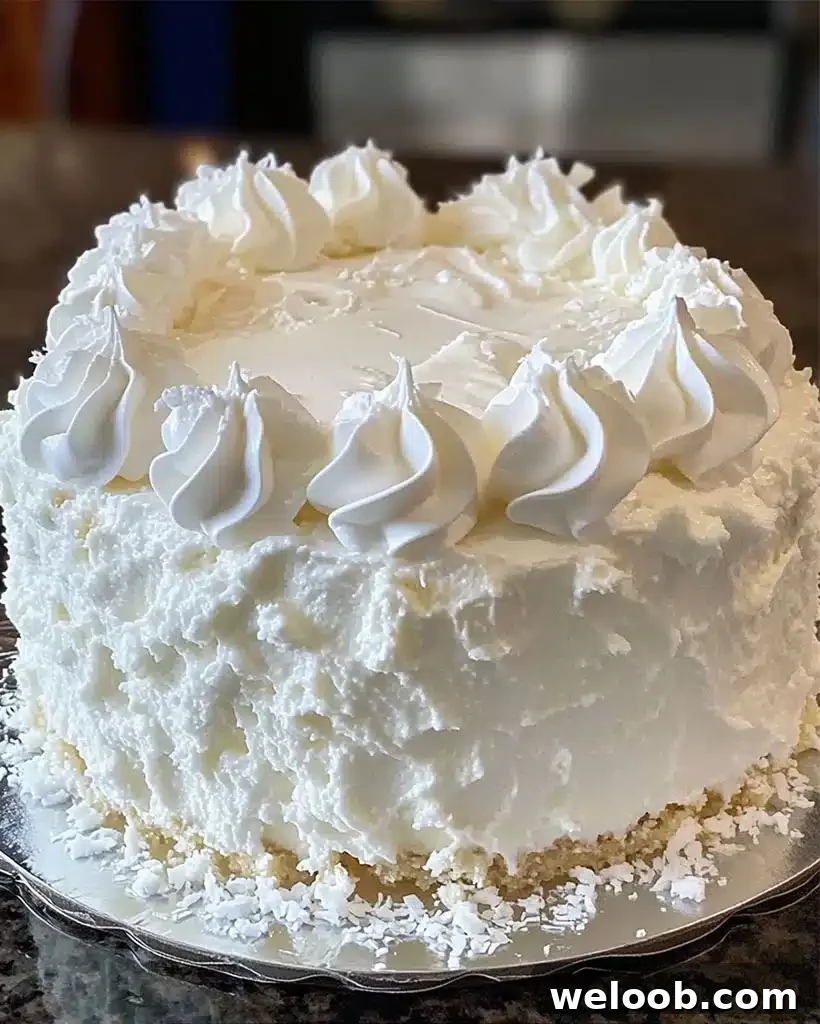
Place one cooled cake layer on a serving plate. Spread a generous layer of frosting over the top, then add the second layer and repeat. Finish with the third layer and frost the outside of the cake evenly.
Step 7: Garnish & Serve
Press the shredded coconut onto the top and sides of the frosted cake for a classic finish. For extra flavor and color, lightly toast some of the shredded coconut in a dry skillet until golden and use that on top. Chill the cake for about 30 minutes before slicing so the frosting sets cleanly. Serve at room temperature for the best texture and flavor.
Pro Tips for the Best Coconut Cake
- Use room-temperature ingredients — they incorporate more evenly and produce a better texture.
- Avoid overmixing the batter; stirring only until combined keeps the cake light.
- For extra moisture, add 1 tablespoon of vegetable oil to the batter.
- Chill the frosted cake before slicing to help the frosting set and slice neatly.
- Toast shredded coconut briefly for a nutty garnish and deeper flavor.
How to Store & Freeze Coconut Cake
To refrigerate, place the cake in an airtight container and keep it in the fridge for up to 5 days. To freeze, wrap individual slices or the whole cake (if well wrapped) and store in the freezer for up to 3 months. Thaw frozen slices at room temperature, or warm them for 10–15 seconds in the microwave if desired.
FAQs – Answering Your Baking Questions
Can I make this cake ahead of time?
Yes. Bake the cake layers a day ahead and store them wrapped in the refrigerator. Frost and assemble shortly before serving for the freshest result.
Can I use sweetened coconut instead of unsweetened?
Yes, you can, but the cake will be sweeter. If you use sweetened shredded coconut, consider reducing the granulated sugar slightly to balance the sweetness.
How can I make this cake dairy-free?
Substitute vegan butter for butter, use coconut yogurt or a dairy-free sour cream alternative, and finish with coconut whipped cream or a dairy-free frosting.
Related Recipes You’ll Love
- Easter Poke Cake – Best Easy Easter Dessert Recipe
- Homemade Green Chocolate Chip Cookies – Easy Recipe
Final Thoughts
This homemade creamy coconut cake is moist, tender, and full of coconut flavor — a reliable recipe for celebrations or a delicious weekend baking project. With a few simple ingredients and easy steps, you’ll have a beautiful, flavorful cake that looks as good as it tastes. If you try the recipe, share your experience or photos in the comments where you found this recipe.