Baked Thin Chicken Breasts
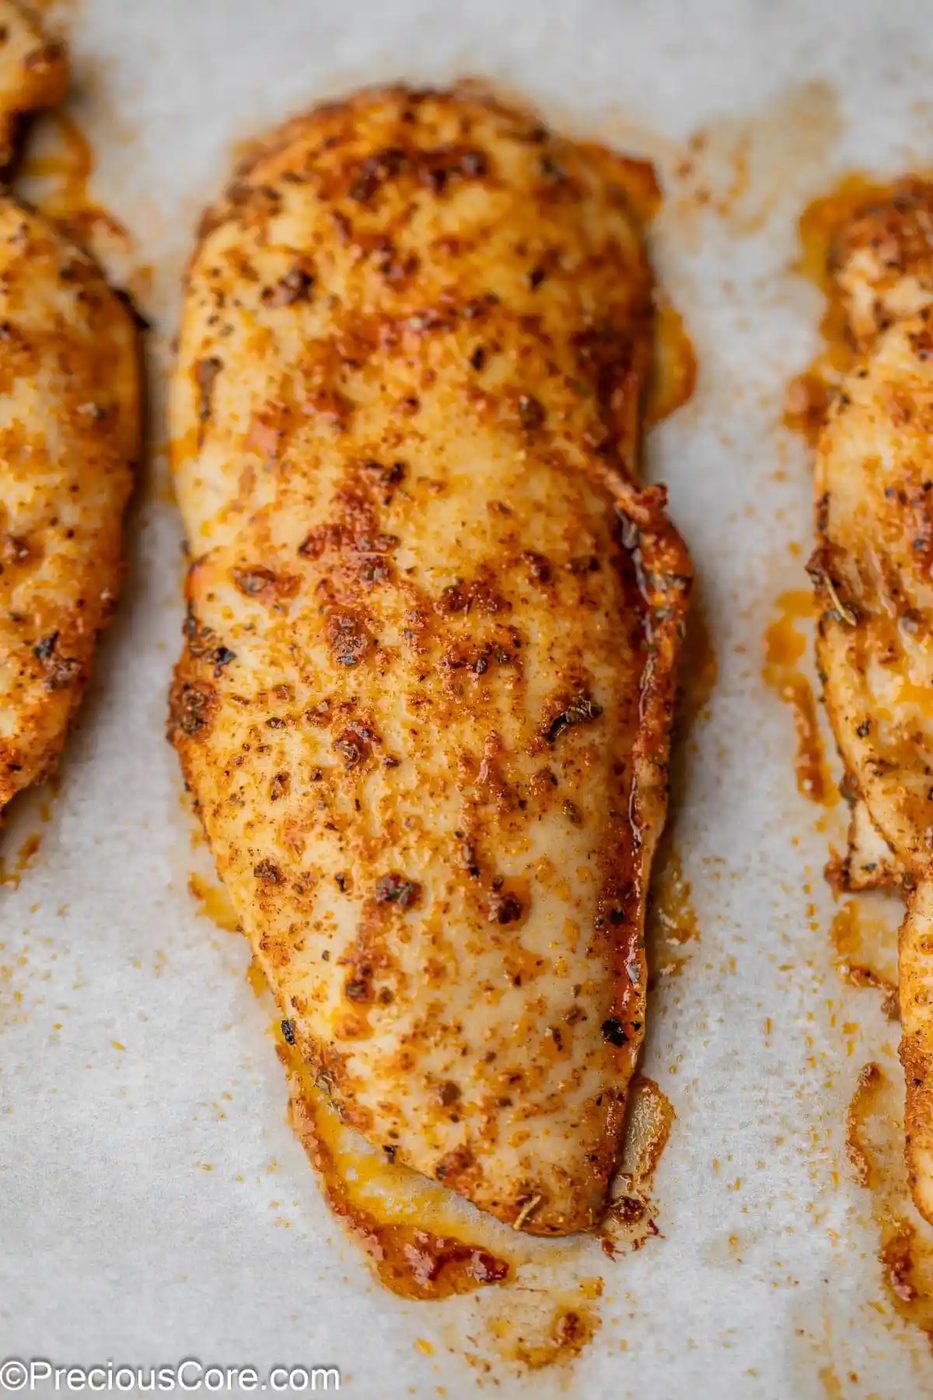
Baked Thin Chicken Breast
If you want a reliable chicken recipe that you can use frequently, then this baked thin chicken breasts recipe is the one to choose! This delectable chicken can serve as the foundation for many different types of meals. It can be used in both casual and more formal lunches and dinners.
Over the years, we've made enough chicken to learn some secrets to keeping it juicy and flavorful. It is all about using the right seasonings and cooking methods, which we will share with you here!
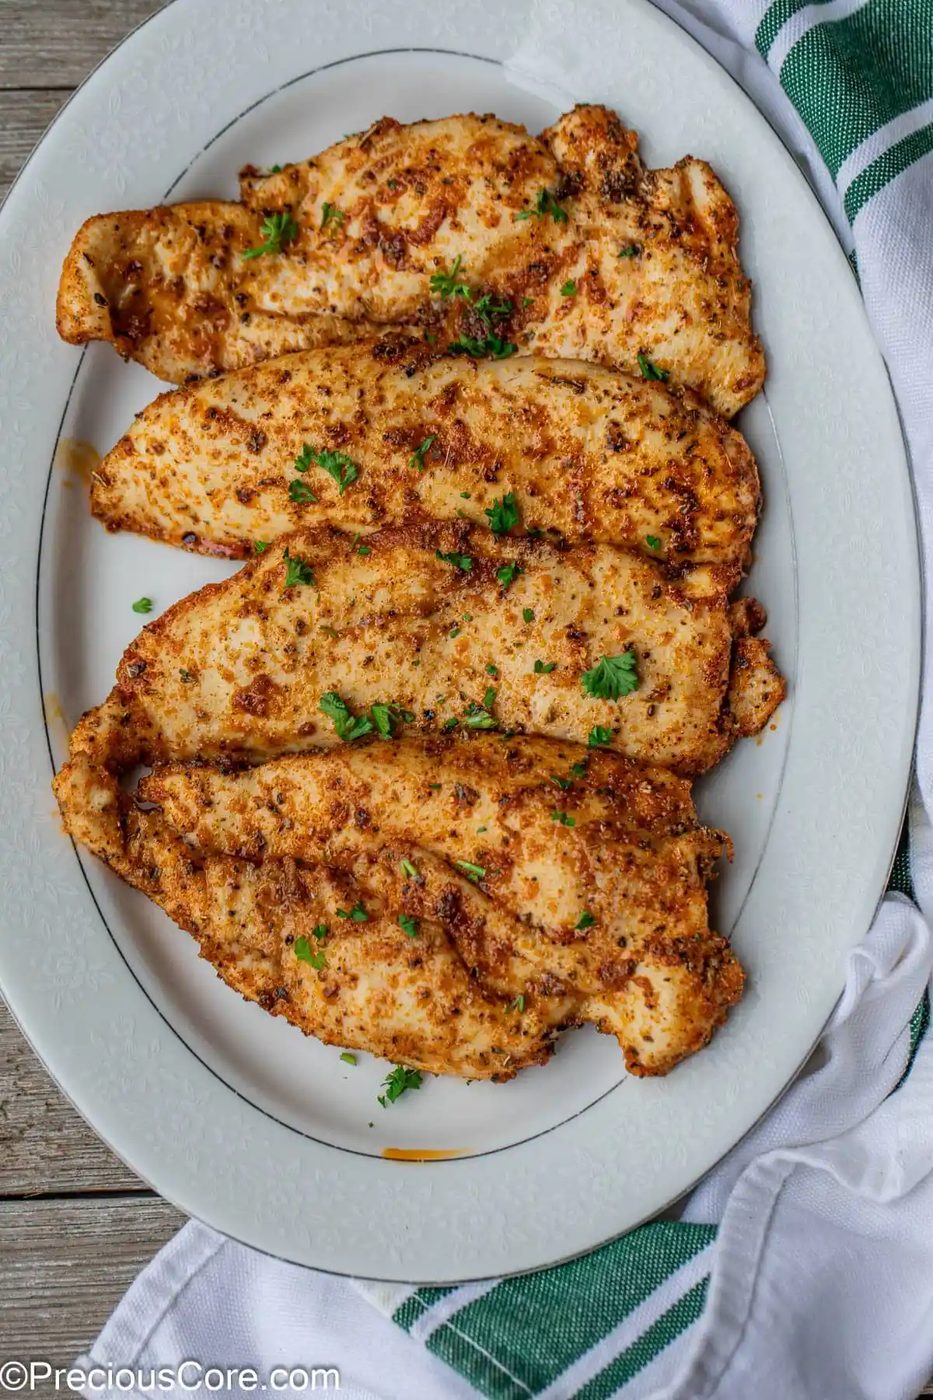
Worth cooking
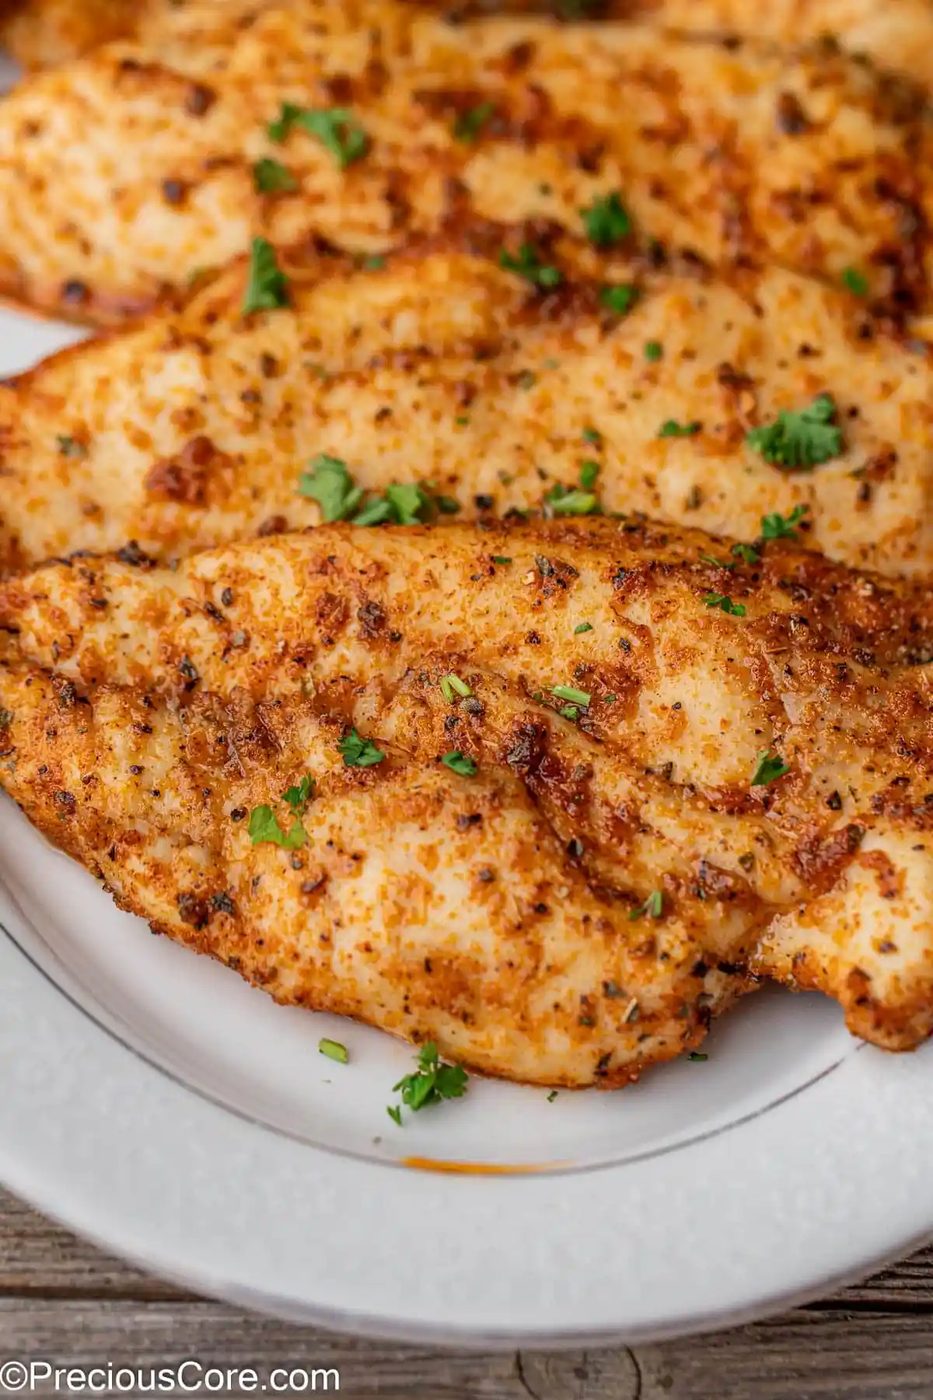
- It’s perfectly juicy and seasoned. The last thing you want to do is serve chicken that’s dry, rubbery, or lacking in flavor. With this baked thin chicken breasts recipe, you can avoid all these issues! You’ll be pleasantly surprised by how our combination of seasonings takes the chicken to the next level.
- It’s kid-friendly. This chicken serves as a family-friendly protein that is both healthy and versatile. Your kids will love the flavor and texture of the perfectly baked chicken, and you can take pride in your cooking!
- It’s great for meal prep. Do you take your lunch to work or like to prepare ahead for weeknight meals? You can make this chicken ahead of time for meal prep and store it in an airtight container. It pairs wonderfully with other common meal prep components such as rice, pasta, vegetables, and salads.
Ingredients Needed
Here are the primary ingredients you need for the recipe and some notes about them:
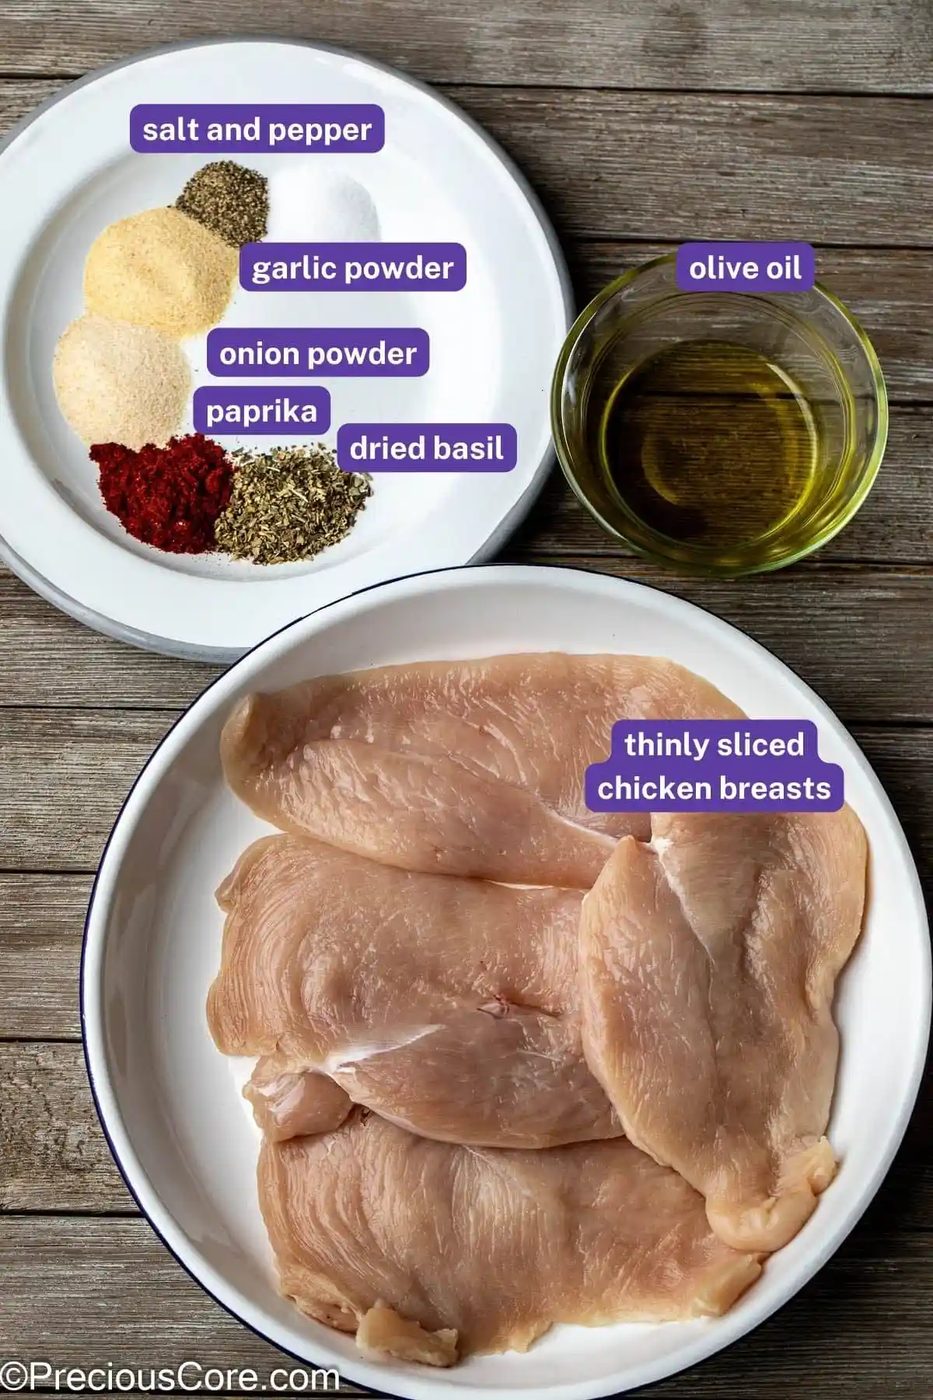
- Thin Chicken Breasts: This quick-cooking thin chicken is perfect for busy days when you want to feed your family in a reasonable amount of time. It is especially satisfying when baked because it turns beautifully golden brown.
- Olive Oil: This fat helps the chicken brown and gives it moisture. Additionally, it aids all satisfying seasonings in adhering to the meat so you get maximum flavor!
- Paprika: Use regular or smoked paprika to give the chicken a pleasant peppery undertone.
- Garlic and Onion Powder: Garlic and onion powder pair well with meat, enhancing its natural flavor. Not to mention, fresh garlic burns easily, so it wouldn’t withstand the high temperature as well as the dried garlic powder does.
- Dried Basil: Basil provides sweet undertones and gives the chicken an appetizing presentation with its green specks.
You will also need salt and black pepper. Remember to check out the recipe card below so you know which measurements to use for each ingredient.
For more affordable thin chicken breasts, buy boneless skinless chicken breasts from the grocery store and cut them in half horizontally using a sharp knife, to make your own thinly sliced chicken breasts. Then flatten the breasts on a cutting board using a kitchen mallet or rolling pin. Flattening chicken breasts helps promote even cooking.
How To Bake Thin Chicken Breasts
Here is how to bake thin-sliced chicken breasts to get juicy, flavorful chicken! Follow our step-by-step instructions to get the best thin chicken cutlets! Always let your chicken rest at room temperature for about 30 minutes before cooking. We have shots of the process below for you as well.
- Preheat the oven.
- Line a baking sheet with parchment paper or spray it with cooking spray.
- Pat dry room temperature chicken breasts with paper towels and flatten them with a meat mallet. Drizzle both sides of the chicken breasts with oil.
- Combine the seasonings in a small bowl and sprinkle evenly on both sides of the chicken, rubbing it in.
- Place the seasoned breasts on the prepared baking sheet.
- Bake until the chicken is fully cooked.
To ensure the chicken is fully cooked, insert a meat thermometer into a chicken breast. It should register an internal temperature of 165 degrees Fahrenheit to be considered done.
You could make this recipe in an air fryer too. Just be sure not to overcook your chicken as they could become dry.
Pantry notes
One of the best things about this recipe is how versatile it is. Here are some substitutions and variations for this high protein meal:
- Whole Chicken Breasts: It’s okay to use regular chicken breasts instead of thin ones, but keep in mind that if you use whole chicken breasts, they will require a longer cooking time! Insert an instant-read thermometer into the thickest part of a chicken breast to check if it’s done. It should register 165 degrees Fahrenheit to be considered done.
- Seasonings: Other spices that pair well with chicken include rosemary, coriander, thyme, fennel, sage, tarragon, cumin, and ground mustard. Feel free to experiment with different combinations! You can also use seasoning blends, such as Italian seasoning or Cajun seasoning.
- Breadcrumbs: Try mixing the seasonings with crispy breadcrumbs, like panko breadcrumbs. First, rub the chicken with oil as directed in the recipe, then dip it in the seasoned breadcrumb mixture. This will give the chicken extra crunch when you bite into it.
Cook notes
- Pull your chicken out of the refrigerator about 10-20 minutes before you need it. That way, it is an even temperature throughout, and the oven isn’t trying to heat something super cold.
- Let us give you some oven tips! First, ensure the oven is entirely pre-heated before popping the chicken inside. Waiting until it is ready promotes even cooking. Also, resist the urge to keep opening the door because every time you do, the appliance loses heat. Wait until just before the suggested cooking time is up to check the chicken.
- Allow time for your chicken to rest before slicing it. You might not realize, but cutting it prematurely can cause all of the much-needed juices to escape! The meat needs time to rest when it goes from a hot environment to a room-temperature one.
How To Check The Chicken’s Doneness
Use a cooking thermometer to test the internal temperature of the chicken. Insert it into the thickest part of the meat. Generally, thin chicken breasts have a more even thickness than traditional breasts. So, if you find that to be the case, just stick the thermometer into the center to check.
The temperature needs to register 165°F before you remove it from the oven! Also, remember that we mentioned how cutting the meat too soon can cause the juices to release? That still applies if you cut the chicken to check if it’s done and then return it to the oven for longer cooking.
Although it might be a habit to check its internal color, it can cause the chicken to become unpleasantly dry. A thermometer is the best way to go. You’ll be glad you used one!
- Yield: 4 servings
- Prep: 5 minutes
- Cook: 10 minutes
- Total: 15 minutes
Ingredients
- 1 pound thin sliced chicken breasts, about 2 medium breasts
- 2 Tablespoons olive oil
- ½ teaspoon salt
- ¼ teaspoon ground black pepper
- 1 teaspoon garlic powder
- 1 teaspoon onion powder
- 1 teaspoon dried basil
- 1 teaspoon paprika
Method
- Preheat the oven to 400℉. Line a baking sheet with parchment paper or spray with cooking spray.
- Drizzle the olive oil on both sides of the chicken breasts. Mix together the salt, black pepper, garlic powder, onion powder, dried basil, and paprika, and sprinkle evenly on both sides of the chicken. Rub the seasoning onto the breasts, making sure the seasoning is easily distributed.
- Place the seasoned breasts on the prepared baking sheet.
- Bake for 10 minutes or until the chicken registers an internal temperature of 165℉ on a meat thermometer.
Notes
Pull your chicken out of the refrigerator about 10-20 minutes before you need it. That way, it is an even temperature throughout, and the oven isn’t trying to heat something super cold.
Let us give you some oven tips! First, ensure the oven is entirely pre-heated before popping the chicken inside. Waiting until it is ready promotes even cooking. Also, resist the urge to keep opening the door because every time you do, the appliance loses heat. Wait until just before the suggested cooking time is up to check the chicken.
Allow time for your chicken to rest before slicing it. You might not realize, but cutting it prematurely can cause all of the much-needed juices to escape! The meat needs time to rest when it goes from a hot environment to a room-temperature one.