
Gooey Marshmallow S’mores Cookies: Recipe & Baking Tips
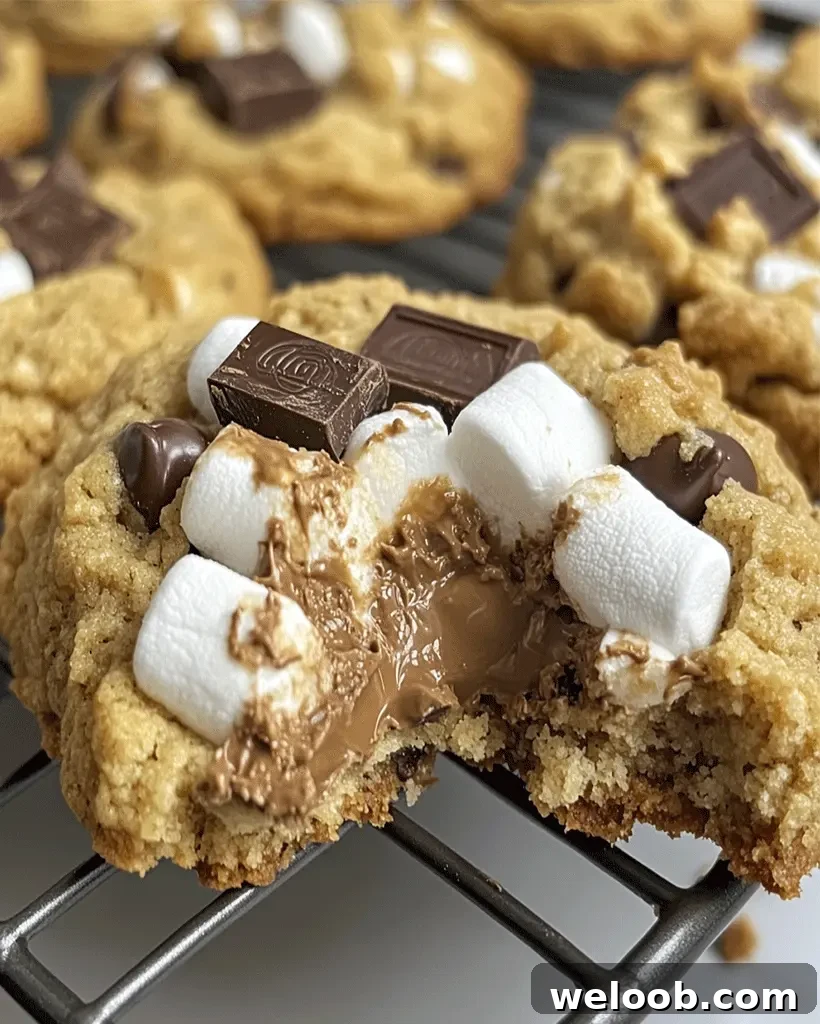
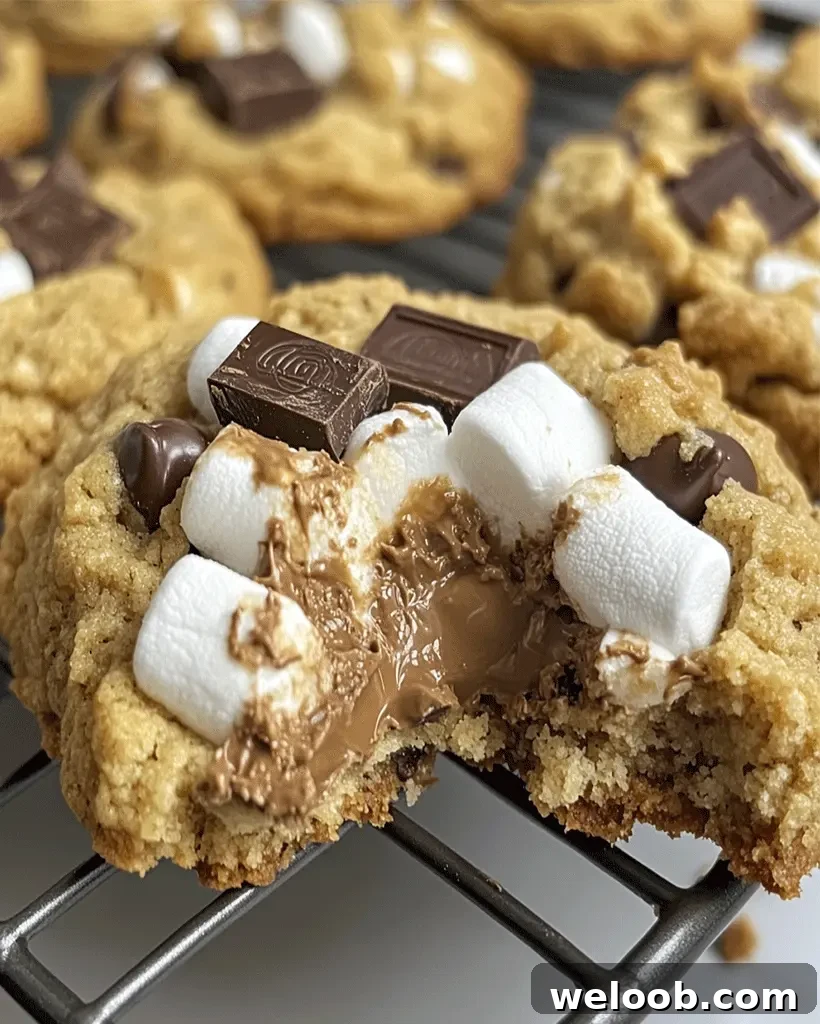
Gooey Marshmallow S’mores Cookies – Easy Recipe & Tips
Author: Patricia
Description
If you love the classic flavors of campfire s’mores—crisp graham crackers, melted chocolate and soft, fluffy marshmallows—these Gooey Marshmallow S’mores Cookies bring everything together in a chewy, oven-baked treat. They capture that nostalgic combination without needing a fire: crisp edges, a tender center and pockets of molten marshmallow and chocolate in every bite. This recipe is simple enough for baking with kids, yet indulgent enough for guests or a cozy dessert at home.
Introduction
S’mores are a timeless favorite, and converting them into cookies makes the flavor portable and easy to enjoy year-round. These cookies mix crushed graham crackers into the dough for extra texture, fold in chocolate chunks for melty richness, and use mini marshmallows that become delightfully gooey when baked. They’re quick to prepare, forgiving for home bakers, and perfect warm from the oven with a glass of milk.
Ingredients for Gooey Marshmallow S’mores Cookies
Gather everyday pantry items plus the classic s’mores components:
- 1 ½ cups all-purpose flour – provides structure for the dough
- 1 teaspoon baking soda – helps cookies rise and creates the right texture
- ½ teaspoon salt – balances sweetness
- ½ cup unsalted butter, softened – for richness and a soft crumb
- ½ cup brown sugar – adds moisture and caramel notes
- ¼ cup granulated sugar – helps form a slightly crisp exterior
- 1 large egg – binds the dough
- 1 teaspoon vanilla extract – adds depth of flavor
- ½ cup mini marshmallows – the gooey star of the cookies
- 1 cup chocolate chunks – semi-sweet or milk chocolate, chopped or chunked
- ½ cup crushed graham crackers – for authentic s’mores crunch
Substitution tip: Use a 1:1 gluten-free flour blend for a gluten-free version. For dairy-free cookies, choose plant-based butter and dairy-free chocolate.
Instructions
- Preheat the oven. Set the oven to 350°F (175°C). Line a baking sheet with parchment paper or a silicone baking mat.
- Mix dry ingredients. In a medium bowl, whisk together the flour, baking soda and salt so the leavening is evenly distributed.
- Cream butter and sugars. In a large bowl, beat the softened butter with the brown sugar and granulated sugar until light and fluffy, about 2–3 minutes.
- Add wet ingredients. Beat in the egg and vanilla extract until smooth and fully incorporated.
- Combine wet and dry. Gradually add the dry mixture to the wet ingredients, mixing just until a soft dough forms. Avoid overmixing to keep the cookies tender.
- Fold in mix-ins. Gently fold in the chocolate chunks, crushed graham crackers and mini marshmallows so they’re evenly distributed.
- Scoop the dough. Drop rounded tablespoons or use a cookie scoop to place dough balls on the prepared sheet, spacing them about 2 inches apart.
- Bake. Bake for 10–12 minutes, until the edges are lightly golden and the marshmallows are slightly melted. Watch carefully so the marshmallows don’t burn.
- Cool briefly, then transfer. Let the cookies rest on the baking sheet for about 5 minutes to set, then move to a wire rack to cool completely or serve warm for maximum gooeyness.
Helpful Tips
- Use room-temperature butter. Properly softened butter creams more evenly with the sugars and improves texture.
- Chill if needed. If dough feels too soft, chill for 20–30 minutes so cookies hold their shape and spread less.
- Distribute marshmallows evenly. Fold them in gently so each cookie has pockets of gooey marshmallow.
- Top with extra chocolate. Press a few more chocolate chunks onto each dough ball before baking for an attractive, extra-melty top.
Cooking Tips for the Best Results
- Choose good chocolate. Chop a quality chocolate bar into chunks for better melting and a richer flavor than standard chips.
- Toast marshmallows for extra flavor. After baking and cooling slightly, briefly toast the tops of the marshmallows with a kitchen torch for that campfire aroma.
- Use silicone mats. Silicone baking mats give even heat and help cookies release cleanly.
Serving Suggestions
These cookies are delicious on their own, but try pairing them with:
- A glass of cold milk
- Hot cocoa or coffee to complement the chocolate
- A scoop of vanilla ice cream for a warm-and-cold contrast
Nutritional Information (per cookie)
- Calories: 230 kcal
- Total fat: 10 g
- Saturated fat: 6 g
- Cholesterol: 30 mg
- Sodium: 170 mg
- Carbohydrates: 30 g
- Sugars: 18 g
- Protein: 2 g
These are a treat-style cookie—rich and indulgent, best enjoyed in moderation.
Storage and Leftovers
- Room temperature: Store in an airtight container for 3–4 days to keep cookies soft and the centers gooey.
- Freezing: Freeze cooled cookies in a single layer until firm, then transfer to a freezer-safe bag or container for up to 2 months.
- Reheating: Thaw frozen cookies at room temperature, then warm in a 300°F (150°C) oven for 5–7 minutes to revive the gooey centers.
Frequently Asked Questions
Can I use large marshmallows instead of mini marshmallows?
Yes—cut large marshmallows into smaller pieces so they distribute evenly. Mini marshmallows are easiest for consistent gooeyness.
Can I make these cookies gluten-free?
Absolutely. Replace all-purpose flour with a 1:1 gluten-free baking flour and use gluten-free graham crackers.
Can I add other mix-ins?
Yes—chopped nuts, white chocolate chips or peanut butter chips are all good additions that add texture and flavor.
How do I prevent marshmallows from over-melting?
Briefly freezing the marshmallows for 10–15 minutes before folding them into the dough helps them keep their shape during baking.
Related Recipes
- Cranberry Pistachio Dark Chocolate Cookies – Easy Recipe
- Strawberry Crunch Cheesecake Bites – Easy Recipe Guide
Conclusion
These Gooey Marshmallow S’mores Cookies bring the best parts of a campfire s’more into an easy-to-bake cookie. They’re crowd-pleasing, versatile and a great way to satisfy chocolate-and-marshmallow cravings any time of year. Try the tips above to customize texture and flavor, and enjoy baking—these cookies are meant to be shared.
If you try this recipe, consider sharing a photo or notes about any personal twists you made. Happy baking!