
How to Make Boston Cream Pie Cheesecake
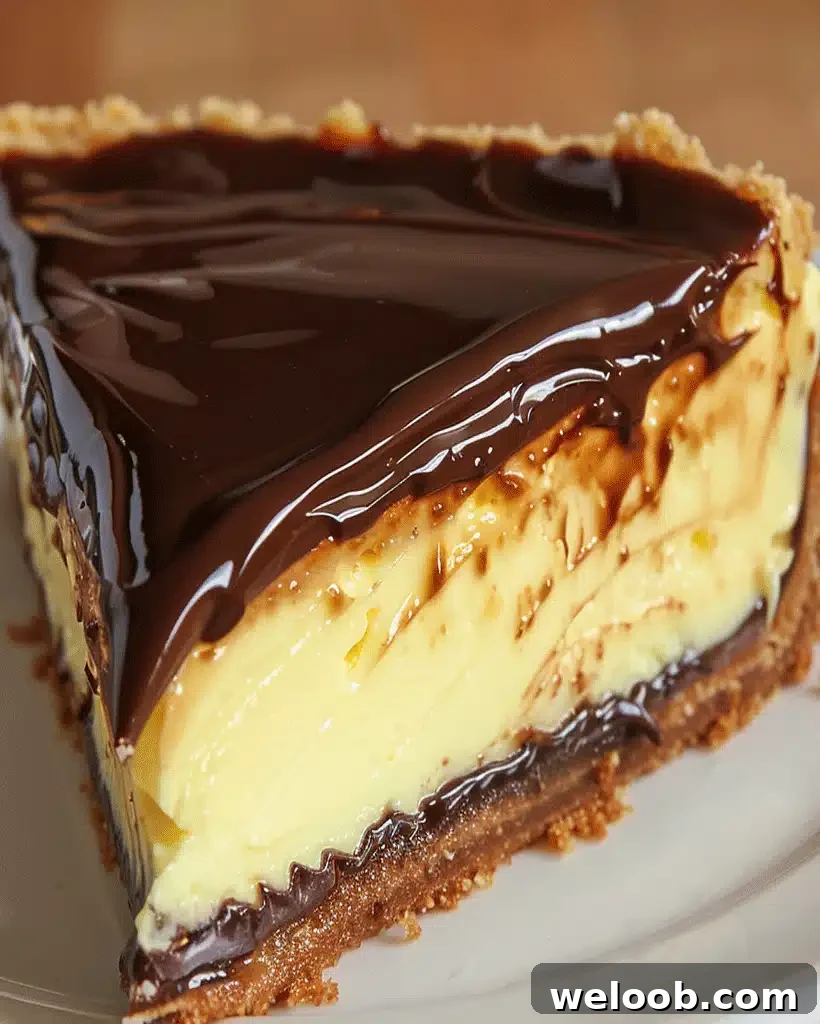
Welcome, dessert lovers! If you enjoy the creamy richness of cheesecake and the classic indulgence of Boston cream pie, this Boston Cream Pie Cheesecake will delight your taste buds. It blends a buttery graham cracker crust, a glossy chocolate layer, a smooth cream-cheese custard, and a silky ganache top into one elegant dessert. Perfect for gatherings or an extra-special treat at home, this recipe is straightforward to follow and reliably delicious.
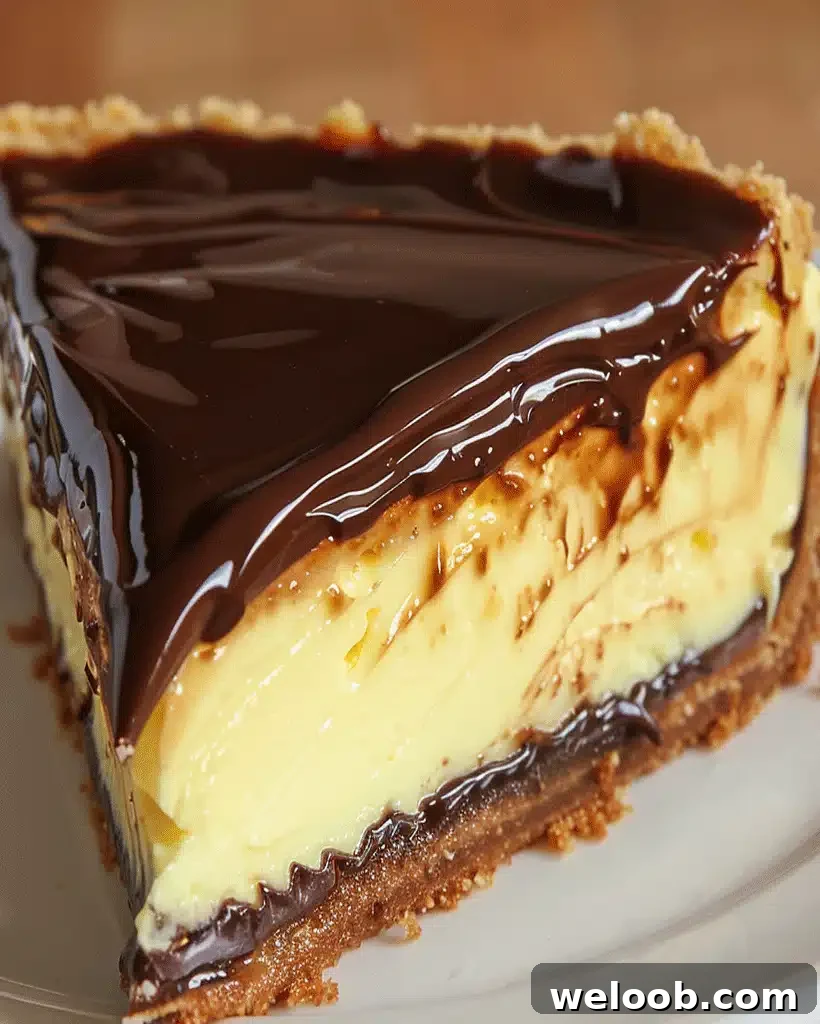
Boston Cream Pie Cheesecake Recipe – Easy Dessert Ideas
Author: Patricia
Introduction
Boston Cream Pie Cheesecake takes the best elements of two favorites and unites them into a decadent hybrid dessert. Instead of layered cake and custard, this version uses a graham cracker crust topped with a thin chocolate layer, a silky cream cheese custard, and a glossy chocolate ganache. The result is a balanced, elegant cheesecake with chocolate and vanilla flavors that are familiar and comforting yet elevated. It’s a crowd-pleaser for celebrations, dinners, or simply when you want to make an impressive dessert at home.
Ingredients for Boston Cream Pie Cheesecake
Below are the ingredients divided by component so you can prepare each part easily.
For the Crust
- 1 1/2 cups graham cracker crumbs
- 1/4 cup granulated sugar
- 1/2 cup unsalted butter, melted
For the Chocolate Layer
- 1 cup semi-sweet chocolate chips
- 1/2 cup heavy cream
For the Cream Cheese Custard Filling
- 24 oz cream cheese, softened
- 1 cup granulated sugar
- 3 large eggs
- 1 cup heavy cream
- 2 teaspoons vanilla extract
For the Ganache
- 1 cup semi-sweet chocolate chips
- 1/2 cup heavy cream
Optional substitution: For a gluten-free crust, use gluten-free graham cracker crumbs or another gluten-free cookie crumb.
Step-by-Step Instructions
Step 1: Preheat and Prepare the Pan
Preheat the oven to 350°F (175°C). Grease a 9-inch springform pan with butter or non-stick spray to ensure the cheesecake releases cleanly.
Step 2: Make and Bake the Crust
Combine the graham cracker crumbs and sugar in a bowl, then stir in the melted butter until the mixture is evenly moistened. Press the mixture firmly into the bottom of the prepared pan to form a compact crust. Bake for 10 minutes, then remove and let the crust cool completely.
Step 3: Prepare the Chocolate Layer
Heat 1/2 cup heavy cream in a small saucepan over medium heat until it begins to simmer. Pour the hot cream over 1 cup chocolate chips, let sit for 1–2 minutes, then stir until smooth. Spread the melted chocolate over the cooled crust and refrigerate for about 30 minutes to set.
Step 4: Make the Cream Cheese Custard
In a large bowl, beat the softened cream cheese with the sugar until smooth and lump-free. Add the eggs one at a time, mixing well after each addition. Mix in the heavy cream and vanilla until the filling is fully combined and silky. Pour the filling over the chilled chocolate layer, smoothing the top.
Step 5: Bake the Cheesecake
Bake the cheesecake for 55–60 minutes, or until the center is mostly set but still slightly jiggly. Avoid over-baking to prevent cracks. Let the cheesecake cool to room temperature, then refrigerate for at least 4 hours or preferably overnight for the best texture.
Step 6: Prepare the Ganache and Finish
Warm the remaining 1/2 cup heavy cream until it simmers, pour it over 1 cup chocolate chips, let sit for 1–2 minutes, then whisk until glossy. Pour the ganache over the chilled cheesecake, spreading gently to cover the surface. Chill an additional 30 minutes to let the ganache set before serving.
Helpful Tips
- Room temperature ingredients: Make sure cream cheese and eggs are at room temperature for a lump-free filling.
- Avoid over-baking: The center should be slightly firm, not liquid. The cheesecake will continue to set as it cools.
- Make ahead: This cheesecake benefits from chilling, so prepare it a day ahead for easier slicing and improved flavor.
- Chocolate options: Use milk or dark chocolate in place of semi-sweet to suit your taste.
Serving Suggestions
Because this recipe is rich, serve modest slices alongside a light accompaniment: a spoonful of freshly whipped cream, a few fresh berries (strawberries or raspberries work well), or a small fruit salad. For presentation, finish with chocolate shavings or a sprinkle of toasted nuts.
Nutritional Overview (per serving)
Approximate nutrition per slice: 450 calories, 30 g total fat, 15 g saturated fat, 42 g carbohydrates, 2 g fiber, 34 g sugars, and 6 g protein. This dessert is rich and best enjoyed in moderation.
Storage
Keep leftover cheesecake refrigerated in an airtight container for up to 5 days. For longer storage, wrap tightly and freeze for up to 2 months. Thaw in the refrigerator overnight before serving and bring to room temperature for best flavor.
Frequently Asked Questions
Can I make the crust ahead of time?
Yes. You can prepare and bake the crust a day ahead; store it covered until you’re ready to assemble the chocolate layer and filling.
How do I prevent cracks in my cheesecake?
Use room-temperature ingredients, avoid over-mixing, bake until the center is just set, and cool slowly. A water bath can also help maintain even baking and reduce cracking.
Can I swap the chocolate for a different flavor?
Yes. Use milk chocolate for a sweeter profile or dark chocolate for more intensity. You can also top with a fruit compote instead of ganache for a lighter finish.
Related Recipes You Might Enjoy
- Strawberry Cream Cheese Crumble Rolls
- Sweet Potato Honeybun Cookies
- Carrot Cheesecake Bars
- Raspberry Swirl Cheesecake
- Crème Brûlée Cheesecake
Conclusion
Boston Cream Pie Cheesecake is an elegant and satisfying dessert that marries the best of two classics. With a crisp crust, a glossy chocolate layer, a creamy filling, and a rich ganache finish, it makes a memorable centerpiece for any celebration. Follow the steps, be patient while chilling, and enjoy each indulgent slice with friends and family. Happy baking!